Good day. Karl here. Today I would like to share my experiences with the Genmitsu Z5-1 fiber laser engraver in this review.
What is an infrared Galvo laser?
A fiber laser is also known as an infrared Galvo laser. Let’s break this combination of words down.
Infrared is first. Up to this point, I have reviewed several powerful blue diode lasers for the site. All of them have had 455nm wavelength lasers. In contrast, the Genmitsu Z5-1 laser we are looking at today has a 1064nm wavelength that is outside of the visible spectrum. With infrared, we can mark different materials. Notable plastics and metals are easy to mark with this laser.
Galvo is next and was a term I was not familiar with. “Galvo” is a condensed form of “galvanometer.” It’s an electromechanical device used for precise mirror or optical element control in laser and optical systems. Galvanometers are based on the principle of using an electromagnetic coil to move a lightweight mirror or other reflective surface. They are widely used in applications that require rapid and accurate scanning or steering of laser beams, such as laser engraving, laser marking, laser cutting, and laser projection systems.
A laser is a device that emits highly focused and coherent light. It works by amplifying light through stimulated emission in a gain medium. The light produced is monochromatic (single color) and coherent (in phase). Lasers have many applications, including cutting, communication, medicine, and entertainment.
A fiber laser is a laser in which the active gain medium is an optical fiber doped with rare-earth elements such as erbium, ytterbium, neodymium, dysprosium, praseodymium, thulium, and holmium. They are related to doped fiber amplifiers, which provide light amplification without lasing.
Genmitsu Z5-1 specs, what’s in the box, and assembly
- Material – High Strength Anodized Aluminum
- Laser Focus – Dual Red Dot Motorized Focusing
- Laser Head -1,064 nm Fiber Laser
- Laser Power:≥ 2W (FDA Certificated)
- Max Speed:10,000mm/s
- Suggest Marking Speed:100-400mm/s
- Connecting Interfaces – Type-C Port for PC
- Supported OS – Windows
- File Formats – JPEG/BMP/GIF/PLT/PNG/DXF
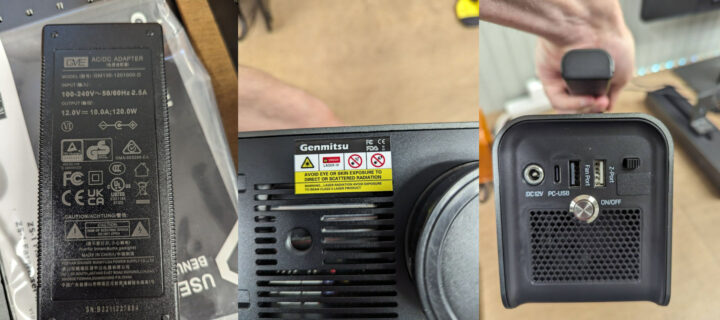
- Power Supply – 12V/10A
- Cooling – Forced Air Cooling
- Engraving Area – 7cm×7cm (2.76”×2.76”)
- Engraving Accuracy – 0.001mm
- Suggested engraving materials – Metal, Opaque Plastic, Materials with Lacquered Finish
- Laser Unit Size – 190×286×313mm (7.48”×11.26”×12.32”)
- Package Size – 55×32.5×18cm (21.65”×12.80”×7.09”)
- Machine Weight – 4.32kg
- Package Weight – 5.9kg
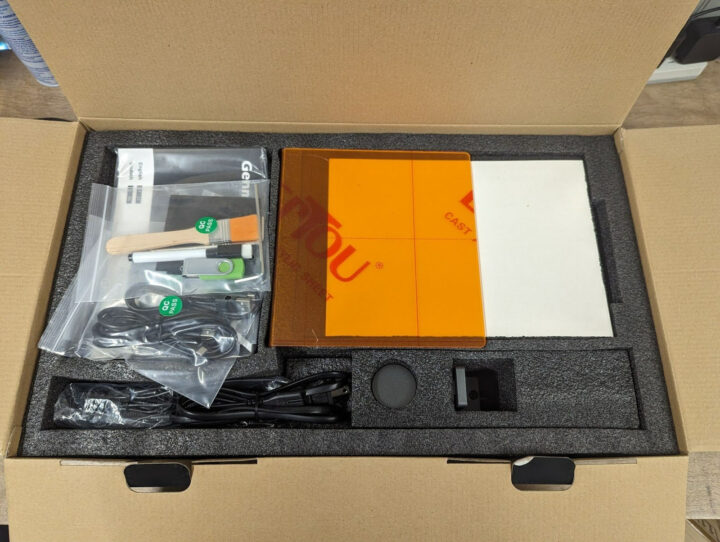
The unit came neatly packaged. A box within a box.
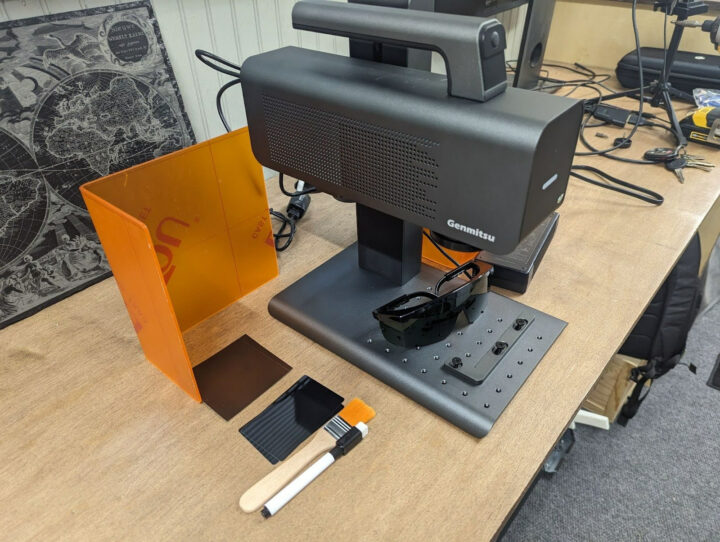
- 1x Laser Module
- 1x Electric Lifting Stand
- 1x Baseboard
- 1x Positioning Plate
- 1x Fixing Knob
- 1x Handheld Support Module With Air Fan
- 1x Acrylic Laser Protective Shield
- 1x DC 12V/10A Power Supply
- 1x USB Drive
- 1x 500mm Length USB Cable For Electric Lifting Stand
- 1x 1500mm Length USB Cable For PC
- 1x Goggles
- 2x Scratch Art Paper, Test Cards, Draft Pieces
- 1x Screw sets, Allen Wrench, Marker Pen, Brush
- 1x User Manual
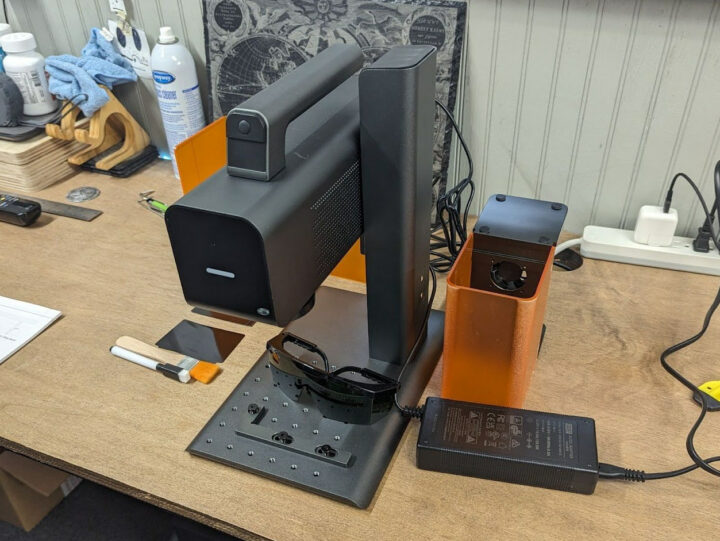
The assembly was quick following the instruction manual and took a few minutes to assemble. There is a big thumb screw to hold the assembly to the electric lifter.
Workflow
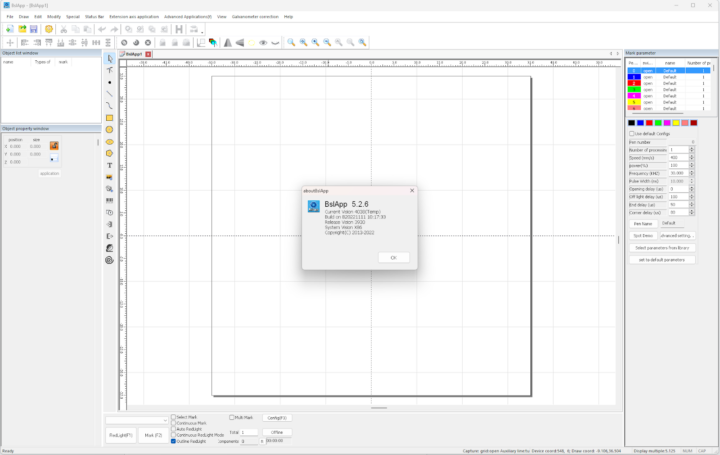
I found the overall process easy and familiar but the user experience is far from perfect. BSLapp is the first-party portable Windows app required to drive the laser. There is a copy on the supplied USB drive as well as a copy available on SainSmart’s website. I don’t know why, but I did a diff of the files and they are not the same. There are differences including some calibration files. I didn’t notice any obvious issues using either version.
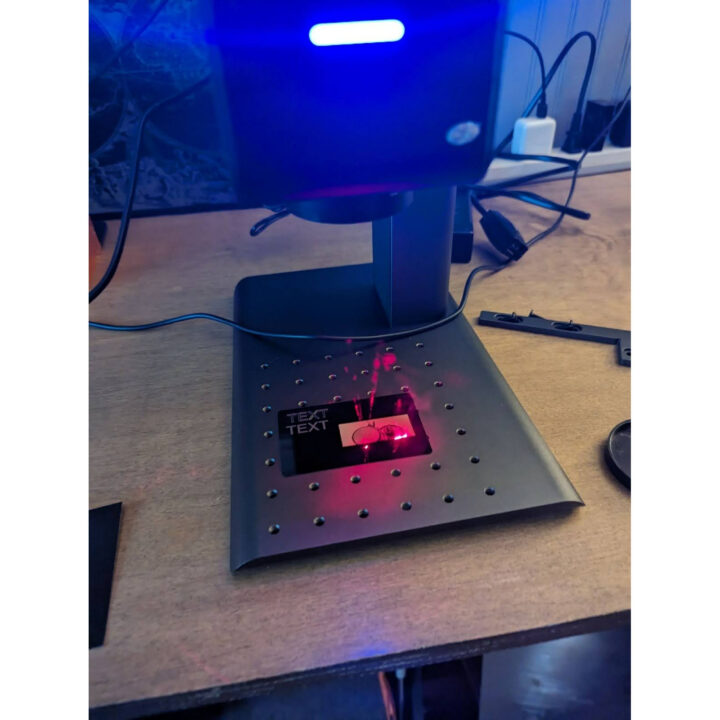
The first step is to bring the laser into focus. Which is pretty simple. There are 2 red laser dots that shine down from the laser head that converge when the machine is in focus. Place the object you want to engrave on the plate. Using the 2 buttons on the gantry adjust the height of the laser engraver. Once the 2 laser dots converge, the machine is in focus. Which is about 155mm away.
Next software. I did not find the software user-friendly but once I figured out the UI, I was able to make it work. I strictly used it for the engraving part. Any design work I did in another app. Inkscape is my go-to for vector graphics and GIMP for photos.
A good amount of my prior experiences with laser engraving still apply. One habit I developed was always testing. However testing is not always feasible. Before the Z5-1, I was horrified by the thought of not testing before doing a final engrave. But I am slowly overcoming this fear with the Z5-1. The small work area coupled with the Galvo laser allows for fast etches and adding more lighter passes seems to be a suitable workflow.
The software shows a lot of different settings but speed is the only setting I adjusted l. I would start 1 pass @ 500mm/s. Not touching or moving the item, I would judge the outcome. From there I would lower the speed and or increase the amount of passes or a combination of both. The only other option I changed is if the infill was hatched or not. You can have horizontal or vertical or both.
Locking up
During my testing, my unit locked up a lot and I had to power cycle the unit to get it back. It was always when I used the outline feature and when the outline was small. I would start the outline and I would have a few seconds to position it before it would lock up. I would turn the unit off. Turn it back on and wait for the software to recognize it again and try again. I suspect my USB is a part of the issue. After removing a USB extension it seemed to lock up less. The unit also refused to work on one of my longer active USB extension cables. I have used it successfully a lot with high-speed devices a lot but for some reason, it would not work with the Z5-1.
CNXSoft: By the way, SainSmart is not allowed to copy this review. You’ve already been caught twice. Please stop. Back to the review…
Let’s mark some stuff up
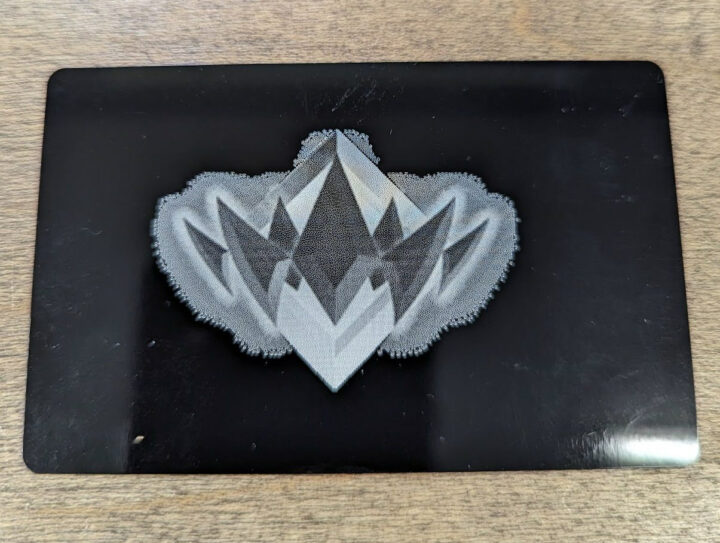
This was my first test. This was confidence building, getting such good results so quickly. Do you know what the picture is?
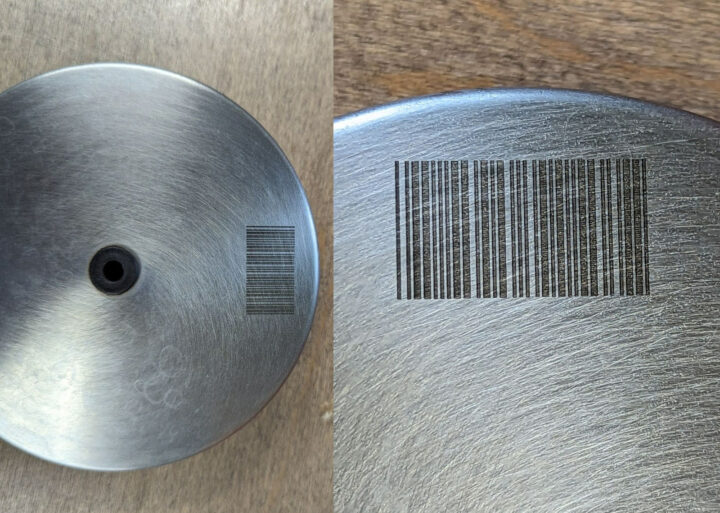
Early etch. Stainless steel French press. I put a random barcode on it to indicate where the pour spout is.
This was my first letdown. Still very early. I think I was too slow and hot for this material.
Here you can see on the left. I was starting off too slow. On the right looks much better…but I probably should have done at least one more pass.
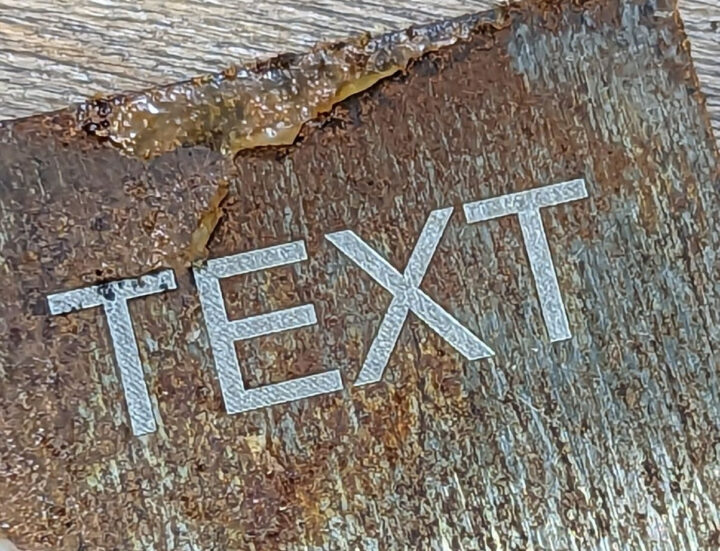
Blasts away rust…
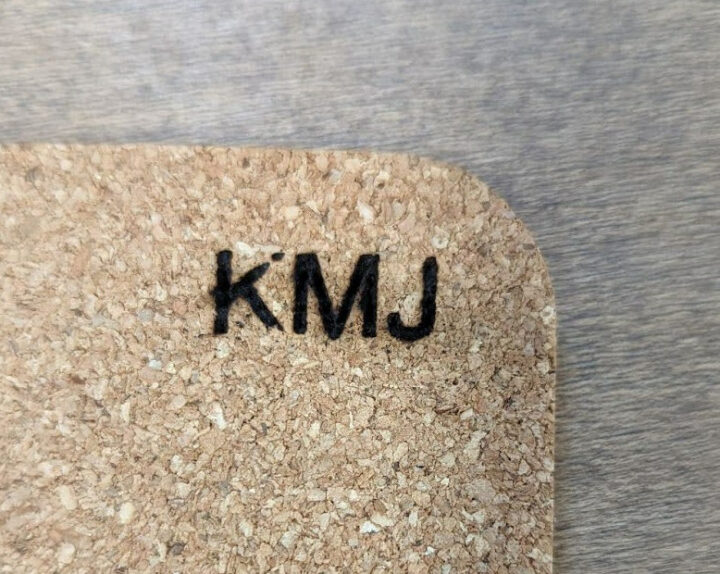
I tried cork. Not so good. I had to run this many passes to get anything…and ended up a sooty mess.
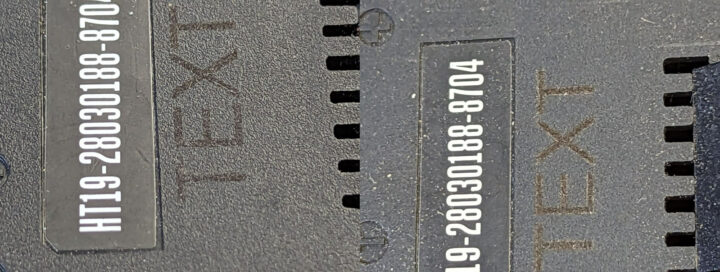
I assume this is steel. Nice marking. Also different plastics…
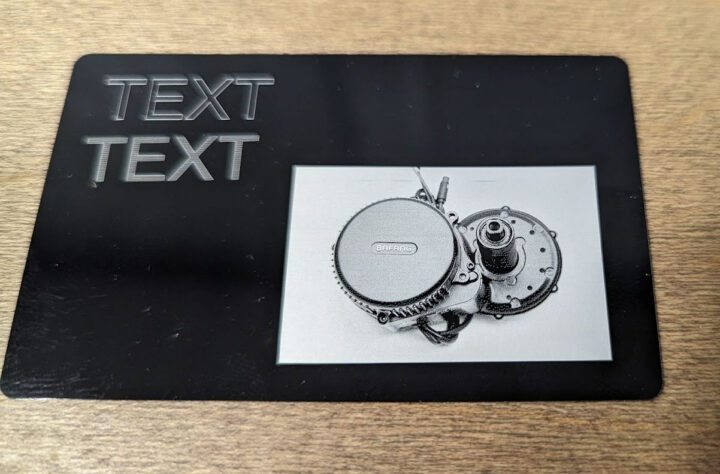
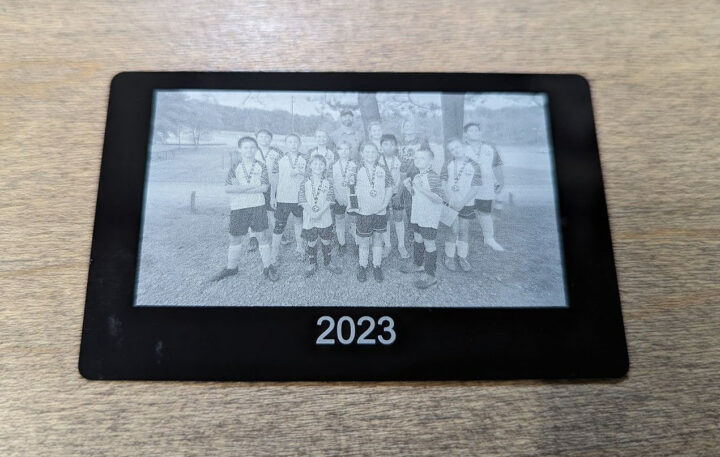
These metal business cards are a dream to etch on.
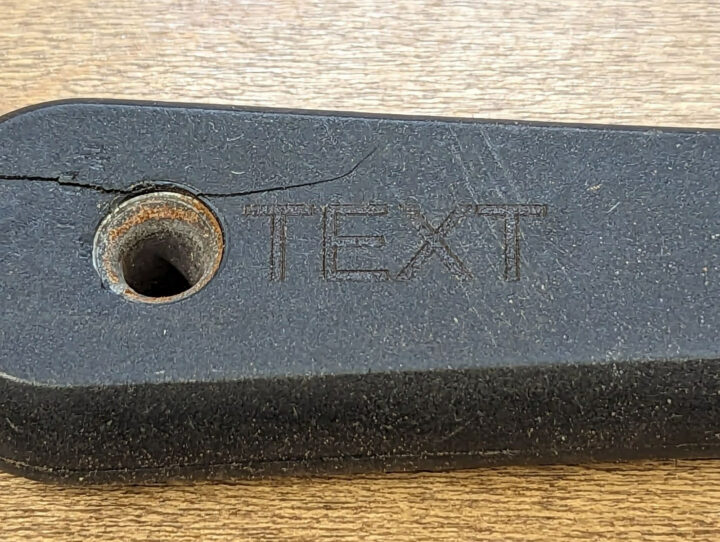
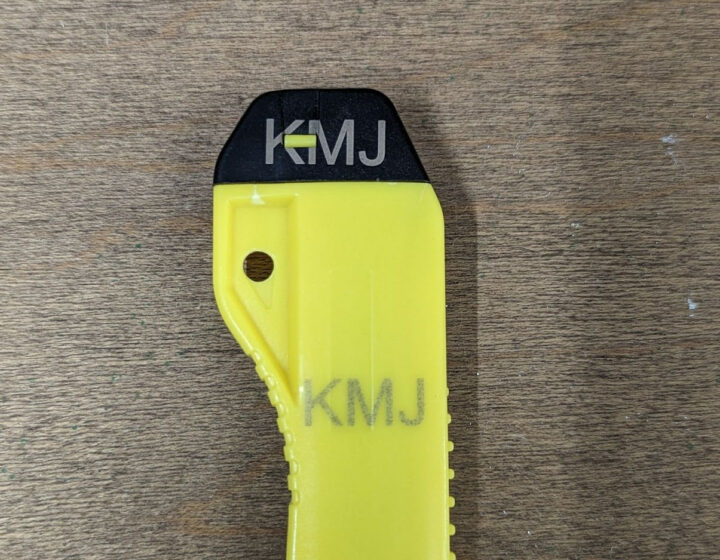
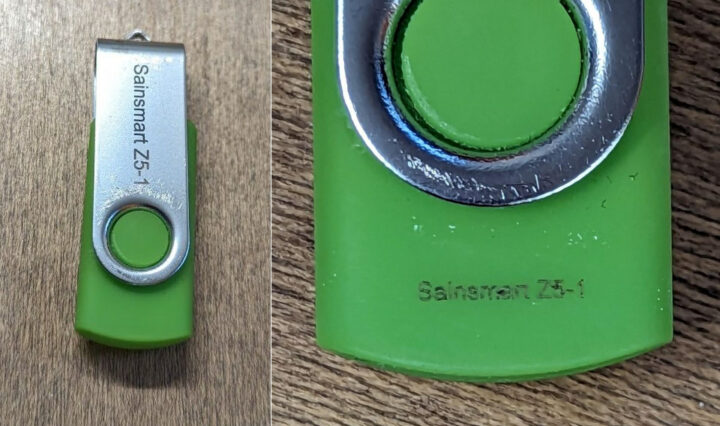
The metal etched well. Plastic did not. The green is a really soft opaque TPU-like material and did not etch well.
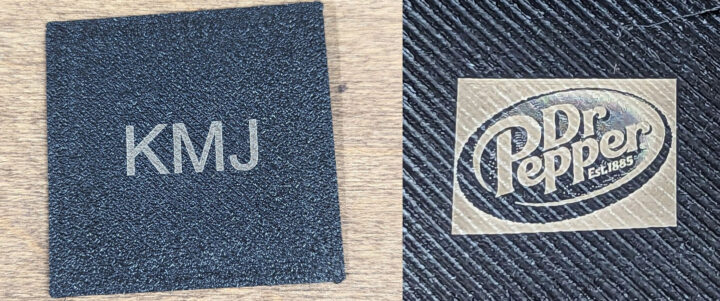
PLA etchs beautifully.
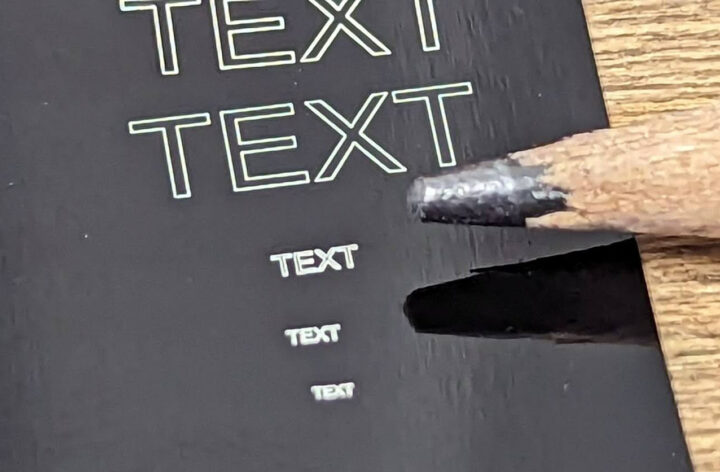
I was impressed. The smallest text is 0.5mm tall.
Wrap up
Lasers are amazing. Add in Galvo and what you have borders on magic. Researching fiber laser engravers in preparation for this review opened my eyes to how they function. I did not realize that larger fiber lasers are constructed with many smaller diode lasers. I did not take this one apart but I suspect this unit has a single 2W diode. 2W infrared diodes seem common. I also found that some of the settings typically adjustable on fiber laser engravers don’t appear to be adjustable on the Genmitsu Z5-1. This might be partially due to using a single diode but that is speculation. I don’t know if this is a bad thing. I appreciate simplicity but can understand the detriment of artificially limiting something.
The Z5-1 was advertised to mark metals and plastics and I had no issues engraving on any of the advertised materials.
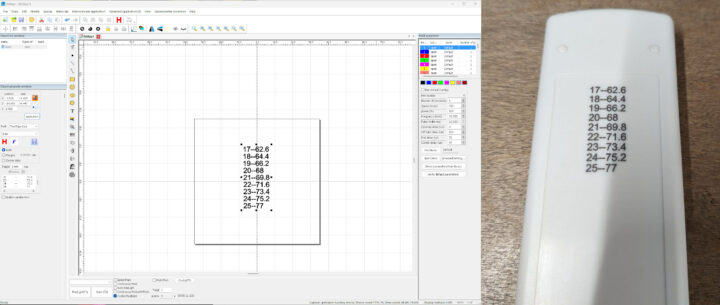
I am curious. How would you use the Genmitsu Z5-1? I like to think of it as a permanent label maker. As I am wrapping this up, I did one last etch and it came out great. I had to replace my remote for my mini split and didn’t realize you can get aftermarket remotes in C or F. So I etched a conversion chart on the back and it took 3 minutes and 1 lockup.
If you are interested in picking one up. The Genmitsu Z5-1 is available for $1200 on the company’s store, but you’ll also find it on Aliexpress (only in some European countries) and on Amazon.

Karl is a technology enthusiast that contributes reviews of TV boxes, 3D printers, and other gadgets for makers.
Support CNX Software! Donate via cryptocurrencies, become a Patron on Patreon, or purchase goods on Amazon or Aliexpress


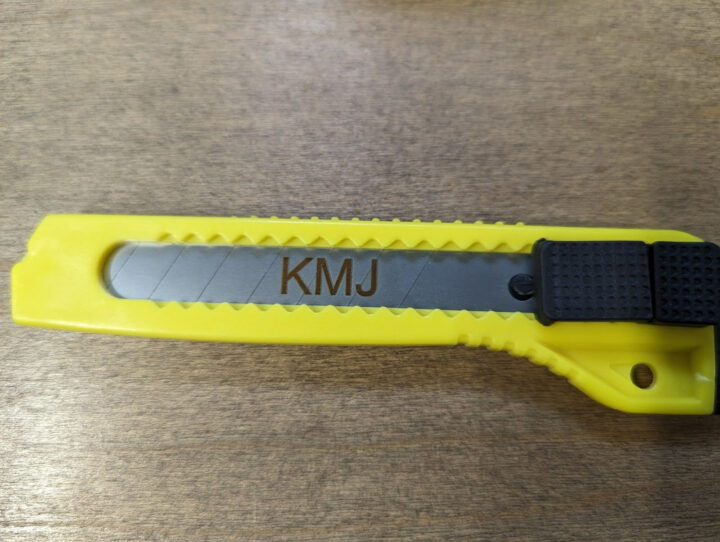


You really need 20W to be useful for engraving metals. Steel utility knife blades are a good cheap disposable material to practice and get your settings right. 1064nm fiber lasers work great on steel, titanium and anodized aluminum. They work less well on raw aluminum and copper or brass, probably because of their higher thermal conductivity, you’d need a more powerful laser.
I’ve long been hesitating about fiber lasers. I don’t think I would have a use case. They seem very fast and very precise, I guess the only use I would have would be to make dual-sided PCBs with good precision. I’ve already done PCBs on which I soldered 0.5mm pitch chips with my blue laser, but that’s really the limit, etching paint at less than 0.1mm resolution is too difficult. Based on your 0.5mm text, I think it would just be a child’s play. But still the paint thickness becomes the limiting factor for precision.
I’ve also been wondering if it would be feasible to cut paste stencils in 0.1mm thick steel with the fiber laser, because that can start to become very interesting 😉 My blue one allows to etch small holes in thin materials but the edges are a bit rough. I could do it for the green varnish protection, but I cannot cut metal cleanly, some parts punch holes and others are left unaffected. I tried to paint aluminum, engrave the paint and etch with FeCl3. It’s violent, but gets the job done, although extremely dirtily with spiky edges.
An yes, I too love the painted business cards for experimentation, they’re really cool and render photos nicely 😉
This looks cool. But too extensive for m’y budget 🙁
I want to use it to engrave / etch metal such as wrenches and other tools. Many are chrome plated. Will this work?
Yes you can.
Thank you.