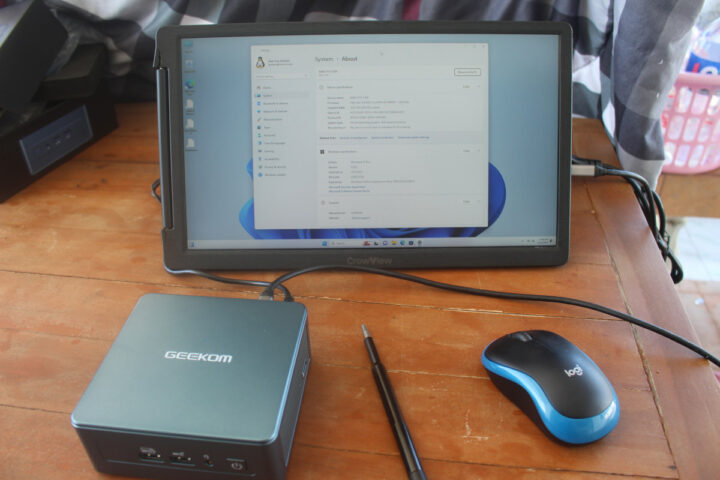
GEEKOM Mini IT13 is a powerful 13th gen Raptor Lake mini PC that was unveiled last August with either an Intel Core i9-13900H, Core i7-13700H, or Core i5-13500H processor, up to 32GB RAM, 2TB NVMe, and interfaces such as HDMI 2.0, USB4, 2.5GbE, and so on.
The company has sent us a review sample of the Mini IT13 mini PC equipped with a Core-i9 14-core processor, 32GB RAM, and a 2TB NVMe SSD. We’ll start the review with an unboxing, a teardown to check the hardware design and upgradability of the device, and quickly try out to boot the system with the pre-installed Windows 11 Pro. But let’s go through the specifications before that.
GEEKOM Mini IT13 specifications
- SoC – Intel Core i9-13900H 13th Gen Raptor Lake processor with 14 cores, 20 threads up to 5.40 GHz, 24MB Cache, Iris Xe graphics; TDP: 45W
- System Memory – Dual-channel DDR4-3200 SODIMM, supports up to 64GB
- Storage
- M.2 2280 PCIe Gen 4 x4 SSD, support up to 2TB
- M.2 2242 SATA SSD slot, expandable up to 1TB
- 2.5-inch SATA HDD (7mm) slot, expandable up to 2TB
- SD card reader
- Video Output – 2x HDMI 2.0 ports, DisplayPort via USB4 ports
- Audio – 3.5mm audio jack, digital audio via HDMI
- Networking
- 2.5GbE RJ45 port
- Wi-Fi 6E and Bluetooth 5.2 via Intel AX211 module
- USB
- 2x USB4 ports (40 Gbps)
- 3x USB 3.2 Gen 2 ports (10 Gbps)
- 1x USB 2.0 port
- Misc – Power button, Kensington lock slot
- Power Supply – 19V, 6.32A via DC jack
- Dimensions – 117 x 112 x 49.2mm
- Weight – 652 grams
Unboxing
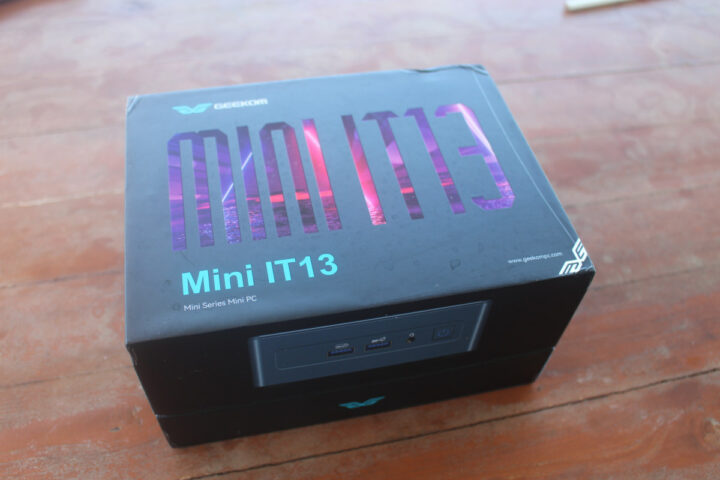
We received the mini PC in a retail box that was slightly mistreated by the courier…
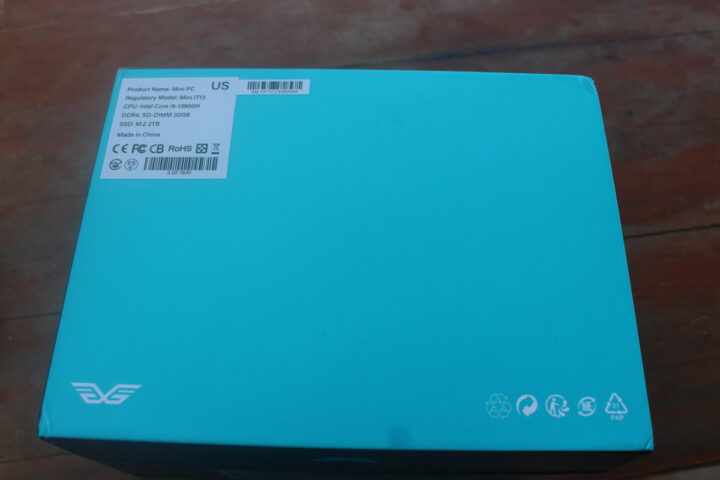
The key specs can be found on the bottom of the package, and you may want to check them out before opening the package to confirm you received the right configuration. In our case, we got a Mini IT13 with an Intel Core i9-13900H CPU, 32GB DDR4, and a 2TB M.2 SSD as expected.
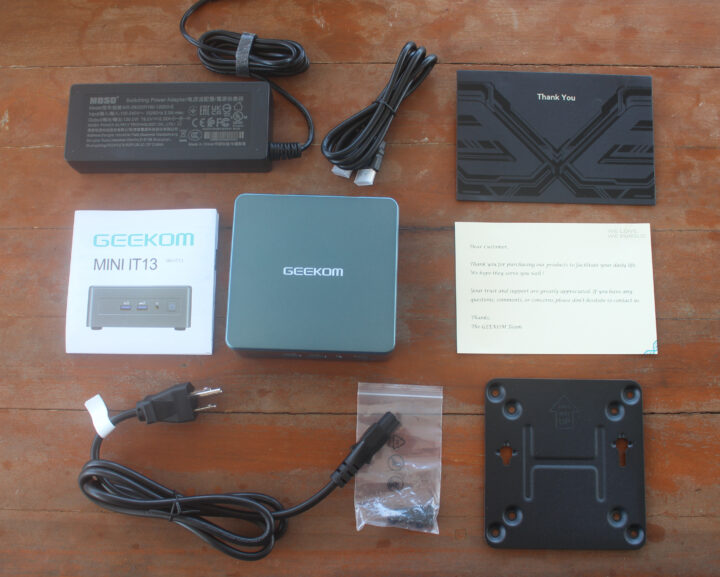
The Mini IT13 comes with a rather large 120W power brick with power cord, an HDMI cable, a Thank You card, a user guide, a VESA mount, and a set of screws.
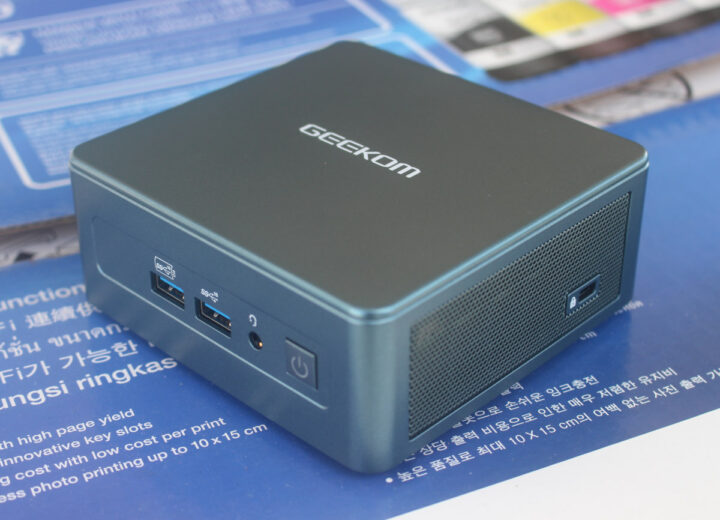
The front panel comes with two USB 3.2 Gen 2 ports capable of 10 Gbps, a 3.5mm headphone jack, and a power button. I appreciate that the USB port capabilities are clearly marked, and besides the 10 Gbps speed, the logo on the left port also indicates support for power delivery (USB PD). A Kensington lock slot and ventilation holes can be found on the right side of the mini PC.
The rear panel features a 19V DC jack, two HDMI 2.0 ports, a 2.5GbE RJ45 jack, a USB 2.0, another 10 Gbps USB 3.2 Gen 2 port, and two USB4 ports with speeds of up to 40 Gbps and DisplayPort Alt. mode support.
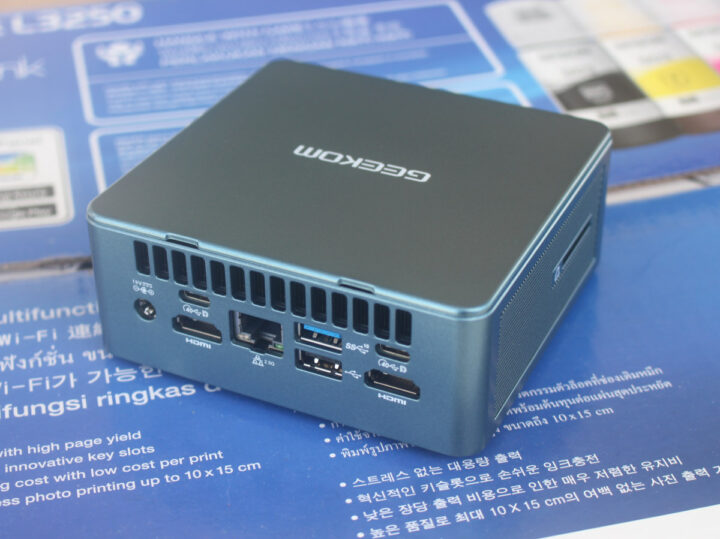
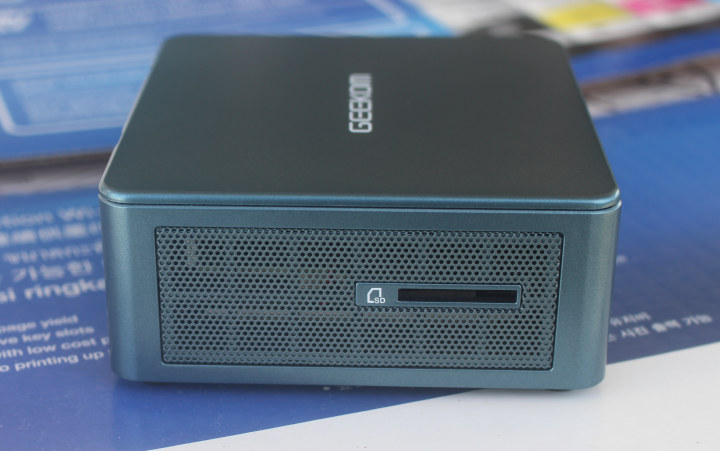
The other side of the mini comes with a full-size SD card slot and more ventilation holes.
GEEKOM Mini IT11 teardown & SATA drive installation
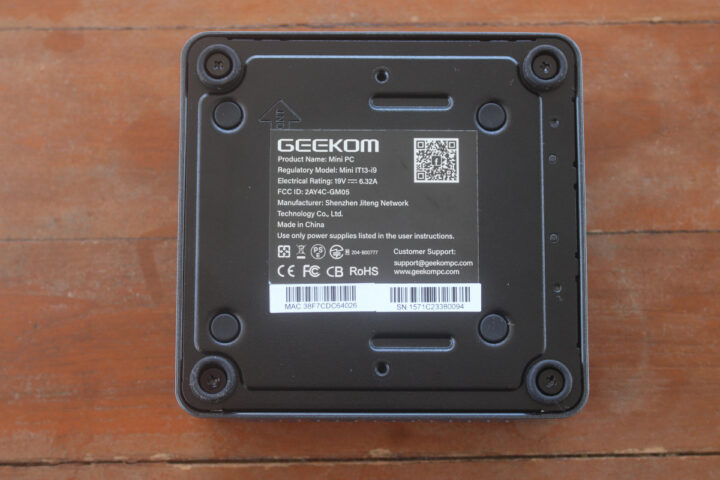
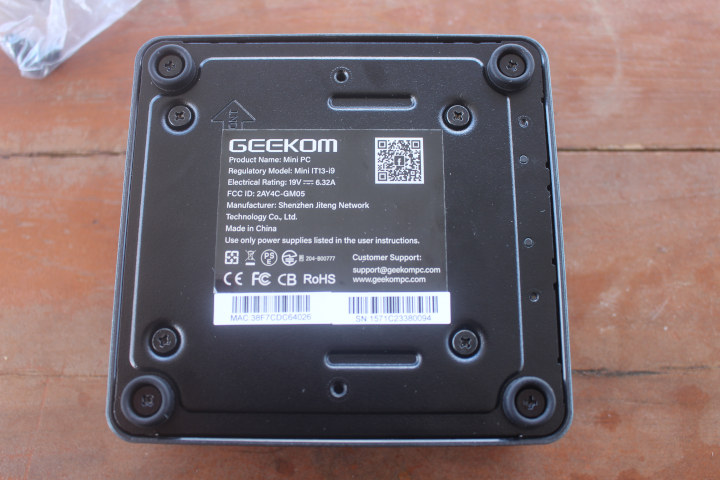
Like some other GEEKOM mini PCs we’ve reviewed, the MINI IT13 is designed to be opened for memory, storage, or wireless upgrades. We’ll need to loosen the four screws on the bottom cover to remove it and access the mainboard.
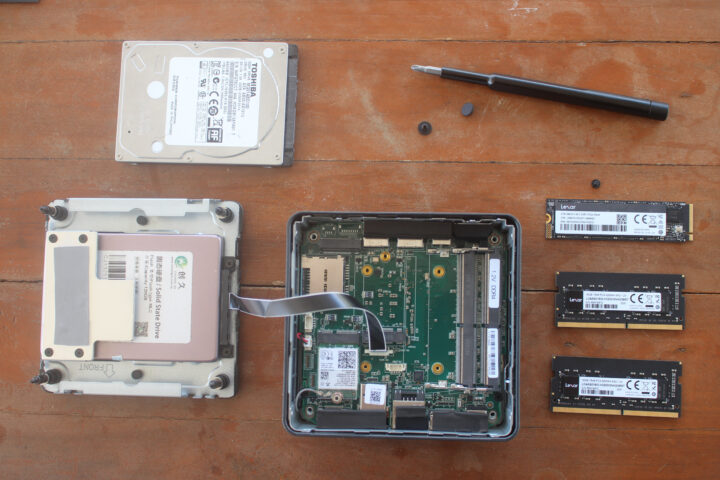
The top of the cover comes with a SATA slot for drives up to 7mm thick, and we see two DDR4 memory sticks and an M.2 SSD installed as well.
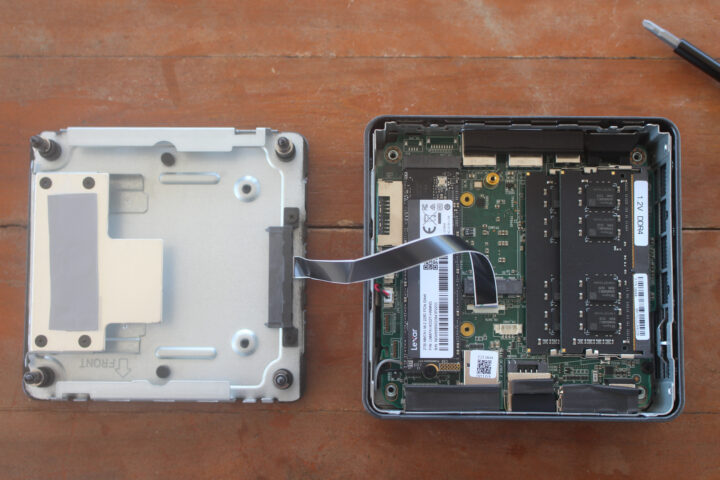
When I first tried to install a Toshiba hard drive it felt like it was too thick, so I switched to a SATA SSD instead. I also removed the M.2 SSD and memory sticks to have a closer look at them which also revealed the Intel AX211 WiFi 6E and Bluetooth 5.3 module under the M.2 SSD.
The M.2 SSD is a Lexar NM7A1 with 2TB capacity (but does not show up on the Lexar website), and the memory is comprised of two 16GB Lexar LD4AS016G sticks at 3,200 MHz. There’s also a spare M.2 2242 SATA socket that I did not use since I don’t have an M.2 SATA SSD in that form factor.
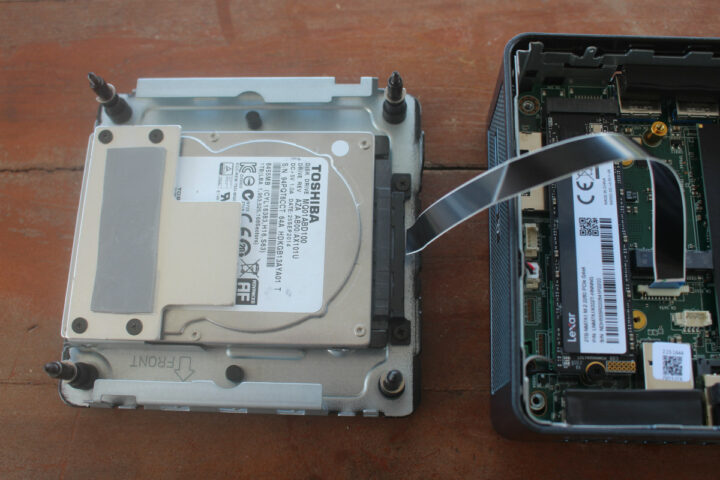
Eventually, I managed to insert the Toshiba hard drive. The issue was not height, but the width is quite tight, and I even had some difficulties inserting the thinner SATA SSD. Time to pack everything back together.
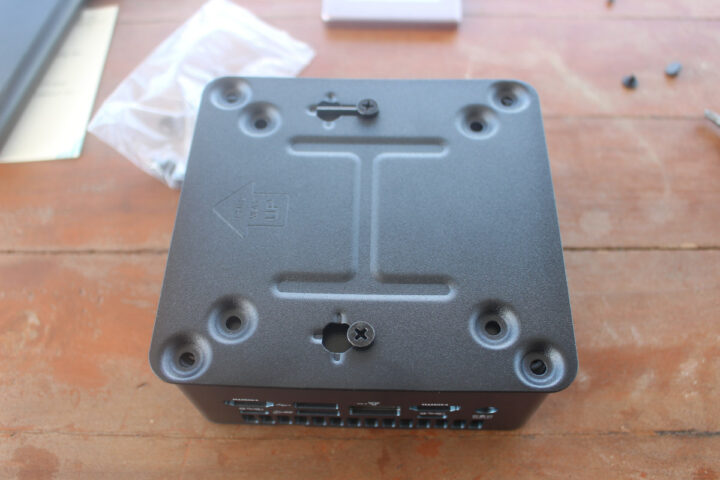
I used four more screws from the set provided with the mini PC to secure the hard drive. The remaining screws are the VESA mount. Two special screws can be fitted to the bottom cover and used to slide the mini PC into the VESA mount.
First boot to Windows 11 Pro
For a quick try, I connect the mini PC to a USB-C display using a single cable for power and video, an RF dongle for a wireless mouse and keyboard, and the power adapter. The first boot was slightly odd, as after pressing the power button, nothing showed up for the first few seconds (around 10 seconds). But then I got to the GEEKOM boot logo before going through the (painful) Windows 11 Pro setup wizard, connecting to the WiFi 6 router, and finally accessing the desktop after Windows has finished “preparing” the OS.
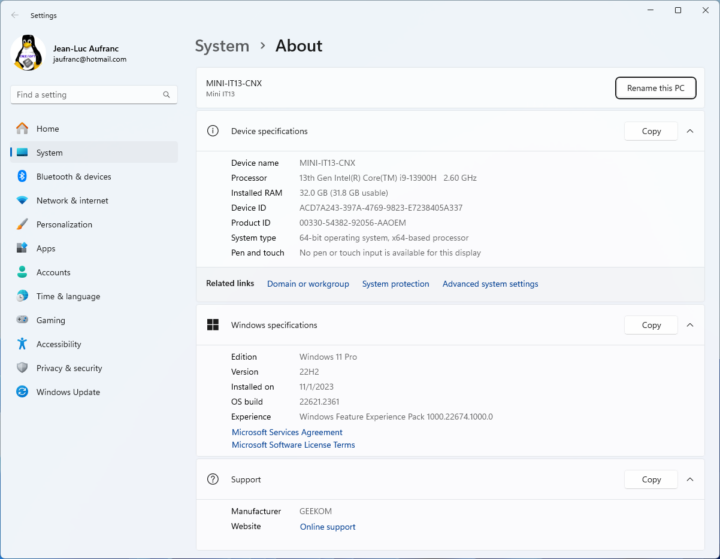
A quick look at the System->About section confirmed we have a 13th Gen Intel Core i9-13900H processor with 32GB RAM running an activated version of Windows 11 Pro.
That will be all for today. I’ll do further testing in Windows 11 Pro in the second part of the review, before switching to Ubuntu 22.04 to test Linux on the MINI IT13 mini PC.
I’d like to thank GEEKOM for sending the Mini IT13 mini PC for review. The company sells the device for $789 on its online store where you can use the coupon code cnxsoftware40 to get a $40 discount, as well as on Amazon with the $40 discount coupon code A2MVLVHK.
Continue reading:
- GEEKOM Mini IT13 Review – Part 2: An Intel Core i9-13900H mini PC tested with Windows 11 Pro
- GEEKOM Mini IT13 review – Part 3: Ubuntu 22.04

Jean-Luc started CNX Software in 2010 as a part-time endeavor, before quitting his job as a software engineering manager, and starting to write daily news, and reviews full time later in 2011.
Support CNX Software! Donate via cryptocurrencies, become a Patron on Patreon, or purchase goods on Amazon or Aliexpress


