CrowVision is an 11.6-inch IPS capacitive touchscreen display with 1366×768 resolution that is designed to work not only with the Raspberry Pi but most single board computers with mounting holes within a 100 x 80 mm rectangle.
Elecrow sent me a sample so I’ll try it out with a Raspberry Pi, a Windows 11 mini PC, and a Ubuntu 22.04 laptop to make sure it works well with those operating systems.
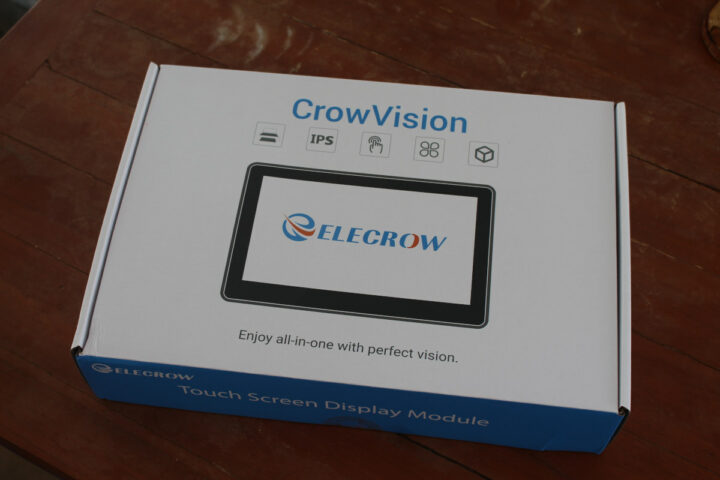
CrowVision unboxing
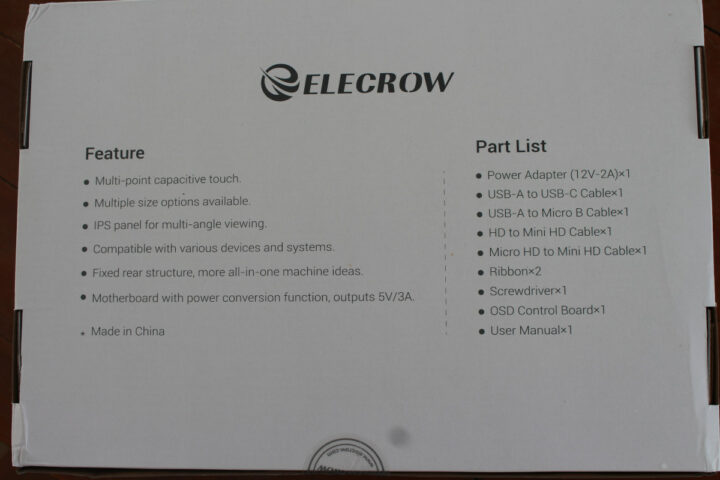
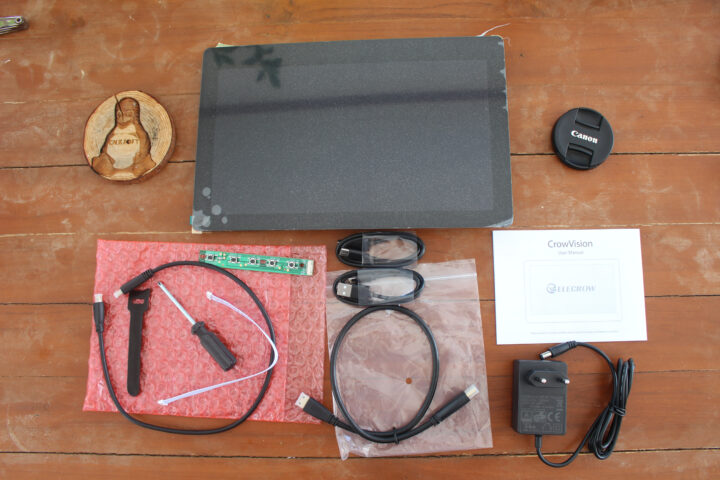
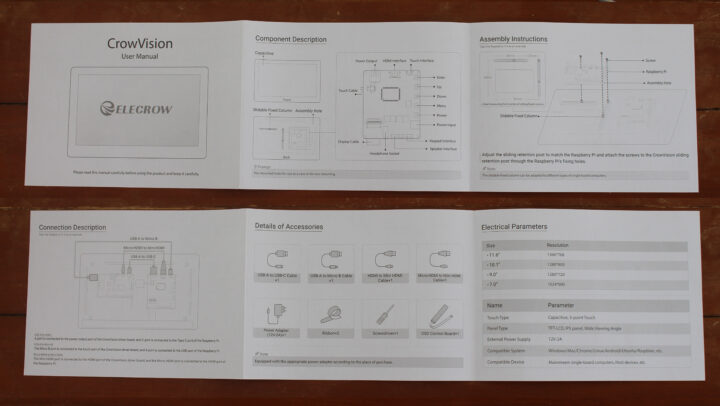
The packages include the display module itself, a 12V/2A power adapter, USB Type-C and micro USB cables, an HDMI to mini HDMI cable, a micro HDMI to mini HDMI cable, two “ribbons” for cable management, a screwdriver, an OSD control board with five keys, and a user manual.
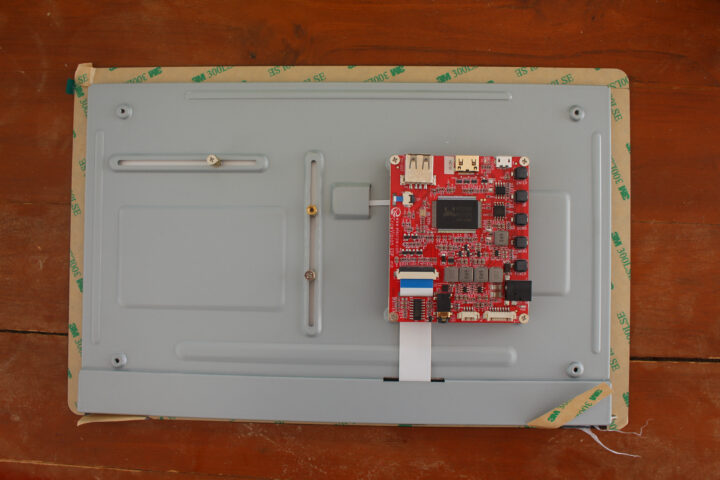
The display does not come with an enclosure, so it’s better suited for DIY projects where users design their own enclosure or mounting solution. The control board is based on a Realtek RTD2556 display controller, and mounting for the single board computer is comprised of three threads and screws that I slide around the X and Y axis.
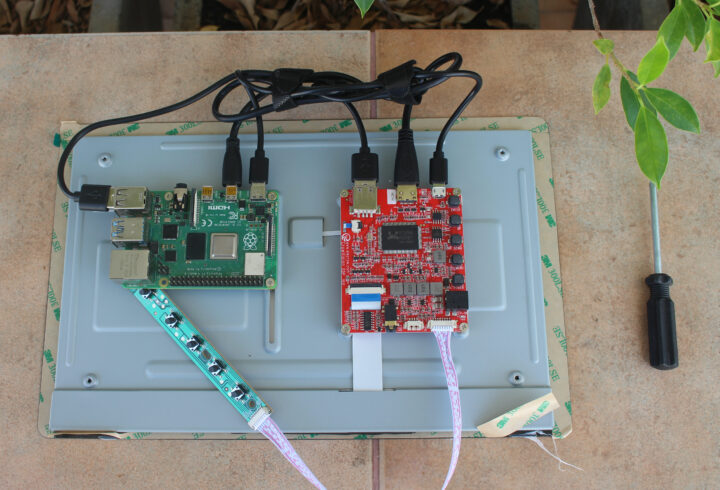
Mounting the Raspberry Pi 4 to the CrowVision display module
Mounting a single board is rather straightforward and after securing the board with the three screws, we can connect a micro USB to USB cable for the touchscreen, a mini HDMI to micro HDMI cable for video output, and a USB to USB-C cable for power. Versatility comes at the cost of having a cable mess even after using the ribbons. If you are mostly going to use Raspberry Pi boards then a solution like the “RPI All-in-One Touchscreen Display” will offer a much neater and portable solution.
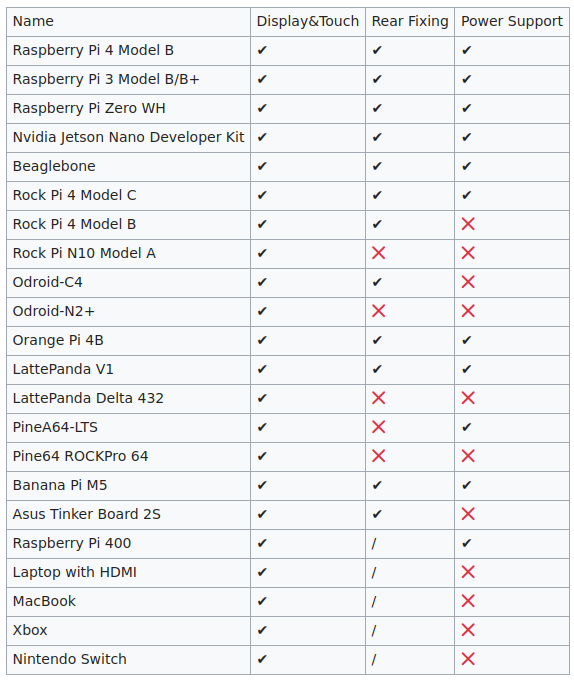
In theory, we could install any SBCs within the supported dimensions, but we also have to take into account the control board can only output 5V/3A, which will not be enough for some models and you’ll need an additional power supply. Elecrow tested a bunch of single board computers and other computing devices showing which ones can be mounted and powered directly by the CrowVision.
Testing CrowVision with Windows 11, Ubuntu 22.04, and Raspberry Pi OS
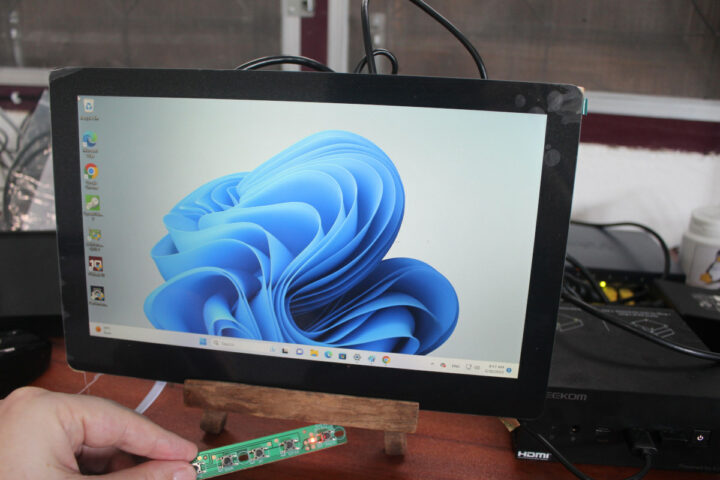
While I’m preparing a microSD card with Raspberry Pi OS, I’ve connected the CrowVision to HDMI and USB ports of a Windows 11 mini PC.
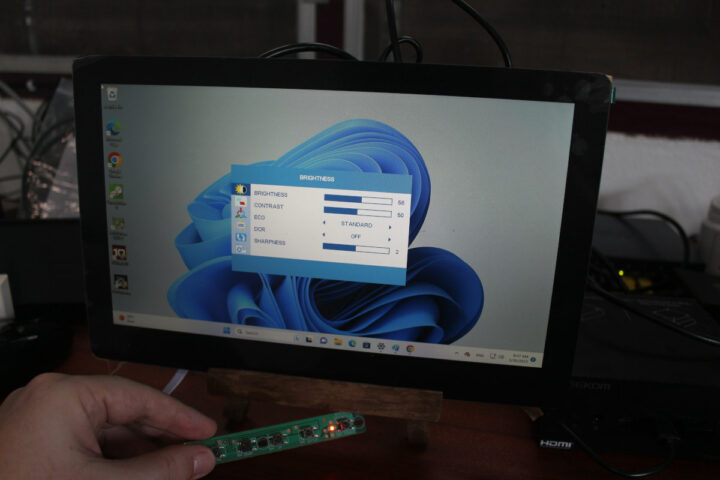
The small keypad is used to bring up the OSD.
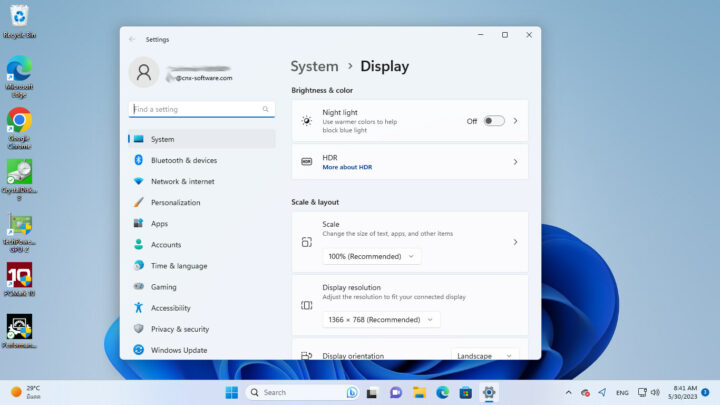
The display is correctly detected as having a 1366×768 resolution…
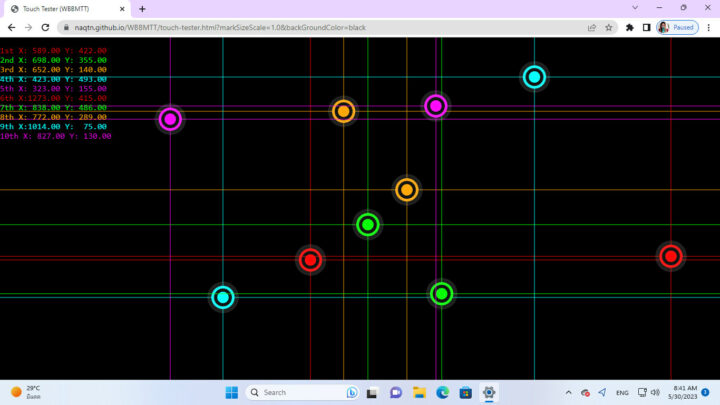
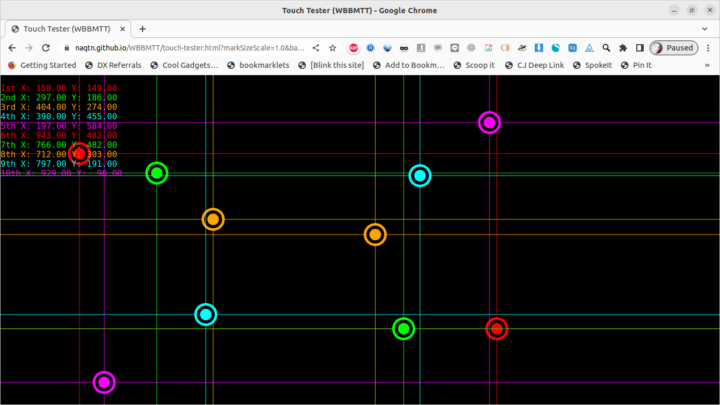
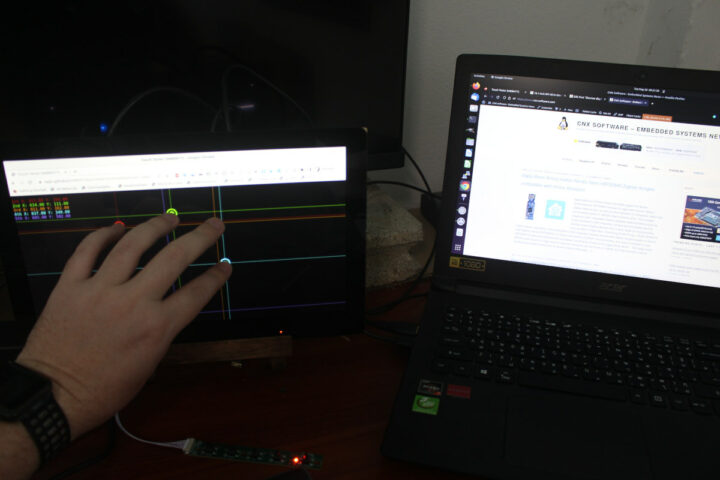
and multi-touch is working, but WBBMTT touch tester has some funny behavior since we could get 10 points or even 11 points, for a display that’s supposed to only handle 5-point capacitive touch. We can also move more than five fingers with WBBMTT and it’s not only with static taps…
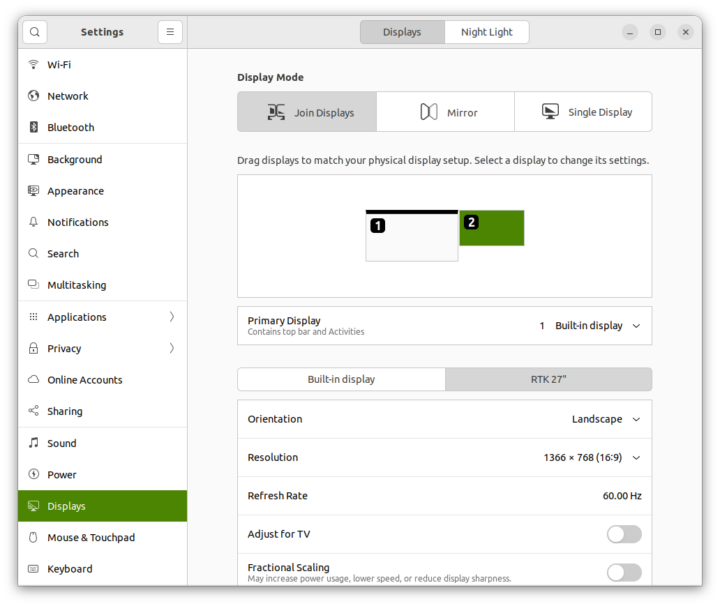
The next test for the review was to connect the CrowVision display module to a laptop running Ubuntu 22.04, and it’s detected as the “RTK 27″” display with 1366×768 resolution.
There was just one small issue with the touchscreen events being reported on the laptop’s display instead of CrowVision. I have the same issue with the RPI All-in-One display, and the fix is not difficult.
First, we need to get information about USB touch in dmesg by removing and inserting the USB cable.
|
1 2 3 4 5 6 7 8 |
[ 1293.305732] usb 1-1: new full-speed USB device number 4 using xhci_hcd [ 1293.476005] usb 1-1: New USB device found, idVendor=0457, idProduct=0819, bcdDevice= 0.01 [ 1293.476019] usb 1-1: New USB device strings: Mfr=1, Product=2, SerialNumber=0 [ 1293.476023] usb 1-1: Product: SiS HID Touch Controller [ 1293.476027] usb 1-1: Manufacturer: Silicon Integrated System Co. [ 1293.494210] input: Silicon Integrated System Co. SiS HID Touch Controller as /devices/pci0000:00/0000:00:08.1/0000:04:00.3/usb1/1-1/1-1:1.0/0003:0457:0819.0007/input/input38 [ 1293.494531] input: Silicon Integrated System Co. SiS HID Touch Controller Mouse as /devices/pci0000:00/0000:00:08.1/0000:04:00.3/usb1/1-1/1-1:1.0/0003:0457:0819.0007/input/input40 [ 1293.494880] hid-multitouch 0003:0457:0819.0007: input,hiddev1,hidraw5: USB HID v1.11 Mouse [Silicon Integrated System Co. SiS HID Touch Controller] on usb-0000:04:00.3-1/input0 |
There’s a Silicon Integrated SiS HID Touch Controller and Touch Controller Mouse. We can now run xrandr to find out the display name (HDMI-A-0), and xinput to gets the IDs of the touch controller.
|
1 2 3 4 5 6 7 8 9 10 11 12 13 14 15 16 17 18 19 20 21 22 23 24 25 26 27 28 29 30 31 32 33 34 35 36 37 38 39 40 |
jaufranc@cnx-laptop-4:~$ xrandr Screen 0: minimum 320 x 200, current 3286 x 1080, maximum 16384 x 16384 HDMI-A-0 connected 1366x768+1920+0 (normal left inverted right x axis y axis) 597mm x 336mm 1366x768 60.00*+ 1280x720 60.00 59.94 1024x768 60.00 800x600 60.32 720x480 60.00 59.94 640x480 60.00 59.94 eDP connected primary 1920x1080+0+0 (normal left inverted right x axis y axis) 344mm x 193mm 1920x1080 60.01*+ 1680x1050 60.01 1280x1024 60.01 1440x900 60.01 1280x800 60.01 1280x720 60.01 1024x768 60.01 800x600 60.01 640x480 60.01 jaufranc@cnx-laptop-4:~$ xinput --list ⎡ Virtual core pointer id=2 [master pointer (3)] ⎜ ↳ Virtual core XTEST pointer id=4 [slave pointer (2)] ⎜ ↳ Logitech Wireless Keyboard PID:4023 id=13 [slave pointer (2)] ⎜ ↳ Logitech Wireless Mouse id=14 [slave pointer (2)] ⎜ ↳ SYNA7DB5:01 06CB:CD41 Mouse id=15 [slave pointer (2)] ⎜ ↳ SYNA7DB5:01 06CB:CD41 Touchpad id=16 [slave pointer (2)] ⎜ ↳ Silicon Integrated System Co. SiS HID Touch Controller Mouse id=20 [slave pointer (2)] ⎜ ↳ Silicon Integrated System Co. SiS HID Touch Controller id=21 [slave pointer (2)] ⎣ Virtual core keyboard id=3 [master keyboard (2)] ↳ Virtual core XTEST keyboard id=5 [slave keyboard (3)] ↳ Acer Wireless Radio Control id=6 [slave keyboard (3)] ↳ Power Button id=7 [slave keyboard (3)] ↳ Video Bus id=8 [slave keyboard (3)] ↳ Video Bus id=9 [slave keyboard (3)] ↳ Power Button id=10 [slave keyboard (3)] ↳ Sleep Button id=11 [slave keyboard (3)] ↳ VGA WebCam: VGA WebCam id=12 [slave keyboard (3)] ↳ AT Translated Set 2 keyboard id=17 [slave keyboard (3)] ↳ Acer WMI hotkeys id=18 [slave keyboard (3)] ↳ Logitech Wireless Keyboard PID:4023 id=19 [slave keyboard (3)] |
We can now map the touchscreen controller to HDMI-A-0:
|
1 2 |
$ xinput --map-to-output 20 HDMI-A-0 $ xinput --map-to-output 21 HDMI-A-0 |
And everything works as expected.
Let’s go back to the Raspberry Pi 4 SBC now that Raspberry Pi OS has been flashed to our microSD card. I did not change anything, but contrary to my experience with Windows 11 and Ubuntu 22.04, the display is not rendering properly on the Raspberry Pi.
I went to the wiki, but at this time there’s no information about configuring Raspberry Pi OS for the CrowVision. I asked Elecrow and they told me to edit config.txt and change the line:
|
1 |
dtoverlay=vc4-kms-v3d |
to:
|
1 |
dtoverlay=vc4-fkms-v3d |
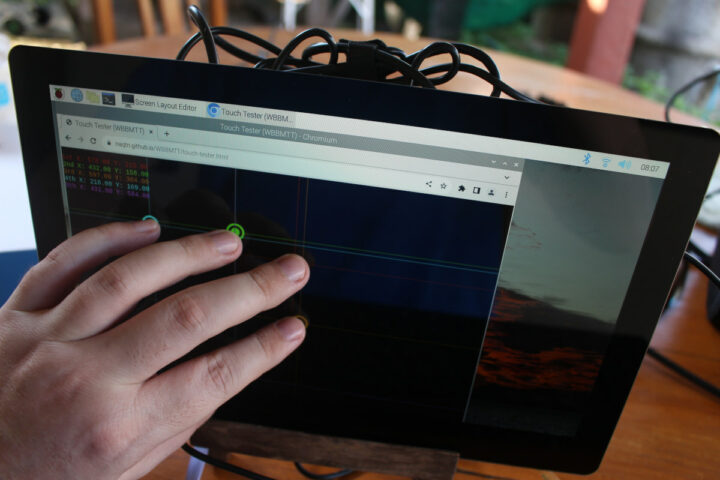
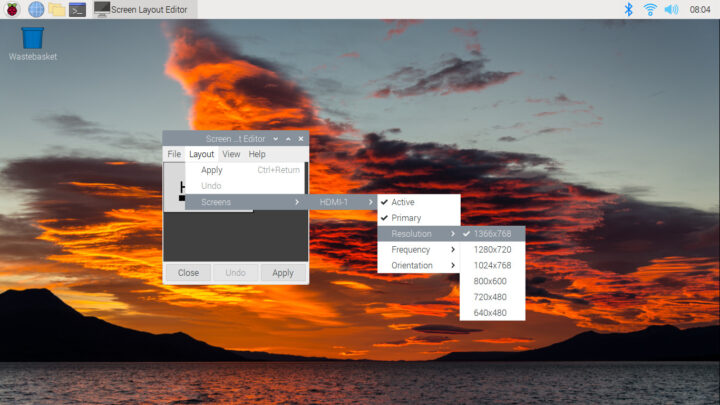
That means we need to revert to the legacy VC4 FKMS V3D graphics driver since the new KMS driver in Raspberry Pi OS Buster does not seem to work. After changing this line, the display is working…
… and the display resolution is correctly set to 1366×768.
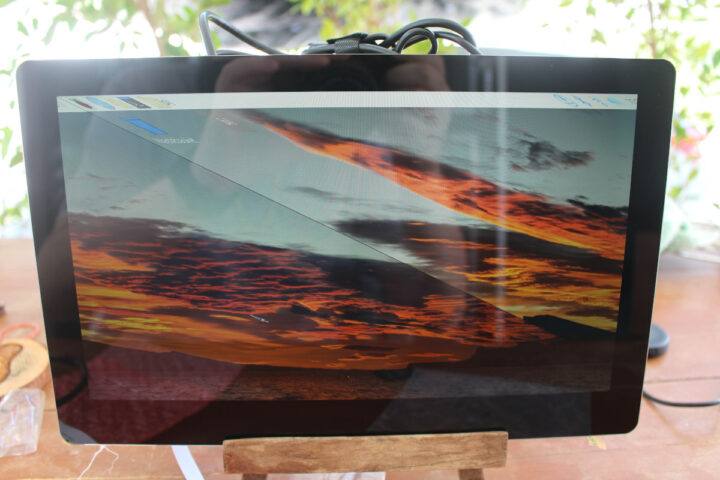
Note that the display is glossy and reflective, and when I used it outdoors the viewing angle was not very wide, but the specifications list a 178° viewing angle.
3D enclosure and bracket
I was a little disappointed that the display does not come with an enclosure, but the company said the CrowVision is made for DIY projects. People who don’t have to design their own enclosure can print a shell and bracket and Elecrow shared the OBJ files with me.
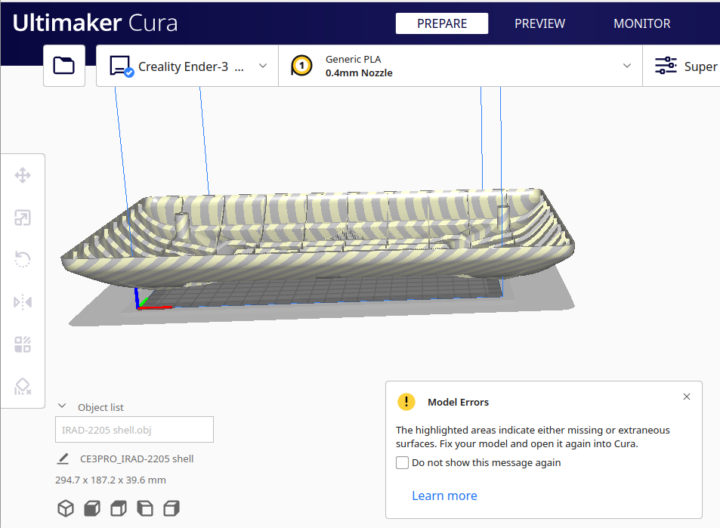
But when I loaded the file into Ultimaker Cura some errors were reported, and the Creality Ender-3 S1 Pro does not have a sufficient build volume, so I’d need a larger 3D printer, or modify the design into two parts.
The provided case requires a printer that can print an object in a 294.7 x 187.2 x 39.6 mm volume, and the Ender-3 S1 Pro is limited to 220 x 220 x 270mm.
Conclusion
My experience with the Elecrow CrowVision display module was relatively straightforward with the touchscreen display working well in Windows 11, Ubuntu 22.04, and Raspberry Pi OS, although I had to edit config.txt for the latter. Mounting support for multiple single board computers is also an interesting feature, but it’s not perfect due to power and dimensions requirements.
But the display module is not for everyone since there’s no enclosure, and you are expected to print the enclosure and/or bracket or design your own. The 11.6-inch display can be purchased for $119.90 on Elecrow store.

Jean-Luc started CNX Software in 2010 as a part-time endeavor, before quitting his job as a software engineering manager, and starting to write daily news, and reviews full time later in 2011.
Support CNX Software! Donate via cryptocurrencies, become a Patron on Patreon, or purchase goods on Amazon or Aliexpress




Stuff like this is always much more expensive than buying a whole mini laptop or chromebook with a similar sized display. Tablets are also more expensive than chromebooks. I have no idea why that is, since there is less stuff in them. It would be great to see a low cost monitor of this sort, but I’ll reserve judgment. Lots of these crowdfunding things go nowhere anyway.
Economies of scale, and the OEM laptops, Chromebooks, and tablets will be sold at steep price cuts when it’s time to get rid of them. Not usually the case for tiny crowdfunded products.
I’m not sure about tablets being significantly more expensive than Chromebooks. Discounting Amazon Fire tablets which are subsidized, Lenovo and Samsung tablets will dip into the $80-200 range and those are just the name brands. I haven’t seen many good cheap Chromebook deals lately, although it’s time to ignore all the 4 GB RAM ones.
More on topic, I’d like to see more tablets with display-in capability so they could be repurposed as displays when they are obsolete but not broken. Bonus points if the battery can be removed, and it can still work. Flawless victory if display, touch, and power could be handled by a single USB-C cable.
has some one a good source for an eight inch display with at least 800px height
Gotta get that multitouch firmware comfy for when the plasma and other 4k displays come along, I guess. Proof up the field sun brollies. Get it grooving along with erm, untethered AR viewers and NFC.