Earlier this year, I received the Creality Ender-3 S1 Pro 2-in-1 3D printer & laser engraver and in the first part of the review, I showed the package content and how to assemble the system either to use it as a 3D printer or a laser engraver, but didn’t start it at the time.
I’ve now had time to play with both laser engraving (less luck with cutting) and 3D printing, so I’ll report my experience in the second part of the review.
Creality Ender-3 S1 Pro laser engraving
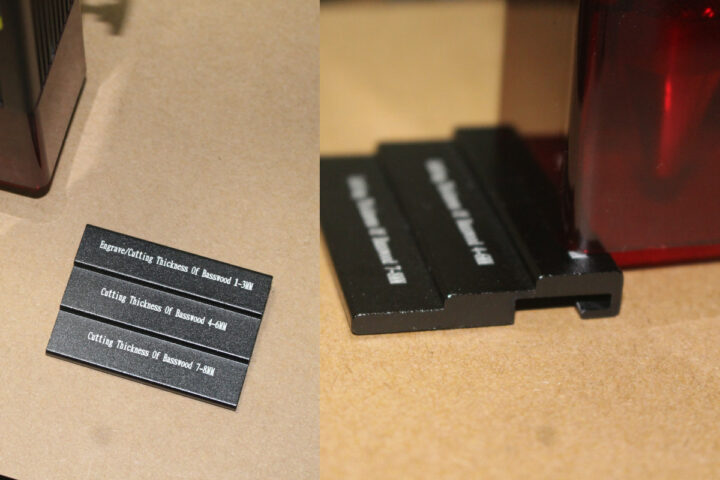
Since in the last part of the review I had the 10W laser module installed on the 3D printer, I decided to start the testing with laser engraving and cutting. Contrary to the TwoTrees TS2 laser engraver I reviewed last year, the Creality Ender-3D S1 Pro laser engraving kit does not support autofocus, so I used the provided multi-level fixed-focus bar part of the package to manually adjust the Z axis before engraving or cutting.
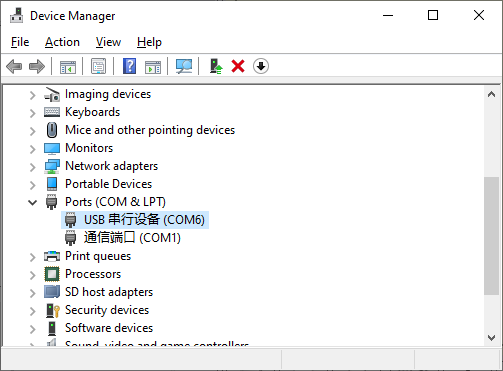
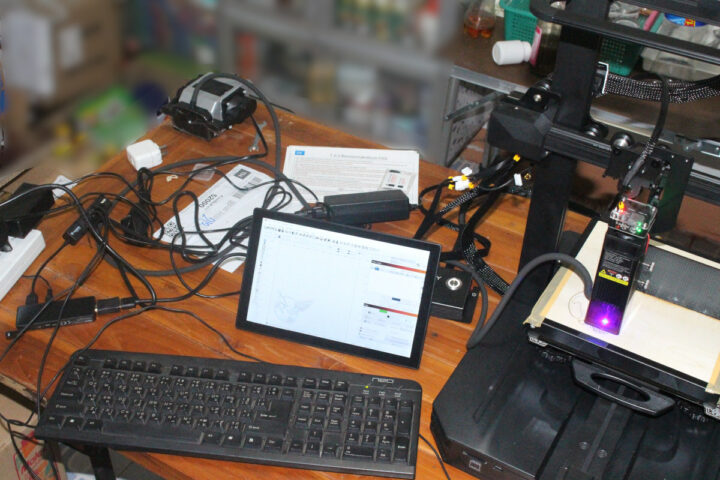
I connected the Creality Falcon controller to my entry-level (Bay Trail) MeLE PCG01 mini PC running Windows 10 like in the TS2 review, and the controller was properly detected on COM6.
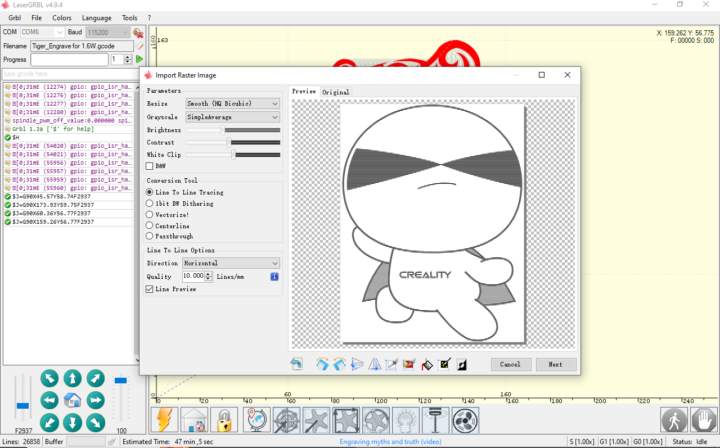
I then fired up the LaserGRBL program to import the Tiger_Engrave for 1.6.W.gcode found in the microSD card shipping with the kit.
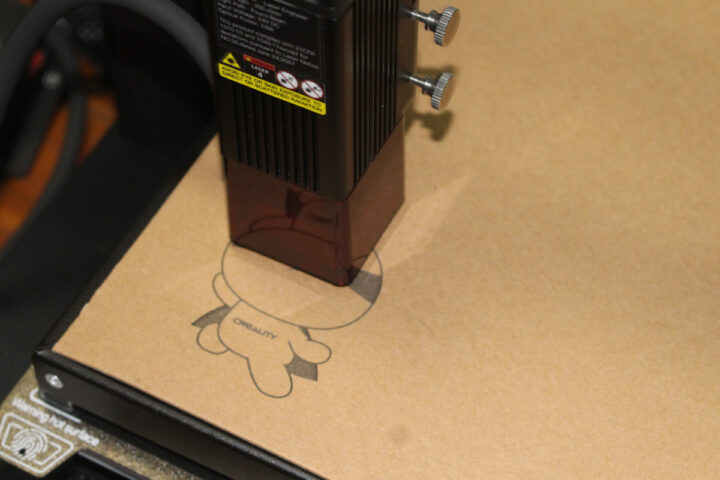
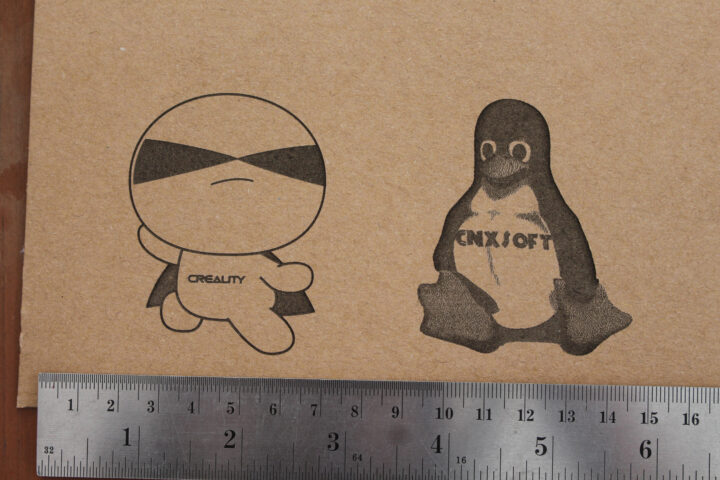
Then started the engraving on cardboard with 40% laser power and 3000mm/m speed.
It worked well, so I repeat the test with CNX Software logo. The cardboard appears to have moved for the latter, so you can see a small shift.
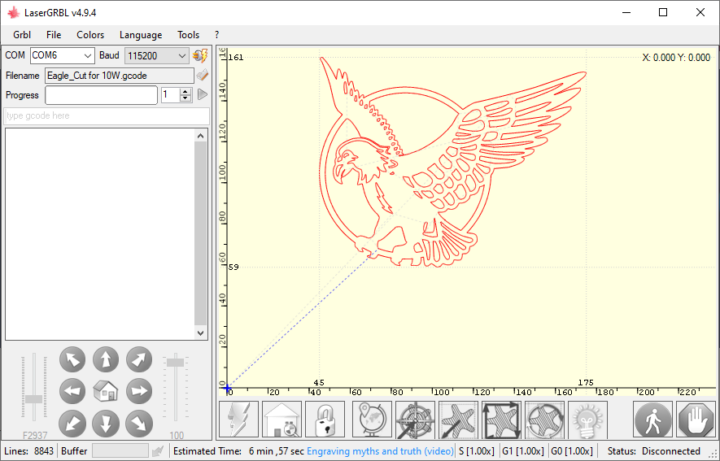
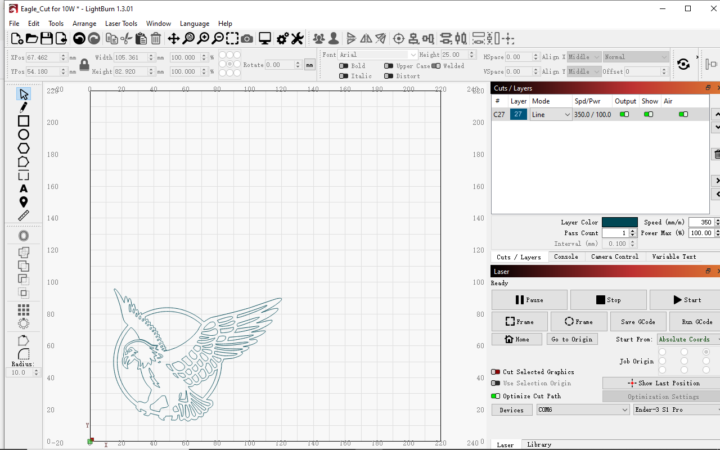
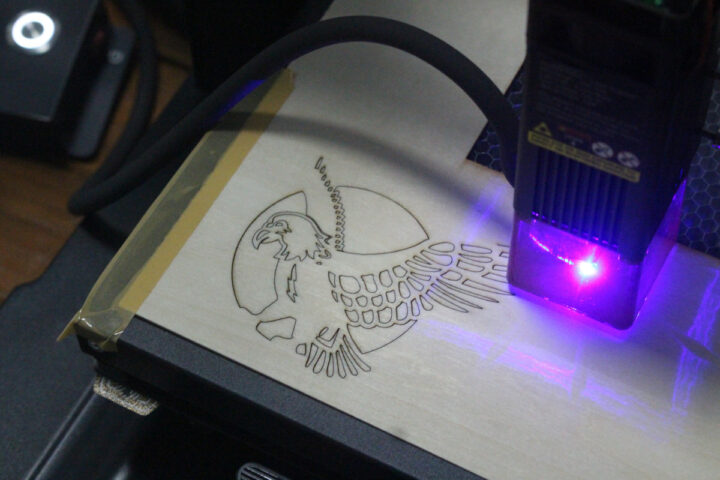
I then switched to laser cutting using some of the spare plywood I had from the TS2 review and the “Eagle_Cut for 10W.gcode” sample found in the microSD card.
It looks OK, but the sample was good big for the piece of plywood I have. I could not find any way to resize G-code in LaserGRBL, and none of the tools I found online would work properly, so I ended up installing the trial version of LightBurn, and resizing was a breeze since all I needed to do was to adjust of the design with the mouse.
Then I started up the air assist to prevent burns on the plywood and started the print with the recommended settings 350mm/m and 100% power.
It looks all good, until I realized it would just be engraving and not cutting the plywood.
After several contacts with Creality, trying to set the speed to 200mm/m, and sending them a few videos to confirm I didn’t do something wrong, they determined the laser must be faulty, and I was promised a replacement laser module. So I paused the review focusing on other hardware reviews while waiting for a replacement. But after waiting for close to two months, I decided to carry on and switch to the 3D printer mode.
3D printing with the Creality 3D Ender-3 S1 Pro
So I removed the laser module, disconnected the mounting part, and remove the cabling to the Creality Falcon laser module controller, before mounting the 3D printing head and reconnecting all cables. After over two months, I had kind of forgotten the procedure, but it ended up taking just 5 to 10 minutes to convert the Ender-3 S1 Pro from being a laser engraver back to a 3D printer. Not too bad, although I worry cables or/and connectors may become damaged if this is done too often.
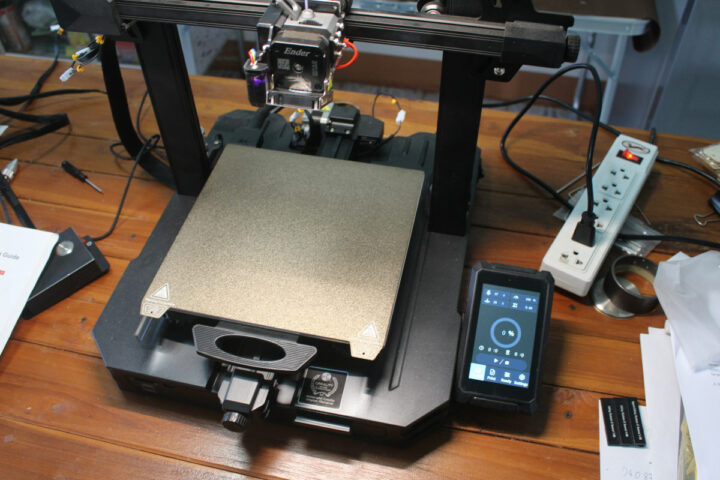
Once we press the power switch on the back right of the 3D printer the light at the top of the printer turns on to illuminate the working area, and the controller starts.
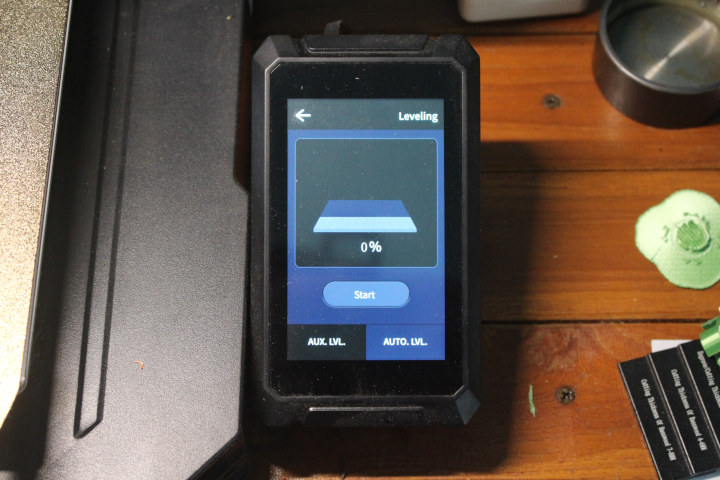
The first step is to level the 3D printer. The Creality Ender-3 S1 Pro supports auto-leveling so that’s quite straightforward.
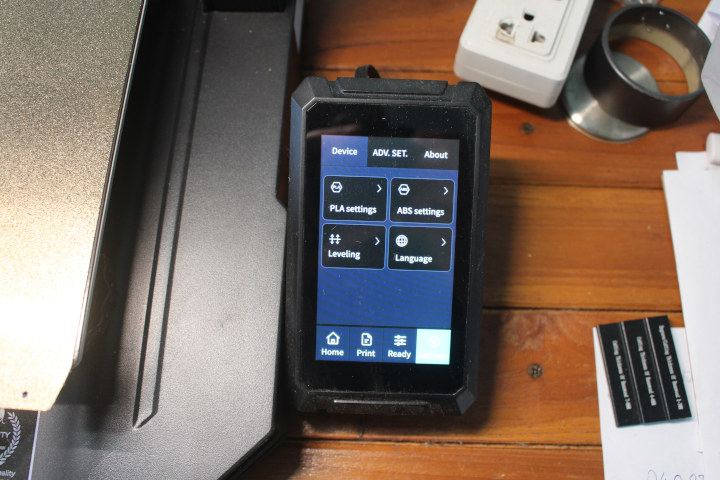
First, tap on Settings, then Leveling, and the auto-leveling UI will show up, at which points we can tap on Start.
The process takes a few minutes. You can watch the process in the accelerated video below.
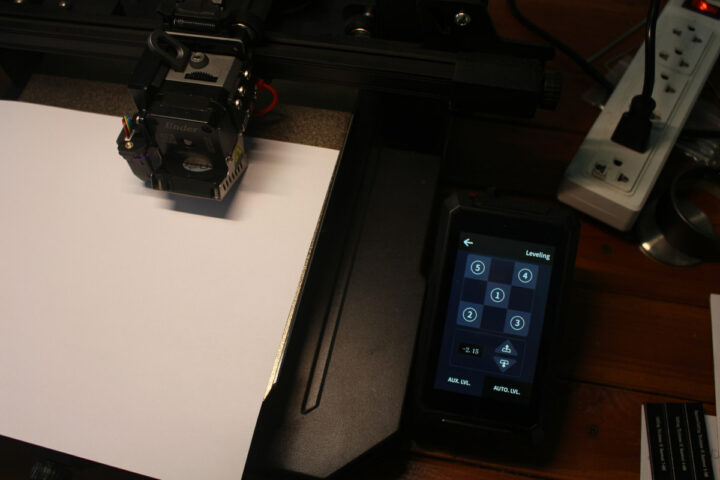
Once it is complete, we can tap on the back arrow on the top left corner of the touchscreen display, and adjust the Z-axis compensation by placing an A4 paper on the printing bed and modify the value until the sheet of paper can be pulled with a slight resistance.
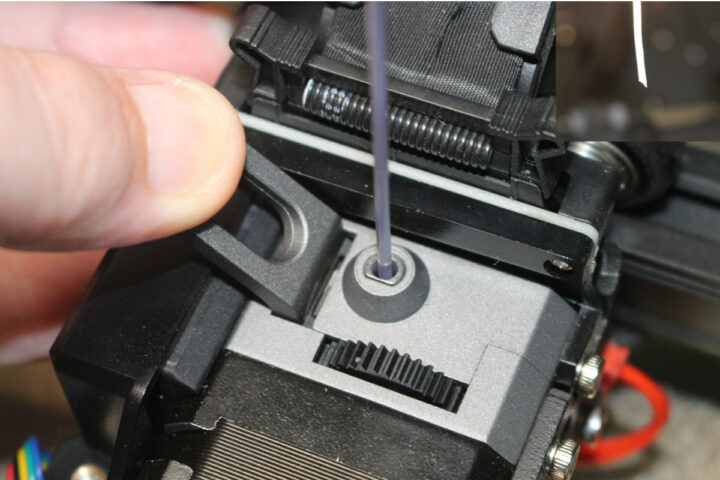
We can now go back to the main menu, It’s time to install the filament roll, cut the edge at a 45-degree angle, pass the filament through the filament detector, and press the extruder handle (as shown in the photo below) to load the filament into the extruder hole until it reaches the nozzle. In practical terms that means inserting the filament until your hit something.
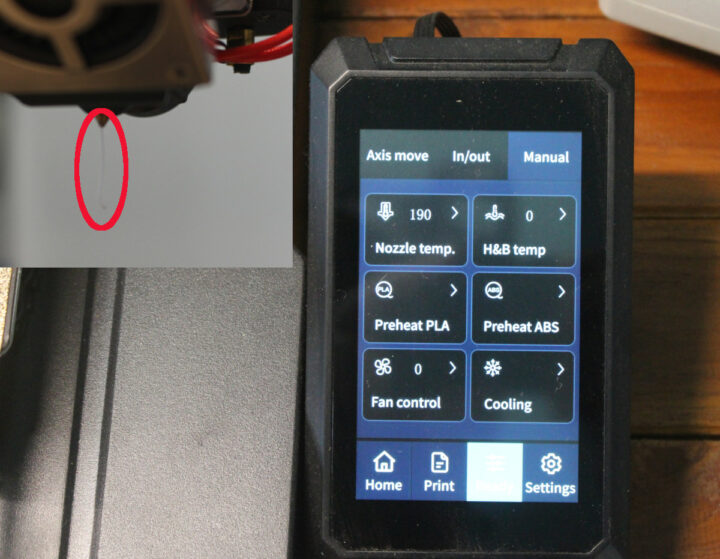
We can now go the Ready menu, Manual section to adjust the nozzle temperature to 190-200°C. If we can see the filament flow out, then all good!
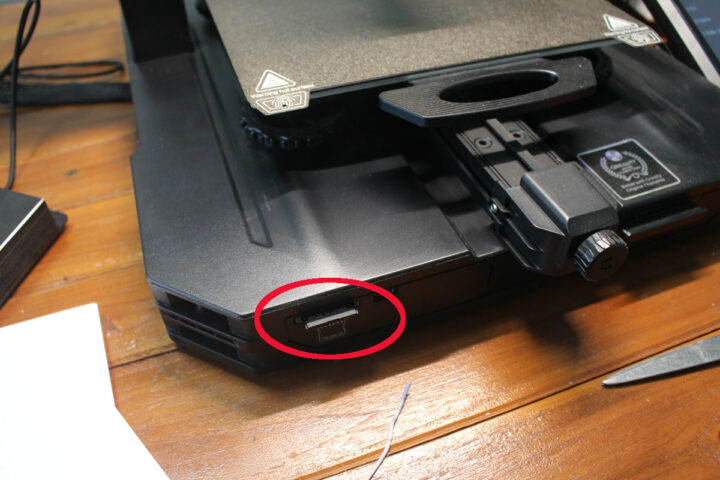
For the first test print, I inserted the provided SD card into the printer.
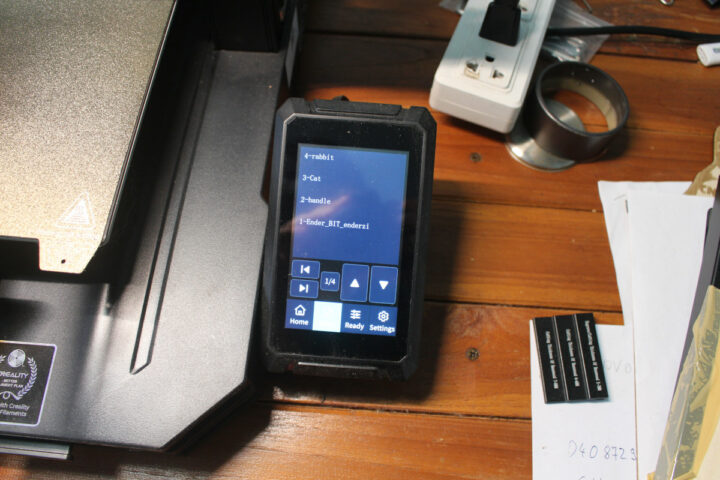
It has four samples
I went with the Cat sample for the first try.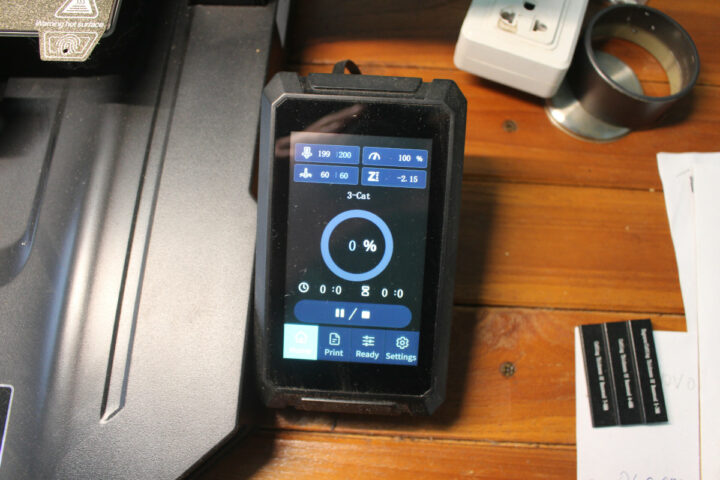
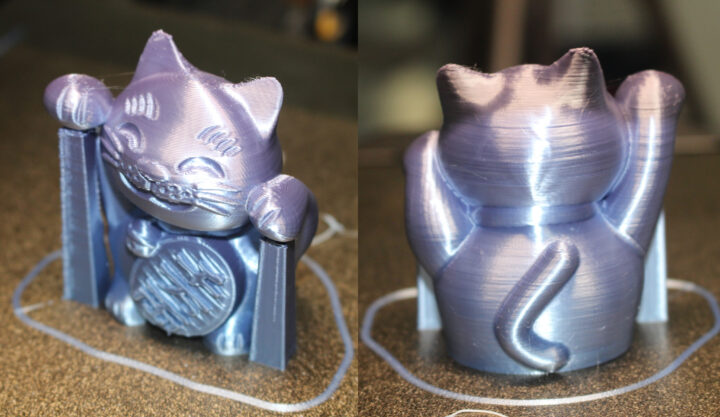
It worked reasonably well also it took longer than I would have expected for a small sample (about 5-6cm high): 3 hours and 16 minutes.
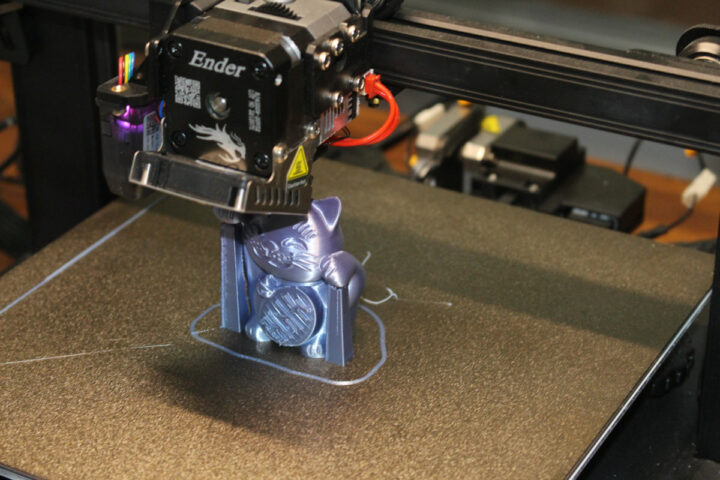
This is what it looks like while still on the printing bed, and before removing the support columns and cleaning the sample in water.
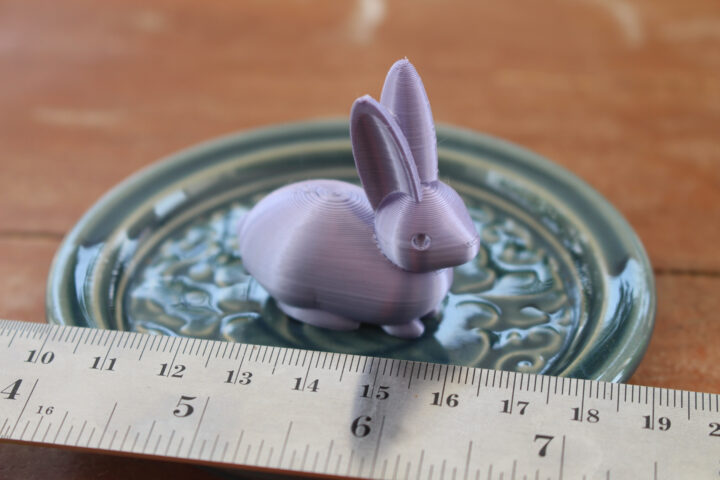
The rabbit was much faster and took 45 minutes. it also looks fine to me.
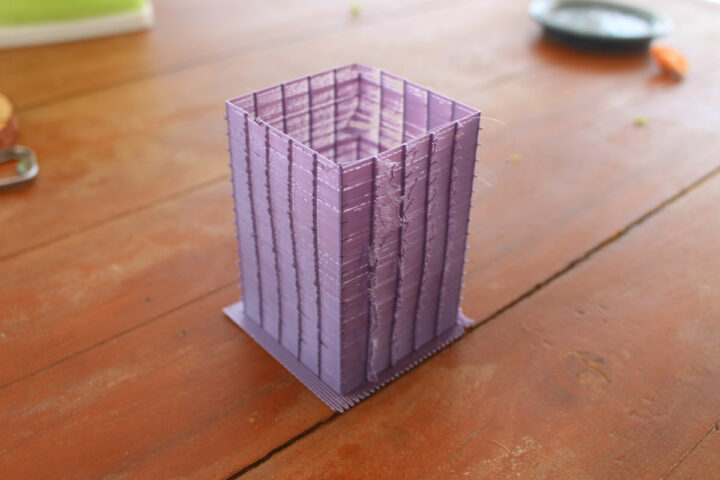
Since I saw some lines on the samples, I also thought I could print the retraction calibration cube sample to see if anything could be improved upon. But after reading more, this test is better suited to custom 3D printer builds, and not really useful in my case.
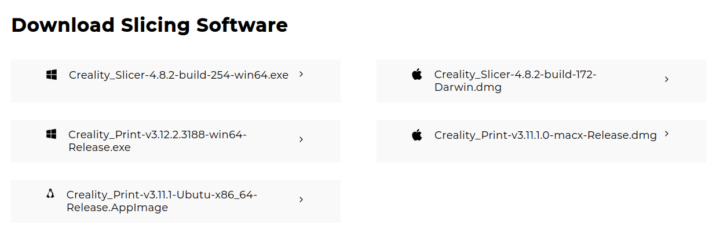
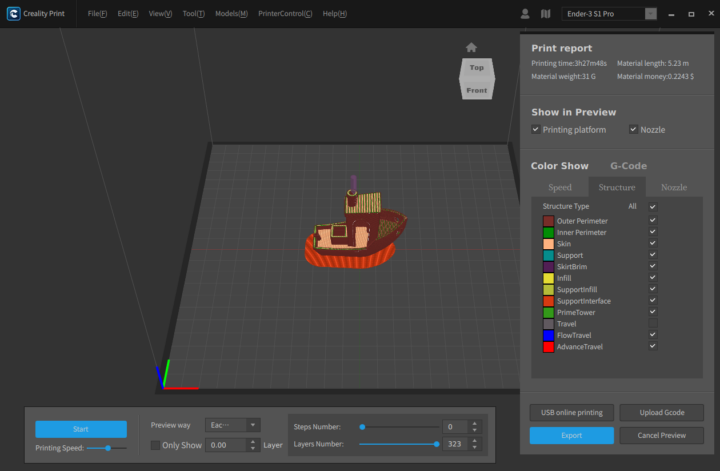
I know wanted to print some other samples. Creality provides two software: Creality Slicer and Cleality Print. I’ve read Creality Slicer has more features, but since I’m running Ubuntu 22.04 on my machine I went with Creality Print since the Slicer program is not available for Linux.
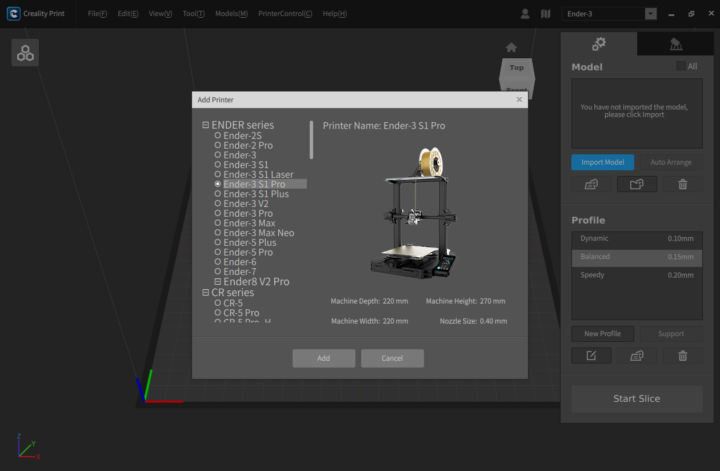
It started fine, and the Ender-3 S1 Pro was part of the supported printers…
I then download the popular Benchy sample from Thingiverse and imported the STL file into the program.
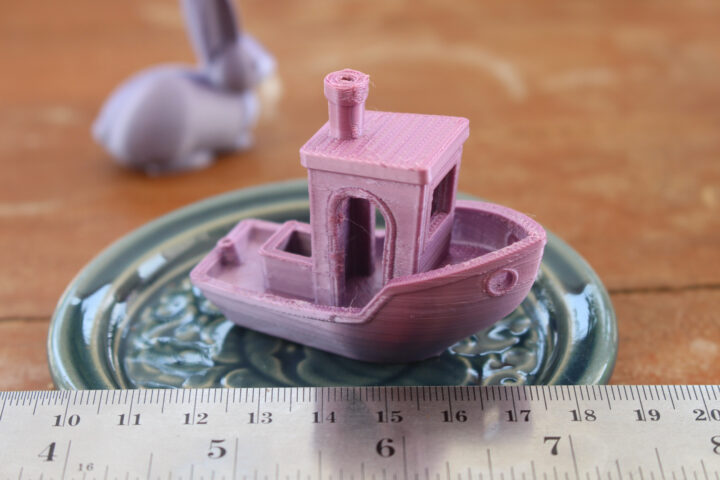
I clicked on Export to generate the G-code file and copied it to the SD card to start the print. It took around 3 hours, but with optimizations, it should be possible to print the Benchy sample in about 45 minutes. But as my first 3D printer, it’s not my goal here, and I just want make sure, I can print objects relatively well.
I guess there could be some improvements to the print quality of the Benchy sample, but that’s good enough for me at this stage.
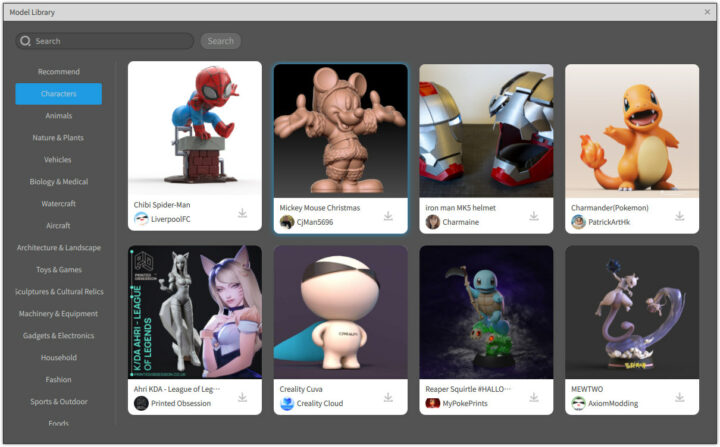
Creality Print also gives access to a Model Library, and I decided to try the “Mickey Mouse Christmas” sample since my girlfriend is a fan.
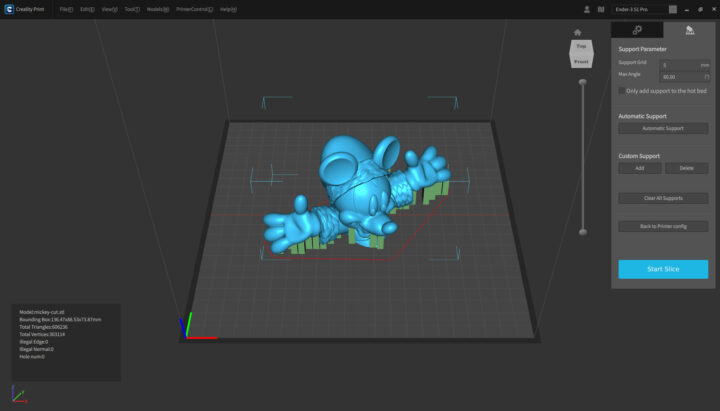
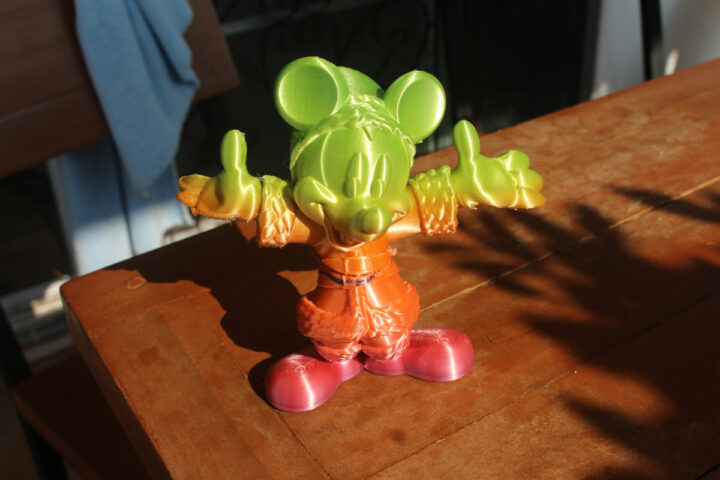
Downloading from the application would not work, so instead I downloaded it directly from the Creality Cloud and imported it to the program like I did for the Benchy sample. The main different is that I used the automatic support function to generate support columns. It’s quite a larger sample compared to the other objects I’ve printed so far with a height of around 13 cm.
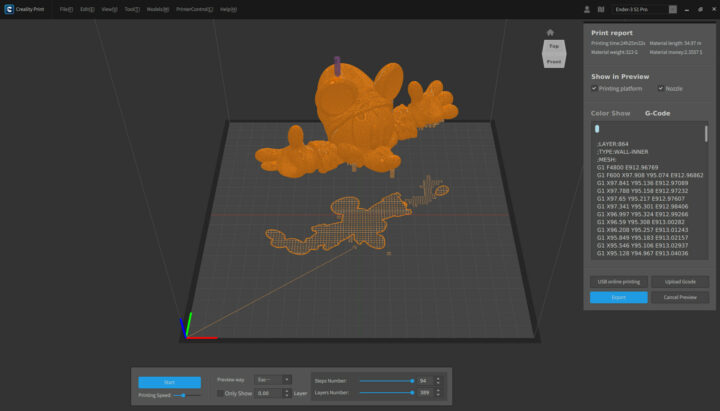
The print was going to take well over 24 hours, so hopefully there would not be any issues… But this is life and all sorts of problems occur…
Support columns collapsed and the support layer (layer 0) was not flat on the hotbed anymore… So I paused the print and tried to adjust the support columns and make sure layer 0 was flat on the printing bed… But resume did not work. It looks to be a bug in the controller. I tried to ask the Creality representative who sent the printer but then realized it was not the best idea to test my first 3D printer during a one-week holiday in China, and I have yet to receive an answer at the time of writing the review.
I had to find another way to resume the print. I found there are two main avenues. The first one is to edit the G-Code in order to remove the layers that have already been printed, and the second is to print the top part only and glue the two parts together. The print stopped at 72mm height, and I started to edit the G-code to remove the bottom layers.
It kind of works, but Creality Print’s simulation would always start with layer 0 before jumping 72mm higher and resume the print from there. I also noticed the hand was seriously damaged and unrecoverable, so I switched to the second option, loaded the sample in Blender, and cut the model to have the two hands.
I assumed the first print failed because the support columns were too high and thin, and eventually collapse. So I re-used the same method and click on “Automatic Support”. Since the print can last a while, I waited for the rain to stop. I’m not kidding, power failures are more frequent during rain (or very hot weather, or windy weather)….., plus the house I’m renting tends to leak from time to time at random places when it rains…
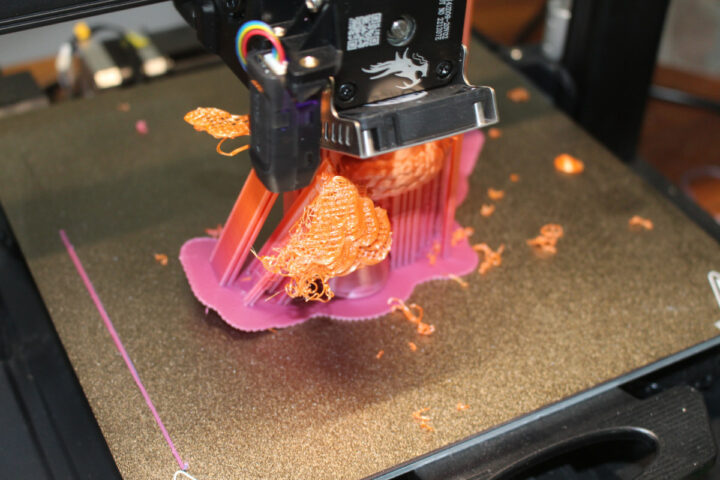
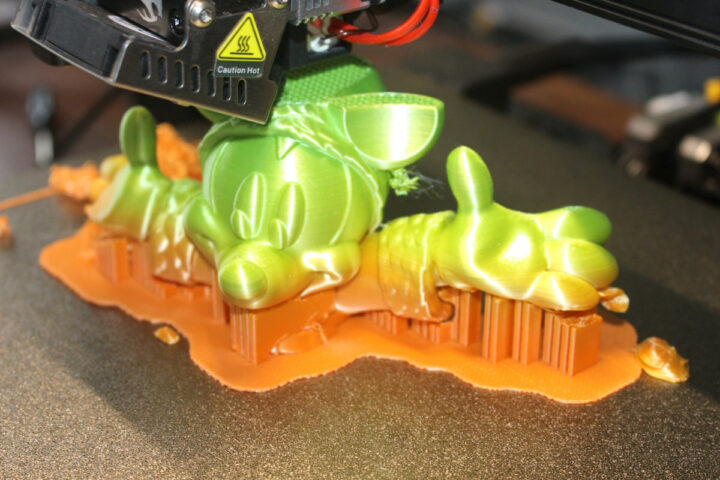
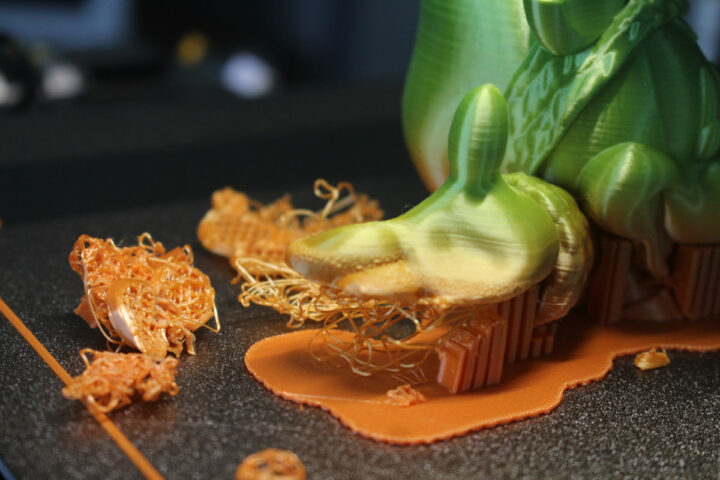
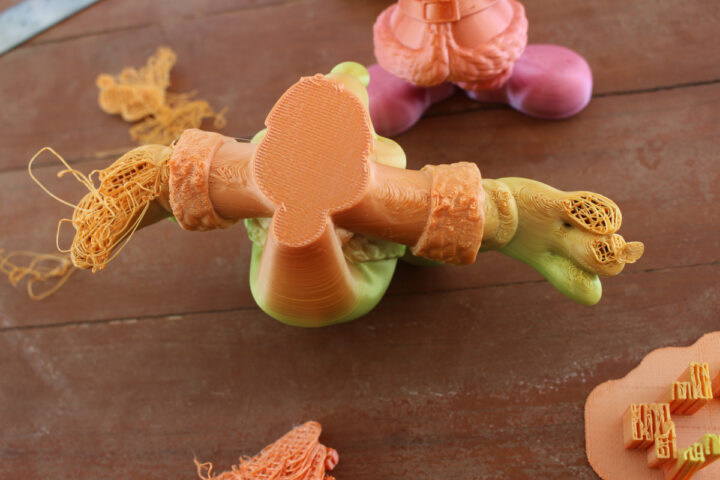
I started the print before going to bed, and at first look was promising in the morning, until I went to check the right hand which was again a spaghetti mess.
Both hands are actually impacted, but the left hand is to a lesser extent. In the first photo, we can also see the bottom part of one of the fingers fell off. I eventually asked in one of the many Creality Facebook groups, and people suggested the need for “Z hop” and enabling the option “avoid supports while traveling” in Cura.
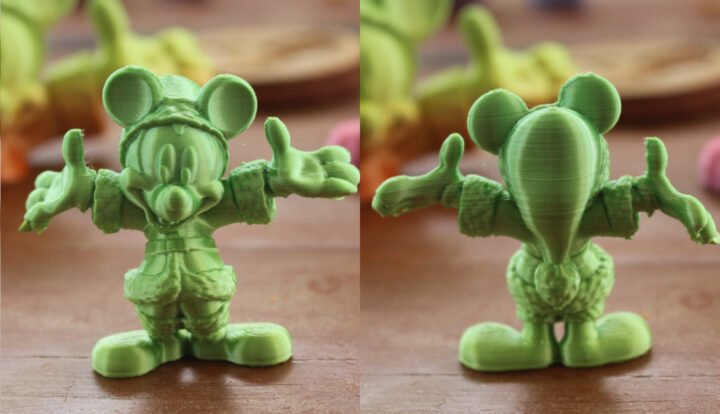
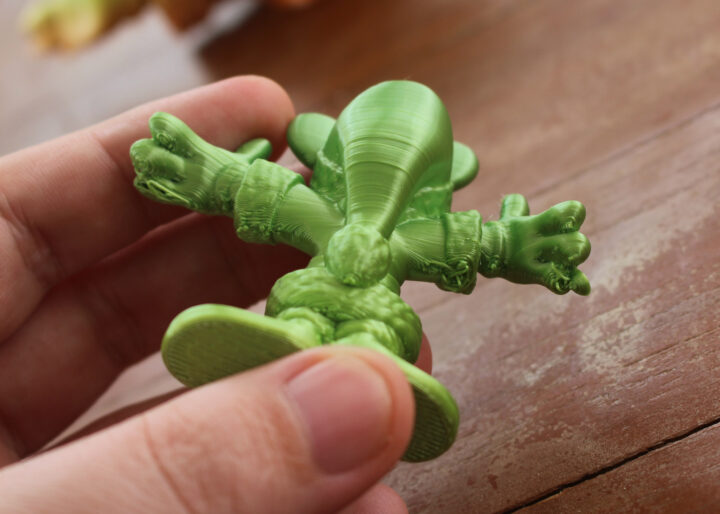
With hindsight, the supports getting knocked by the nozzle looks like the more likely option, and I’ll try Cura in another review since Creality Print may have too many limitations. But before I asked in Facebook, I went back to Blender to reduce the size of the sample to about 6 cm, and besides automatic support in Creality Print, I also added a few more support columns manually under the right hand.
The resulting sample looks fairly OK, but there are still issues around the fingers (one is incomplete, as one bit flew off the model during printing), and in other places where I had support columns.
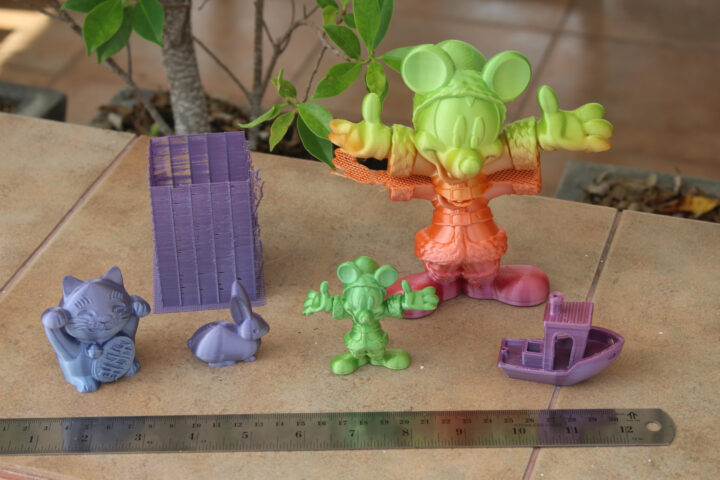
This is what I ended up with at the end of the review. Three fairly good samples, a slightly amputated figurine, and a larger figurine that needs some work…
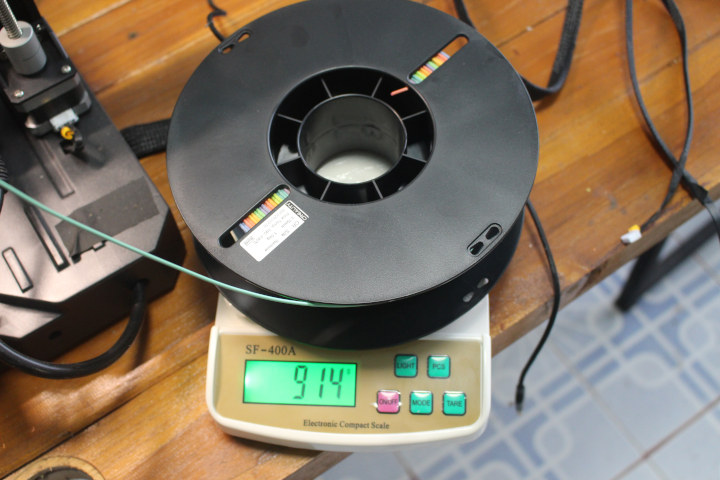
The gross weight of the Creality filament roll is 1.29kg, and after the review, the weight was 910 grams, so I used around 380 grams. One kilogram of rainbow filament costs $25, so in dollar terms, I used less than $10 of filament for the samples above.
I still need to repair the larger figurine which looks mostly fine, except for the fingers which are probably unrecoverable unless I make it carry something… I’ve already cut the bottom part with a hacksaw, and the next part is to use a file and sandpaper to match the two parts more accurately and then glue them together with Superglue or another glue.
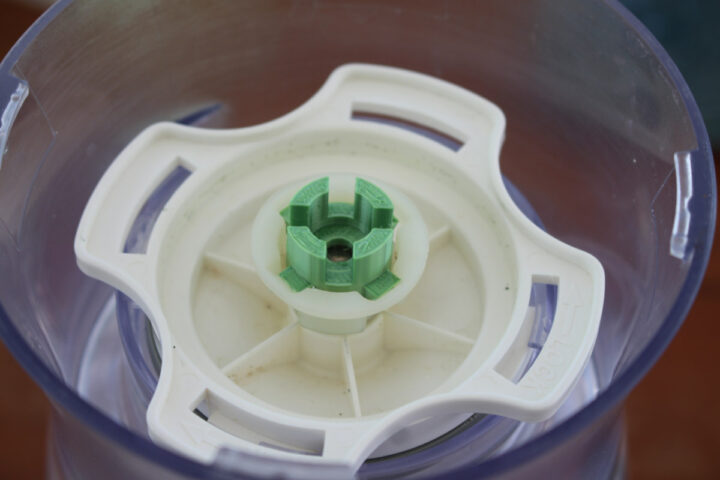
I also repaired a mixer, by creating a replacement part in Blender for a mixer/blender. It does the job while “mixing air”, but I don’t know about durability, and I’ve yet to try it with a load.
Conclusion
The Creality Ender-3 S1 Pro 2-in-1 3D printer and laser engraver kit is nice to have if you live in a small apartment. It’s not too difficult to switch between 3D printer and laser engraving modes (it should probably take about 3 to 5 minutes to rewire and switch the heads once you are used to it), and both the laser module and 3D printer work reasonably, albeit in my case the 10W laser module was probably damaged as it could engrave fine, but failed to cut 2mm thick plywood. I’m hoping I did not receive a replacement 10W laser module within two months because they focused on serving customers rather than some other production issue…
If you live in a larger house, you’d save a bit of money by having a 2-in-1 device, but most people will likely prefer to have a 3D printer and a laser engraver as you don’t need to spend time converting the kit and most laser engravers offer a much larger working area. You can also use both devices at the same time if needed. It was quite a fun experience for me, as I had my first try with 3D printing, and I also got the opportunity to learn more about Blender besides just loading some files made by others. I was expecting getting started to be a bit more challenging having seen experiences from others, but the initial prints all worked out well. I’ll have more opportunity to test the 3D printer as I intend to connect BIGTREETECH Pad 7 control display to it.
I’d like to thank Creality for sending the Ender-3 S1 Pro for review together with a 10W laser module with Falcom controller and air assist. The 3D printer can be purchased for $389 on the company’s store or Amazon. The Creality 10W laser module and Falcon controller go for $199, and the CR-Laser Falcon air assist for $79. The complete kit reviewed above now costs around $700 with the 1kg of CR-PLA filament, that’s down from $780 since I received the kit in January.

Jean-Luc started CNX Software in 2010 as a part-time endeavor, before quitting his job as a software engineering manager, and starting to write daily news, and reviews full time later in 2011.
Support CNX Software! Donate via cryptocurrencies, become a Patron on Patreon, or purchase goods on Amazon or Aliexpress





Ender 3 S1 user here (but mine is a second hand one from my friend and he modded a full-metal heat end on it, so it’s now close to S1 Pro).
Tuning the printer Z offset with paper is usually just preliminary, you will then need to babystep to get proper first layer adhesion, as I think.
I was probably lucky as my first prints were fine. I had troubles with one specific sample, because I think the nozzle would hit the supports when traveling.
hi i have a problem with the laser, this starts but i dont indicate anything yet,you know what could be the problem?, i try to use RGBL laser, but i can´t modify the instructions to off the laser to configurate
Do you mean it turns on immediately when you power on the machine without sending any instructions and you can’t turn it off? It looks like a wiring issue or a defective laser.
Note to self: Crealite Print v5.xx has completely revamped the user interface. Finding out how to export G-code is tricky.
After clicking on the Slice button, I had to go to Print Plate and select Export Plate.