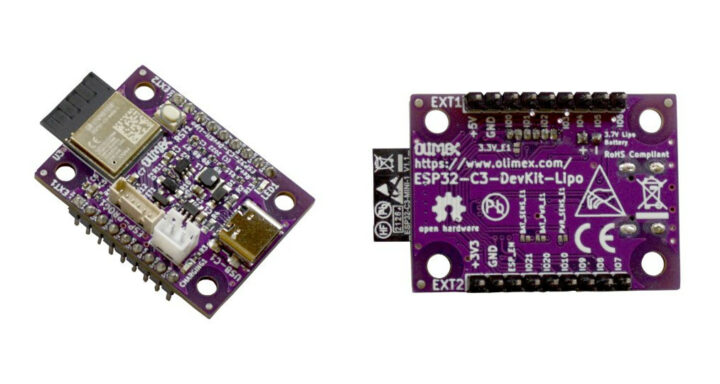
Olimex has just launched the ESP32-C3-DevKit-Lipo board based on ESP32-C3 RISC-V wireless microcontroller offering WiFI 4 and Bluetooth 5.0 connectivity, some I/Os, as well as USB and JTAG.
As its name implies, the board can be powered by a LiPo battery and charged through a USB Type-C port. It offers up to 15 GPIO for expansion and comes with an ICSP connector in case you need to reflash or debug the bootloader through a JTAG interface.
ESP32-C3-DevKit-Lipo specifications:
- Wireless module – Espressif Systems ESP32-C3-MINI-1-N4 module with:
- ESP32-C3 (ESP32-C3FN4) 32-bit RISC-V single-core processor up to 160 MHz with 4 MB embedded flash, 384 KB ROM, 400 KB SRAM (16 KB for cache), 8 KB SRAM in RTC
- Connectivity – 2.4 GHz 802.11b/g/n Wi-Fi 4 1T1R up to 150 Mbps & Bluetooth LE 5.0 with PCB antenna
- USB – 1x USB Type-C port for programming and JTAG debugging
- Expansion – 2x 9-pin headers (soldered) with up to 15x GPIO and power supply signals (5V, 3.3V, GND)
- Misc
- ICSP programming connector to rescue (the bootloader) with ESP-PROG-C USB to serial converter
- (Battery) status LED
- RESET button
- Power Supply
- 5V via USB-C port
- 2-pin header for LiPo battery; supports charging
- Dimensions – Small with four mounting holes…
The board supports Arduino, PlatformIO, Espressif ESP-IDF, and other frameworks/languages compatible with ESP32-C3 microcontroller. Olimex ESP32-C3-DevKit-Lipo is open-source hardware and KiCad schematics, PCB layout, and other hardware design files have been released on GitHub under the “CERN Open Hardware Licence Version 2 – Strongly Reciprocal” together with ESP32-C3 datasheet and technical reference manual.
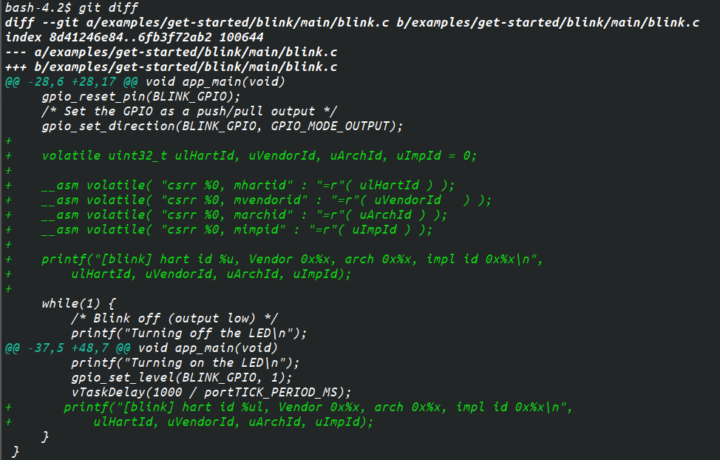
There’s also a basic ESP32-C3-DevKit-Lipo user manual on GitHub, and Shteryana Shopova used the board for a RISC-V workshop in Bulgaria (see the presentation slides in Bulgarian) where people could learn how to use the ESP-IDF with a C sample, JTAG debugging with OpenOCD, and she even showed some inline RISC-V assembly in the C code, as well as some Bluetooth demo apps.

Olimex sells the board for 6 Euros on their website.

Jean-Luc started CNX Software in 2010 as a part-time endeavor, before quitting his job as a software engineering manager, and starting to write daily news, and reviews full time later in 2011.
Support CNX Software! Donate via cryptocurrencies, become a Patron on Patreon, or purchase goods on Amazon or Aliexpress


country’s name is Bulgaria 😉
LoL. Yes!
Beware that the esp32-c3 doesn’t really have USB. It’s an internal usb-to-serial(and jtag). A (smart) way to bring programming/debugging with only two pins.
But you don’t get a USB_FS that you can use/program and create usb devices with.
Btw, they just added a (basic) manual 3 hours ago in the github you’ve linked. (see DOCS/)
This is yet another Dev board that places the USB-C connector flush with the PCB. It makes it hard to embed it into a case. Either the PCB has to be filed or cut-off or the case/housing has to have a big hole for the connector to ensure the USB cable can fit in. None of the option is a good option fo embedding in a non-hobby project.
I’m not convinced by the esp c3, mostly because of lacking usb.
But olimex does a really great job : the board is small, cheap, completely open source (the github has absolutely everything, it’s quite rare)
??? – pointless comment!
My comment tried to point-out a limitation (in my opinion)
of the placement of the USB-C connector on otherwise a nice board.
If the use of the USB-C connector is not important for certain user-case,
or the board’s purpose is to be a test/learning platform for ESP32-C3 then I agree, the USB-C connector’s location is perfectly fine.
while not best option (mostly seen with secondary USB-A plug, thus not fully USB-C compliant?), there are extended tip USB-C connectors (6mm&2-6mm)