Unboxing SunFounder TS7-Pro touchscreen display
SunFounder TS7-Pro is a 7-inch touchscreen display designed for Raspberry Pi 4 board and the company sent us one review sample for evaluation. SunFounder has a wide range of Raspberry Pi and Arduino accessories designed for makers, and the TS7-Pro 7 is their latest offering that’s optimized to work with Raspberry Pi 4 and Raspberry Pi 3.
Adding a touchscreen display to a Raspberry Pi may be a bit messy with the display or other accessories such as cameras and/or 2.5-inch drive spread on the table, but the TS7-Pro display simplifies all that with a neater assembly. Let’s start the review with an unboxing
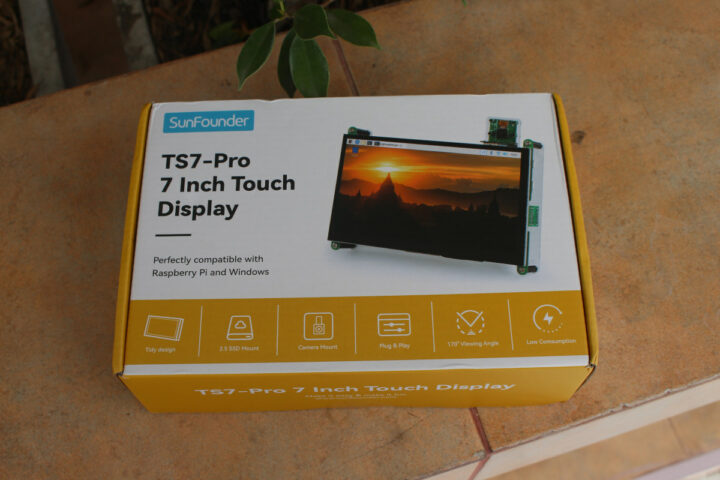
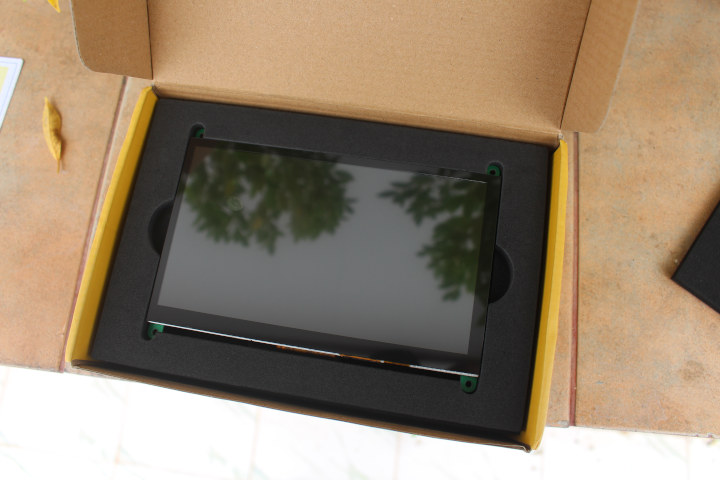
The package is compact and the display is well-protected with polyethylene foam to reduce the risk of damage during transport.
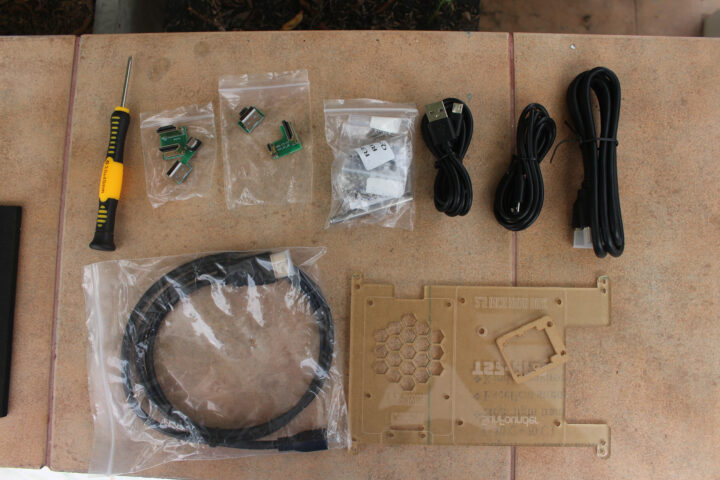
Accessories such as cables, screws and nuts, adapters, an acrylic enclosure, and a screwdriver are also included in the package.
Here’s the full list:
- 7-inch IPS touch screen
- 6x M3 Standoff
- 18x M3*8 screws
- 10x rivets
- 1x metal stick
- 1x screwdriver
- Acrylic cover and mounting plates
- User manual
- Micro USB cable
- 1x HDMI to HDMI cable
- 1x HDMI to micro HDMI cable
- HDMI bridge and USB Bridge for Pi 4
- HDMI bridge and USB Bridge for Pi 3
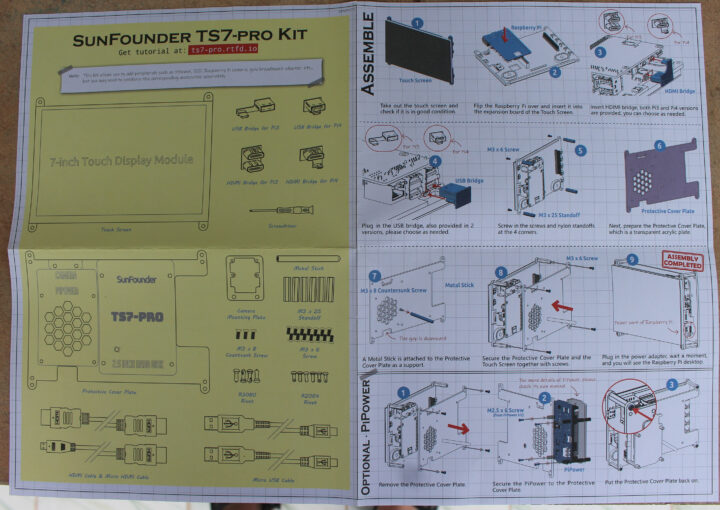
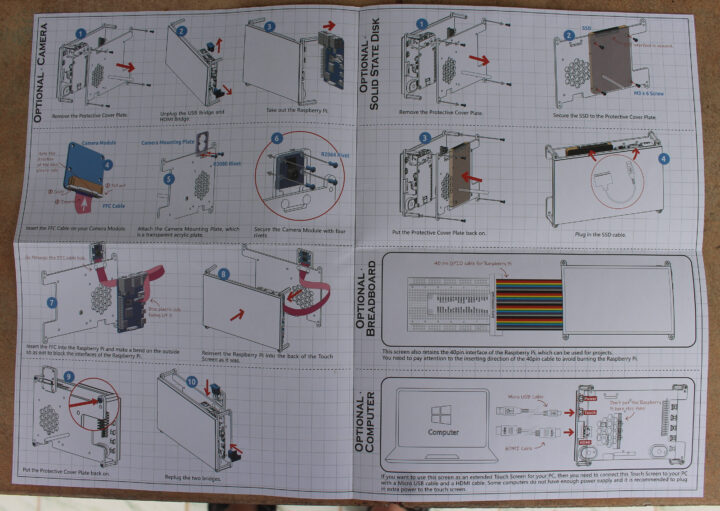
You can have a look at the user manual below with assembly instructions, or go directly to ts7-pro.rtfd.io to access the documentation.
SunFounder seems to have designed products that really take into account the user’s use by providing most accessories and standard connection ports. Besides the Raspberry Pi 3/4 SBCs, the TS7-Pro 7-inch touch display can be used with other SBCs as well including LattePanda, Nvidia Jetson, Banana Pi, Orange Pi, ODROID-C4, or any board or computer with HDMI and USB ports, but connecting the TS7-Pro to the Raspberry Pi 4 will be more suitable as we’ll see from our testing.
Assembly with Raspberry Pi 4
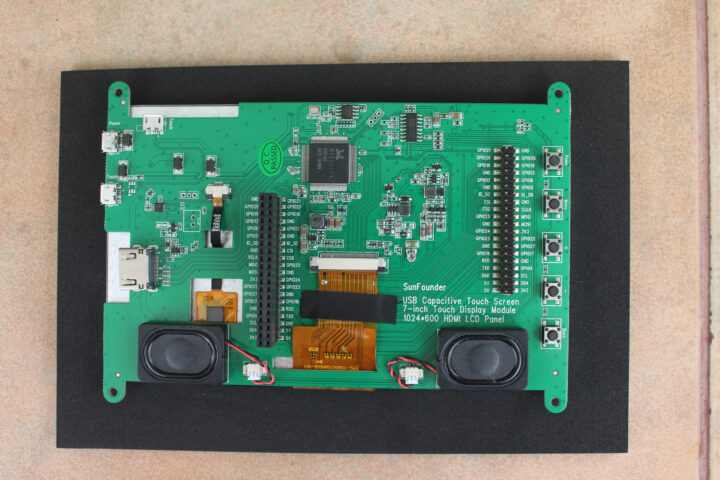
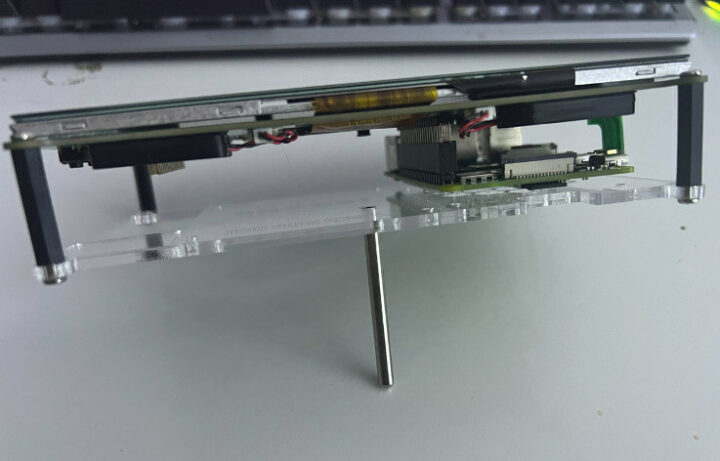
The main board is based on a Realtek RTD2513A display controller and features two speakers, five buttons, one 40-pin female header to connect the board, another male header for expansion, and HDMI and USB ports for video output and the touchscreen function.
Installation is easy as we just need to insert the Raspberry Pi 4 into the female header, and then connect the HDMI and USB bridges and the basic installation is complete.
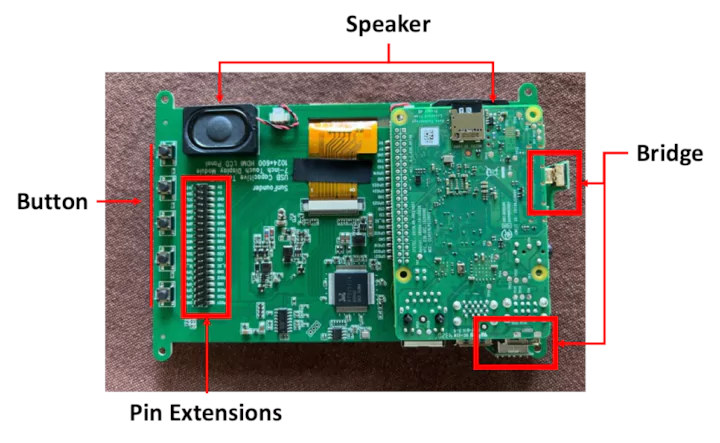
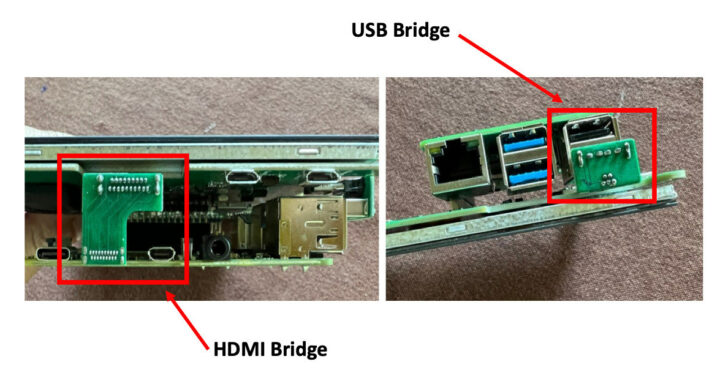
I had no trouble installing the bridges, and they also keep the board in place so no extra screws are needed. The bridges also remove the need for messy wires. There’s also an acrylic case for more convenience.
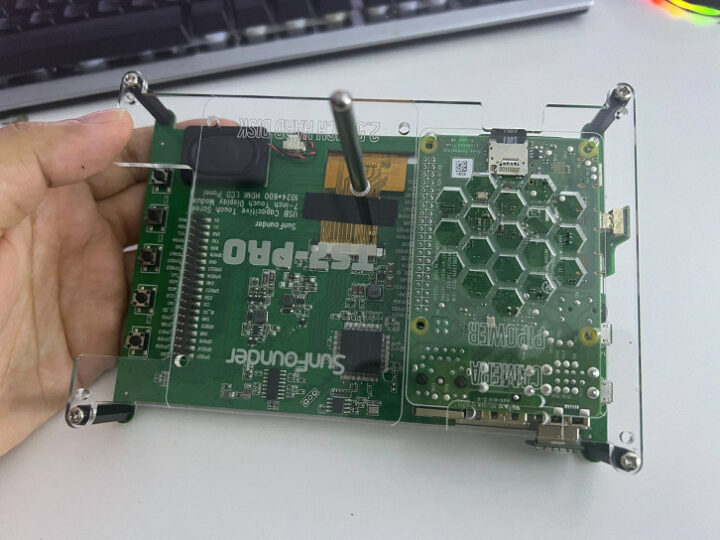
The enclosure also allows for mounting a 2.5-inch hard drive or SSD and a Raspberry Pi camera with an acrylic case for the latter too.
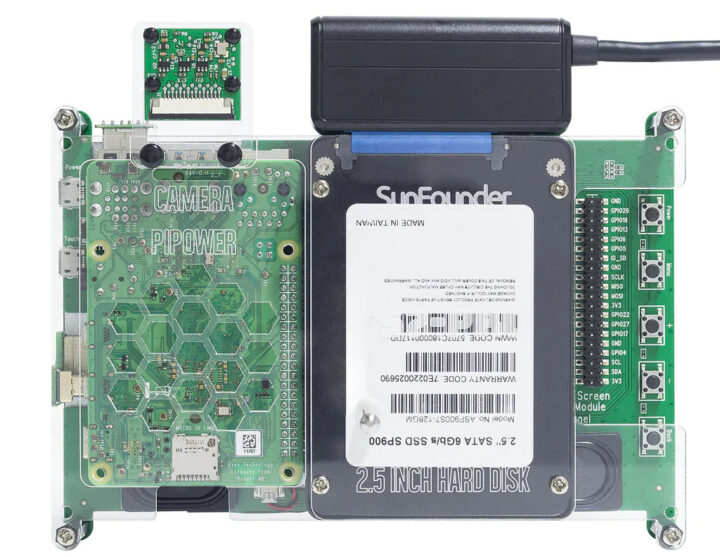
You’ll also need a USB to SATA adapter to connect the 2.5-inch drive to one of the USB ports of the Raspberry Pi.
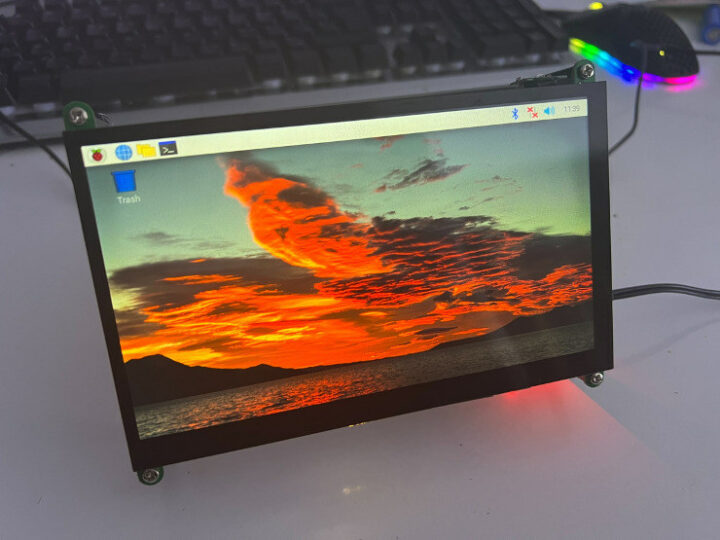
We’ll now just need to flash Raspberry Pi OS to a microSD card and we’re ready to go.
Screen usability test
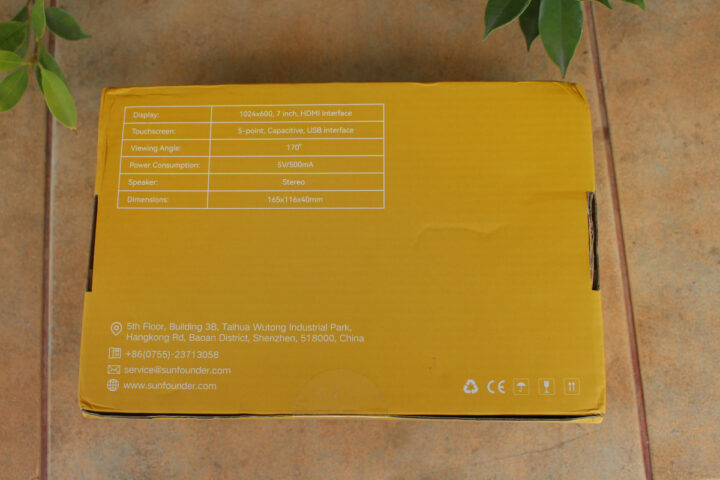
We’ve initially talked about what’s supplied with the product and how to assemble it. Now let’s check out the specifications and test the features. The TS7-Pro offers 1024 x 600 resolution (16:9 aspect ratio) with 16.7 million colors, and is an In-Plane Switching (IPS) screen that provides color fidelity as close as possible to true colors. It also offers better color uniformity, and a wide viewing angle of 170 degrees. If you want to see more details, you can refer to the following specifications:
- Viewing angle: 170°
- Brightness: 250cd/m2
- Aspect Ratio: 16:9
- Display mode: Touchpad
- Backlight: White LED
- Operating Temperature: -10°C~60°C
- Storage Temperature: -20°C~70°C
- Interface: Digital
- Display Resolution Maximum: 1024 × 600
- Display Type: IPS LCD
- Color Numbers: 16.7M
- Input Signal: HDMI
- Power: USB(5.0V)
- Consumption: 480(Typ.) mA
- Operating Voltage: 5V
- Rated Power: 480mA
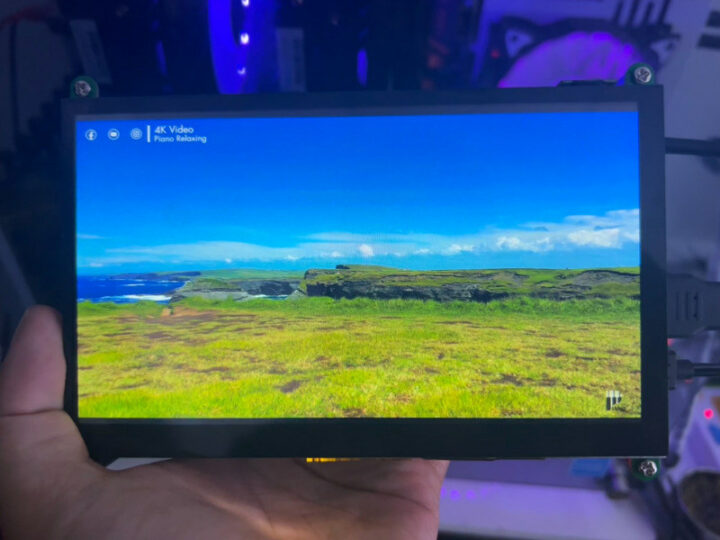
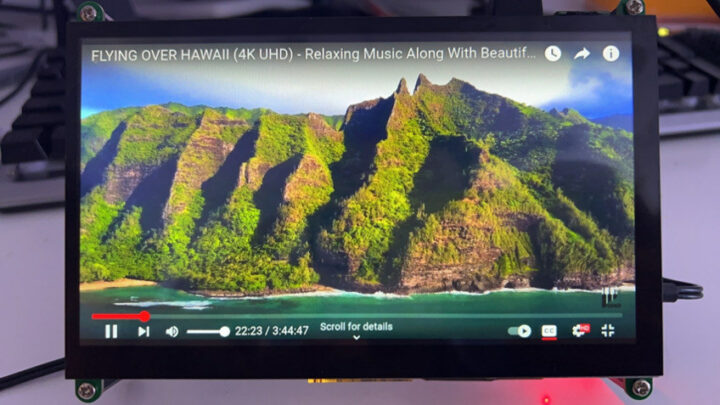
Let’s play a YouTube video (FLYING OVER IRELAND) for testing. The Raspberry pi 4 struggles playing a 4K video directly, so we’ve connected the TS7-Pro screen to a more powerful computer, using the provided HDMI and USB cables, to play the video. The picture is very clear, bearing in mind it’s a 1024×600 display, and the sound from the speakers is also good.
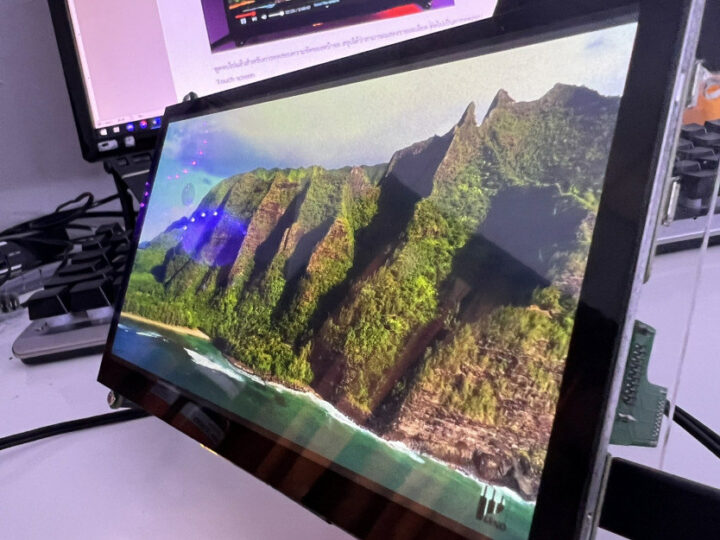
The Raspberry Pi 4 has no trouble if we play the YouTube video at 1080p resolution, and details are good too thanks to the IPS screen even watching at an 80-degree angle, so it’s pretty good.
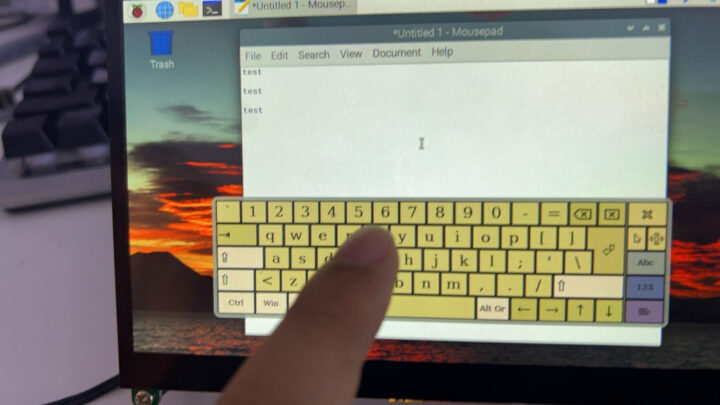
Next up is the touchscreen test. If you’ve ever used a 7-inch touchscreen, you’ll know that the accuracy isn’t very good because of the 1024×600 resolution. Let’s test the TS7-Pro, and see how good will it be. In this review, we will use a virtual keyboard to text type in order to test the accuracy and response time of the touchscreen. We’ll install the onboard program part of Debian OS:
|
1 2 3 |
sudo apt update sudo apt upgrade sudo apt install onboard |
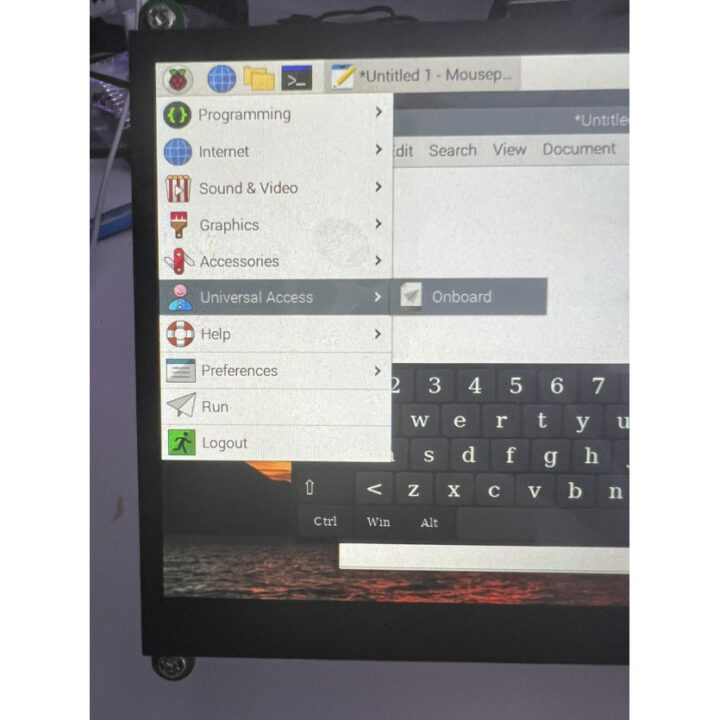
Once installed. you’ll find the program in Menu bar > Universal Access > Onboard.
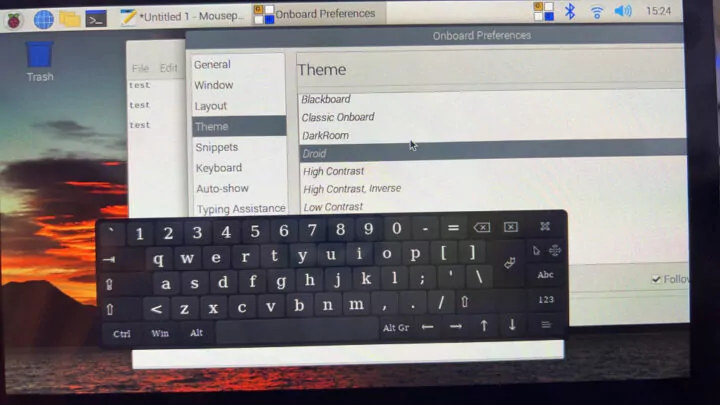
Typing on the keyboard was pretty straightforward with fast response times and good accuracy. But smaller icons are harder, for instance, I had to tap on the screen 5 to 7 times before being able to close a window.
I’ve also done a stability and temperature test by playing a video for over 24 hours. The surface temperature of the screen was 28 degrees Celcius and the display controller (RTD2513A)was measured at 34 degrees with an infrared thermometer. We also stressed tested the Raspberry Pi for 8 hours (four tabs in Google Chrome playing videos at the same time) to see if the heat generated by the Raspberry Pi affects the temperature of the display and/or the performance of Raspberry Pi. The temperature of the display only increased by only 2 or 4 degrees, and the Raspberry Pi 4 was up to 54 degrees.
Screen rotation settings
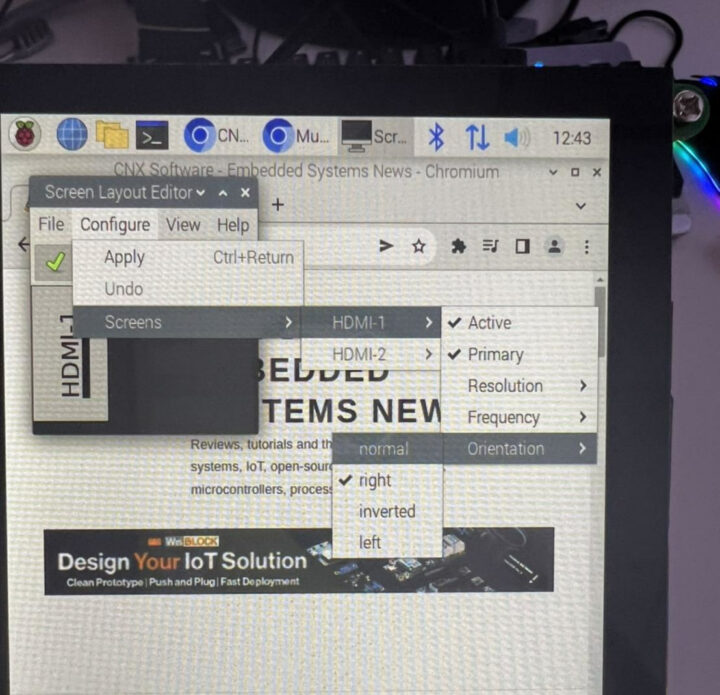
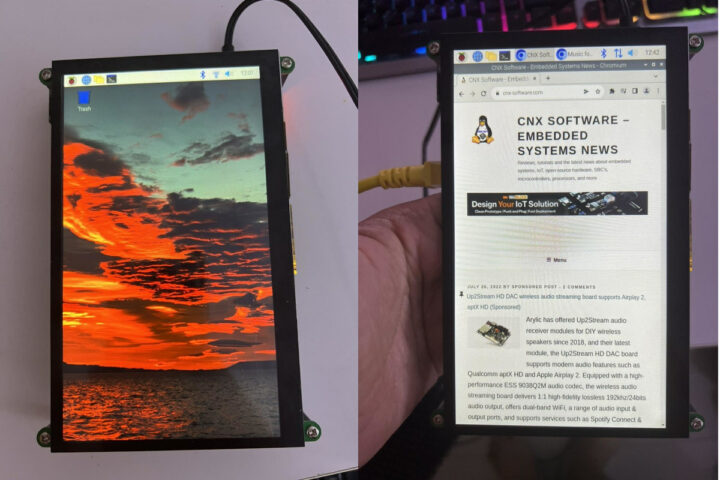
It’s also possible to rotate the screen by 90° to use it in portrait mode. Raspberry Pi OS settings can be easily accessed in Preferences -> Screen Configuration. The Screen Layout Editor window will allow you to change the orientation of the display.
When the settings window appears, you can just go into the menu, and select Configure -> Screens -> HDMI1 -> Orientation -> Right so that the Raspberrypi will adjust the screen to 90° vertical view immediately. However, if you are using an older version of Raspberry Pi OS, you may need to edit /boot/config.txt to add the following lines:
|
1 2 3 |
HDMI_grop=1 HDMI_mode=82 display_hdmi_rotate=1 |
That’s it, and you can now use the TS7 Pro display in portrait mode in the same way you’d do with a phone or tablet.
But we are not done yet, as while the touchscreen is still working, it is operating still in landscape mode. So we have to configure it by modifying /usr/share/X11/xorg.conf.d/40-libinput.conf file and adding a line to the InputClass section:
|
1 |
Option "TransformationMatrix" "0 1 0 -1 0 1 0 0 1" |
Here’s what the new file should look like.
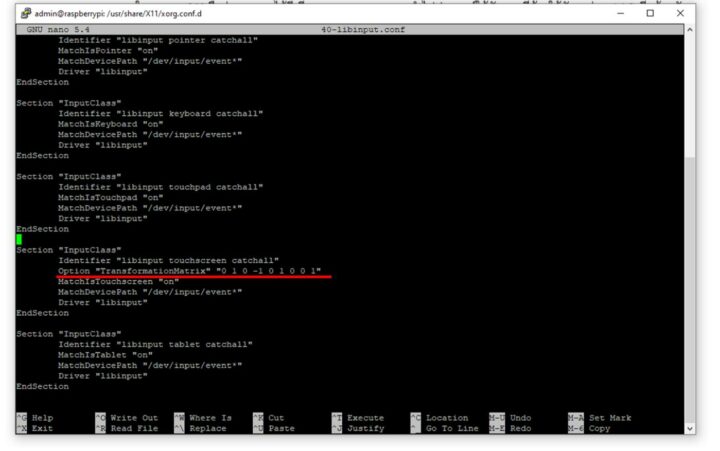 After this modification, the TS7-Pro touchscreen display will fully work as expected in portrait mode.
The configuration will obviously depend on the orientation of your display and for reference:
|
1 2 3 |
90° = Option "TransformationMatrix" "0 1 0 -1 0 1 0 0 1" 180° = Option "TransformationMatrix" "-1 0 1 0 -1 1 0 0 1" 270° = Option "TransformationMatrix" "0 -1 1 1 0 0 0 0 1" |
Summary of results
Here are the test results of the TS7-Pro 7-inch touch display.
| Feature | Remark |
|---|---|
| Display clarity | Can display details clearly at 1024x600 resolution |
| Host compatibility | Compatible with Raspberry Pi 4 and 3 thanks to custom designed HDMI & USB bridges, but other platforms with HDMI and USB ports are also supported thanks to included cables |
| Touchscreen | Both the response time and accuracy of the touchscreen are good, but pressing small buttons or icons can be difficult. |
| Thermal design | The display stays relative cool at 28°C at ambient temperature, while the display controller was measured at 34°C. |
| Long run test | The display was tested continuously playing a video for 24 hours with a Pi 4 without stability or performance issues. |
I would like to thank SunFounder for sending the TS7-Pro 7-inch touch display for review. If you’re interested, you can purchase it on SunFounder’s store for $89.99 plus shipping, or on Amazon.
This post is a translation and adaptation of the original review on CNX Software Thailand.

Jean-Luc started CNX Software in 2010 as a part-time endeavor, before quitting his job as a software engineering manager, and starting to write daily news, and reviews full time later in 2011.
Support CNX Software! Donate via cryptocurrencies, become a Patron on Patreon, or purchase goods on Amazon or Aliexpress




why the hell it has 4 different border width ??? (not only this one)
Niceee, taking aside the raspberry pi, it looks robust.
Hi, so far only the official Raspi Display has brightness control.
Could you check, whether this one allows to control display brightness via software?
Or maybe some reader knows displays, which allow the raspi to control display brightness?
I’ve asked the reviewer to test, and we can confirm it does not work.
Here’s his full answer:
I have tested the screen for you by adjusting the screen brightness.
I have tested from your code.
The results showed that the brightness cannot be adjusted.
I have tried another test using python code. (python version 3.6-3.9)
I installed the following command (https://github.com/linusg/rpi-backlight)
After the installation is complete, I try to configure commands via Python and CLI.
Testing Code: Python Code
Testing Code: CLI Command
on
off
The test results did not respond to any settings.
The only way to adjust TS7 Pro brightness setting is to use the buttons on the back of the board.
I got the same for 30 usd on aliexpress, everything is identical but not branded 😉