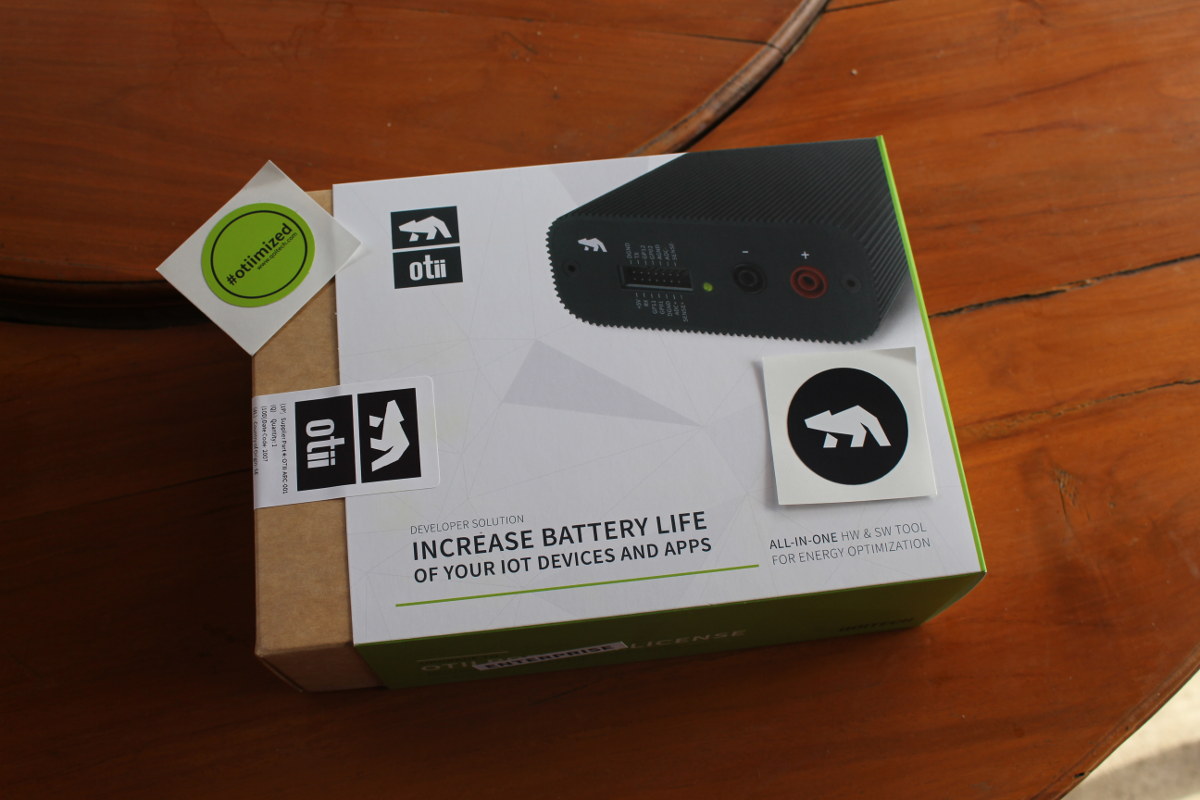
I have recently been contacted by a Swedish company called Qoitech about their Otii solution that aims to help hardware and software engineers achieve long battery life for their IoT devices or apps. At the heart of Otii is Otii Arc hardware that acts as a power supply, voltage and current meter, and data acquisition (DAQ) unit.
The company has now sent me a unit for review. I’ll start with a first quick post describing the device and checking out the hardware and interfaces, before writing my experience, or a getting started guide, with Otti hardware and software.
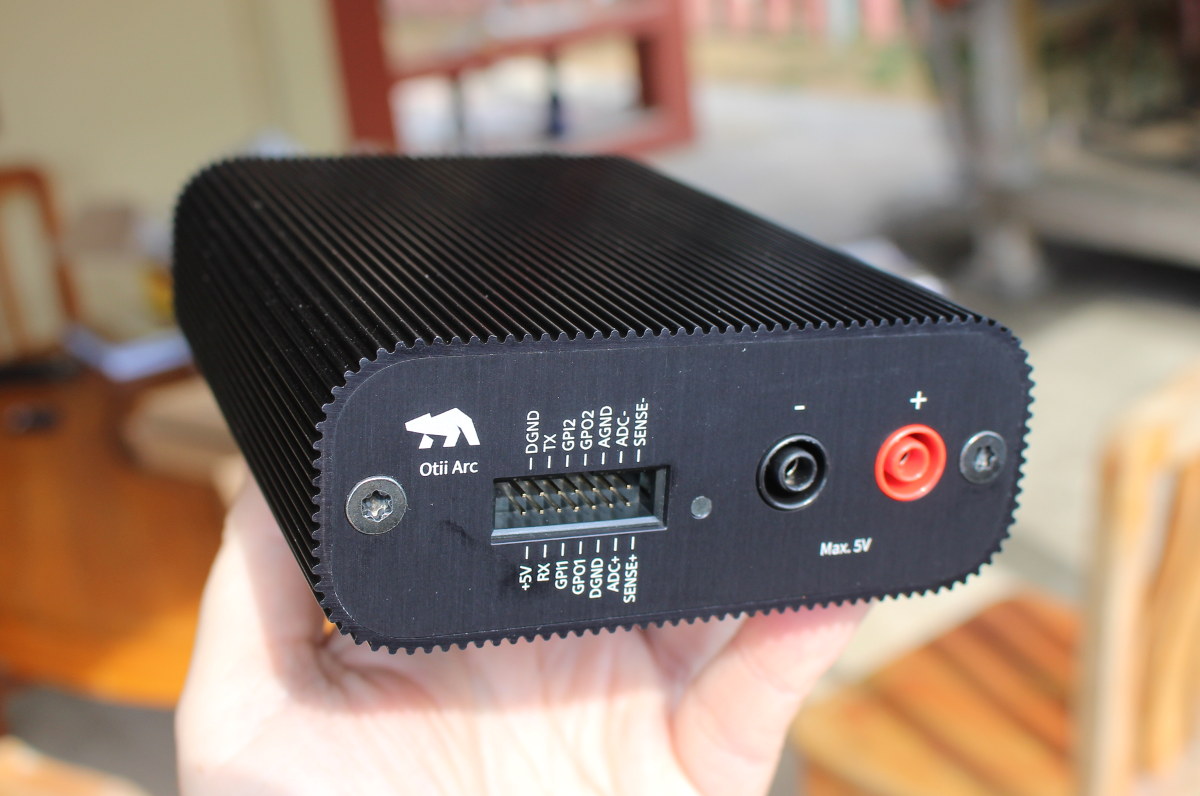
Otii Arc specifications:
- Current/Voltage Measurement
- Current
- Accuracy – ±(0.1% + 50 nA)
- Sample Rate – in ±19 mA range: 4 ksps; in ±2.7 A range: 1 ksps; in 0 – 5 A range: 1 ksps
- Analog Bandwidth (3dB) – 400 Hz
- Voltage
- Total accuracy – ±(0.1% + 1.5 mV)
- Sample Rate – 1 ksps
- Current
- 14-pin DAQ Interface
- UART – 110 bps to 5.25 Mbps
- DIGITAL I/O; GPO1, GPO2, TX (6)
- Operating Voltage – 1.2V to 5V
- Imax: 10 mA
- ADC pins
- Voltage input: 0 to 5V
- Differential with ADC+/ADC-
- Resolution – 2.5 µV
- Accuracy – ±(0.1% + 10 µV)
- Input Impedance – 220 kΩ
- Single ended with ADC+
- Resolution – 1.25 mV
- Accuracy – ±(0.1% + 7.5 mV)
- Input Impedance – 830 kΩ
- SENSE pins (SENSE- and SENSE+)
- Voltage input – 0 to 5V
- Resolution – 1.5 mV
- Accuracy – 1%
- Input impedance – 1 MΩ
- Power Supply
- Via external USB Power Supply
- Output Voltage
- Auto range – 0.5 to 3.75V
- Locked to High Current range – 0.5 to 4.2V
- Resolution – 1mV
- Max Output Current – 250 mA
- Output Voltage
- Via external 7.5-9V Power Supply
- Output Voltage
- Auto range – 0.5 to 4.55V
- Locked to High Current range – 0.5 to 5.0V
- Resolution – 1mV
- Max Output Current – 2.5 A (continuous), 5.0 (peak)
- Output Voltage
- Via external USB Power Supply
- Operating Temperature – 15 ºC to 25 ºCIt looks like I may have to lower my aircon temperature if I want accurate readings.
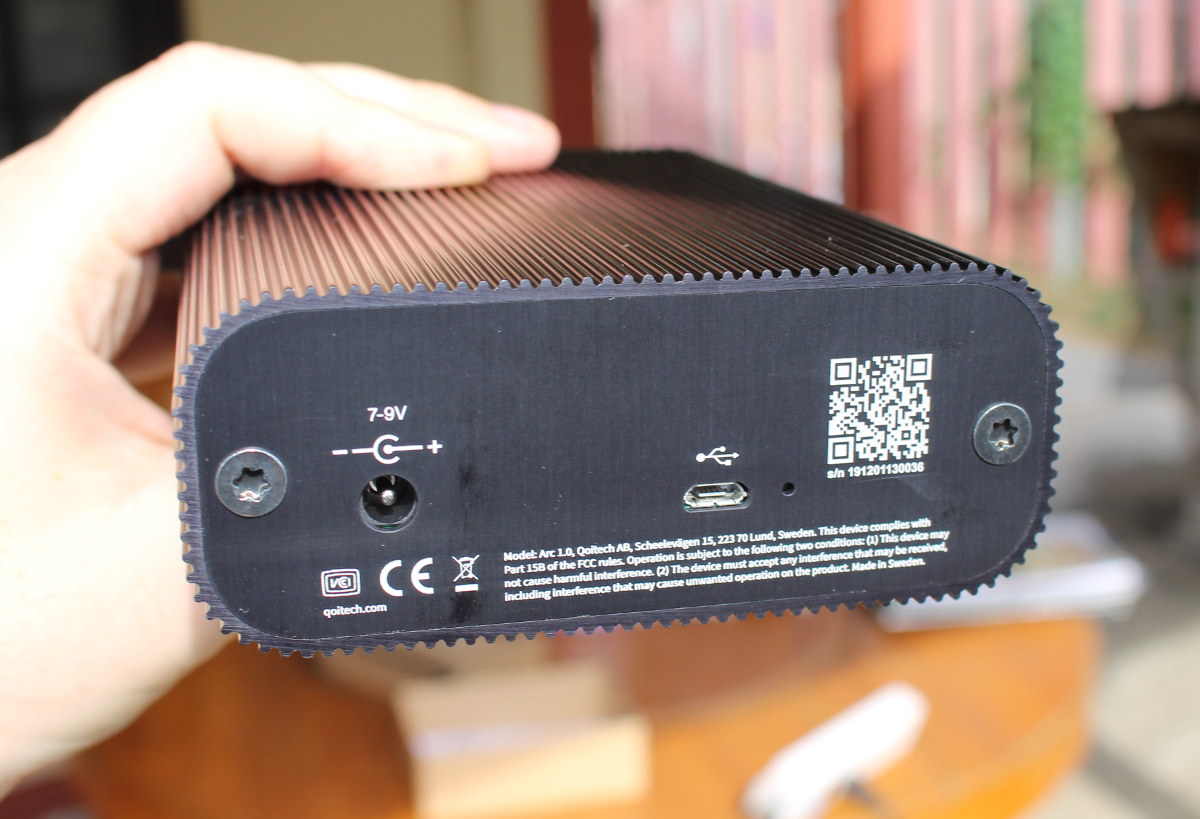
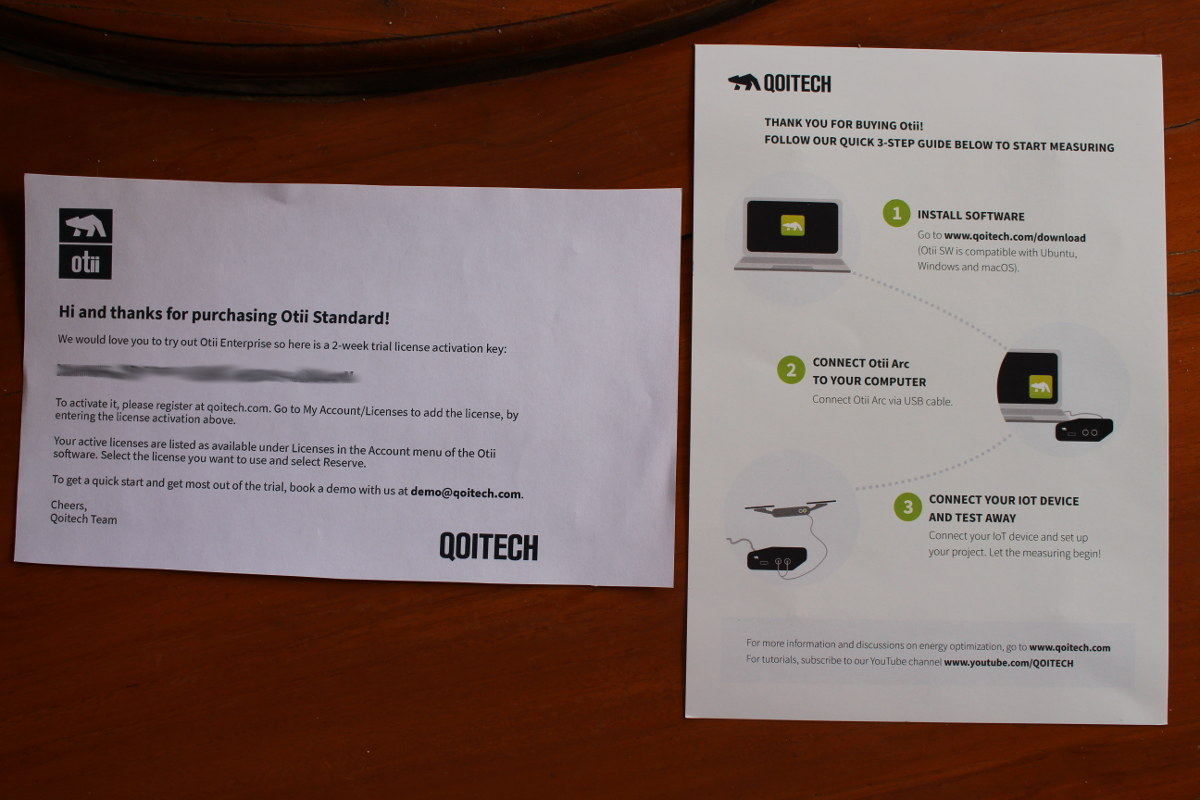
The device comes with a USB to micro USB cable, as well as a welcome card with a 2-week free-trial for Otti Enterprise, and a short guide showing how to get started.
I’ll look into device setup and software in details in the second part of the review, but basically you’d need to install Otii software for Windows 10/7, Ubuntu 18.04/19.10, or Mac OS, and connect Otii Arc to your host computer and device under test (DUT).
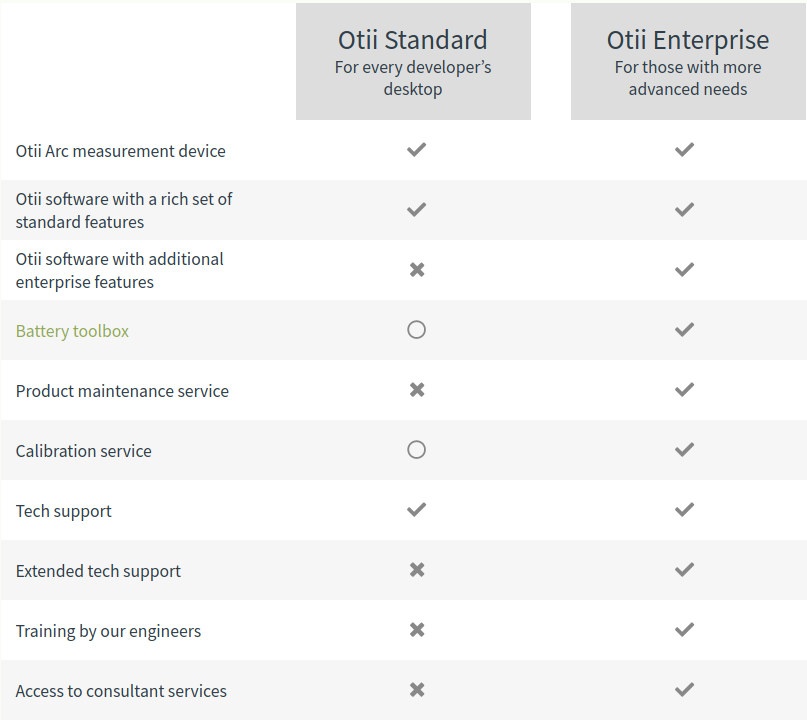
If you wonder what the differences are between the Otii Standard and Otii Enterprise the table below provides a quick side-by-side comparison.
Basically, the Enterprise version offers a higher level of support and some extra features. For example, the battery toolbox helps developers pick the right battery by making Arc act as a battery profiler and emulator. It is also available as an option (annual subscription) for Otii Standard.
Otii Arc (Standard) can be purchased on various distributors such as Seeed Studio for $575, while you’d need to contact the company to get a quote for the Enterprise version. More details can be found on the company website.
Continue reading “Getting Started with Qoitech Otii Developer Tool using ESP8266 and Raspberry Pi 4 Boards“.

Jean-Luc started CNX Software in 2010 as a part-time endeavor, before quitting his job as a software engineering manager, and starting to write daily news, and reviews full time later in 2011.
Support CNX Software! Donate via cryptocurrencies, become a Patron on Patreon, or purchase goods on Amazon or Aliexpress




Teardown?
It would be nice but I don’t have the right screwdriver to do a teardown.
here is one: https://www.electronicdesign.com/power-management/article/21806781/teardown-inside-the-otii-arc-iot-energy-optimizer
https://i.ibb.co/x1hDS48/otii-arc.png
$575 … shipping costs TBD… gifted
My team at work uses the Otii all the time, to measure our ultra low power consumption CatM and NBIot modules. We cant live without it anymore.
I’ve started to use it, and now I understand why you can’t live without it anymore.
It’s so useful to monitor power consumption, and when running the UART console at the same time, it’s so easy to match the console with power. If I make changes to the code I can compare both after and before easily, and see the average energy used. I’ve used it with ESP8266 and Raspberry Pi 4 for now.
And I’ve not tried the battery emulation part yet.