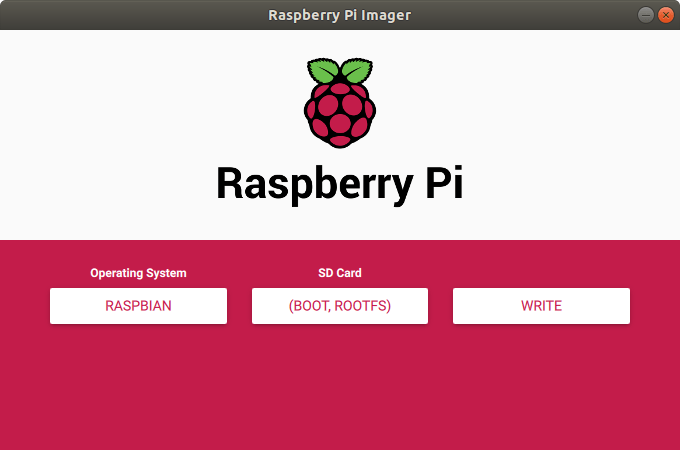
Most regular readers of this blog will probably find flashing operating system images to a MicroSD card to be child play. Just download the latest OS image, install balenaEtcher, select the image, the MicroSD card and you’re done.
But people who have never used such tools may find it a bit confusing, so the Raspberry Pi Foundation has developer and now released a tool – Raspberry Pi Imager – working on Windows, macOS, and Ubuntu that makes it even easier.
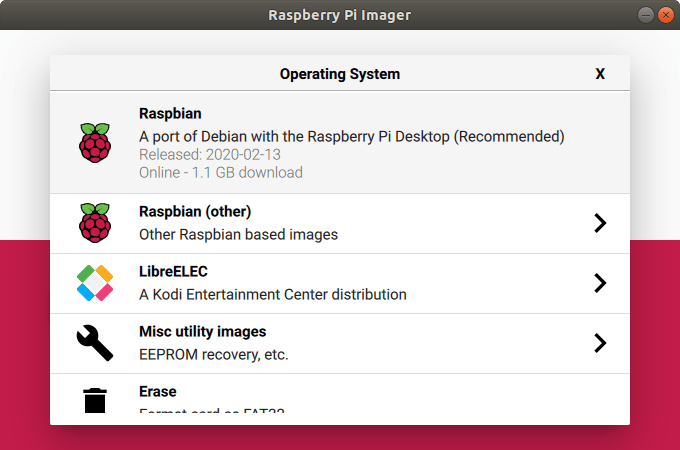
You’ll find the tool for your OS of choice on the Download page on Raspberry Pi website. I’ve given it a try in Ubuntu 18.04. Click on Operating System will bring you a list of the latest supported operating systems, an option to fully erase the MicroSD card, and another to install your own – already downloaded – custom image.
I’ve selected Raspbian 2020-02-13, inserted my SD card and selected it.
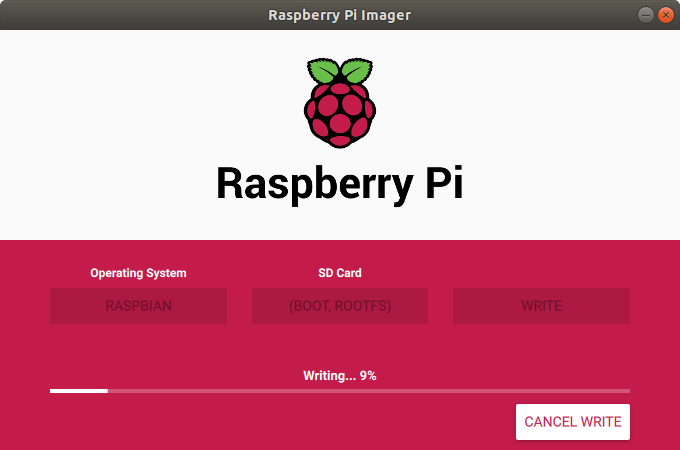
 To get started simply click on the Write button, and here to my surprise it just started to write immediately. That means instead of downloading the image, and then flashing, the utility flashes the image as it receives the data which should save some time.
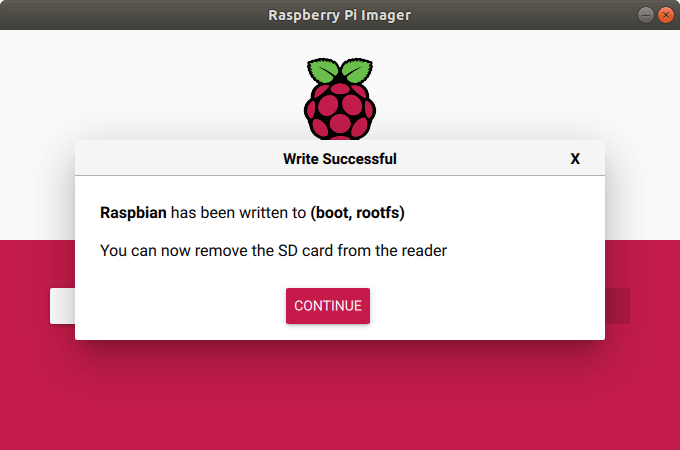
The Raspberry Pi Foundation also explains the utility caches the image, so next time the image does not need to be downloaded again. After a while, the write operation completed successfully.
Note there does not seem to be a verification step like in balenaEtcher to make sure there aren’t any issues with the MicroSD card or downloaded file.
Raspberry Pi Imager is based on PiBakery, but is meant to be simpler to use. The latter is for advanced users, and allows you to set the password, configure WiFi, SSH, a VNC server, etc… before flashing the image.
Raspberry Pi Imager is open-source and released under an Apache License. You’ll find the source code on Github. Based on the comments in the announcement post, the utility can also run on a Raspberry Pi board, but at this time, it needs to be compiled from source, and there’s no pre-built binary image for download.

Jean-Luc started CNX Software in 2010 as a part-time endeavor, before quitting his job as a software engineering manager, and starting to write daily news, and reviews full time later in 2011.
Support CNX Software! Donate via cryptocurrencies, become a Patron on Patreon, or purchase goods on Amazon or Aliexpress


I’ve never been convinced at all by the benefits of such tools which are only frontends to the basic operation of copying an image to a flash. In the days of CD-based installation, linux users would use “dd” to put their floppy images on floppies and dos/windows users would use “rawrite” and nobody would find this complicated at all. As time passed, some started to add some eye-candy stuff on top of this, hiding all the critically important information and starting to scare the users about what they were about to validate by click on the “start” button. Since this point it seems that many users started to find it complicated to simply dump an image to a device!
Thus my guess is that the only complicated step people feel is actually *being certain* of what they are doing, and such tools which hide everything probably make them feel even less secure because there’s always this small sing in the end “let’s hope it doesn’t write it to the hard drive”, something that never happened with the regular tools before. You will note that nowhere above on the screenshots there is *any* indication of what device is being destroyed during all the operation. *This* is absolutely scary, and one reason I’d never ever use such a tool. It’s the best way to hear “oh no you ruined all my photos by installing the image on my camera’s SD card which was plugged into the SD card slot”.
And when you see empiric stuff like this in the code, you can be sure it will add its dose of entropy in field:
> such tools which are only frontends to the basic operation of copying an image to a flash
Not talking about the tool above but about balenaEtcher now. Etcher is not just ‘copying an image’ but more importantly by default also verifying that the stuff arrived there correctly. If the image has been provided with a checksum it also verifies download integrity.
This is the stuff newbies fail with (silent data corruption while downloading and/or flashing) and that’s the reason I only recommend Etcher to anyone. Since it protects you from the most common fails that happen rather often and create insane levels of support efforts later (since an OS image with some occasional bit flips ‘at the right locations’ behaves like weird software malfunctions later).
I even collected some broken SD cards to demonstrate this. Using dumb tools like
ddor the ‘Raspberry Pi Imager’ from above some garbage will be written to the card while Etcher will either stop while flashing or warns when verifying afterwards.ddand other dumb tools will only notify in the first case but are not able to inform the user about silent data corruption since they skip the verify step.Hmmm, ya. Balena Etcher phone home software without (full) opt out option. They even know that they are violating laws like the GDPR (see github and statements from balena) and they just give a sh!t. They take your data and don’t even run, they just take it again and again…
Thanks for mentioning this. It pointed me to an interesting alternative: https://github.com/balena-io/etcher/issues/2497#issuecomment-589642836
Why wouldn’t someone like to use a 500.000 Kilobytes program to write and verify a image file? I guess this usbimager (https://gitlab.com/bztsrc/usbimager) who claims to do the same in 250 Kilobytes is doing black magic! And how does this even work? Without analytics, ads and other bloatware included? How should this work?
Well, seems usbimager could be little larger because on my Windows it has corrupted GUI. Nothing major but still.
Or just the good old dd if=/dev/sdb bs=1M count=XXX | sha256sum which continues to work and doesn’t come with countless dependencies.
Sure, if you simply ignore the target audience then this is a great optional step nobody takes since it takes time and is optional. 😉
The target audience (inexperienced SBC users) will find out that there is no
ddon Windows, that there are nosdNdevices on macOS and most probably they’ve overwritten the wrong disk already in the first step withddwhen they wanted to flash an image to an SD card.If you look at this from the ‘Linux expert’ perspective this is something entirely different than looking at it from the ‘support novice SBC users’ PoV. There’s a reason resin.io/Balena guys developed Etcher. Since their customers failed to burn SD cards as it happens all the time and everywhere with inexperienced users so they had to develop a tool with mandatory verify to keep support efforts low.
I consider there’s way more risks of wiping the wrong device using a magical tool that decides for you which device to use than by listing all the device names, their characteristics and contents and letting you picking the right one. The problem is that such tools aimed at inexperienced people make a business of keeping them inexperienced. Once you understand how that works you don’t need them anymore or you use them for what they provide (such as easy verification) and you don’t panic the first time you land on a machine where you can’t install or use them.
> there does not seem to be a verification step like in balenaEtcher to make sure there aren’t any issues with the MicroSD card or downloaded file
…or the card reader (writer) or the internal USB cabling if USB3 card readers are used on PC’s USB3 front ports.
‘Verify by default’ is what makes balenaEtcher outstanding. Not implementing verify for this target audience is just plain stupid.
> Not implementing verify for this target audience is just plain stupid.
But it turns out it is implemented at the end of the writing process. Just in a way users can skip the verify at any time so guess what those with crappy SD cards where the writing already took ages will do…
half the battle, was getting it to load !
I’ve just noticed on RPi Blog they’ve also recently released an SD card speed test program:
Source code: https://github.com/raspberrypi-ui/agnostics
The tests are modular so they could also throw in another shell script testing for undervoltage easily (problem N°1 of average RPi users not buying their official PSU).
And I really don’t understand why they implement a check for SD card’s performance in an optional way. In Armbian I added this years ago as mandatory check on 1st boot so at least console users get notified that they’re running off an inferior SD card when they start using the device the first time.
In no way is it going to be perfection, but has anyone experimented with the Androiid app Pi SD Card imager, by Mike Redrobe. Does it even work?