The Internet of Things today relies on many standards, and for example Google Cloud relies on Weave, Amazon AWS IoT and Samsung SmartThings on MQTT, Apple iCloud and so on. The web also relies on many different markup or programming languages like HTML, JavaScript, PHP, Ruby, etc.. but as a user you don’t need to care, and in most cases, you can access any website with the same web browser.
Last year, Mozilla started working on Project Things to bring the same ease of of use to the IoT, by implementing the proposed Web of Things standard by W3C that aims to reduce IoT fragmentation by allowing different vendors’ IoT offerings to work together.
Mozilla has now announced the release of Project Things “open framework for connecting your devices to the web” suitable not only for hackers and developers, but easy enough to use for end users. The release includes the following key features:
- Ability to use the microphone on your computer to issue voice commands
- Rules engine for setting ‘If this, then that’ (IFTTT) logic for how devices interact with each other
- A floor-plan view to lay out devices on a map of your home
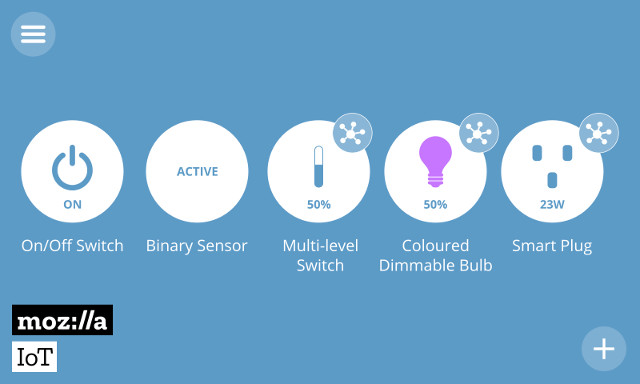
- Additional device type support, such as smart plugs, dimmable and colored lights, multi-level switches and sensors, and “virtual” versions of them, in case you don’t have a real device
- All-new add-on system for supporting new protocols and devices
- New system for safely authorizing third-party applications using OAuth
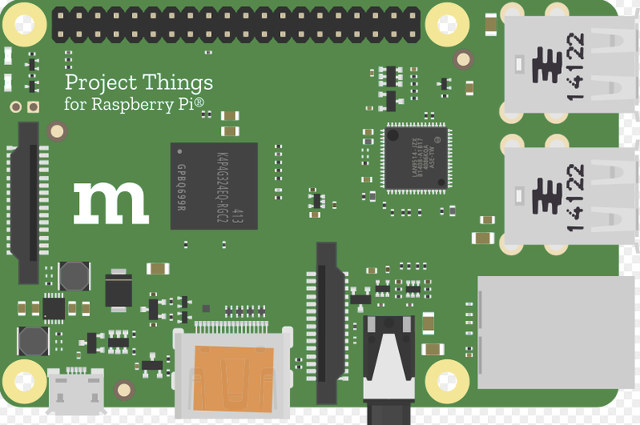
The framework can work with any platform running Linux or Mac OS X, but the easiest way to get started should be with the Raspberry Pi 3, since Mozilla provides detailed instructions to make your own Things Gateway with RPi 3, as well as a firmware image that you can flash to a micro SD card.
You don’t need extra hardware for WiFi and Bluetooth connectivity since the board already includes those, but you need to control Zigbee or/and Z-Wave devices, you’ll need to add USB dongles such as Digi XStick (ZB mesh version), Sigma Designs UZB Stick or Aeotec Z-Stick (Gen5) which have been tested by the team using compatible smart plugs.
If you don’t own a Raspberry Pi 3, it becomes a little more complicated, but probably not for most of the readers of this blog, since you just need to run some commands in a Terminal as explained in Github.
Via ZDNet

Jean-Luc started CNX Software in 2010 as a part-time endeavor, before quitting his job as a software engineering manager, and starting to write daily news, and reviews full time later in 2011.
Support CNX Software! Donate via cryptocurrencies, become a Patron on Patreon, or purchase goods on Amazon or Aliexpress


