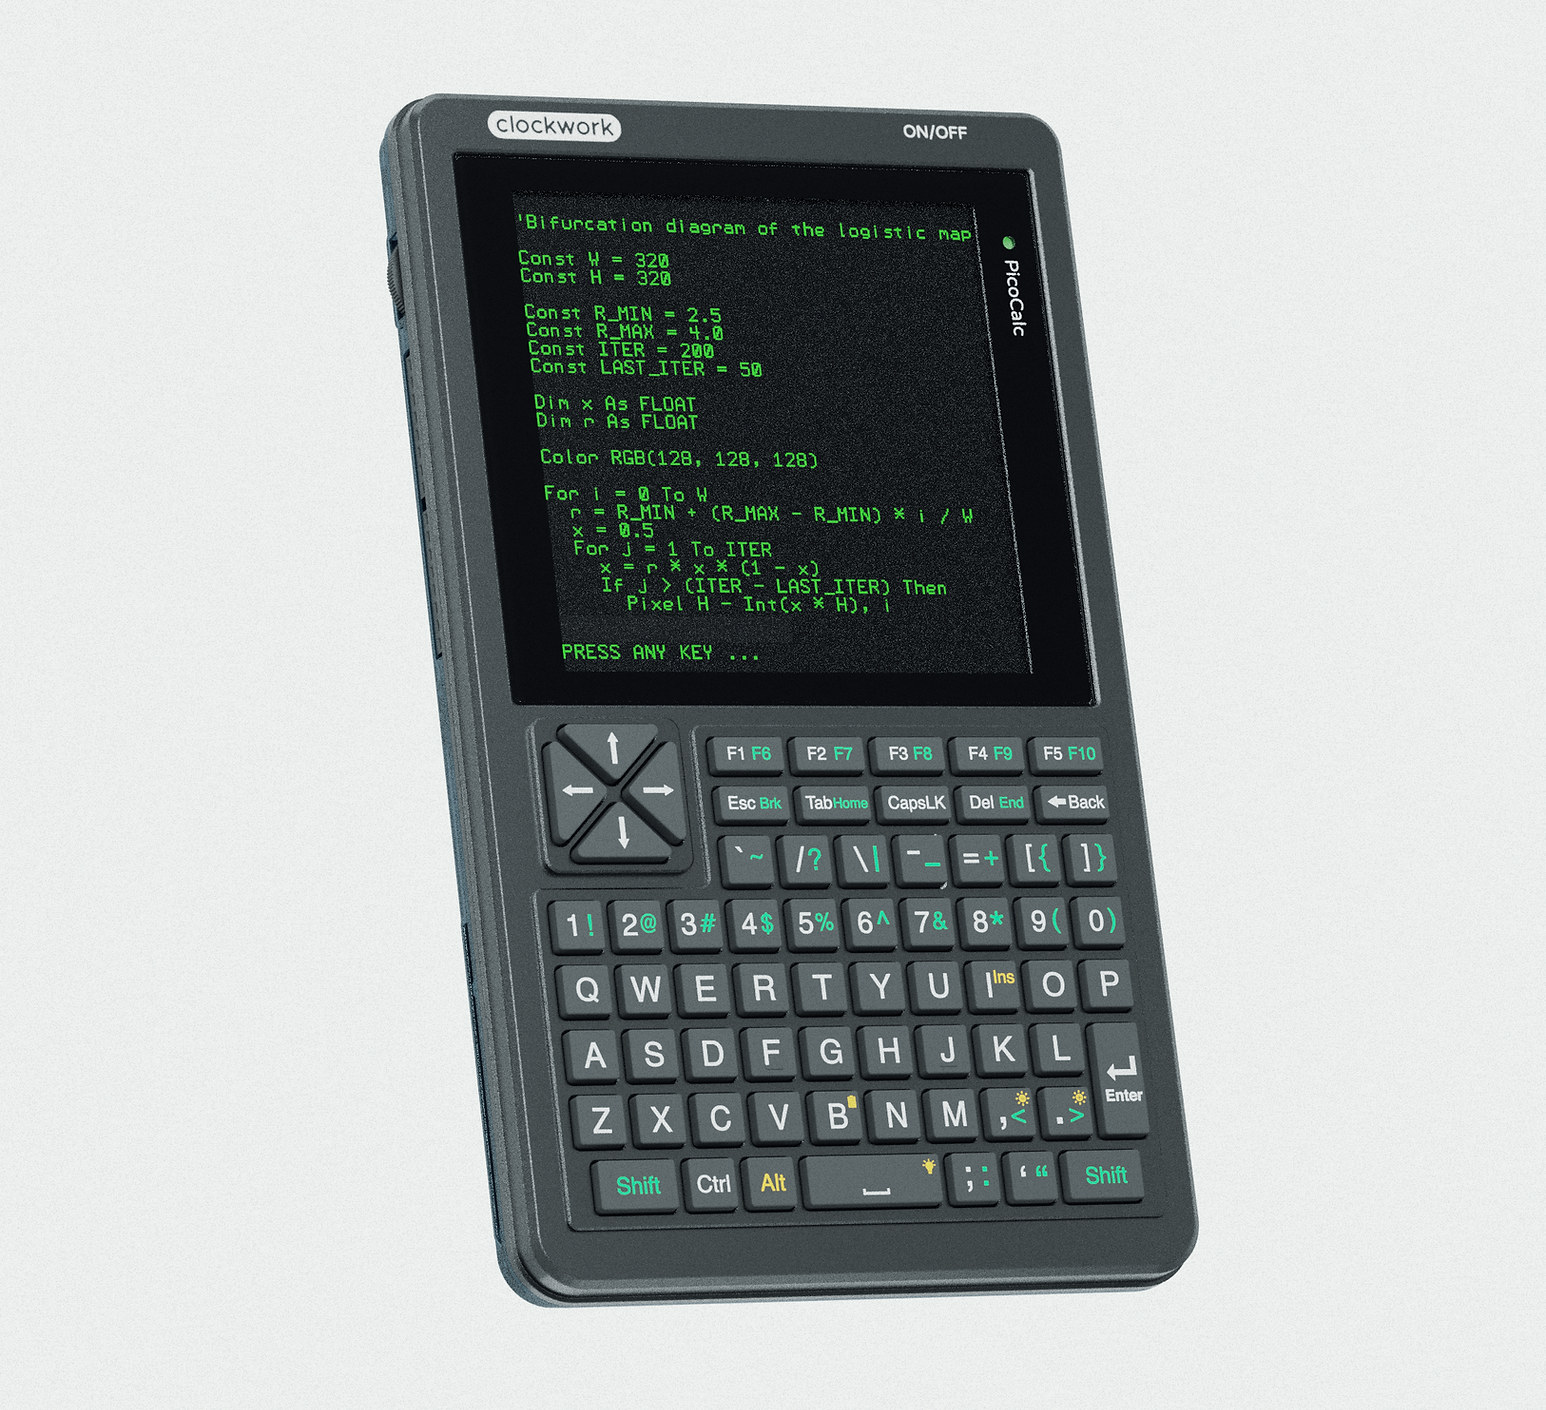
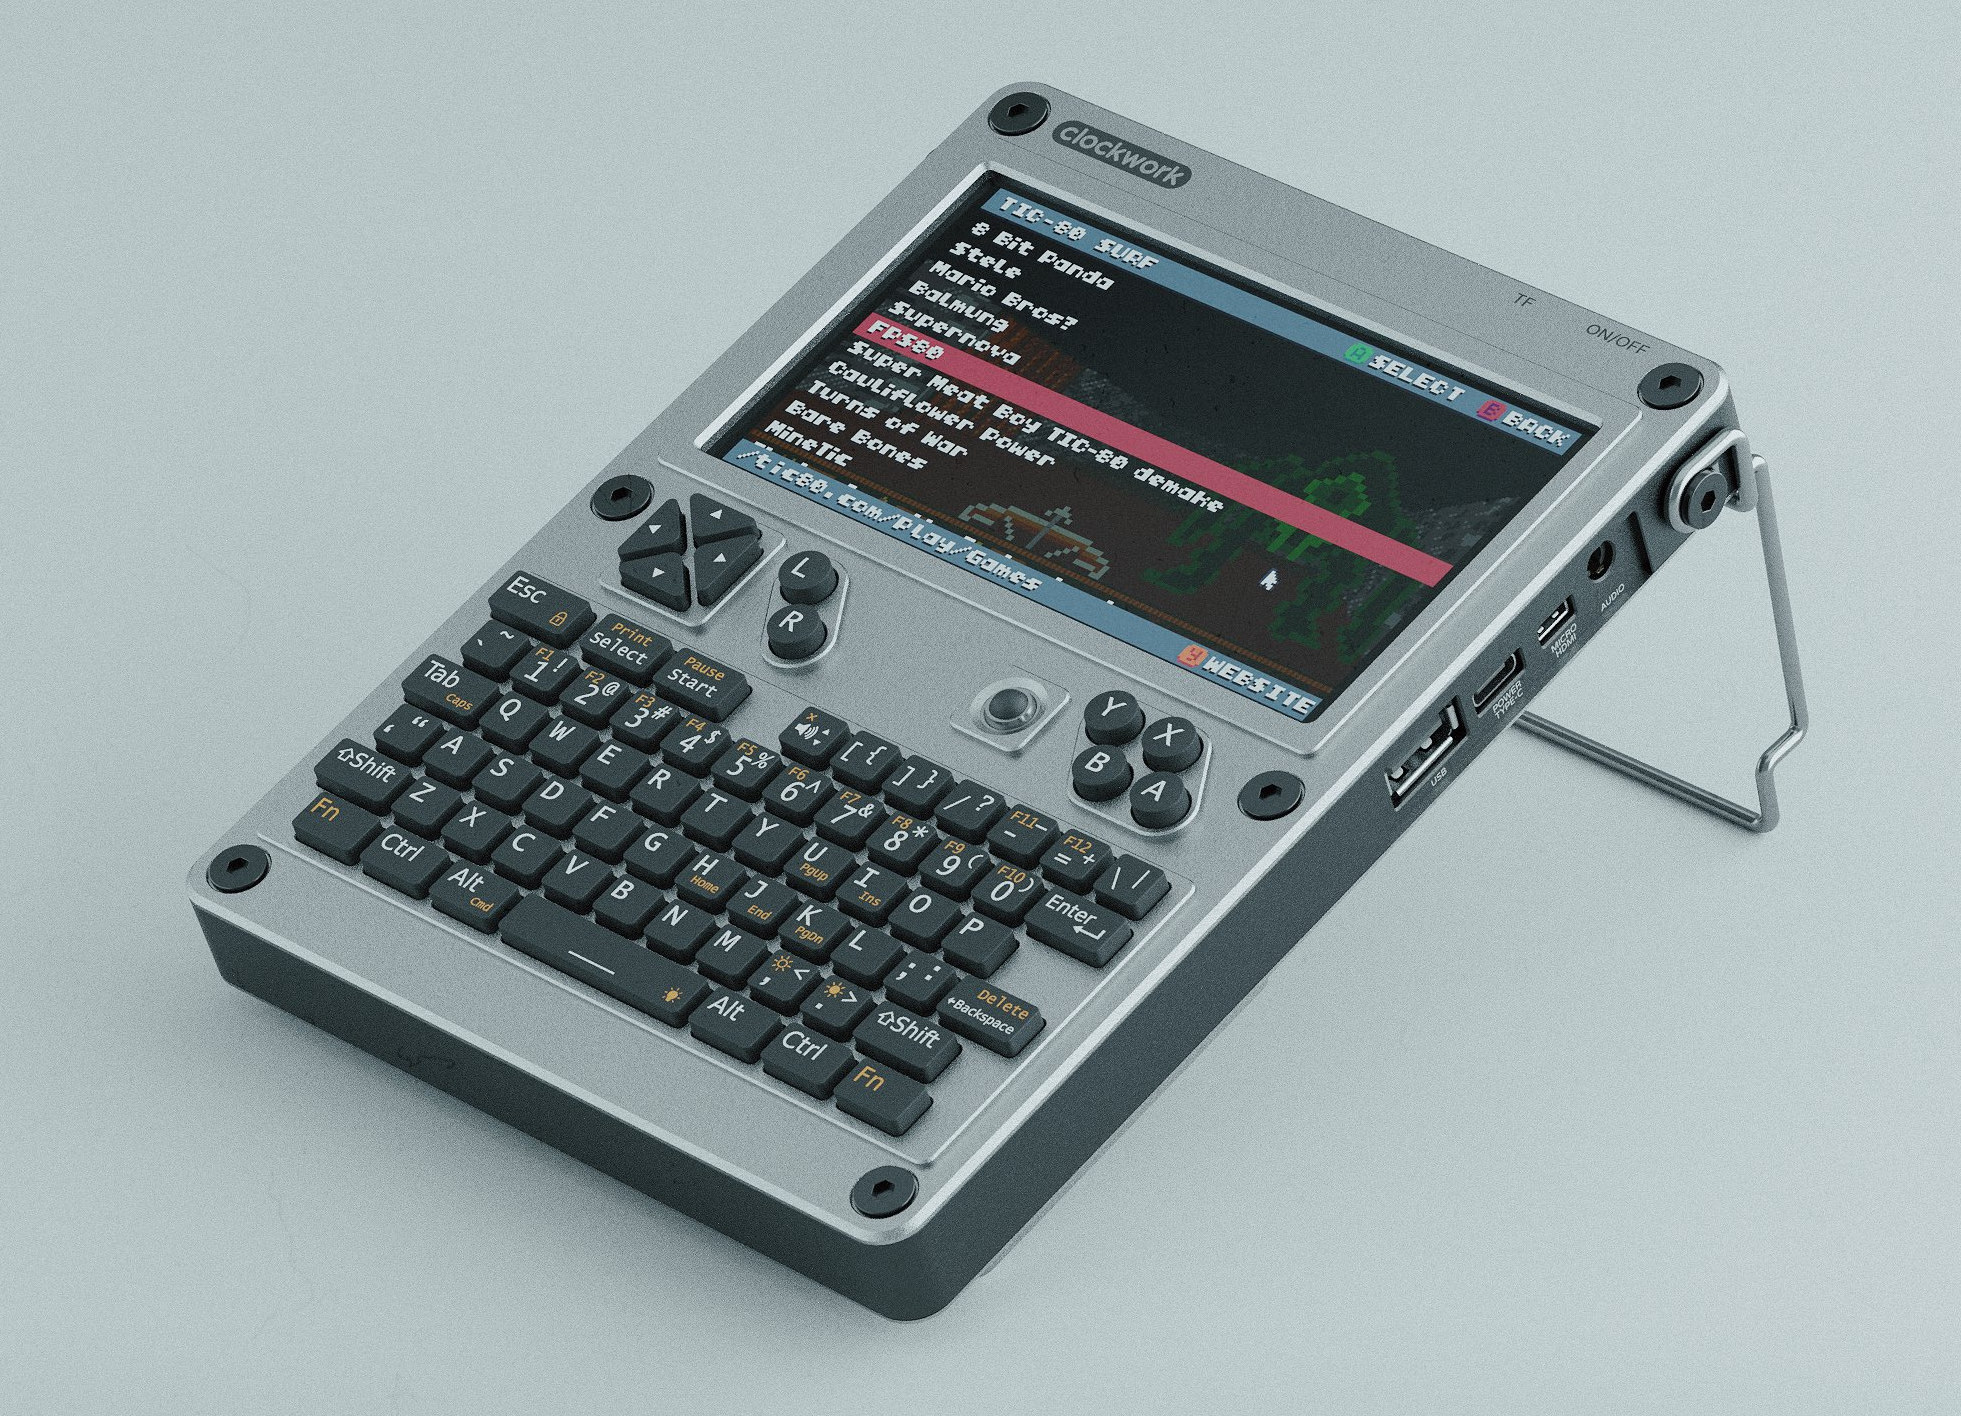
ClockworkPi has made several Linux handheld terminals over the years such as the GameShell or DevTerm, but the PicoCalc Kit is quite different since it relies on the Raspberry Pi Pico board plus an STM32 microcontroller to handle its built-in keyboard. The PicoCalc Kit is based on the ClockworkPi v2.0 mainboard that takes an RP2040-based Pi Pico H board, connects to a 4-inch IPS display with 320×320 resolution and stereo speakers, integrates a backlit QWERTY keyboard, and ships with a 32GB SD card with an optimized BASIC firmware. PicoCalc Kit specifications: ClockworkPi v2.0 mainboard Compatible boards – Headers for Raspberry Pi Pico H/WH, and Raspberry Pi Pico 2 / 2W MCU – STM32 for keyboard and backlight programmable with the Arduino IDE or STM32 official development tools Storage – SD card slot Display – Screen connector (SPI) Audio 2x speaker connectors 3.5mm audio jack 67-key QWERTY keyboard (I2C) Expansion Connector […]
uConsole is a modular Arm or RISC-V handheld computer with optional 4G connectivity
Clockwork’s uConsole is a modular handheld computer with a 5-inch display, a built-in keyboard, and based on a carrier board supporting various Arm or RISC-V modules compatible with the Raspberry Pi CM3 or CM4 form factors. The device is offered with a system-on-module with up to 4GB RAM, a WiFi 5 and Bluetooth 5.0 wireless module, features micro HDMI video output, USB ports, and an audio jack, plus expansion connectors for more advanced users, and takes two 18650 batteries for power. The company also offers a 4G LTE module for cellular connectivity. The mainboard, called ClockworkPi v3.14 revision 5, offers the following: System-on-module socket – 200-pin DDR2 SODIMM socket compatible with Raspberry Pi CM3 and, through an adapter, Raspberry Pi CM4 and compatible modules Storage – MicroSD card socket Video Interfaces 40-pin MIPI DSI connector micro HDMI interface for external display Audio – 3.5mm audio jack with headphone and microphone […]
DevTerm portable Linux terminal now supports Raspberry Pi CM4 via a $19 adapter
DevTerm modular, portable Linux terminal initially designed for modules based on Raspberry Pi CM3 form factor, can now work with Raspberry Pi CM4 for extra performance and memory thanks to a $19 adapter. The Devterm was initially launched in 2020 with a 6.8-inch IPS screen, a keyboard with 67 keys, and a battery module, all connected through the ClockworkPi v3.14 carrier board taking a choice of core modules based on Allwinner H6 or Rockchip RK3399 (now supported in Armbian), besides the Raspberry Pi Compute Module 3 mentioned above. More recently, it also got an Allwinner D1 RISC-V module. The Raspberry Pi CM4 module should bring performance similar to the Rockchip RK3399 module for most tasks, although it may vary a lot depending on workloads, and for regular Raspberry Pi users, software that will be more familiar, and may be better supported. I’ve just a bit surprised it took so long, […]
DevTerm modular Linux terminal gets a RISC-V module compatible with Raspberry Pi CM3
ClockworkPi DevTerm retro-looking modular portable Linux computer has gotten a 64-bit RISC-V module based on Allwinner D1 1GHz SoC and offers an alternative to existing Arm-based modules such as Raspberry Pi CM3, or alternatives powered by Allwinner H6 or Rockchip RK3399 SoC’s. The new DevTerm Kit R-01 modular & portable terminal has exactly the same specifications with a 6.8-inch IPS screen, a keyboard with 67 keys, and a battery module, all connected to ClockworkPi v3.14 carrier board, but replaces the Arm modules with the R-01 module equipped with the Allwinner D1 processor and 1GB of RAM. DevTerm Kit R-01 kit items: SoM – R-01 Core module with Allwinner D1 single-core 64-bit RISC-V RV64IMAFDCVU processor @ 1.0GHz without GPU, and 1GB DDR3 Carrier board – ClockworkPi v3.14 mainboard Storage – 32GB MicroSD card preloaded with clockworkOS Display – 6.86-inch IPS screen module Audio – Dual speaker Keyboard – Clockwork 65% keyboard […]
BashTop is a Linux Resource Monitor for the Terminal
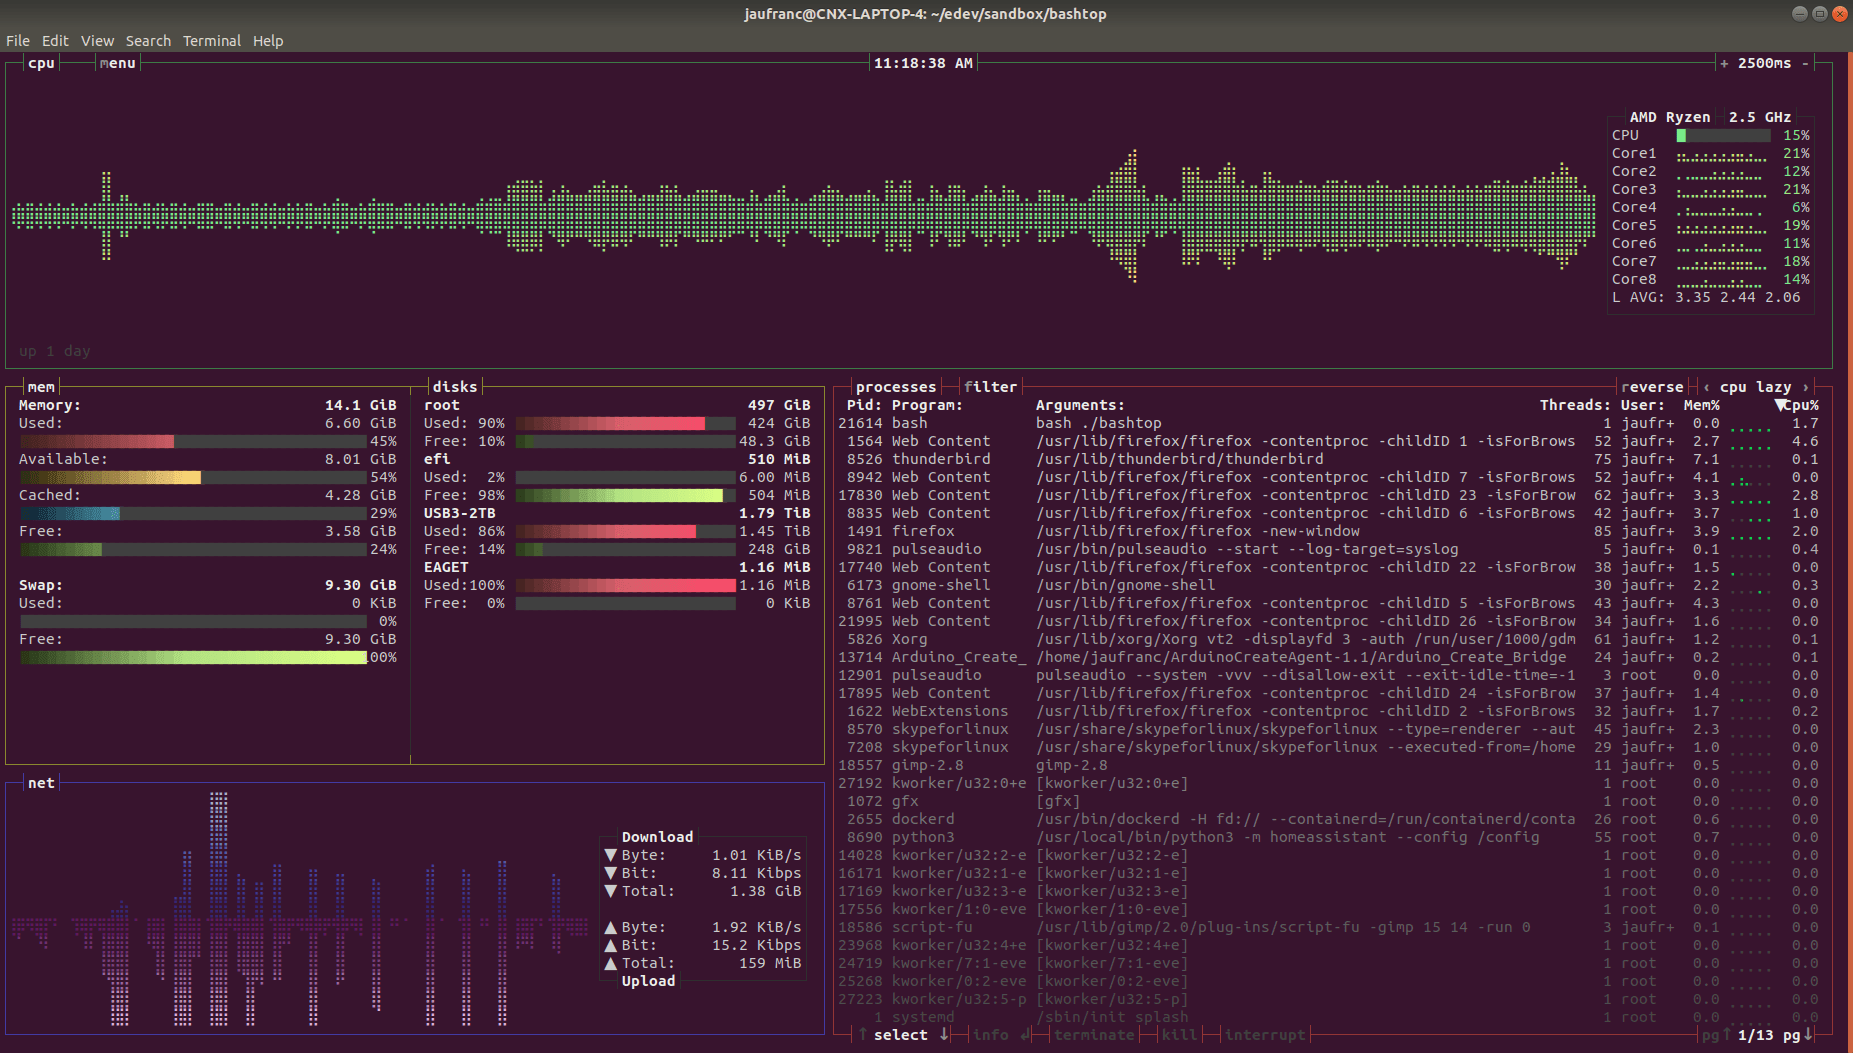
Neil Amstrong of BayLibre recently added ODROID-C4 support to Armbian, fired up Rosetta@Home on the Amlogic S905X3 SBC, and took a screenshot of some kind of advanced htop program showing the Rosetta@Home and other processes running. And… Rosetta@Home starting ! pic.twitter.com/w10hjwppLR — Neil Armstrong @[email protected] (@Superna9999) April 27, 2020 The program used happens to be BashTop a recently released Linux resource monitor written in Bash and running in a terminal. Installing the script and running it is super easy:
|
1 2 3 |
git clone https://github.com/aristocratos/bashtop cd bashtop ./bashtop |
I tried it in an AMD Ryzen 7 laptop running Ubuntu 18.04. You’ll need at least a 80×25 terminal window, but it looks much better in full screen. It shows CPU use in graphical and text forms, memory and storage usage, a list of processes, as well as network usage both in graphical and text forms. You can also select each individual process to get more information or kill it. […]
How to Read OpenOffice / LibreOffice Files from the Command Line
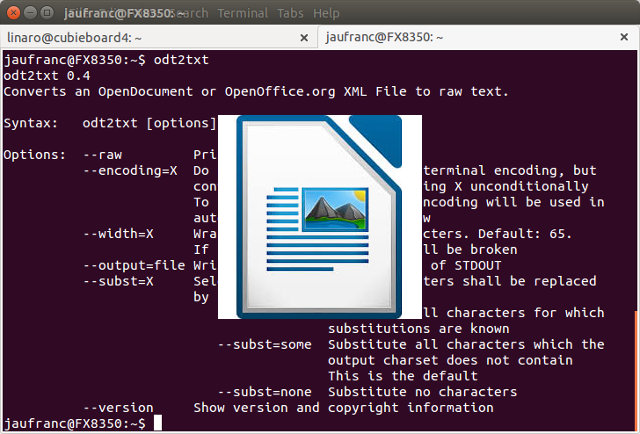
Let’s say you have edited a file in LibreOffice Writer, but later you access your computer remotely via SSH for example. You don’t really want to bother copying the file to your current machine, and rather just quickly check its content in the terminal. Is there a way? Since odt files are just some zip files containing XML files, you could manually decompress the file, and open XML files, but there is a more convenient the program is called odt2txt. On an Ubuntu / Debian machine it can be installed with:
|
1 |
sudo apt-get install odt2txt |
For basic usage, you just need to pass the filename as parameter:
|
1 2 3 |
odt2txt test.odt This is a test |
But there are also a few more options:
|
1 2 3 4 5 6 7 8 9 10 11 12 13 14 15 16 17 18 19 20 21 22 23 |
odt2txt odt2txt 0.4 Converts an OpenDocument or OpenOffice.org XML File to raw text. Syntax: odt2txt [options] filename Options: --raw Print raw XML --encoding=X Do not try to autodetect the terminal encoding, but convert the document to encoding X unconditionally To find out, which terminal encoding will be used in auto mode, use --encoding=show --width=X Wrap text lines after X characters. Default: 65. If set to -1 then no lines will be broken --output=file Write output to file, instead of STDOUT --subst=X Select which non-ascii characters shall be replaced by ascii look-a-likes: --subst=all Substitute all characters for which substitutions are known --subst=some Substitute all characters which the output charset does not contain This is the default --subst=none Substitute no characters --version Show version and copyright information |
This also wrote with ods (spreadsheets) and odp (presentations) files with ods2txt and odp2txt which are just symlinks pointing to the same program as odt2txt, namely odt2txt.odt2txt. Jean-Luc Aufranc (CNXSoft)Jean-Luc started CNX Software in 2010 as […]
Linux Command Line Guides
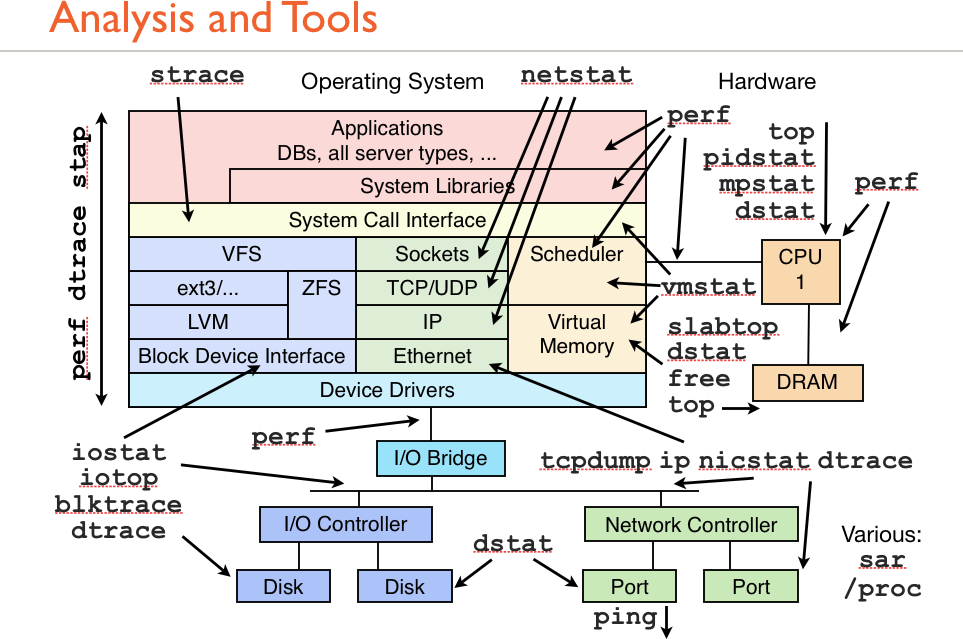
I’ve found and reshared two interesting graphical resources about the Linux command line via Google+ Linux Community, and I thought I’d also write about it here to reach a wider audience. The first graphic shows which tools to use to monitor or analyze specifics parts that may run in Linux. The command I personally run the most in the list above are iotop for disk write/read throughput, top or htop to check overall and current processes CPU usage, as well as memory usage. Ping is also an all time favorite to check network connectivity. although I sometime use mii-tool, not listed above, to check Ethernet link status. Strace can be very useful to debug binaries, but I don’t use it that often. The next picture, called “Linux Commands Cheat Sheet” is less specific, and can be interesting if you are not familiar with the Linux command line. If the resolution […]
dmesg gets Human Readable Output
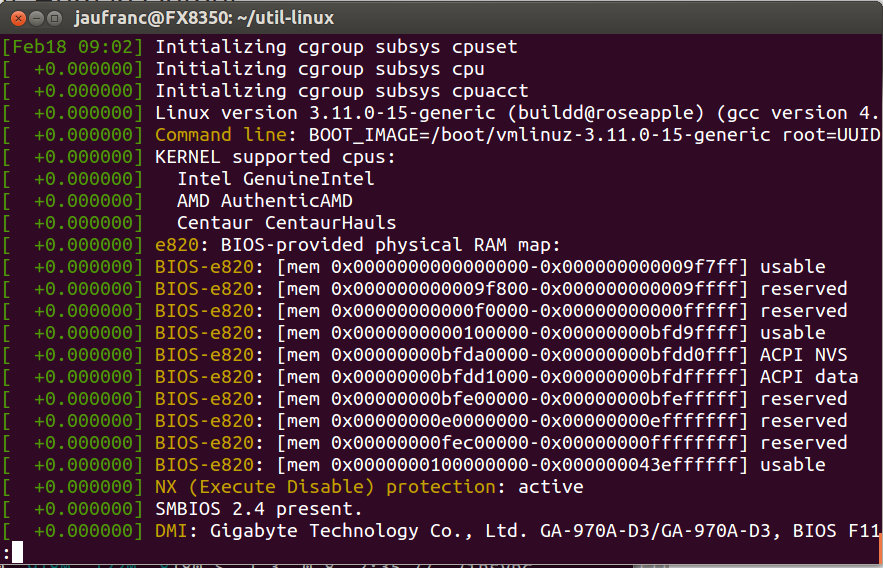
Many Linux command line tools, such as ls or du, have a “human” option to make it more readable by… humans. When you want to get the kernel log, to find otu potential problems, you’d usually run dmesg, which dump the complete log in one go and looks like: [ 0.000000] Initializing cgroup subsys cpuset [ 0.000000] Initializing cgroup subsys cpu [ 0.000000] Initializing cgroup subsys cpuacct [ 0.000000] Linux version 3.11.0-15-generic (buildd@roseapple) (gcc version 4.8.1 (Ubuntu/Linaro 4.8.1-10ubuntu8) ) #25-Ubuntu SMP Thu Jan 30 17:22:01 UTC 2014 (Ubuntu 3.11.0-15.25-generic 3.11.10) [ 0.000000] Command line: BOOT_IMAGE=/boot/vmlinuz-3.11.0-15-generic root=UUID=9c042788-fa75-4fc4-9b12-598c809410e8 ro quiet splash [ 0.000000] KERNEL supported cpus: [ 0.000000] Intel GenuineIntel [ 0.000000] AMD AuthenticAMD [ 0.000000] Centaur CentaurHauls [ 0.000000] e820: BIOS-provided physical RAM map: [ 0.000000] BIOS-e820: [mem 0x0000000000000000-0x000000000009f7ff] usable [ 0.000000] BIOS-e820: [mem 0x000000000009f800-0x000000000009ffff] reserved [ 0.000000] BIOS-e820: [mem 0x00000000000f0000-0x00000000000fffff] reserved [ 0.000000] BIOS-e820: [mem 0x0000000000100000-0x00000000bfd9ffff] usable [ 0.000000] BIOS-e820: […]


