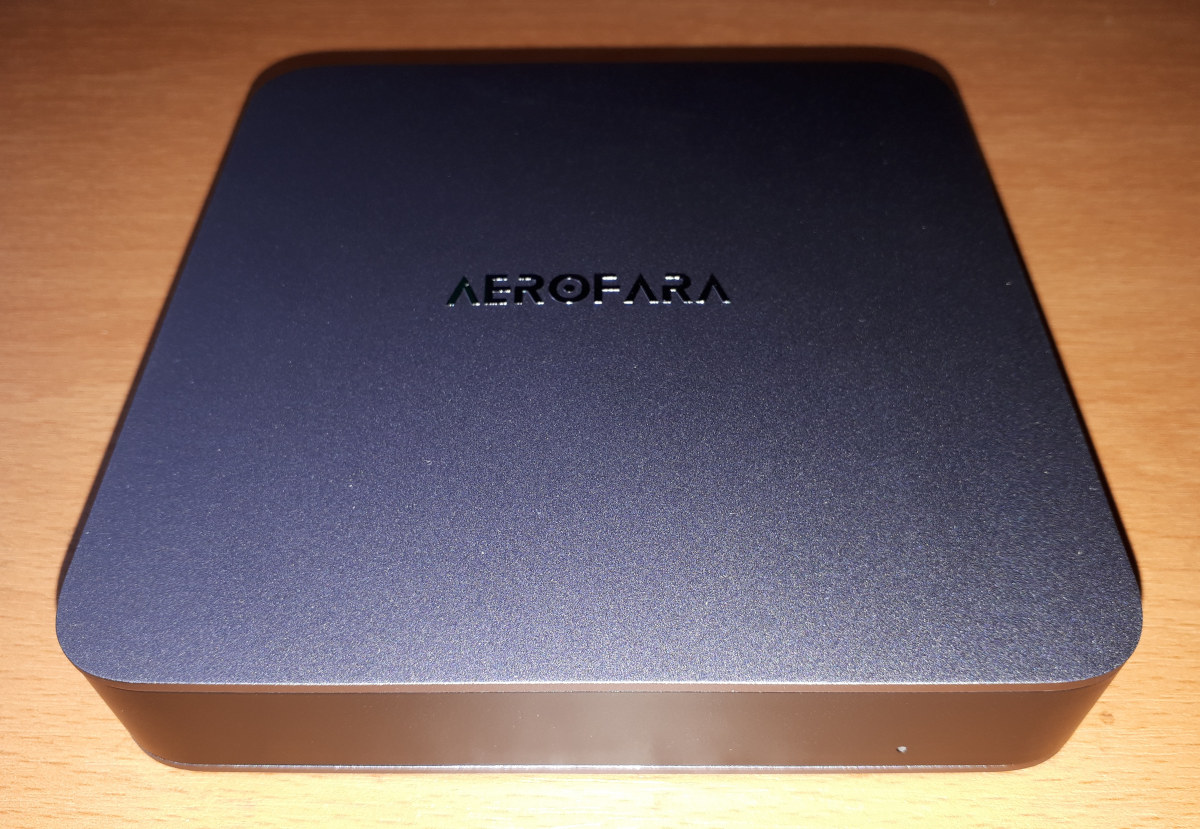
Aerofara’s Aero 2 Pro is an Intel Jasper Lake mini PC and one of the very few new mini PCs to include a VGA port. Aerofara kindly sent one for review and I’ve looked at performance running both Windows and Ubuntu. Aero 2 Pro Hardware Overview The Aero 2 Pro physically consists of a 120 x 120 x 23mm (4.72 x 4.72 x 0.91 inches) rectangular metal case with inset front and back plastic panels. As an actively cooled mini PC, it uses Intel’s 10 nm Jasper Lake N5105 processor which is a quad-core 4-thread 2.00 GHz Celeron processor boosting to 2.90 GHz with Intel’s UHD Graphics. The front panel is bereft of anything save a pinhole which is illuminated blue when the device is powered on. The rear panel includes the power jack, a USB 3.1 port, an HDMI port, an Ethernet port, a 3.5mm headphone jack, and a […]
Review of ANNKE NC800 Smart IP camera with color night vision – Part 1: unboxing
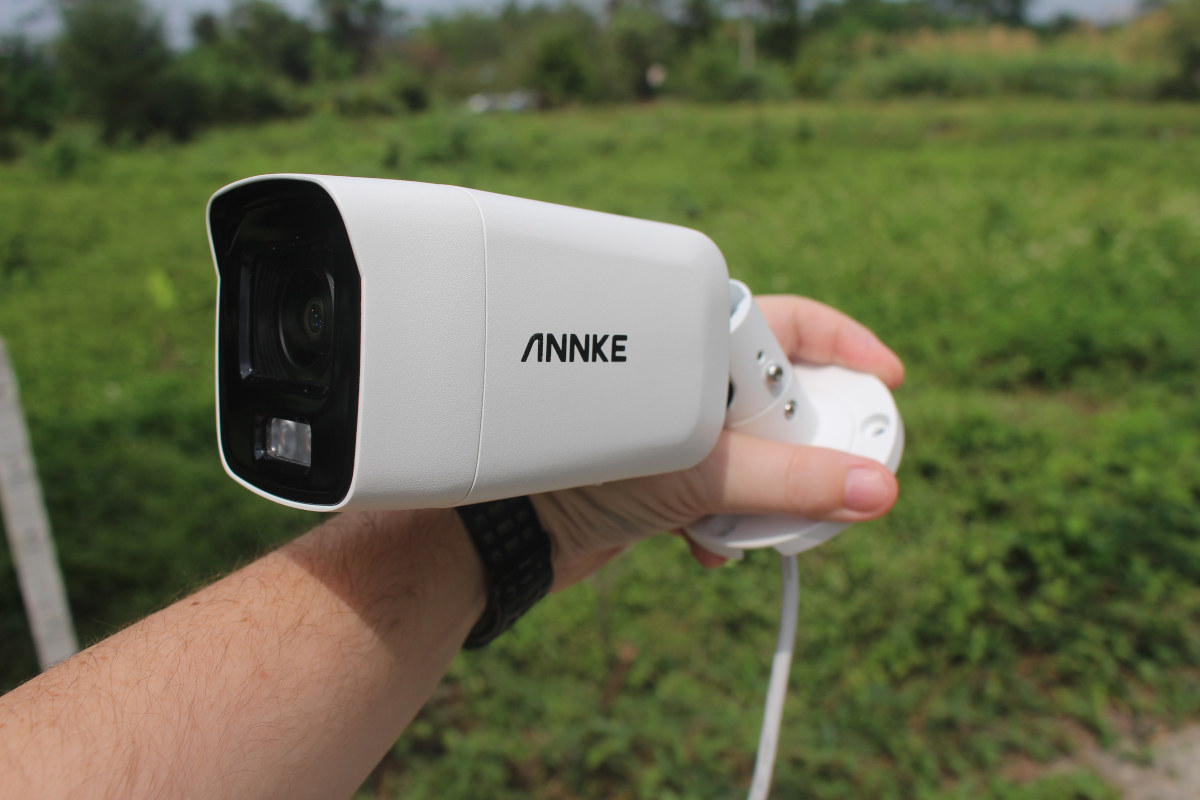
ANNKE NC800 is a 4K security camera with people and vehicle detection, and other AI features as tested in our Annke CZ400 review. The main differentiating factor is support for “true full color” night vision that does not rely on a spotlight, but instead a “soft light”, a BSI sensor, and f/1.0 aperture as we’ll explain in a bit more detail below. The company sent me a sample for evaluation, and today I’ll check out the specifications of the “NightChroma NC800” camera and the content of the package, before installing and focusing testing on night capture in the second part of the review. ANNKE NC800 (I91BQ) specifications Camera Image Sensor – 1/1.2″ Progressive Scan CMOS Video Codec Main stream – H.265+/H.265/H.264+/H.264 Sub-stream – H.265/H.264/MJPEG Third stream – H.265/H.264 Framerate and Video Resolution 20 fps @ 3840×2160, 3072×1728 50 Hz: 25 fps @ 2688×1520, 1920×1080, 1280×720 60 Hz: 30 fps @ […]
Fixing performance issues with Realtek RTL8156B 2.5GbE USB dongle in Ubuntu
A few days ago, I reviewed a USB 3.0 to 2.5 Gbps Ethernet adapter based on Realtek RTL8156B chip in Ubuntu 20.04, and let’s say the reliability and performance were underwhelming. I got some recommendations like changing cables, the MTU size, etc… Playing around with cables did no help, but one comment mentioned the cdc_ncm driver could be the issue, followed by another saying that updating to Linux kernel 5.14 should install the correct r8152 driver… So I just did that:
|
1 |
sudo apt install linux-oem-20.04d |
This upgraded Linux 5.13 (shipped with Ubuntu 20.04 + HWE) to Linux 5.14, but still no luck as the system kept using the cdc_ncm driver with a half-duplex link:
|
1 2 3 4 5 6 7 8 9 10 11 12 13 |
jaufranc@cnx-laptop-4:~$ inxi -n Network: Device-1: Realtek RTL8111/8168/8411 PCI Express Gigabit Ethernet driver: r8169 IF: enp2s0f1 state: down mac: 98:28:a6:0f:06:07 Device-2: Qualcomm Atheros QCA9377 802.11ac Wireless Network Adapter driver: ath10k_pci IF: wlp3s0 state: up mac: 70:c9:4e:b7:84:77 Device-3: Realtek USB 10/100/1G/2.5G LAN type: USB driver: cdc_ncm IF: enx1cbfced40321 state: up speed: 2500 Mbps duplex: half mac: 1c:bf:ce:d4:03:21 jaufranc@cnx-laptop-4:~$ uname -a Linux cnx-laptop-4 5.14.0-1022-oem #24-Ubuntu SMP Mon Jan 31 16:00:31 UTC 2022 x86_64 x86_64 x86_64 GNU/Linux |
But then I thought I may have to use udev rules to prevent loading the cdc_ncm driver, and there’s indeed 50-usb-realtek-net.rules in r8152 driver to do just that. So I copied the file in /etc/udev/rules.d/ folder. Since I […]
USB 3.0 to 2.5Gbps Ethernet adapter review
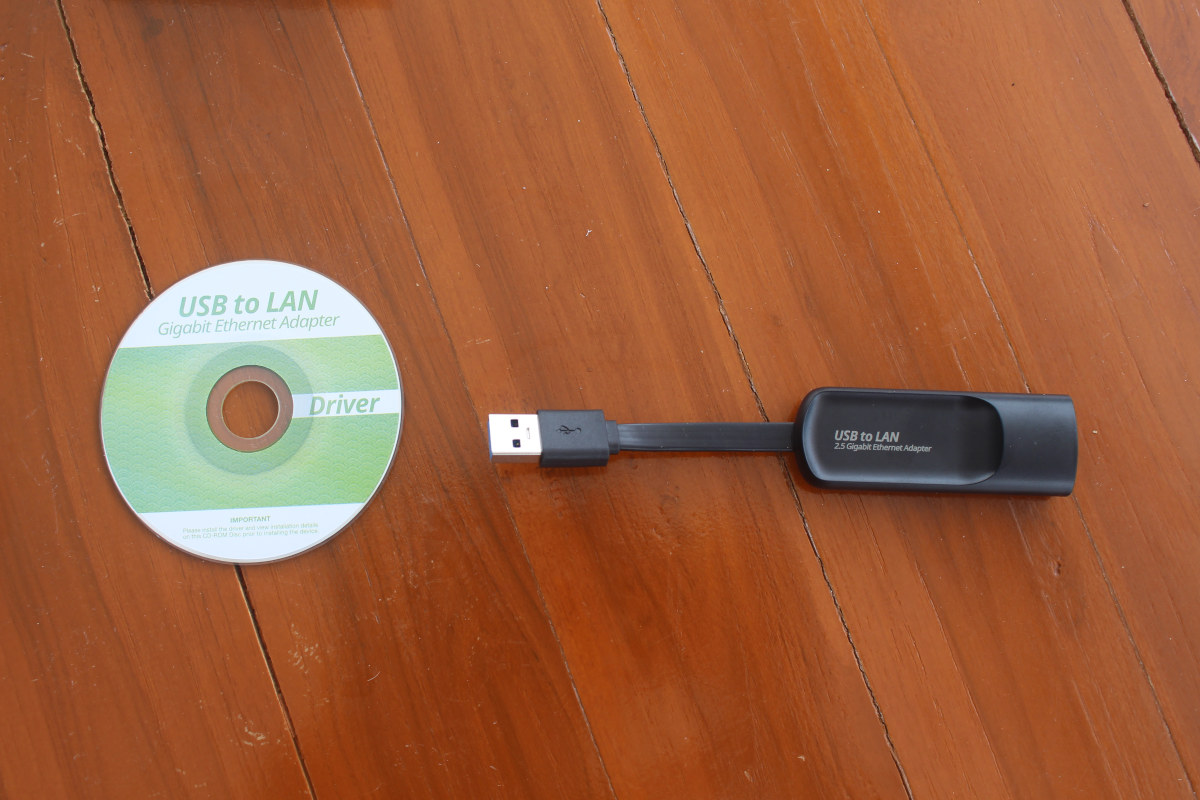
Late last month, I received hardware to test 2.5GbE and WiFi 6 with namely a Radxa E25 SBC, Xiaomi AX6000 WiFi 6 router, and an 8-port TP-Link 2.5GbE switch. I intended to start testing 2.5GbE networking with UP Xtreme i11 mini PC and Radxa E25, but I thought it might be a good idea to get a USB 3.0 to 2.5Gbps Ethernet adapter just in case. I purchased a no-name dongle for under $15 (475 THB on Lazada) in Thailand, but a USB 3.0 dongle that looks exactly the same can also be purchased on Aliexpress with either a USB Type-A port or a USB Type-C port. There’s some issue with Radxa E25 (it won’t boot it), so I ended up testing the dongle with UP Xtreme i11 mini PC. USB 3.0 to 2.5Gbps Ethernet adapter unboxing The package, marked “USB to LAN Gigabit Ethernet Adapter”, has “USB 3.0” and […]
Beelink GTR5 Review – An AMD Ryzen 9 mini PC tested with Windows 11, Ubuntu 20.04
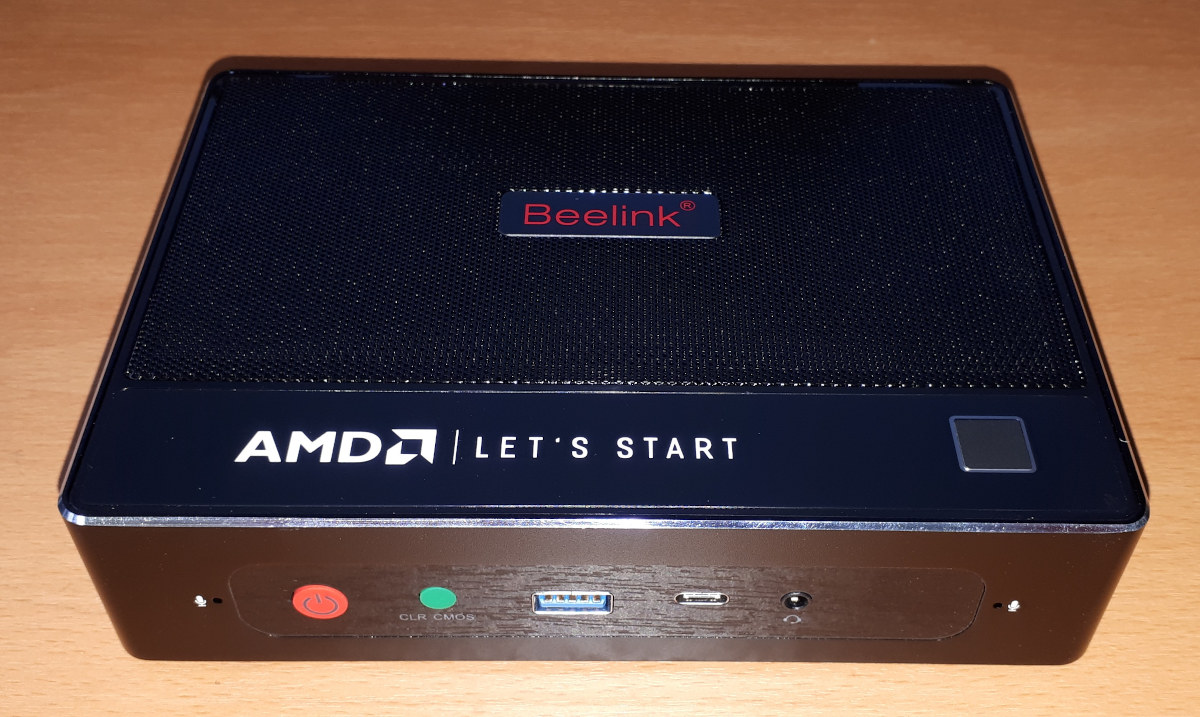
Beelink’s GTR5 is their most powerful mini PC to date and has been released as part of their ‘GT’ series of slightly larger mini PCs that are notable for expandable storage configurations together with multiple ports and characterized by the inclusion of a fingerprint scanner. Featuring an AMD Ryzen 9 mobile processor with Radeon Graphics, Beelink kindly sent one for review and I’ve looked at performance running both Windows and Ubuntu. Hardware Overview The Beelink GTR5 physically consists of a 168 x 120 x 39mm (6.61 x 4.72 x 1.54 inches) rectangular metal case. As an actively cooled mini PC, it uses AMD’s ‘Zen 3’ Ryzen 9 5900HX processor which is an eight-core 16-thread 3.3 GHz mobile processor boosting up to 4.6 GHz together with Radeon Graphics. The front panel has an illuminated power button, a ‘CLR CMOS’ button, a USB 3.1 port, a Type-C USB 3.1 port, and a […]
Review of GL.inet GL-S10 BLE to MQTT gateway with MQTT X open-source client
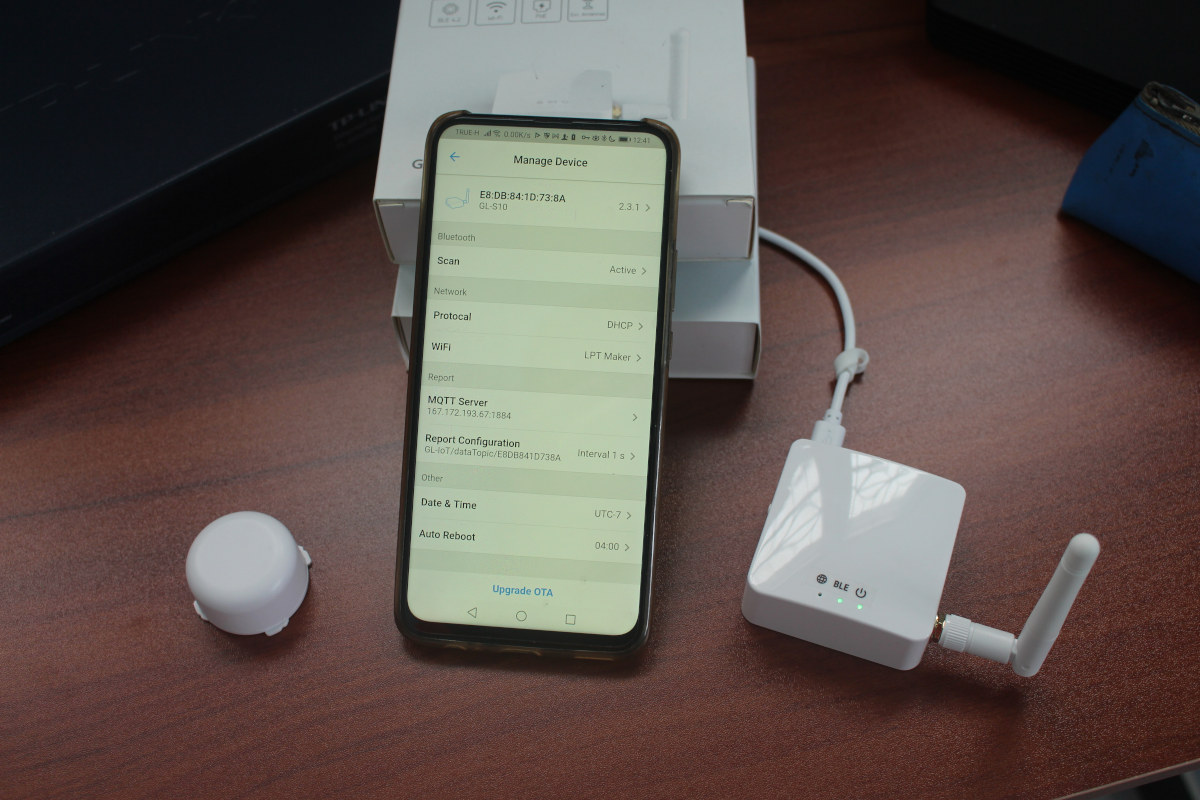
I started the review of GL.inet GL-S10 BLE to MQTT gateway in December by doing an unboxing and a teardown of the ESP32 gateway and BLE beacon provided. I’ve now had to play with the device and recommended app and software, and it took longer than expected since I encountered several issues during testing, most of which should now be resolved with new firmware, and documentation will be updated very soon. I mostly followed the steps from the detailed user manual for this review. The first time I did was to install the GL-S10 Tool App for Android, then power the gateway while pressing its button to enter pairing mode and soon enough the gateway was detected. Note you should probably not share the MAC address of your devices as there’s no security by default, and anybody would be able to access the information with the tools we’ll use below. […]
Beelink GTi11 modding – PCIe Gen 4.0 M.2 slot, tweaking power limits, and eGPU
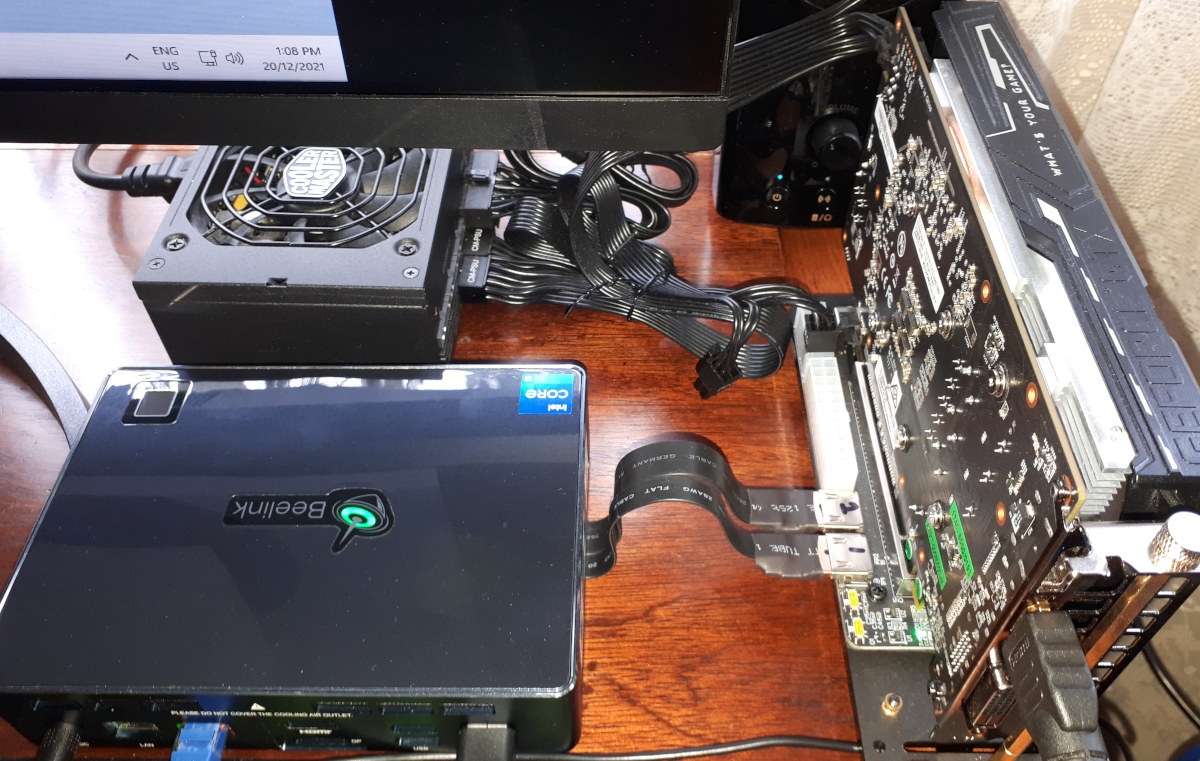
Previously I reviewed Beelink’s new GTi11 Intel Tiger Lake mini PC running Windows 11 and Ubuntu 20.04, so in this final part of the review, I’ll cover in more detail some of the features only briefly highlighted before. Specifically, I’m going to look at the PCIe Gen 4.0 M.2 slot, dabble in ‘overclocking’ and explore eGPU options. Hardware Recap The GTi11 is a 168 x 120 x 39mm (6.61 x 4.72 x 1.54 inches) actively cooled mini PC and the review model has an i5-1135G7 Intel Tiger Lake quad-core 8-thread 2.50 GHz Core processor boosting to 4.20 GHz with Intel’s Xe Graphics. The review model also included a 500GB M.2 2280 NVMe PCIe Gen 3.0 SSD drive with Windows 10 Pro installed, two sticks of 8GB DDR4 3200 MHz memory, a soldered WiFi 6 (or 802.11ax) Intel AX201 chip, and dual 2.5Gb Ethernet ports. Interestingly there are another two key […]
Maker Nano RP2040 offers Arduino Nano, Grove and Qwiic modules compatibility
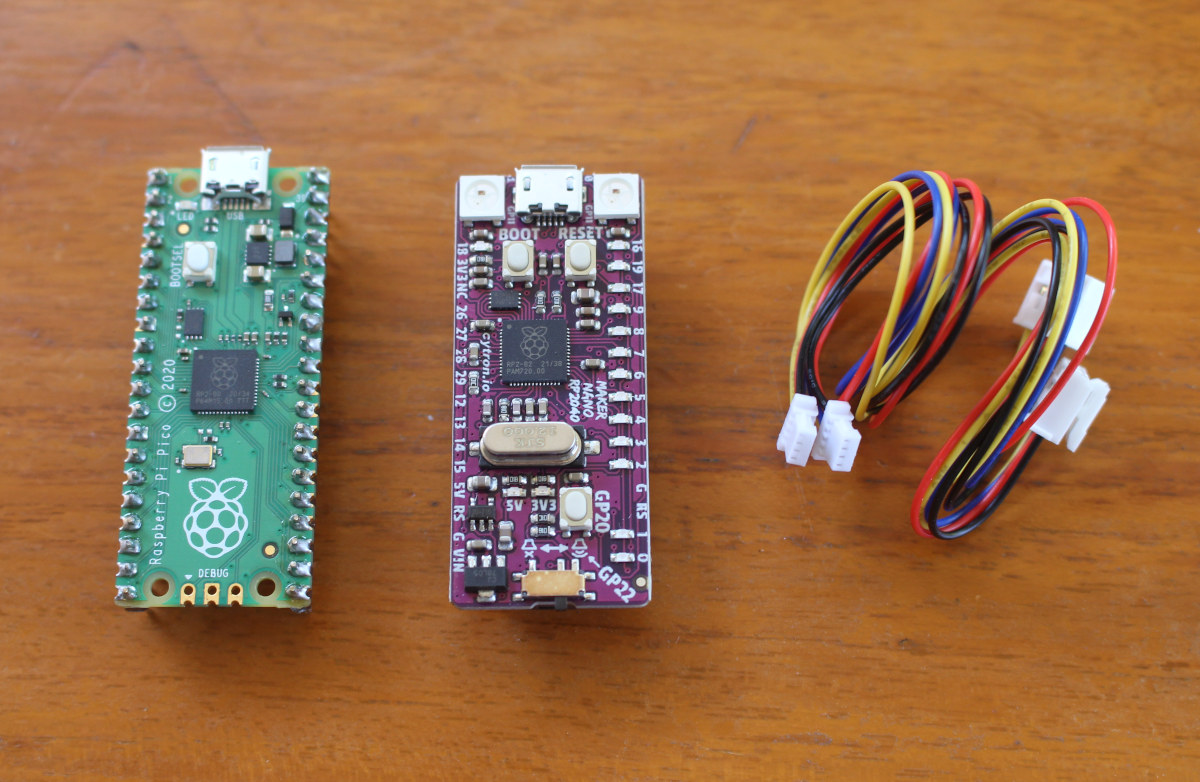
Cytron Maker Nano RP2040 is board similar to Raspberry Pi Pico but with Arduino Nano form factor, a proper reset button, two RGB LEDs, single color LEDs for some GPIOs, a buzzer, as well as two Qwicc/STEMMA QT connectors that can also be used to connect Seeed Studio Grove modules using provided conversion cables. While the board mostly aims to be an Arduino Nano/Maker Nano upgrade, there are some notable differences with the I/O voltage being limited to 3.3V without 5V tolerance, and there are only four ADC inputs (A0 – A3) instead of eight on the Arduino Nano. Maker Nano RP2040 specifications: MCU – Raspberry Pi RP2040 dual-core Arm Cortex-M0+ microcontroller @ 125 MHz with 264KB internal RAM Storage – 2MB flash Audio – Piezo buzzer with mute switch Expansion 2x 15-pin headers with 22x GPIOs, 14x of which with LEDs,2x I2C, 2x UART, 2x SPI, 14x PWM, 4x […]


