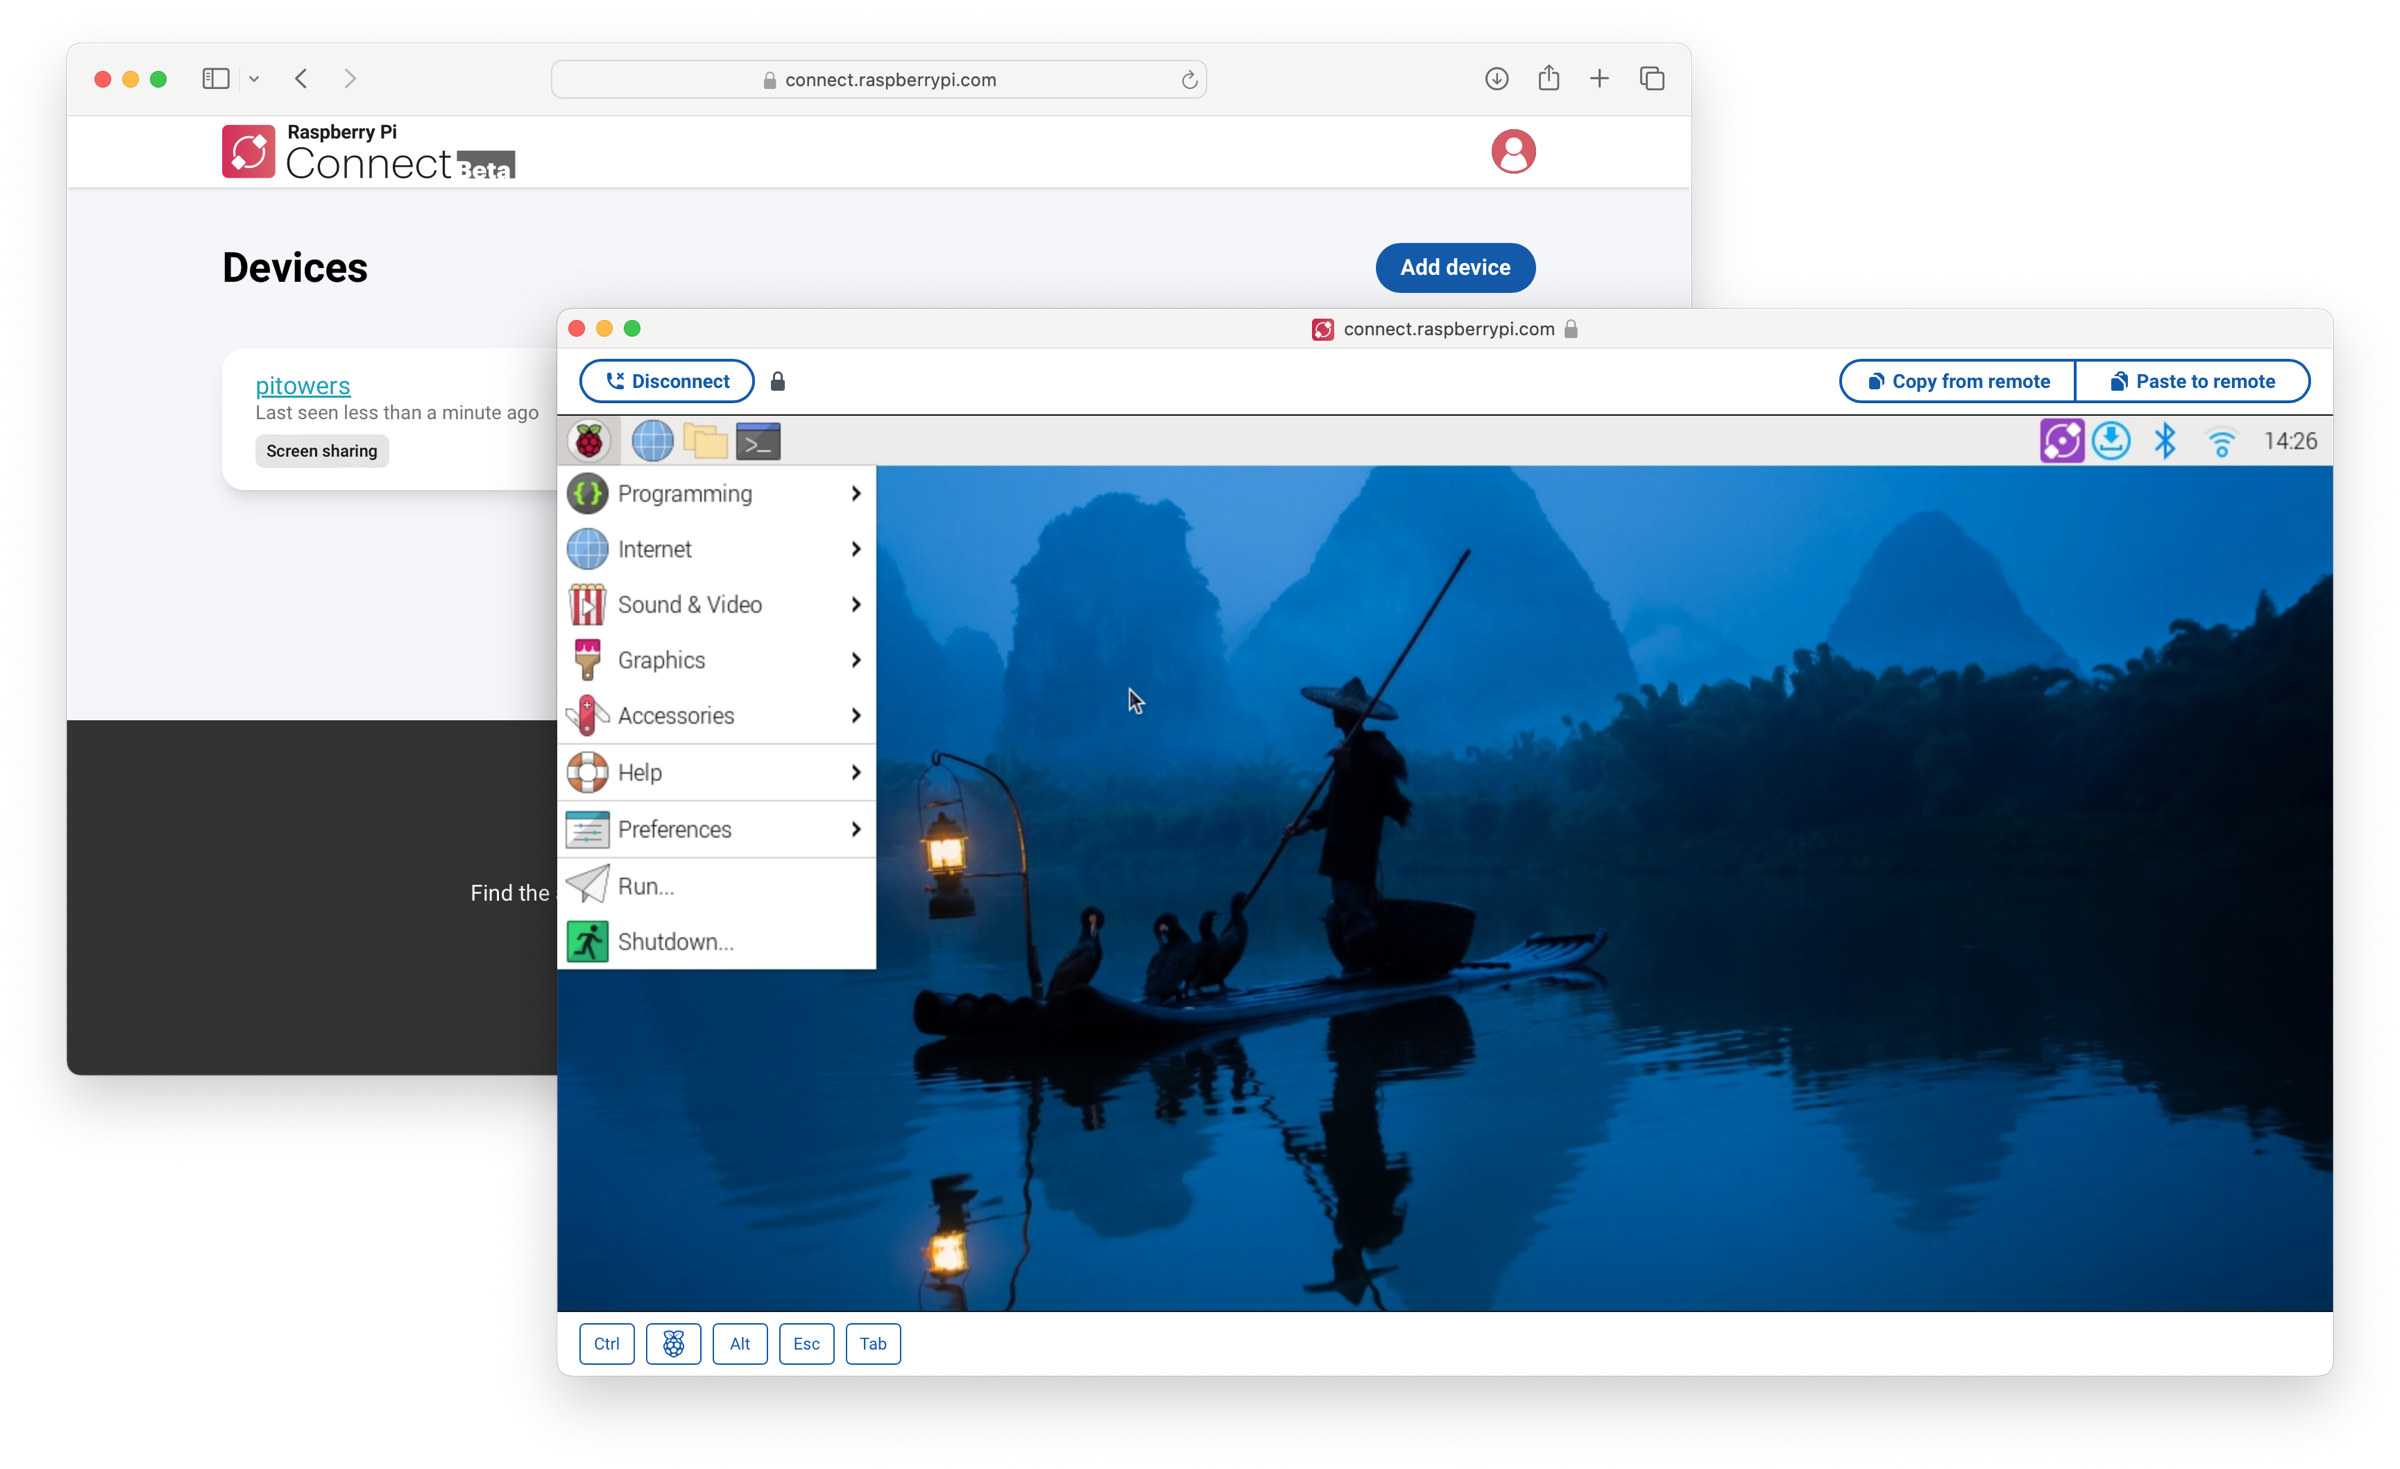
Raspberry Pi Connect software, currently in beta, aims to make remote access to the Raspberry Pi boards even easier and more secure by using a web browser and minimal configuration needed. It’s been possible to access Raspberry Pi boards remotely through VNC forever, and the X protocol used to be an option before the switch to Wayland, but both can be somewhat hard to configure especially when wanting to access the machine on a different local network or from the internet. Raspberry Pi Connect aims to change that. Under the hood, we’re told the web browser and the Raspberry Pi device established a secure peer-to-peer connection with the same WebRTC communication technology found in programs such as Zoom, Google Meet, or Microsoft Teams. The Raspberry Pi runs the “rpi-connect” daemon that listens to screen-sharing requests from the Raspberry Pi Connect website and establishes a secure, low-latency VNC instance directly between […]
Testing ntttcp as an iperf3 alternative in Windows 11 (and Linux)
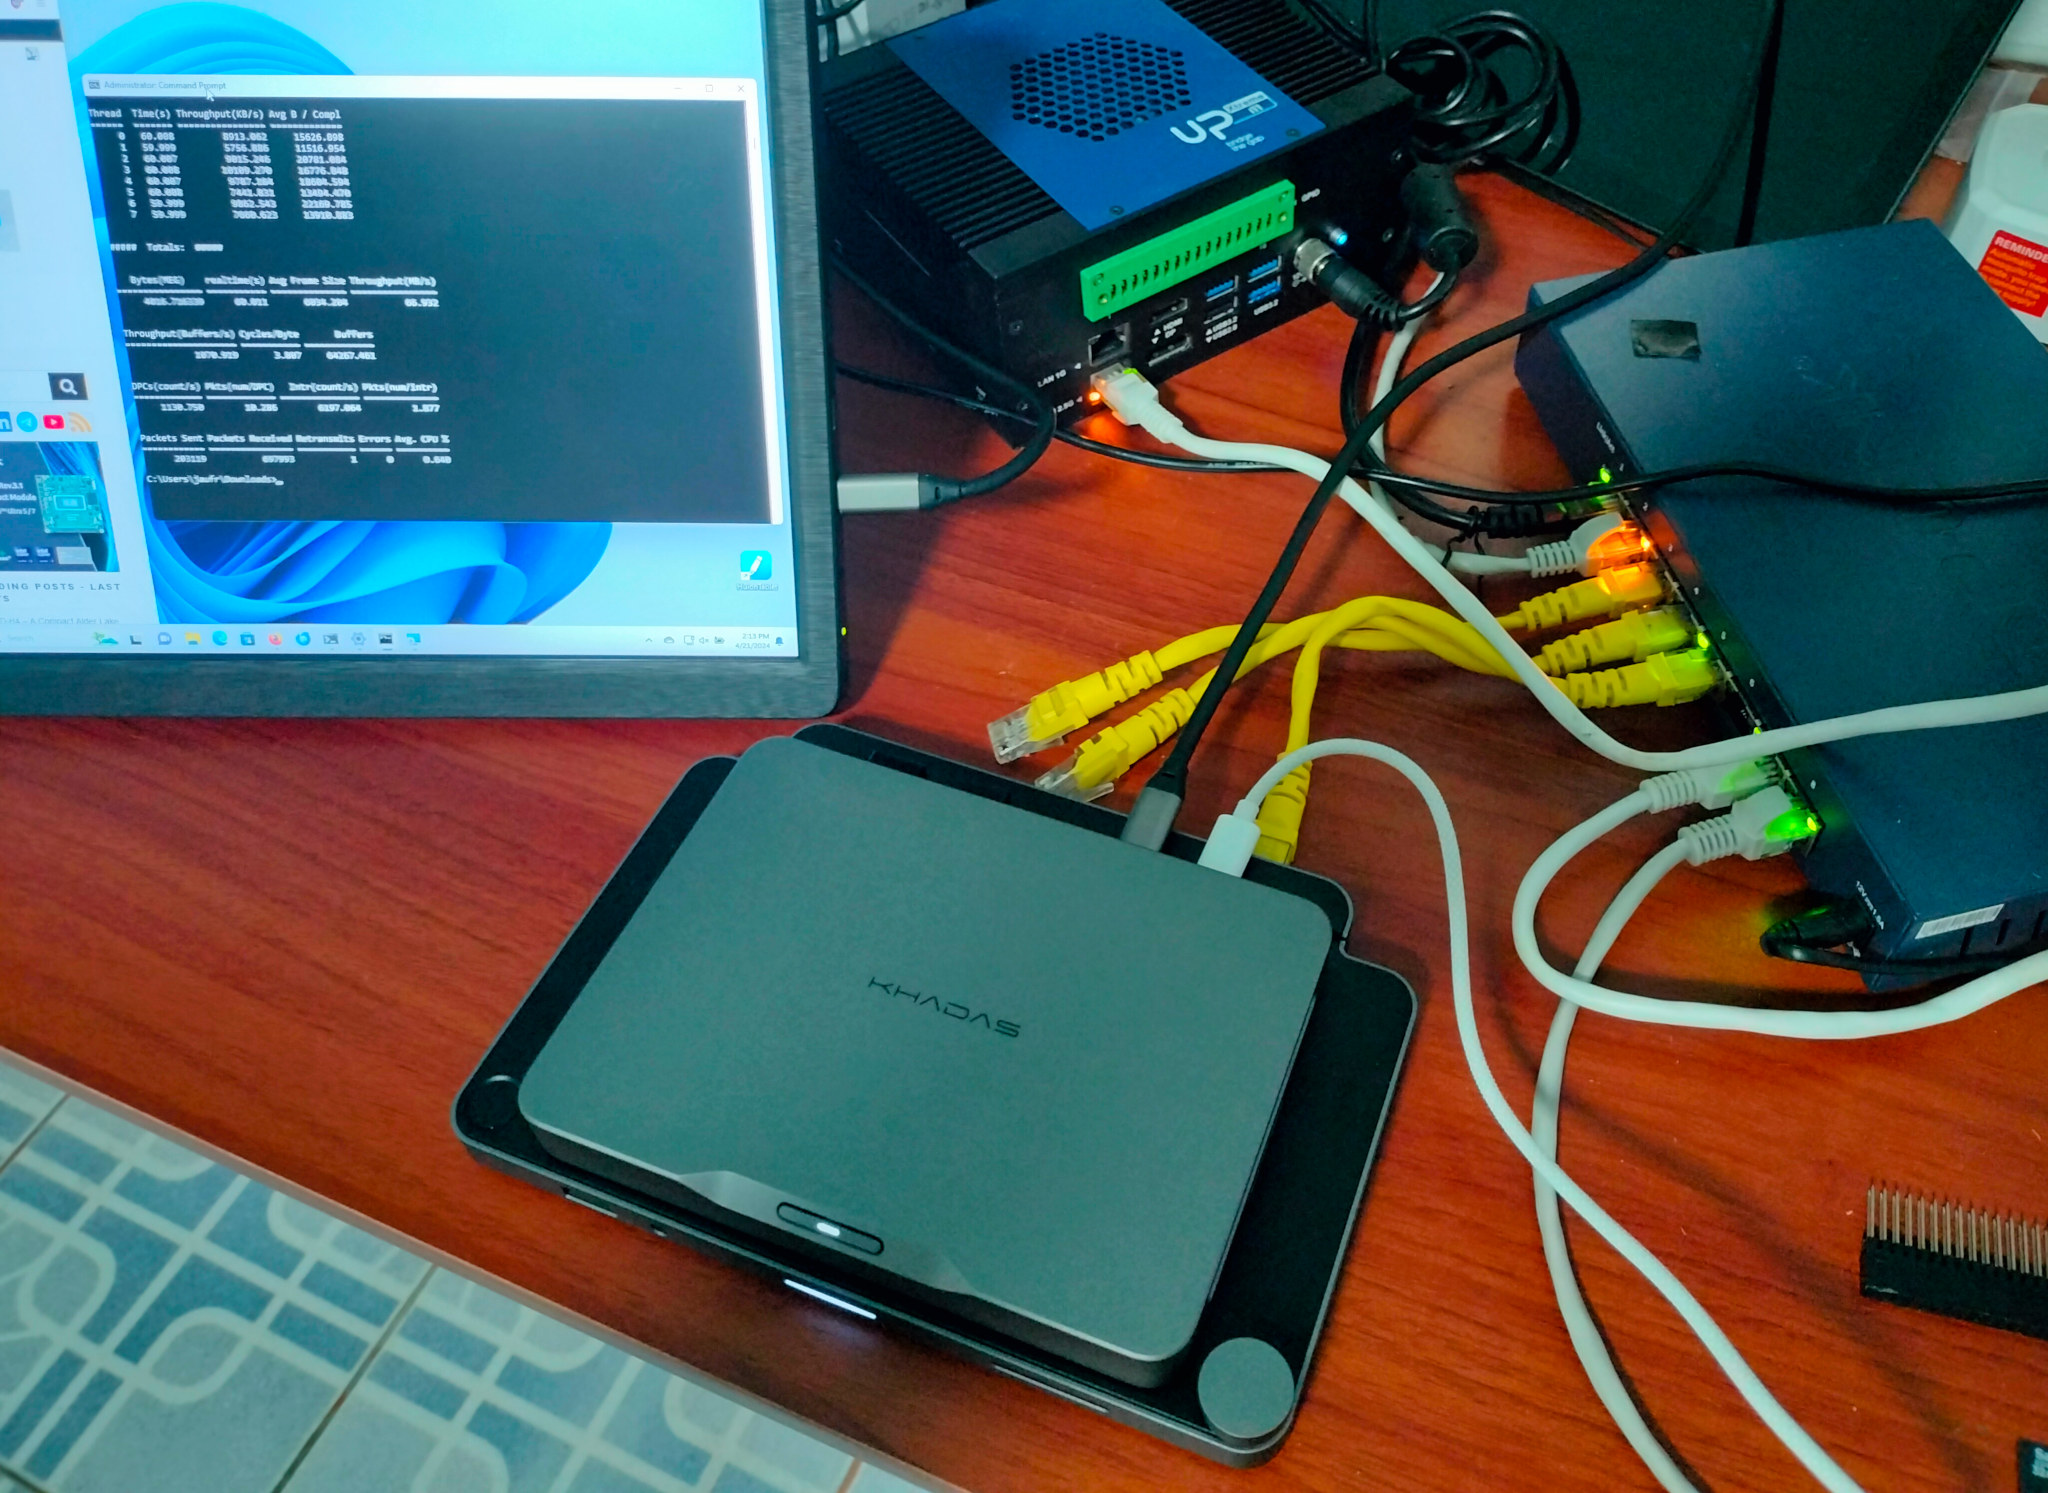
ntttcp (Windows NT Test TCP) is a network benchmarking utility similar to iperf3 that works in both Windows and Linux written and recommended by Microsoft over iperf3, so we’ll test the alternative in this mini review. iperf3 is a utility of choice for our reviews of single board computers and mini PCs running either Windows or Linux, but we’ve noticed that while Ethernet (up to 2.5GbE) usually performs just as well in Windows and Linux, WiFi is generally much faster in Ubuntu 22.04 than in Windows 11. So when XDA developers noticed a post by Microsoft saying iperf3 should not be used on Windows 11, it caught my attention. Microsoft explains iperf3 should not be used in Windows for three main reasons: The maintainer of iperf – ESnet (Energy Sciences Network) – says “iperf3 is not officially supported on Windows, but iperf2 is. We recommend you use iperf2. Some people […]
“MaUWB_DW3000 with STM32 AT Command” Review – Using Arduino to test UWB range, precision, indoor positioning
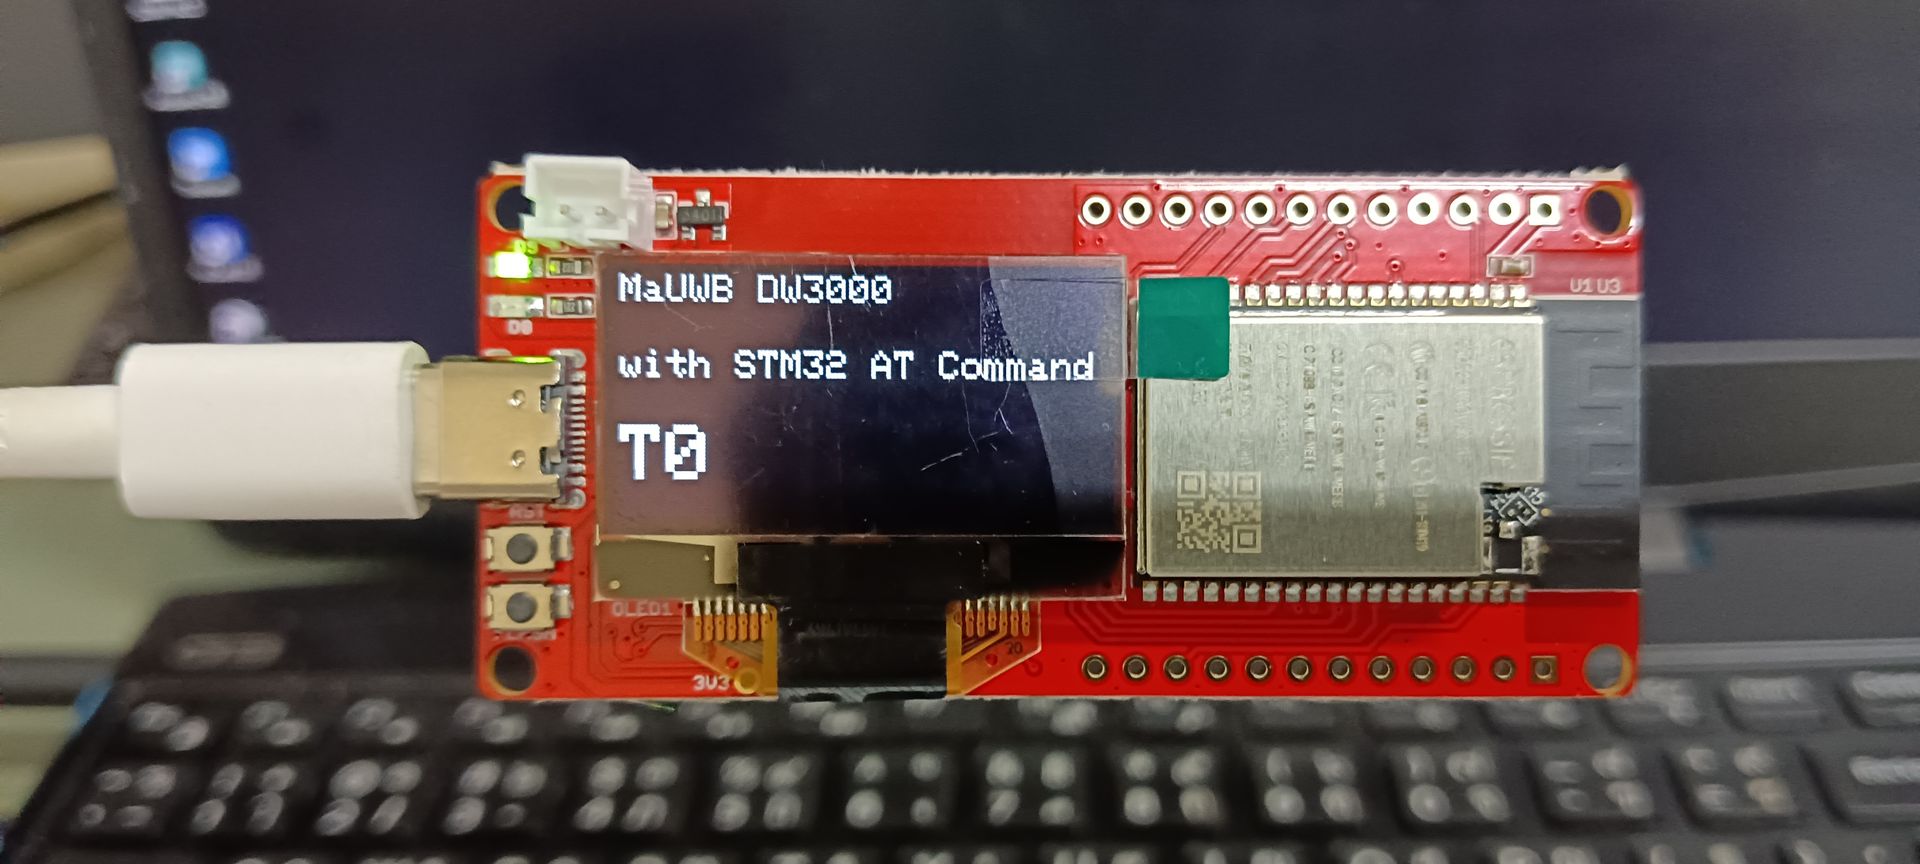
Hello, the device I am going to review is the MaUWB_DW3000 with STM32 AT Command. This is an Ultra-wideband (UWB) module from MakerFabs. The core UWB module on this board is the DW3000 UWB transceiver, and it is also equipped with an ESP32 microcontroller programmable with the Arduino IDE, as well as OLED display. The manufacturer claims that this UWB board resolves multiple anchors and tags mutual conflicts and supports up to 8 anchors and 64 tags. Additionally, the manufacturer has added an STM32 microcontroller to handle UWB multiplexing, allowing users to control the core UWB module by simply sending AT commands from an ESP32 microcontroller to the STM32 microcontroller. More information about this UWB board can be found on the manufacturer’s website. “MaUWB_DW3000 with STM32 AT Command” unboxing MakerFabs sent the package to me from China. Inside the package, there were 4 sets of the MaUWB_DW3000 with STM32 AT […]
Testing AI and LLM on Rockchip RK3588 using Mixtile Blade 3 SBC with 32GB RAM
We were interested in testing artificial intelligence (AI) and specifically large language models (LLM) on Rockchip RK3588 to see how the GPU and NPU could be leveraged to accelerate those and what kind of performance to expect. We had read that LLMs may be computing and memory-intensive, so we looked for a Rockchip RK3588 SBC with 32GB of RAM, and Mixtile – a company that develops hardware solutions for various applications including IoT, AI, and industrial gateways – kindly offered us a sample of their Mixtile Blade 3 pico-ITX SBC with 32 GB of RAM for this purpose. While the review focuses on using the RKNPU2 SDK with computer vision samples running on the 6 TOPS NPU, and a GPU-accelerated LLM test (since the NPU implementation is not ready yet), we also went through an unboxing to check out the hardware and a quick guide showing how to get started […]
Testing AMD Ryzen 9 7940HS’ AI Engine in Windows 11
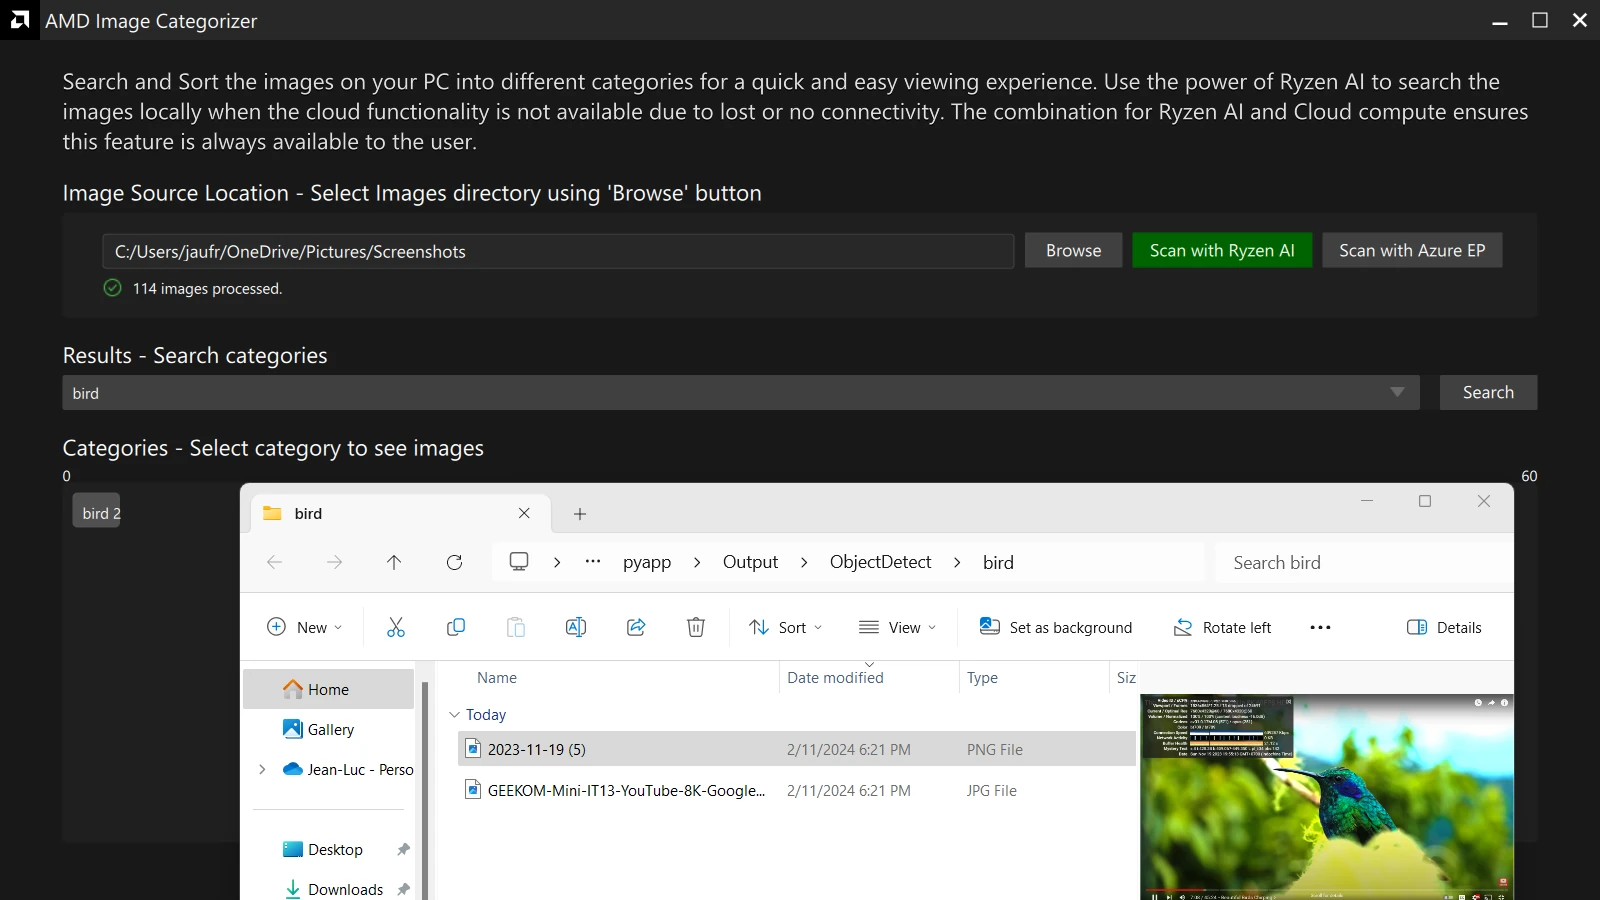
Some of the newer AMD Ryzen processors come with an AI Engine (also called NPU or IPU) that works in Windows 11 including the Ryzen 9 7940HS, Ryzen 7 7840HS, Ryzen 5 7640HS, Ryzen 7 7840U, and Ryzen 5 7640U. I’ve just completed the review of the GEEKOM A7 mini PC powered by an AMD Ryzen 9 7940HS CPU with Windows 11 – but need to wait before publishing it – so I decided to try the AI engine on the Ryzen 9 7940HS processor. The AI Engine relies on AMD XDNA architecture, and AMD provides instructions to get started with examples, demos, and developer resources. So I decided to try some examples, but for some reasons I’ll explain below, I eventually had to settle for some demos. Ryzen AI software installation (for the demos) The examples hosted on GitHub require us to install dependencies for the Ryzen AI software […]
SunFounder GalaxyRVR review – An Arduino programmable Mars Rover-like robot for education
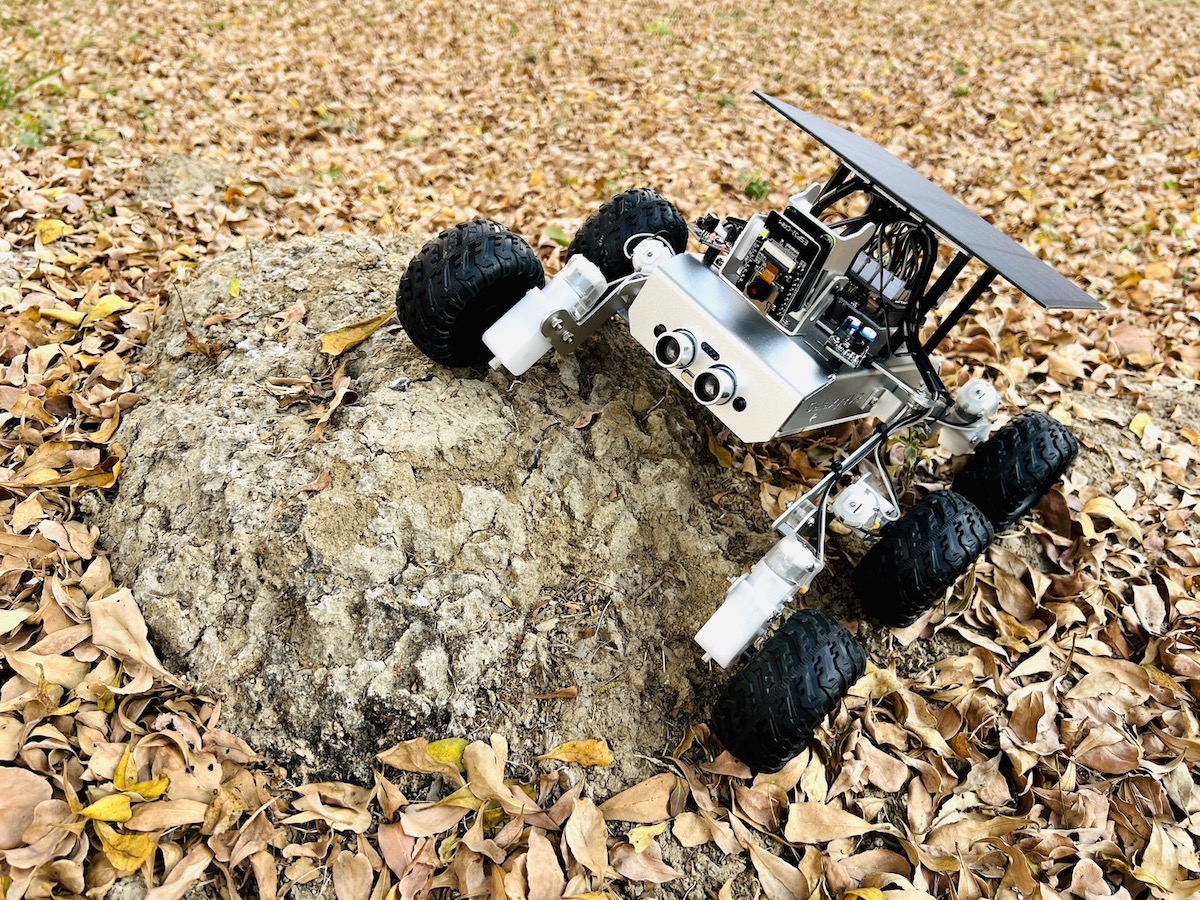
SunFounder sent us a GalaxyRVR 6-wheel robot for review. It looks like NASA’s Mars Rover robots but targets the education market with an Arduino UNO R3 compatible board and an ESP32-CAM board for WiFi connectivity and video capture. The GalaxyRVR robot kit can transmit video signals over WiFi to explore planet Earth with your mobile device or tablet and the camera can be adjusted up and down thanks to a servo motor. The robot gets its power from a solar panel coupled with a battery and features sensors such as obstacle avoidance and ultrasonic modules. NASA’s Mars Rover exploration robots NASA is currently using the Perseverance rover, also known as Percy, as the latest planetary exploration robot to land on Mars. It is designed to explore the Jezero Crater as part of NASA’s Mars 2020 mission. In addition to its scientific instruments, Perseverance also carries Ingenuity, a small experimental Martian […]
How I “fixed” the display on Lichee Console 4A terminal
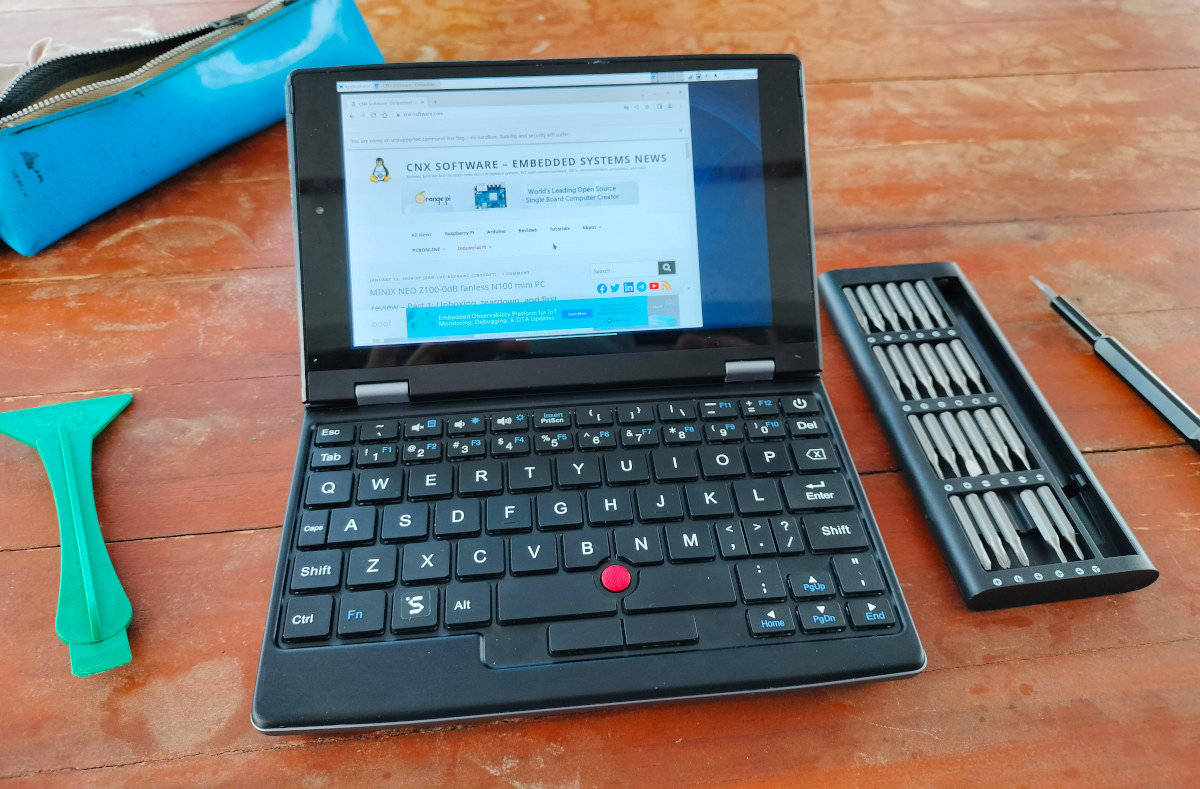
When I wrote a hands-on post about Lichee Console 4A RISC-V development terminal I noted the display would sometimes have strange effects or simply go black. I’ve now fixed the issue, and I was just probably unlucky since the issue must be rare, but I’ll still document it in case somebody encounters a similar problem and for fun! First, the video below shows what I would see on my terminal after using it for a few minutes. Since then, the display has gone completely dark, and all I see is the backlight, but I can still access the device through an SSH terminal. It looks like a bad connection issue, but I still contacted Sipeed and they told me it must have been the display connector. So I turned off the device and reopened the enclosure to remove and reinsert the cable for the display as shown in the photo […]
Review of Elecrow’s 3.5-inch and 7.0-inch ESP32 display modules using Arduino programming
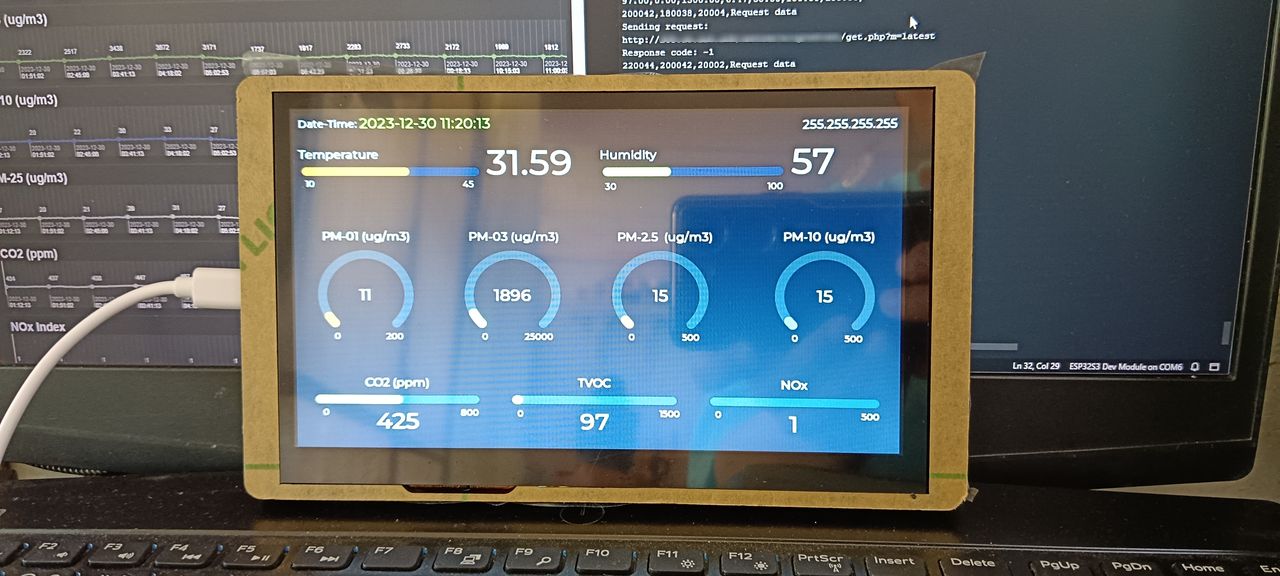
Hello, I’m excited to review the ESP32 display modules and HMI touchscreens from Elecrow with sizes ranging from 2.4 to 7.0 inches. For this review, Elecrow kindly provided me with both 3.5-inch and 7.0-inch models. While their screens differ in size, both modules share several components, such as the ESP32 microcontroller, making them adaptable options for a variety of projects. The Elecrow 7.0-inch display module is powered by the ESP32-S3-WROOM-1-N4R8 module equipped with an ESP32-S3 dual-core LX6 32-bit microprocessor, 4 MB of flash, 384 kB of ROM, and 512 kB of SRAM. This microcontroller supports both WiFi and Bluetooth for wireless communication. The 7.0-inch display itself is a capacitive touch screen with a resolution of 800×480 pixels. The display is controlled by the EK9716BD3/EK73002ACGB driver and is compatible with LVGL for additional functionality. In the case of the 3.5-inch display module, the main difference is the use of the ESP32-WROOM-32-N4 […]


