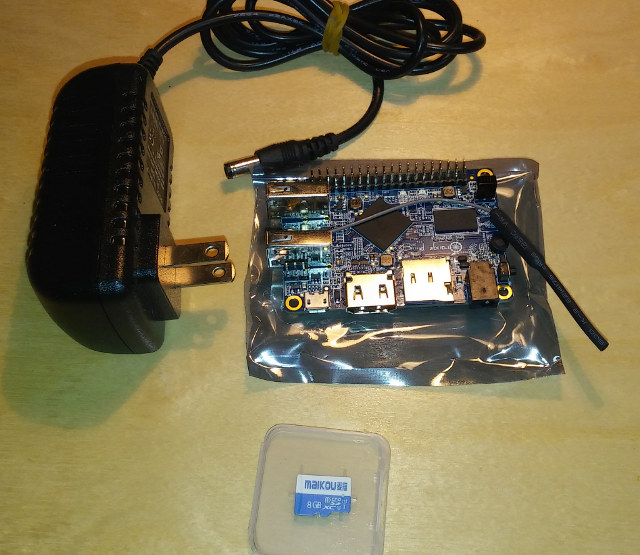
Karl here. This was article originally going to be how to setup Octoprint 3D printer server on an Orange Pi Lite. But after looking and running through the instructions it seemed like it would be too much so I created an img to simplify things. I also explored running Octoprint on an Amlogic S905x or S912 device and it turned out to be an even better solution. You get a case, power supply, and eMMC flash storage. What is Octoprint? I use Octoprint mainly for its ability to start and stop prints without having to use an sd card. Time lapse is also a nice feature. And one last thing is that I setup a pushbullet notification when it is complete. For a full list of features check out http://octoprint.org/. What is needed? Orange Pi Lite board provided by GearBest for the article, or an Amlogic S905X or S912 Android […]
Raiscube R2 3D Printer Review – Part 3: How to Install E3D Hotend Clone For Faster Prints
Karl here with the final article on Raiscube R2 3D printer for now. Going to talk about the challenges of this upgrade, and how to do it yourself. This has been one of the most frustrating projects that I have worked on. I set 3 goals for this upgrade: Simple as possible Least amount of modification to the printer ability to revert back I don’t feel like I met my goals but I feel like I made it 90%. Trying to meet the simple as possible with least amount of modifications is what caused me so much grief. What is needed E3D Hotend for $9.56 on GearBest Kapton Tape for $1.87 Thermal paste Rotary cutting tool (maybe hacksaw good luck with that) Shrink tube or electrical tape Wire 3 printed parts on Thingiverse Zip Ties & Velcro E3D Installation Steps Print 3 parts from Thingiverse above with 50% infill and .2 […]
Raiscube R2 (Prusa I3 Clone) 3D Printer Review – Part 2: 3D Print Samples, E3D Clone Installation, Tips & Tricks
Karl here with part 2 Exploring Raiscube R2. That is the official name by Raiscube. Gonna look at some more prints. Some mistakes I made in first part and some simple mods. Maybe not so much mistakes but an oversight. Oversight / Mistake So in the first part of Raiscube Prusa i3 review, I mentioned there were not very good instructions, and they sent a blank SD card with the kit. I was wrong. On first inspection, it looked like a factory sealed SD card but it is not. It is an 8 GB card with videos, instructions, pictures, parts list, STL, and gcode files as well as an old version of Cura. Not blank at all with about 1.5 GB of files. It didn’t include settings but if you install the latest Cura, it just takes a little tweaking to print well. Official specs from SD card Brand RAISCUBE […]
Creality CR-10 3D Printer Review – Part 2: Tips & Tricks, Octoprint, and Craftware
Hey Karl again with part 2 of my 3D printing experience with the CR-10, after the first part describing CR-10 3D printer setup and first prints. The intent is to share my experiences with the CR-10 with the perspective from a noob. I have to say if you are hard heading like I am, and do a lot of research but don’t fully listen to what you are reading, you are going to waste a lot of filament and time. I spent a couple hours a day for weeks with trial and error and watching the printer and how it works adjusting about a billion settings and testing. I am hoping this will help any current or future CR-10 owner speed up the learning curve. Measuring Filament Diameter The single biggest thing to improve my print quality I found was measuring the filament. I read about this several times but […]
Karl’s Home Automation Project – Part 4: MQTT Bridge Updated to Use YS-IRTM IR Receiver & Transmitter with NodeMCU
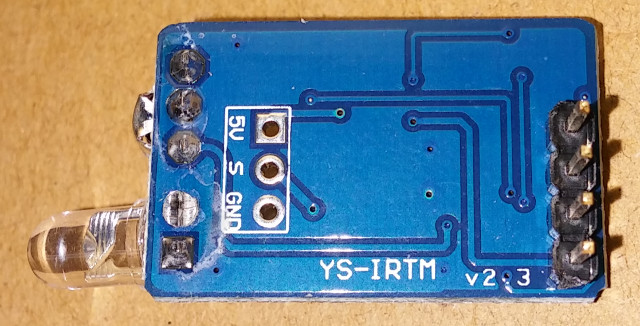
In a previous article, I wrote about an MQTT bridge by 1technophile. I added a DHT temperature and humidity sensor as well as a light sensor. Previously it included a software decoder to decode the IR signal. I never did test the IR transmitter on the gateway, as I didn’t have the parts. But thanks to IC Station, who sent me over a small YS-IRTM hardware based decoder and NodeMCU that I am writing about today. I have replaced the software based version with the YS-IRTM module in the latest update. I found this project challenging. I admit I am a little weak in my programming skills. It was difficult to find documentation but I found a forum talking about this device and basics of how it works. When an IR code is recognized it sends 3 hex codes via serial connection on the transmit pin. To transmit, it expects […]
Creality CR-10 3D Printer Review – Part 1: Unboxing, Setup, and First Prints
Today we are going to take a first look at the Creality CR-10 3D printer. This is a multipart series with the first part being unboxing and initial setup. I have no experience with 3D printing, and when I found out I would be doing this review I was ecstatic. It took a while to get shipped because of the wild popularity at Gearbest. I believe supply has caught up with demand. While waiting I read as much as I could about 3D printing. and I am glad I did. Creality CR-10 3D Printer Specifications 300 x 300 x 400mm build volume Nozzle diameter: 0.4mm Memory card offline print: SD card Prints up to 80mm/s (but slower is better) File format: G-code, JPG, OBJ, STL (I have only done g-code) 1.75mm Software – Cura; octoprint compatible CR-10 3D Printer Unboxing and Setup I had the CR-10 assembled and printing in […]
Karl’s Home Automation Project – Part 3: Adding Light Detection to a Motion Sensor
This is the 3rd part of my Home Automation light project. In the first part, I wrote about basic setup with basic Sonoff Wifi MQTT switches and setting them up. In the second one, we added some 433 MHz motion sensors and a 433 MHz to MQTT bridge. And finally in part 3, we are going to modify the 433 MHz motion sensors to only work when it is dark in the room. Motion Sensor The motion sensor I linked in part 2 is run by a common chip called a BISS0001. We are interested in pin 9. If voltage is below .2v it will not trigger a motion. This solves the problem discussed in part 2, when we have a gloomy day or if blinds are closed etc. By adding an GL5537 LDR (Light Dependent Resistor) shown as R3 in the diagram above, you will achieve the desired effect. […]
Karl’s Home Automation Project – Part 2: 433 MHz / WiFi MQTT Bridge, Door & PIR Motion Sensors
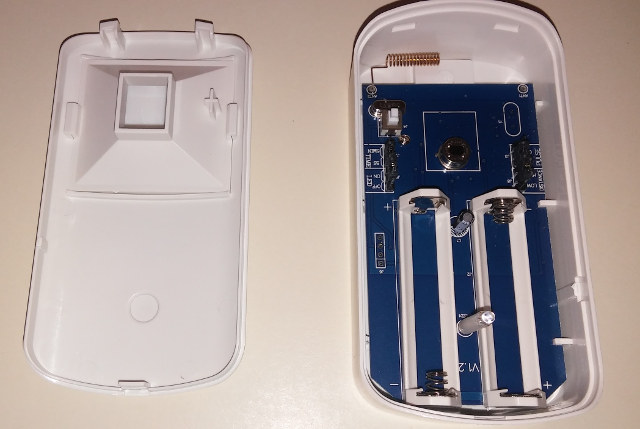
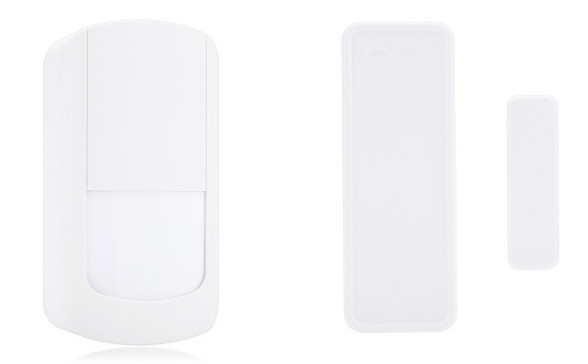
Karl here again for part 2 of my home automation project. We will be looking at how to automate your lights based on time of day and motion. In the first part we setup Home Assistant and uploaded firmware to basic Sonoff Wifi switches. Today we will setup a 433 MHz to MQTT bridge and some sensors. 433 MHz Depending on your country 433 MHz is an open frequency to use to communicate with. There are hundreds of different types of devices that use 433 MHz to communicate information. We will be focusing on 2 today from Gearbest: WMS07 motion sensor (left) and WDS07 door/window sensor (2 parts, right). I am not taking the door/window sensor apart, since it is super basic, but I’ve included some photos of the PIR motion detector. 433 MHz Bridge While contemplating how to get presence on a per room basis I ran across this […]


