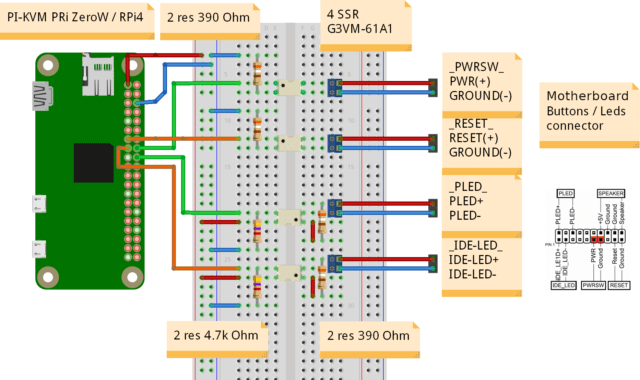
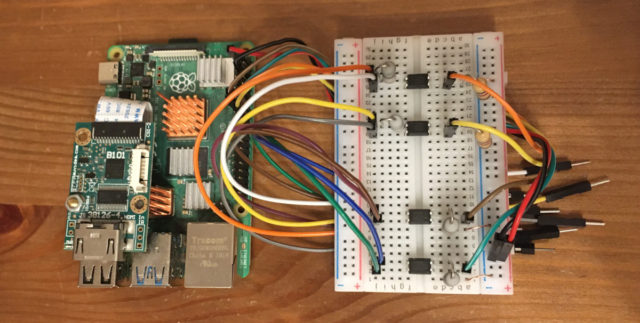
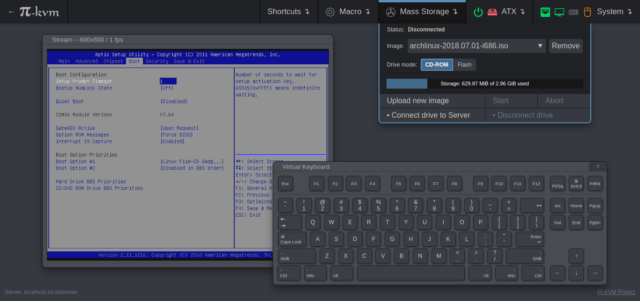
Traditional IP-KVM systems may cost you hundreds of dollars. DIY Pi KVM over IP is a very simple and fully functional Raspberry Pi-based KVM over IP that you can make yourself. If you do not know what IP-KVM is, it stands for keyboard, video, and mouse. It allows you to connect to a computer or a server remotely. With this, you can fix problems such as configuring the BIOS or reinstalling the OS using a virtual CD-ROM or flash drive.

You can see the v2 example implementation in the above image. Pi-KVM v0 and v2 are ready-made images available for download for Raspberry Pi. You will find all the required hardware in the “Getting Started” section for the v0 and v2 platform for Raspberry Pi. In the figure below you can see the B101 HDMI-to-CSI bridge connected to the Raspberry Pi.

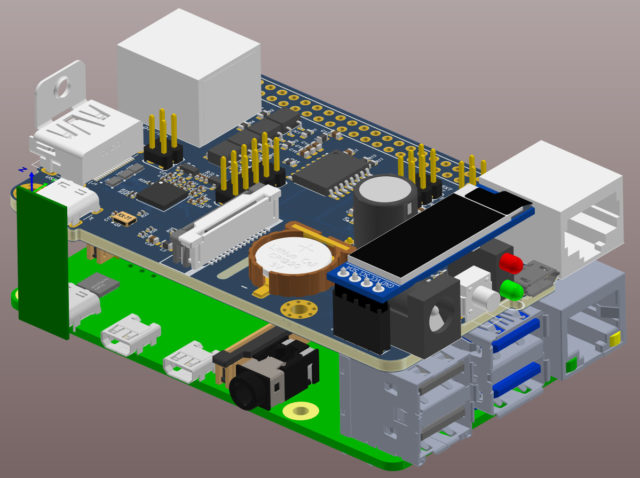
The team is working to launch the v3 board and is up for pre-order.
Key features
- It supports Raspberry Pi 2, 3, 4, and Zero W. You need to know that for Raspberry Pi 4 and Zero, there aren’t many external components you will need. However, if you are using Raspberry Pi 2 or 3, you will need an extra Arduino board to control the keyboard, mouse, etc.
- Full HD video using advanced HDMI-to-CSI bridge or USB dongle. The HDMI-to-CSI bus allows you to customize resolution changes, video compression, and a lot more, while with the USB dongle you will achieve better framerates, but you won’t get all the controls.
- Extra-low 100ms video latency (for CSI bridge) compared to 200ms for the USB dongle.
- The bootable feature allows you to reinstall the OS using the virtual CD-ROM and a flash drive.
- It has the ability to use IPMI BMC, IPMI SoL, Redfish, and Wake-on-LAN to control the server.

Getting Started with DIY Pi KVM
You need a Raspberry Pi board, MicroSD card, USB-A 3A charger, video capture device, and some optional components. There are two versions of the Pi-KVM images to download: one for CSI bridge and the other for HDMI-to-USB dongle. The v2 is the most modern implementation for Raspberry Pi 4 and Zero W, supporting all of the features of Pi-KVM, including mass storage drives. If you are using Raspberry 2 or 3, please look for v0 image that does not have OTG and requires a few more components for basic implementation. You will find the complete project on GitHub.

DIY Pi KVM over IP will only cost between $30 and $100 for parts depending on the features desired. Even the most expensive configuration will be cheaper than a $500 commercial IP-KVM. The team is currently developing their own HAT for v3 firmware which will come with many more features including onboard ATX power control, etc.
You can use boards other than Raspberry Pi, but you will have to prepare the operating system yourself. As for the Pi-KVM software, you will need to replace some config files (such as UDEV rules). You can now subscribe for the pre-order of the v3 board.

Abhishek Jadhav is an engineering student, RISC-V Ambassador, freelance tech writer, and leader of the Open Hardware Developer Community.
Support CNX Software! Donate via cryptocurrencies, become a Patron on Patreon, or purchase goods on Amazon or Aliexpress


