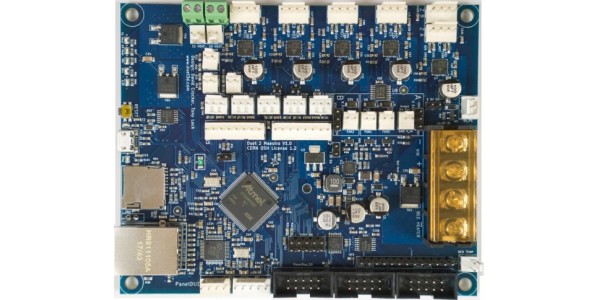
Quite a while ago I reviewed the HE3D K280 delta 3D printer. Up until now, I did no mods other than the ones that I completed during the initial build. I have been very happy with it with the exception of the noise caused by inexpensive drivers and the salmon skin due to the drivers as well. The K280 prints big and pretty accurate at modest speeds. Today I am outlining how I upgraded to a Duet 2 Maestro mainboard. With this upgrade, I am jumping from an 8-bit board with generic drivers to a 32-bit board with TMC2224 drivers. The upgrade was quite painless and straightforward but not without a few hiccups. The Maestro is Duet’s entry-level board for about $130. I attempted the Bigtreetech SKR 1.3 with TMC2130’s but the firmware wasn’t quite there yet. I opened an issue on Marlin’s GitHub page which explains the issue in detail here. I only had one major issue with the Duet 2 Mastro board but it was kind of a duh moment when I found the solution and will talk about that more in a bit. The wiki is pretty good and can be found here.
Some specs from the Duet website.
- Powerful 32-bit Processor.
- Dedicated Ethernet module.
- Super quiet TMC2224 stepper drivers, up to 256 micro-stepping.
- High-speed SD card and support for a second SD external card if required.
- Three heater channels for a heated bed and two extruder heaters.
- Support for Thermistors and PT1000 sensors wired directly to the Maestro, along with Duet3D PT100 and Thermocouple daughterboards.
- Power rating: Each stepper driver is capable of up to 1.6A peak motor current. The bed heater channel is specifically designed for high current.
- Connect via PC, tablet or smartphone on the same network to the onboard web interface.
- Setup your printer and update the firmware through the web interface.
- All common 3D printer geometries are supported.
- Expandable up to 4 extruders with firmware support for mixing hotends and remapping axes to use 2 high power external drivers.
- Support for the PanelDue, a full-color graphic touch screen.
- Support for a low cost 12864 display.
- Provided with Molex compatible plugs and crimps as well as spade connectors for power input. If setting up or re-flashing using USB, you will need to supply your own micro USB cable.
- Support for DC42’s IR Z probe and the Duet3D Smart Effector for delta printers.
Connections
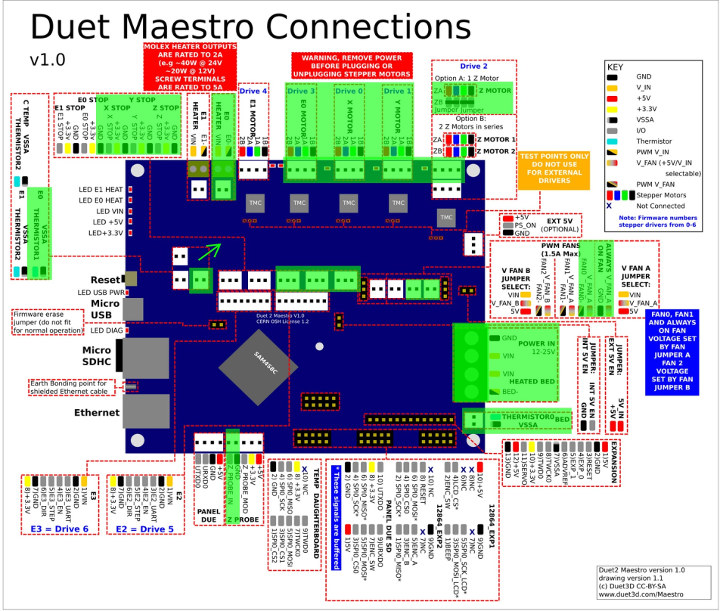
Changing from the stock board to the Duet 2 Maestro is almost plug and play. The board doesn’t fit exactly but I was able to get 2 opposing screws and spacers installed. The Maestro came with connectors needed but I was able to use the existing connectors on the cables. The pin pitch is correct just the latching mechanism is different.
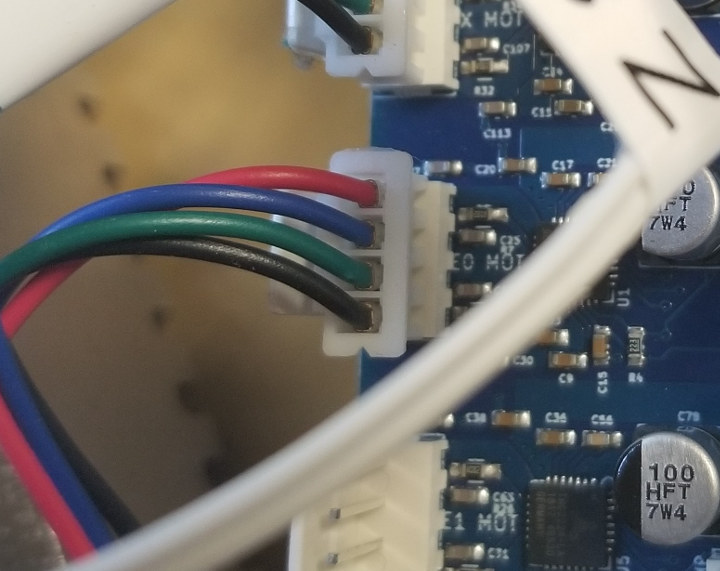
The K280 came with endstops configured normally open with the center pin and the outside pin. I moved the center pin to the other outside pin to work with the Maestro.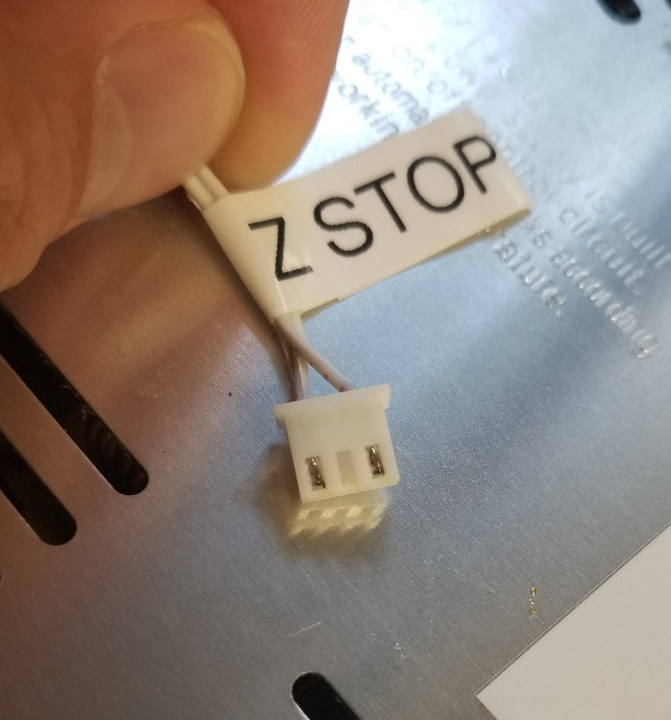
I also had to put connectors on for the fans. Other than that it was a fast change.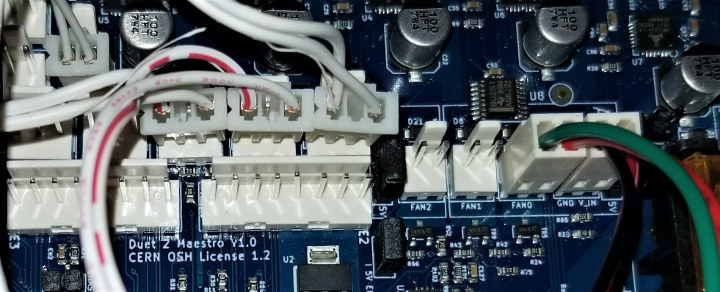
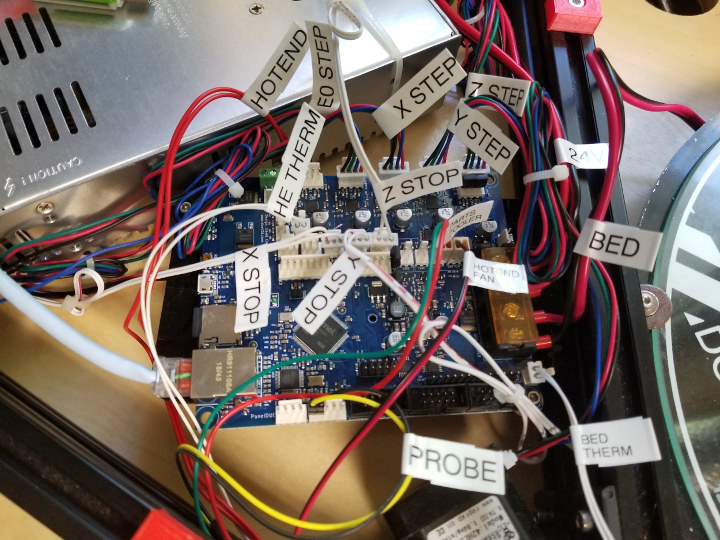
I highlighted all the connections I used in green and a picture below so you can check orientation. Just be sure to make electrical connections polarity correct. Please note that the arrow indicates that the thermistor location on the board and the pinout diagram are slightly off. The 3 connections slide up and to the right.
Configuring
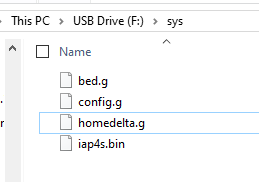
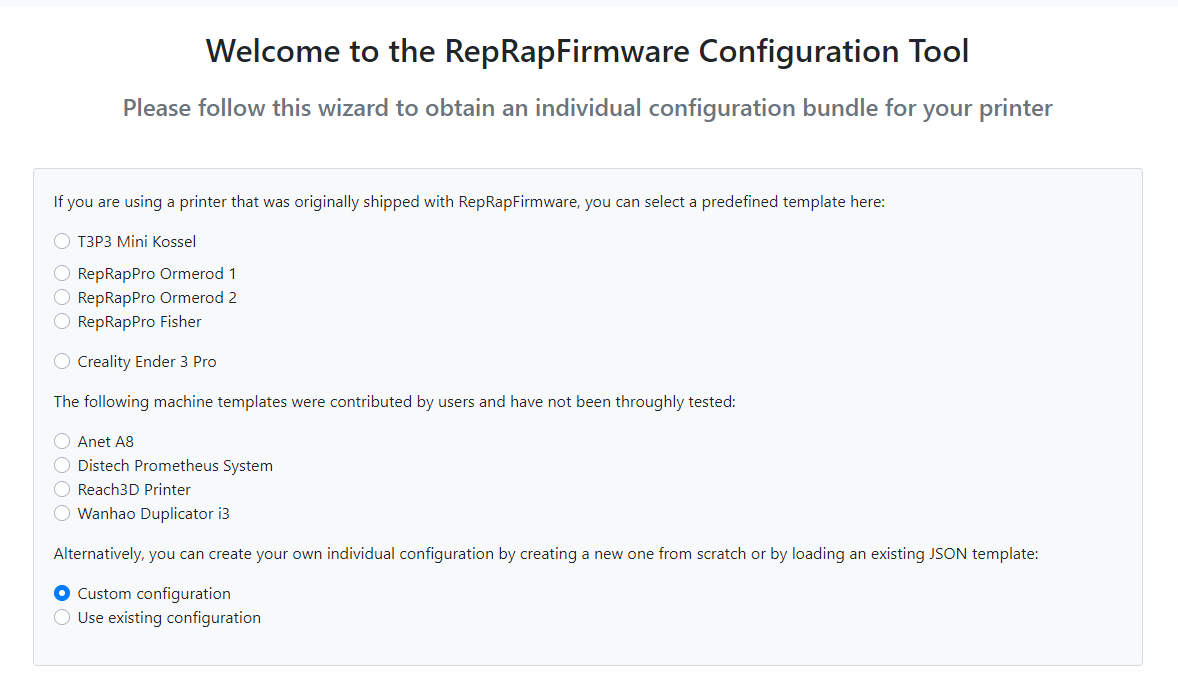
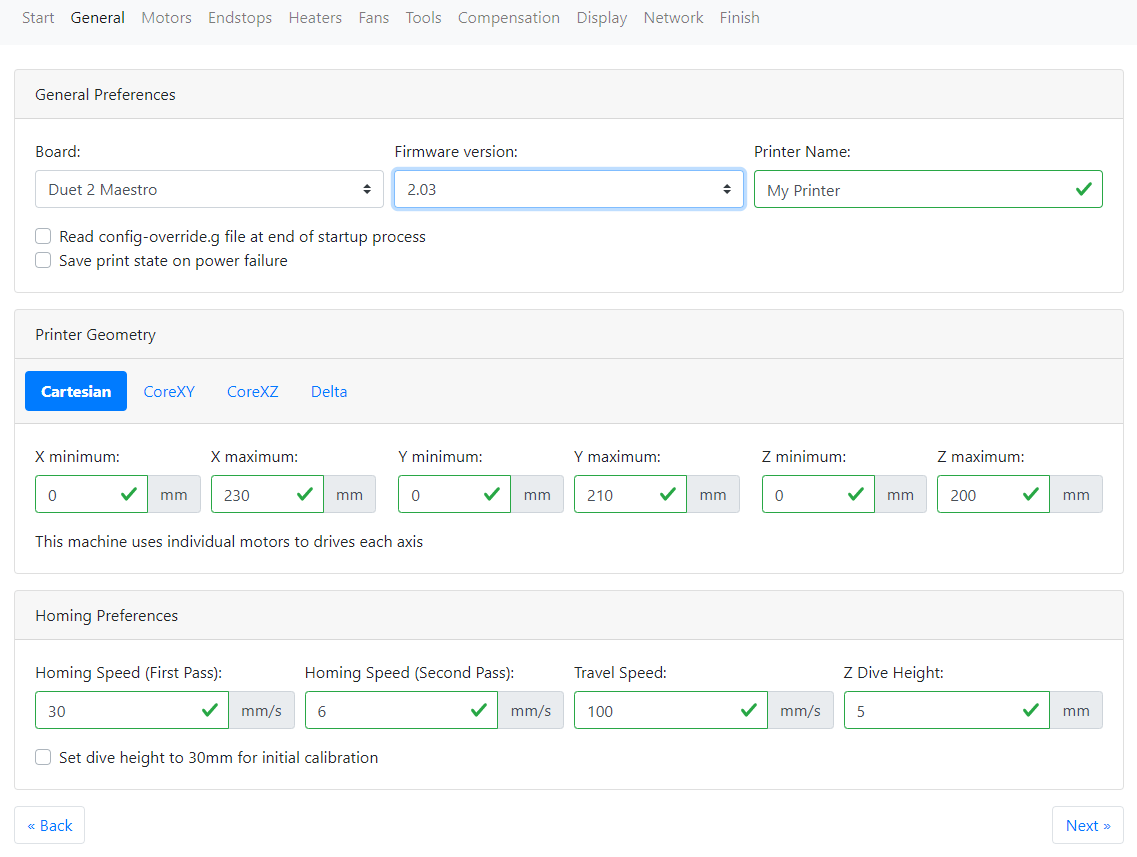
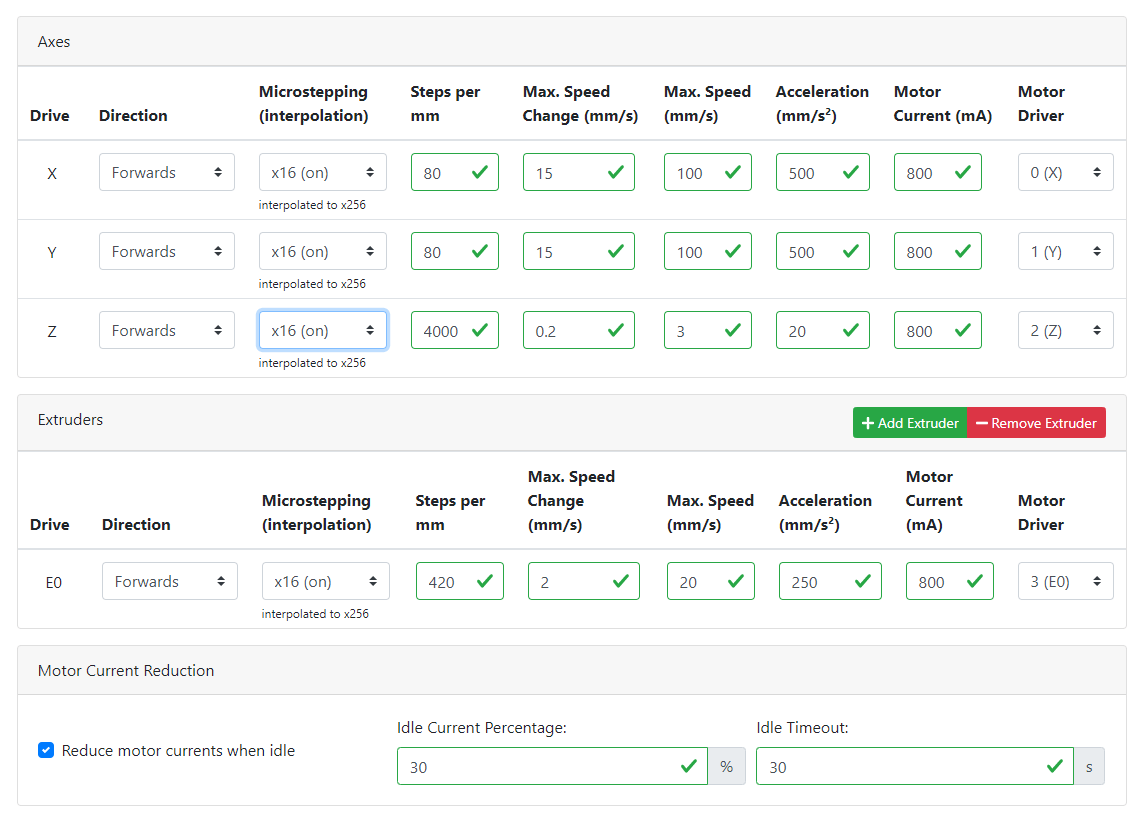
Configuring the duet is done completely by G-code files. Below are the 3 G-code files needed to get started with the K280. First, take the SD card that came with the duet and mount it on your pc and navigate to the sys folder and create these 3 .g files. I recommend notepad++ for this. Modify the network settings for your network. I made the mistake when I started working on this and did this all by hand. It was good and bad. It took quite some time but the config is very clean with no extras. I commented everything to make it easy to modify. There is a web tool for this here which can make this easier for configuring another printer. After creating these and making all the connections we can move onto updating the firmware. Unmount the SD card and insert it into the Duet 2 Maestro board and power on.
- config.g:
|
1 2 3 4 5 6 7 8 9 10 11 12 13 14 15 16 17 18 19 20 21 22 23 24 25 26 27 28 29 30 31 32 |
M569 P3 S1 ; Set motor driver direction, enable polarity and step pulse timing M350 X16 Y16 Z16 E16 I1 ; Set microstepping mode M92 X80 Y80 Z80 E95 ; Set axis steps per unit M906 X1000 Y1000 Z1000 E1000 I60 ; Set motor currents M201 X500 Y500 Z500 E500 ; Set max acceleration M203 X6000 Y6000 Z6000 E9000 ; Set maximum feedrate M566 X240 Y240 Z240 E300 ; Set allowable instantaneous speed change M574 X2 Y2 Z2 S0 ; Set endstop configuration M558 P5 H5 F600 T6000 I1 ; Set Z probe type G31 Z.25 ; Set or Report Current Probe status M302 P1 ; Allow Cold extrudes M305 P0 T100000 B3950 R2200 H30 L0 ; Set temperature sensor parameters M305 P1 T100000 B3950 R2200 H30 L0 ; Set temperature sensor parameters M570 S180 ; Configure heater fault detection M563 P0 D0 H1 ; Define or remove a tool M550 HE3DK280 ; Set Name M552 P10.0.0.88 S1 ; Set IP address, enable/disable network interface M553 P255.255.255.0 ; Set netmask M554 P10.0.0.1 ; Set gateway M586 P0 S1 ; Configure network protocols Http M586 P2 S1 ; Configure network protocols Telnet M586 P1 S1 T0 ; Configure network protocols FTP port 23 Login:anonymous Pass:reprap M501 ;Read stored parameters |
- bed.g
|
1 2 3 4 5 6 7 8 9 10 11 12 13 |
; bed.g file for RepRapFirmware, generated by Escher3D calculator ; 10 points, 6 factors, probing radius: 120, probe offset (0, 0) G28 G30 P0 X0.00 Y120.00 Z-99999 H0 G30 P1 X103.92 Y60.00 Z-99999 H0 G30 P2 X103.92 Y-60.00 Z-99999 H0 G30 P3 X0.00 Y-120.00 Z-99999 H0 G30 P4 X-103.92 Y-60.00 Z-99999 H0 G30 P5 X-103.92 Y60.00 Z-99999 H0 G30 P6 X0.00 Y60.00 Z-99999 H0 G30 P7 X51.96 Y-30.00 Z-99999 H0 G30 P8 X-51.96 Y-30.00 Z-99999 H0 G30 P9 X0 Y0 Z-99999 S6 |
- homedelta.g
|
1 2 3 |
G91 ; use relative positioning G1 S1 X650 Y650 Z650 F2500 ; move all carriages up 650mm, stopping at the endstops G90 ; back to absolute positioning |
Firmware
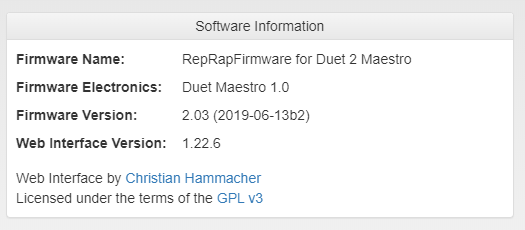
Time to upgrade the firmware. Remember I stated I made a mistake. I assumed that the printer had the latest and greatest firmware on it. I did all the configurations above and everything was nearly perfect except while printing I kept on losing steps mid-print. I adjusted the stepper currents up and down. Tried to cool the drivers. I finally updated to the latest and everything was good after that. This wiki is a little hard to follow but I was able to muddle my way through it. I recommend sticking with releases and not release candidates.
Calibration
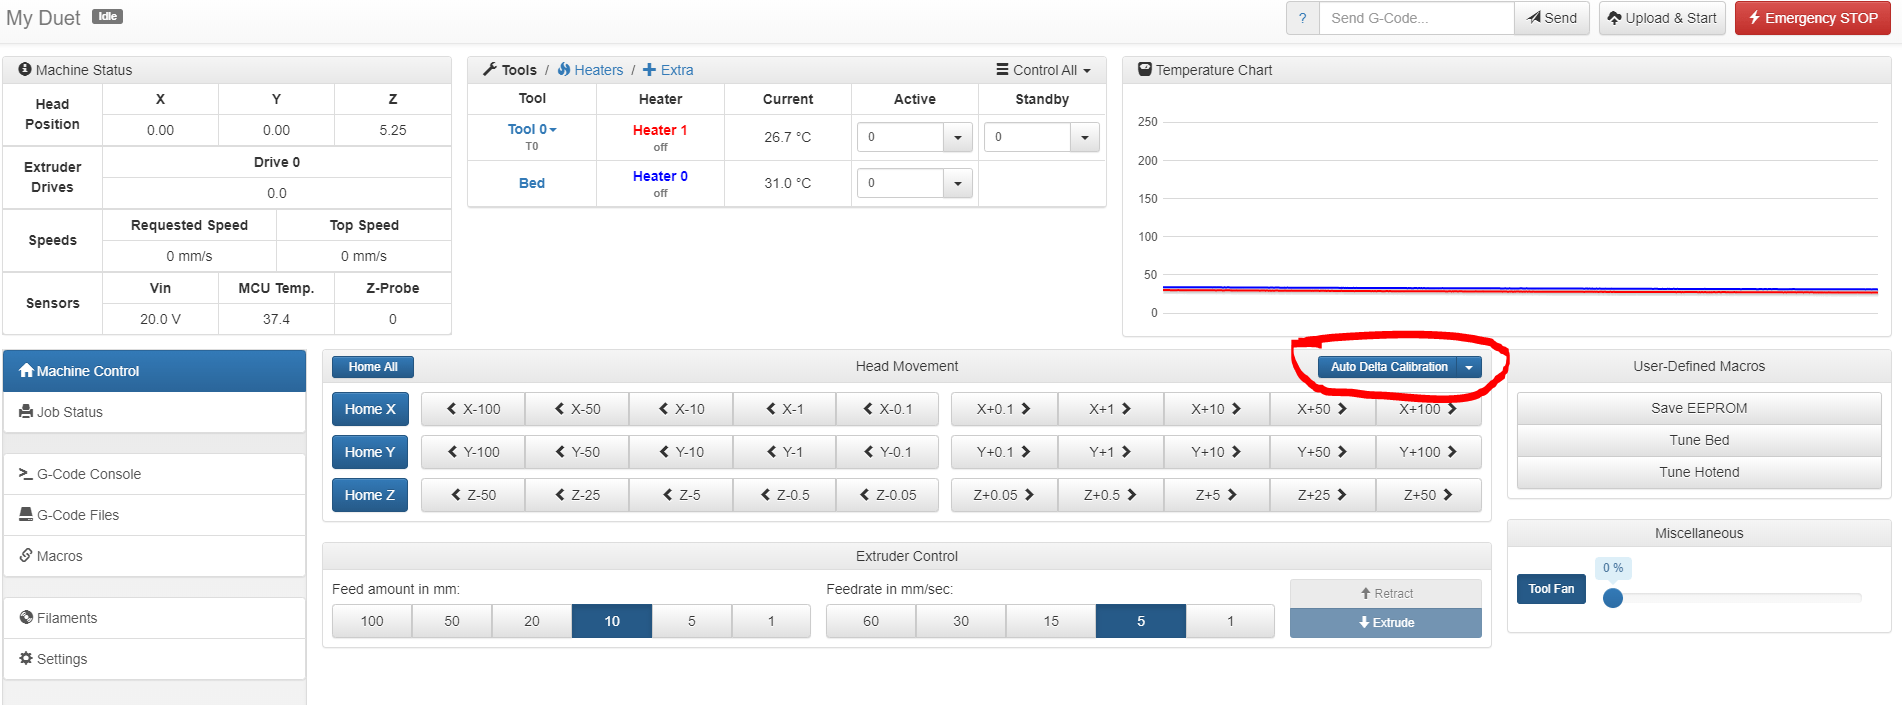
Almost there. We have to calibrate a few things. The hotend, the bed, and autocalibration. After each step run the Save to EEPROM macro or M500. You can check the status under the G-Code Console to monitor. I created a couple of macros just to do it but you can run them directly.
Tune Hotend
M303 H1 S210
Run Tune Bed
M303 H0 S50
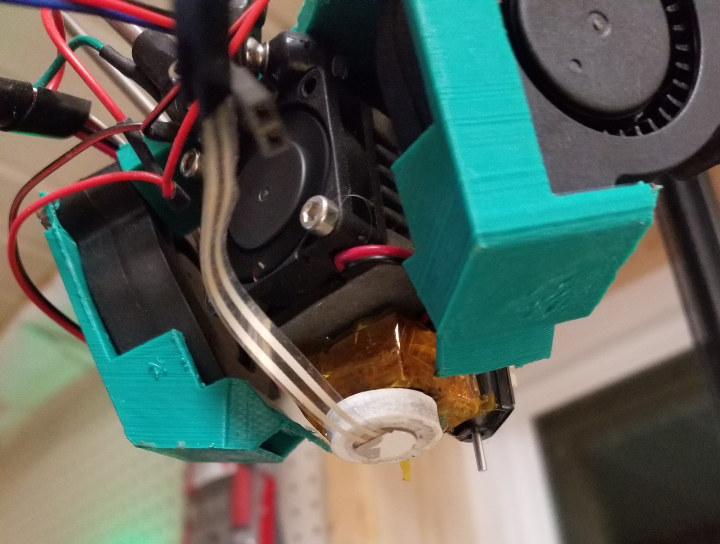
Next, connect the sensor and run Auto Delta Calibration.
Final Words
This was really a painless upgrade. Very little modification to the printer was needed. With Duet 2 Maestro board, you get a nice Web Gui to interact with, relatively quiet steppers, and some fantastic prints. This guide is meant for a mostly stock K280 printer, basic setup, and you may need to modify some of the settings for your printer. Especially if you increase the height more than 650mm. One final note… I use baby-stepping to fine-tune the first layer. I move down more at the beginning of PLA and less if any for ABS or high temp filaments. If you don’t want to fine-tune your first layer with baby-stepping. You can adjust the probe offset with G31 Z.25 in config.g. That’s all I have today. Happy Printing.

Karl is a technology enthusiast that contributes reviews of TV boxes, 3D printers, and other gadgets for makers.
Support CNX Software! Donate via cryptocurrencies, become a Patron on Patreon, or purchase goods on Amazon or Aliexpress


