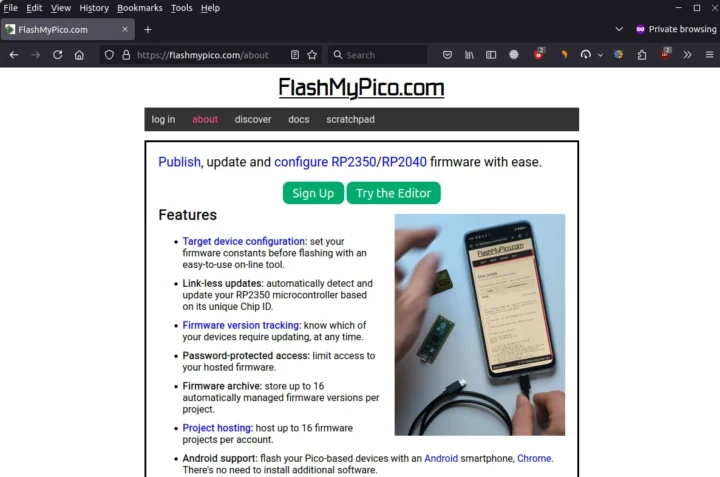
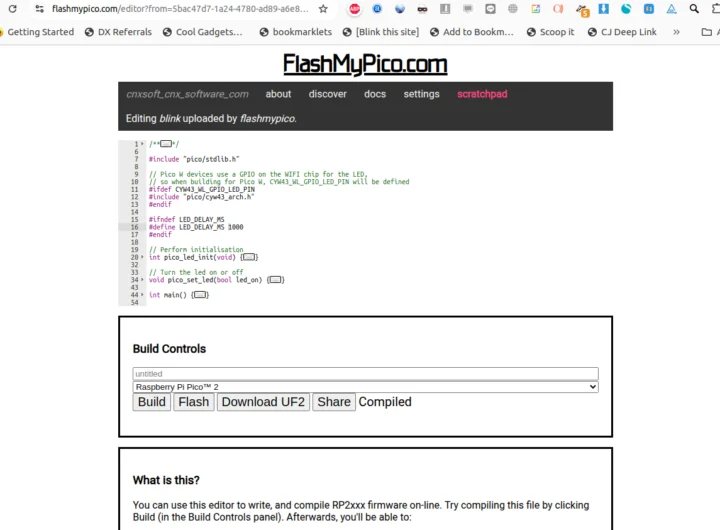
FlashMyPico website allows you to write C code, build the firmware, and flash it to your Raspberry Pi Pico, Pico W, Pico 2, or Pico 2 W directly from a web browser instead of having to check out the code from GitHub, build it in a terminal, and then manually copy the resulting binary.
I’ve given it a quick with a Raspberry Pi Pico 2 board. The first step is to head over to flashmypico.com from your computer or even an Android smartphone. You’ll need a web browser that supports WebUSB, so for example, Firefox is not an option, and I eventually had to use Google Chrome instead.
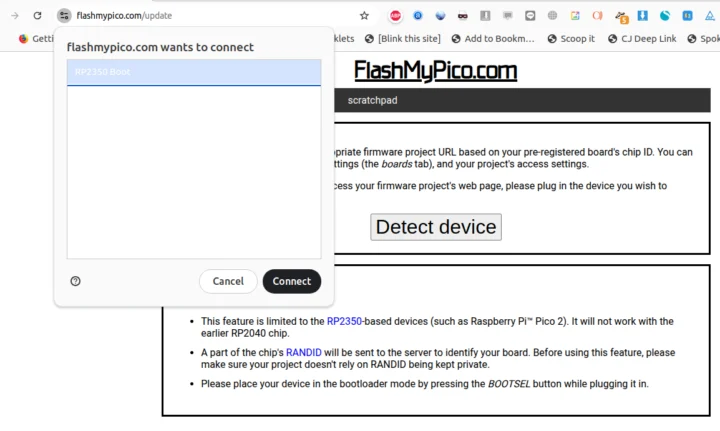
There’s a detect device link on the bottom left, so I clicked on that first, and my Raspberry Pi Pico 2 was detected as “RP2350 Boot” after I put it in bootloader mode.
But it just told me that my board is not registered…
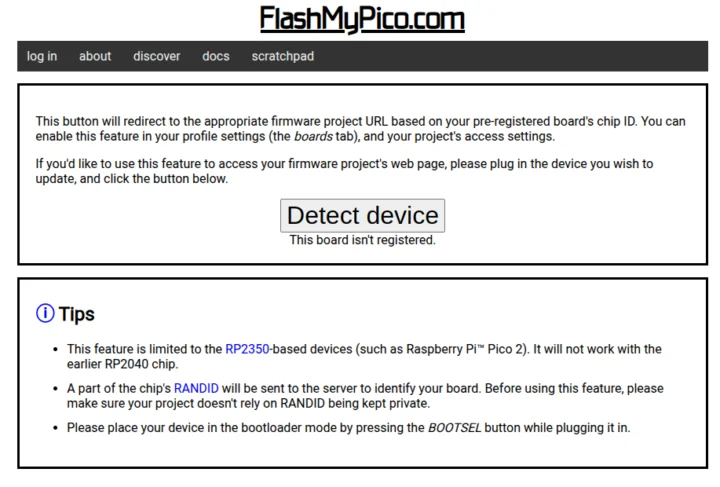 That’s because I had to log in first with either Google or GitHub. I went with the former and
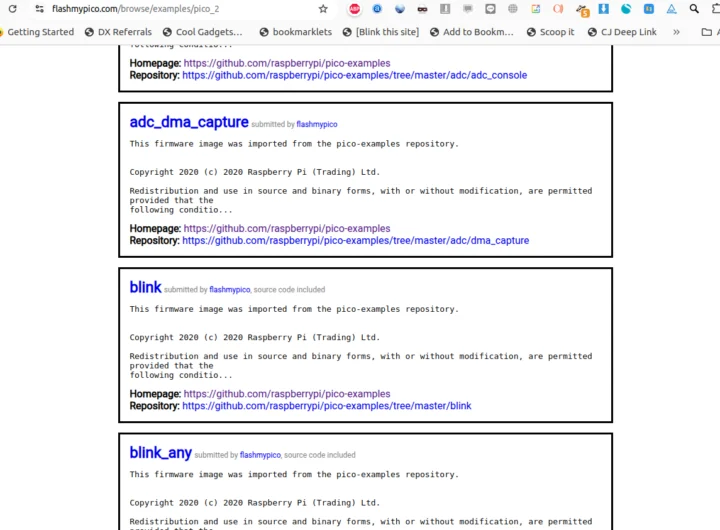
I did that, but it’s not exactly the easiest way to get started. Instead, I’d recommend clicking on Discover to try pre-published projects most of which are samples from the Raspberry Pi Pico C/C++ SDK for now.
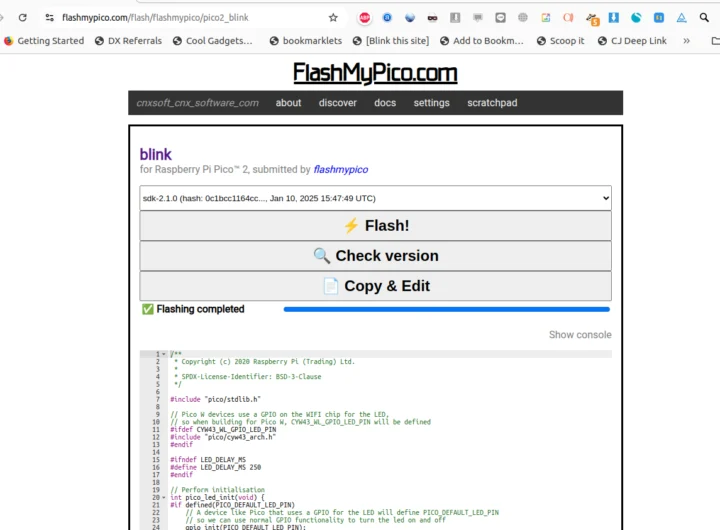
I selected the Blink project. It will open a new window with the code, and three buttons to Flash, Check version, or Copy & Edit the code.
I just flashed it from the web browser and soon enough the blink sample was running on my Raspberry Pi Pico 2. It’s a bit easier than getting started with the Raspberry Pi Pico C/C++ SDK the usual way.
I also clicked on Copy & Edit to see if I could edit the code within the web browser, and indeed I could.
I changed the LED delay to 1000 ms, built the firmware, and flashed it to the board. The LED shortly blinked much slower than before, so It worked!
If you want to do that with your own UF2 firmware you can follow the instructions on the website. The project can be either public or private if you add a password. The solution also implements security features like two-factor authentication and audit logs, and boot signing is supported on RP2350 targets.
I could do this for free and without a credit card. However, the free trial only lasts 14 days, after which you’ll be charged $10 if you want to continue using the service. FlashMyPico is also listed on the Raspberry Pi’s product catalog.

Jean-Luc started CNX Software in 2010 as a part-time endeavor, before quitting his job as a software engineering manager, and starting to write daily news, and reviews full time later in 2011.
Support CNX Software! Donate via cryptocurrencies, become a Patron on Patreon, or purchase goods on Amazon or Aliexpress


