We reviewed the Twotrees SK1 CoreXY 3D printer capable of delivering high printing speeds last March, but here’s a second part of the review as the company sent us additional accessories namely the enclosure kit For SK1 and the AI camera for SK1 which we will report on today.
The main structure of the enclosure is made of metal sheets plus a door that opens from the front and a top plate made of tempered glass. The SK1 3D printer enclosure makes the 3D printer more beautiful, protects it from dust, is easy to install, and features a fan and air filter system. It’s also designed to mount the AI Camera for SK1 to help users monitor the SK1 while printing is in progress.
TwoTrees Enclosure Case Kit For SK1
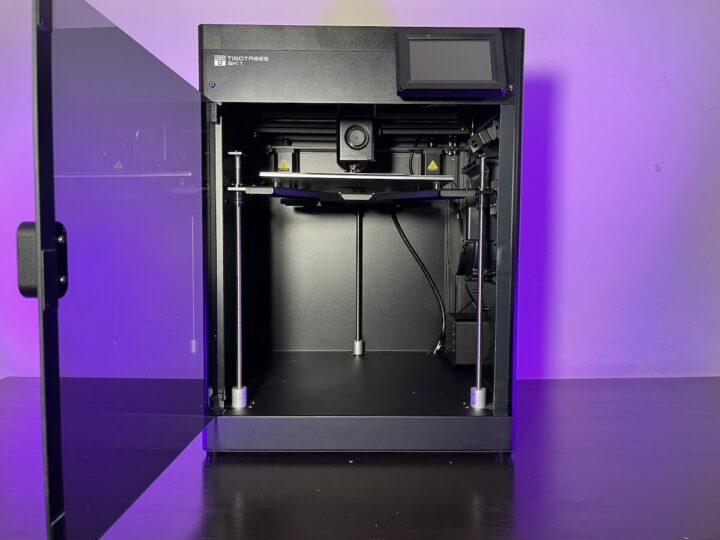
The interior of the Twotrees SK1 3D printer enclosure is mostly made of metal and includes a tempered glass door and top plate. Here’s the full list of parts:
| Item | Remark | Quantity |
|---|---|---|
| Top Cover | Tempered Glass | 1 |
| Front Door | Tempered Glass | 1 |
| Left Side Cover | Steel + Black Matte | 1 |
| Right Side Cover | Steel + Black Matte | 1 |
| Rear Cover | Steel + Black Matte | 1 |
| Top Bar Front | Aluminum Alloy, Black | 1 |
| Top Bar Rear | Aluminum Alloy, Black | 1 |
| Top Bar Left | Aluminum Alloy, Black | 1 |
| Top Bar Right | Aluminum Alloy, Black | 1 |
| Top Bar Supports (Front) | Aluminum Alloy, Black | 4 |
| Handles (Front) | Aluminum Alloy, Black | 1 |
| Hinges | Black | 2 |
| Magnets | 28x9x2.0mm | 3 |
| Outer air intake | ABS, Black | 1 |
| Outer air intake cover plate | ABS, Black | 1 |
| Auxiliary fan assembly | Turbo blower,24V,4000RPM | 1 |
| Filtration box assembly | Aluminum profile, Black | 1 |
| Auxiliary fan wires | Black terminals | 1 |
| Filtration fan wires | Green terminals | 1 |
| Screw accessory kit | 1 | |
| Column film | 1 |
TwoTrees SK1 3D printer enclosure assembly
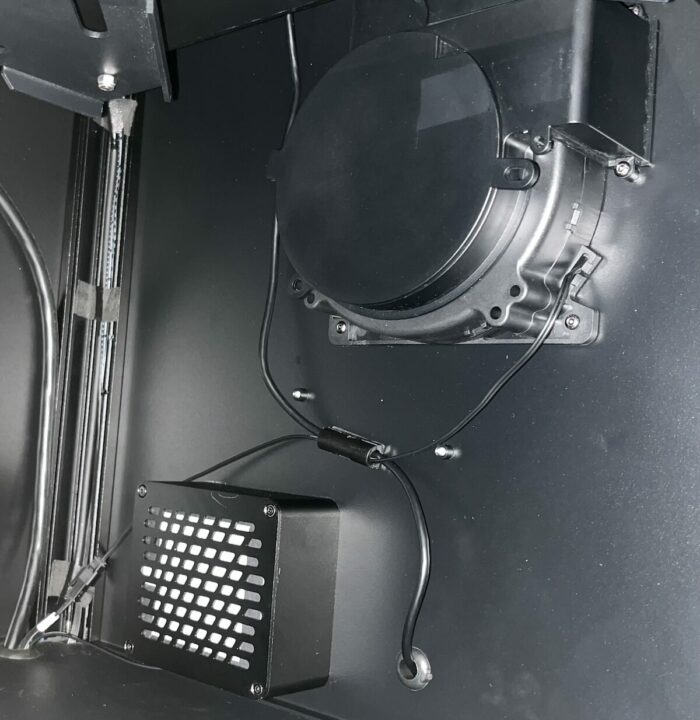
The enclosure kit includes 2 fans: an air filter fan and an exhaust fan for the 3D printer. The fans and air filters are installed inside the Twotrees SK1 3D printer.
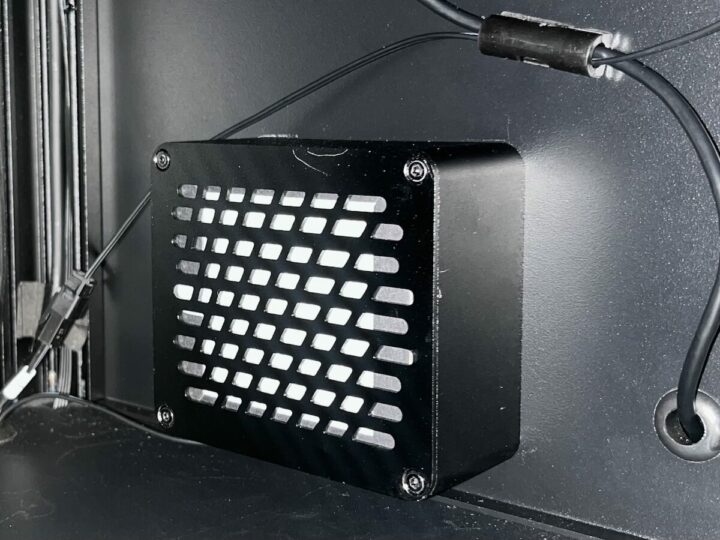
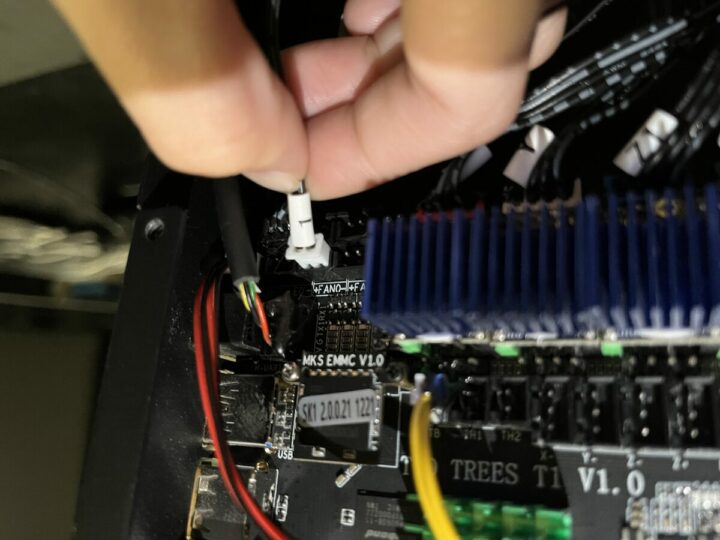
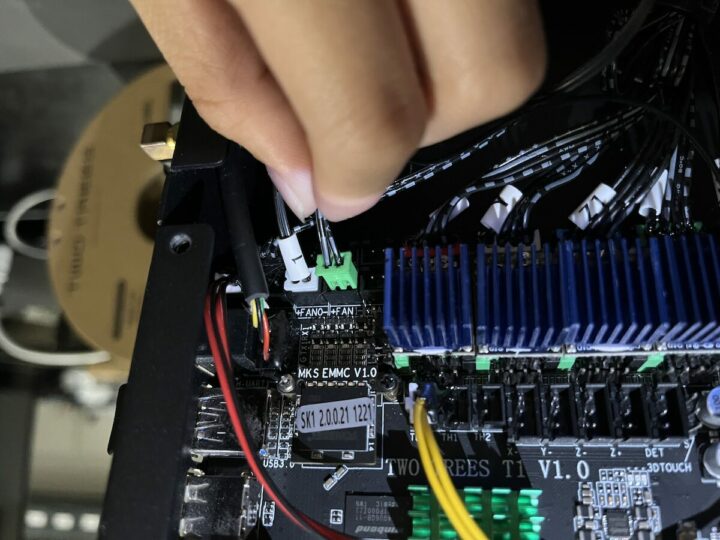
Once the assembly of the filtration fan is done, connect the air filter fan cable to the FAN0 connector of the control board located on the bottom of the TwoTrees SK1 3D printer.
Now install the exhaust fan inside the Twotrees SK1 3D printer…
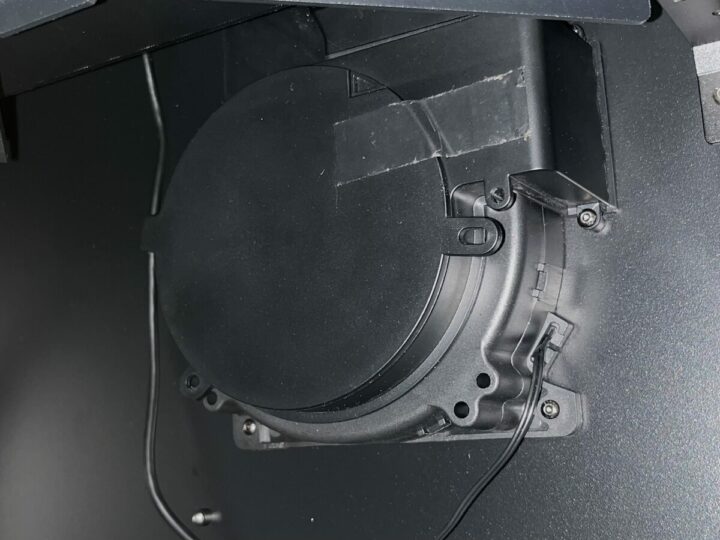
… and connect the cable to the FAN1 connector.
Once the installation of the two fans is complete inside the SK1 3D printer it should look like in the photo below.
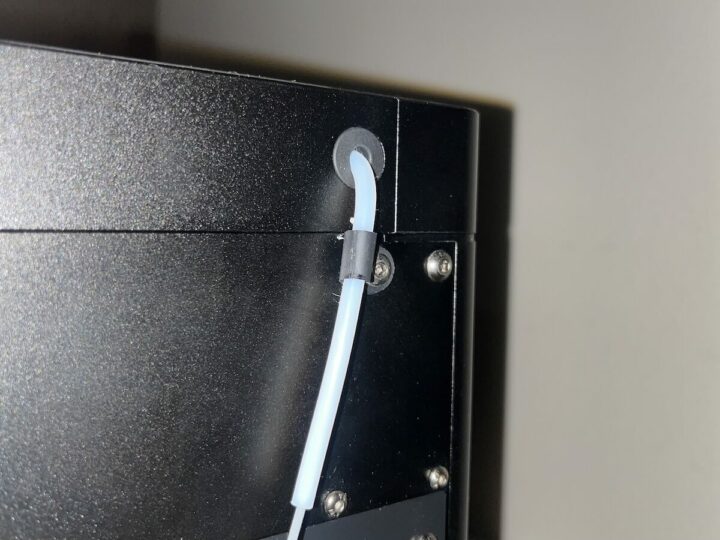
The nylon tube for the filament passes through a dedicated hole in the 3D printer.
The enclosure assembly can also be seen in the video at the end of the review.
TwoTrees AI Camera for SK1 3D printer
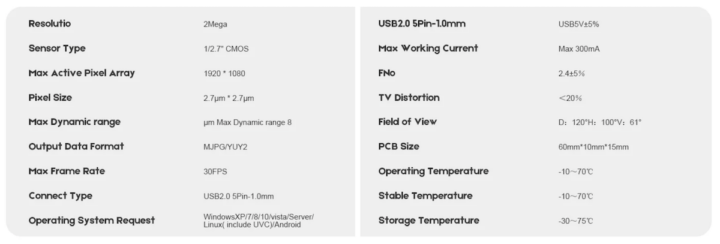
The AI Camera for Twotrees SK1 3D printer features a 2MP camera sensor capable of Full HD (1920×1080) resolution and supports AI detection. It can operate in high-temperature conditions up to 70 degrees Celsius. It is easy to install and its output can be viewed over the network using the Fluidd user interface. We’ll test that below.
The camera ships with a base for mounting on the frame, a USB connection cable, and a cable management tube.
AI Camera installation on the TwoTrees SK1 3D printer
The SK1 AI camera is designed to be mounted on the top right of the Twotrees SK1 3D printer as shown in the picture below.
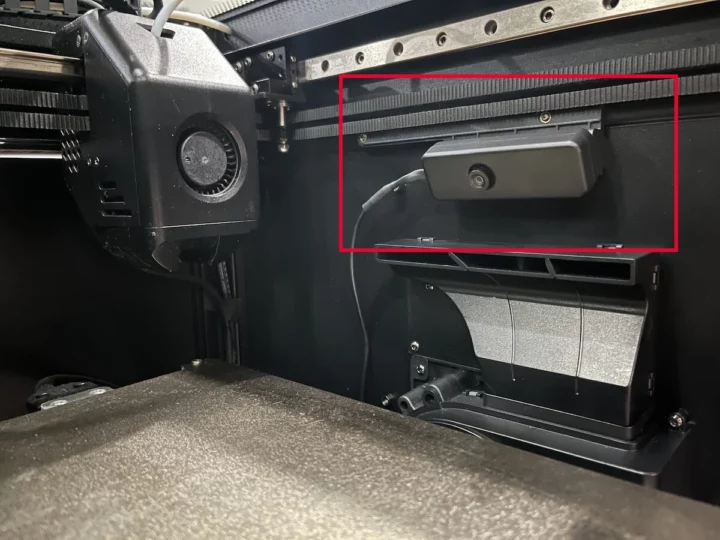
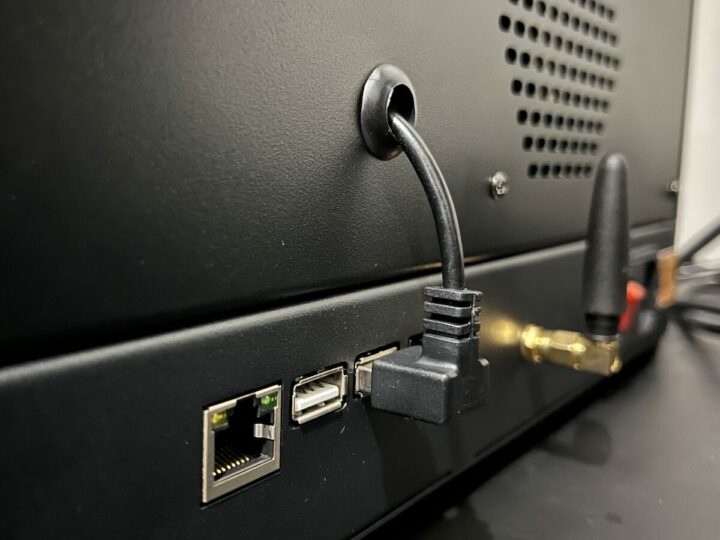
The camera’s USB cable is passed through a hole in the housing and plugged into an external USB 2.0 port.
Getting started with the Twotrees SK1 3D printer enclosure kit and AI camera
The assembly of the enclosure and mounting of the camera are only the first few steps to get started, as the firmware of the display and 3D printer control board also need to be updated. We’ll show how to do it below.
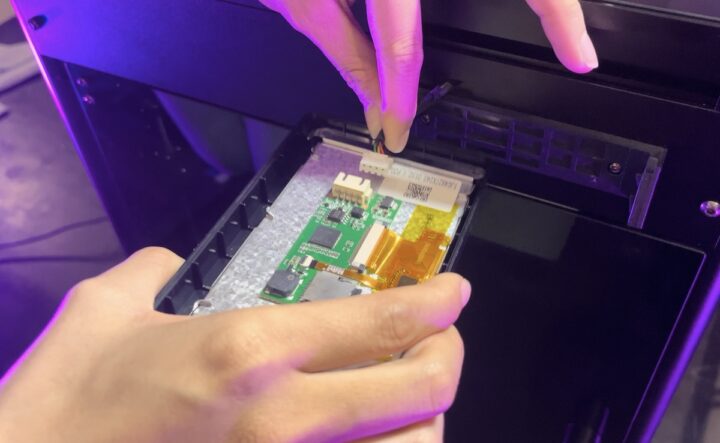
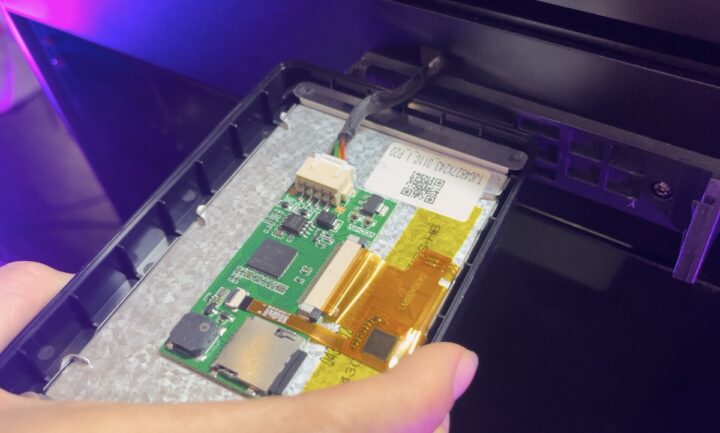
You must first update the LCD firmware to the latest version, currently version 3.20. First, remove the LCD, and disconnect the cables from the Twotrees SK1 3D printer.
Download the LCD firmware V3.20 “(SK1_TFT_V3.20_20240316) LKS.tft” to your computer.
Now copy the firmware file into a microSD card using the provided MKS EMMC adapter or any other USB card reader.
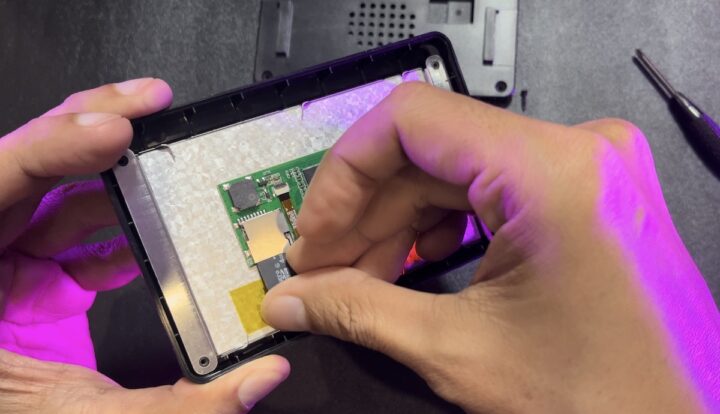
Once the firmware file has been copied, safely unplug the microSD card from your computer, and insert it into the microSD card slot located behind the LCD of the Twotrees SK1 3D printer.
Reconnect the cable back into place and turn on the Twotrees SK1 3D printer.
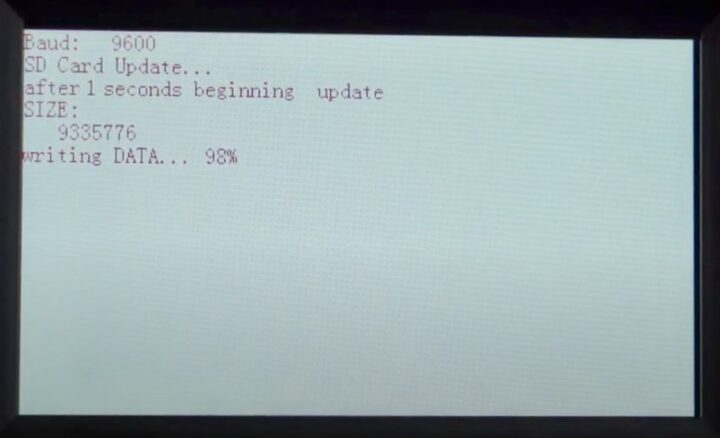
The firmware will be installed automatically. When the installation is 100% complete, you can turn off the 3D printer, remove the microSD card, and put the LCD screen back into place.
That’s it. We will now update the firmware of the control board on the Twotrees SK1 3D printer in the next step. We will be using the Balena Etcher program to flash Firmware V2.02.17, but you can use any other firmware flashing program like USBImager or Win32DiskImager if you prefer. Now download Link Firmware V2.02 and save it on your computer.
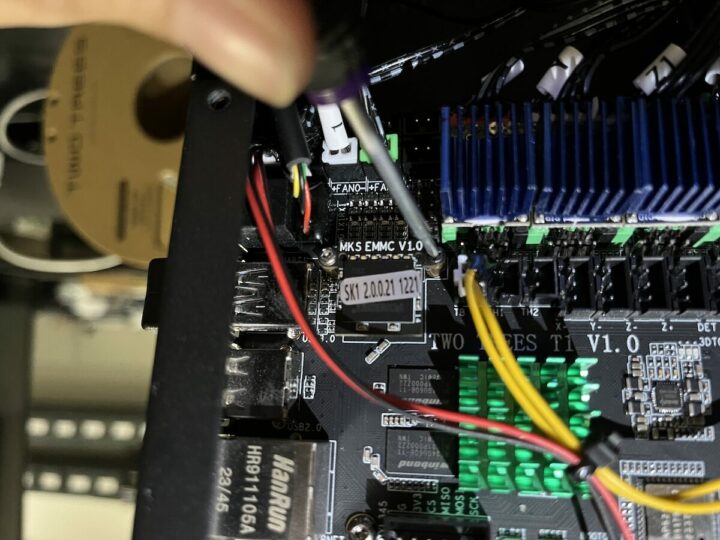
To update the firmware V2.02.17 of the Twotrees SK1 3D printer, you must first remove the MKS EMMC flash module located on the bottom of the 3D printer by loosening two screws as shown in the photo below.
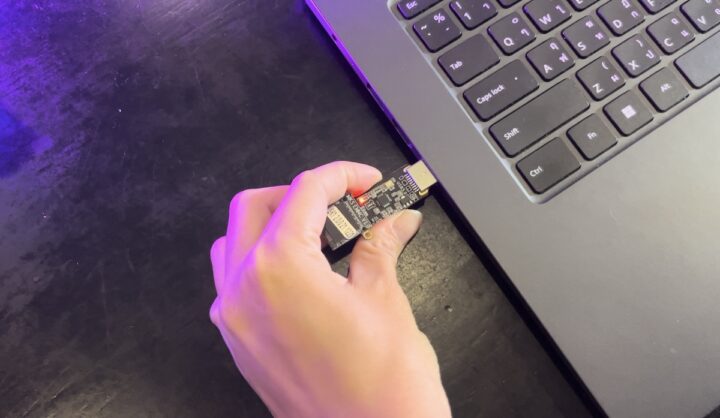
Then insert the MKS EMMC flash module into the slot of the MKS EMMC adapter and plug it into a USB port of your computer.
Load the file into BalenaEtcher, select the microSD card and click on Flash.
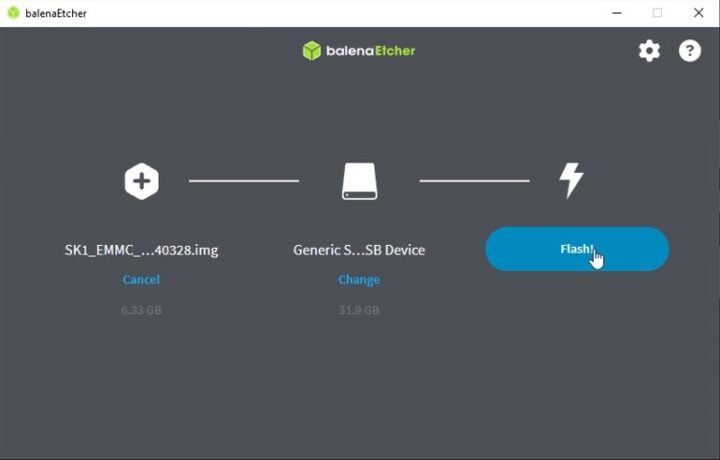
Wait for the flashing procedure to complete at 100%, then put the MKS EMMC flash module back into its original place under the 3D printer, and reassemble everything before starting the 3D printer. Go to the System menu and check if there are any firmware changes.
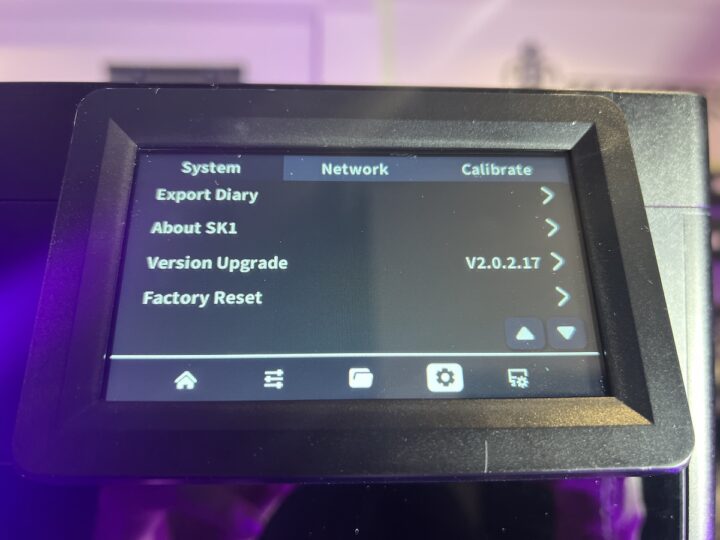
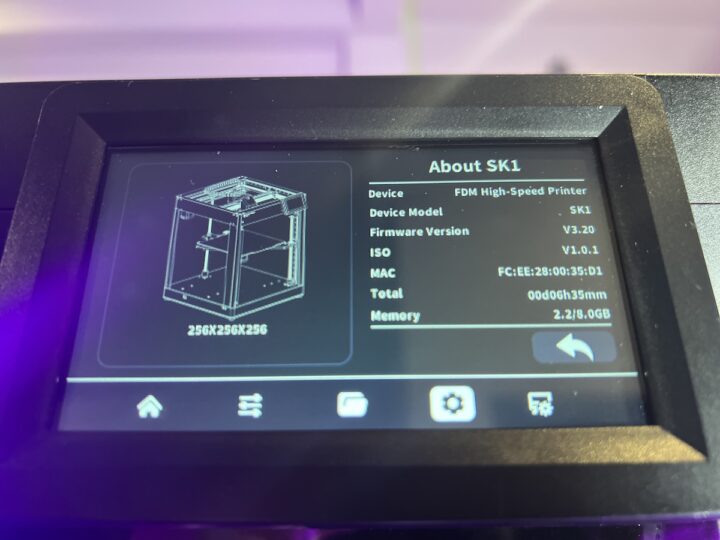
Go to the About SK1 menu and check the Firmware Version to see if it is V3.20. If it is as shown in the example image, it means that the Firmware has been upgraded successfully.
We can now test the Twotrees SK1 3D printer with the camera by logging into the Fluidd system via the IP address of the Twotrees SK1 3D printer. You’ll notice a new window for the AI camera and controls for the air filter and exhaust fans with everything shown on a single page.
We did a quick printing test with a CNX Software keyring and ABS filament is supported thanks to the temperature-controlled cabinet.
Video review
Conclusion
The Twotrees SK1 3D printer can work well with HS PLA filament in its original configuration. But the Twotrees SK1 3D printer enclosure kit makes the machine even more beautiful and improves its performance. Its air filter cleans the air coming out of the printer and removes most of the smell. It can also print workpieces with other materials such as ABS, PETG, and more. The high-quality SK1 AI Camera can help the user check and inspect the workpiece for damage while the machine is working. The user can also create time lapses and the AI features are supposed to enable the 3D printer to detect foreign objects, spaghetti prints, collisions, and more, but we were unable to test those with the provided software.
We’d like to thank TwoTrees for sending the SK1 3D printer enclosure and SK1 AI Camera for review. The Twotrees SK1 3D printer enclosure sells for $159 on AliExpress or the company’s store, and the SK1 AI Camera goes for $27.92 including shipping on AliExpress and $39.99 on the company’s store.
CNXSoft: This article is a translation – with a few edits – of the original review on CNX Software Thailand by Kajornsak Janjam and edited by Suthinee Kerdkaew.

Jean-Luc started CNX Software in 2010 as a part-time endeavor, before quitting his job as a software engineering manager, and starting to write daily news, and reviews full time later in 2011.
Support CNX Software! Donate via cryptocurrencies, become a Patron on Patreon, or purchase goods on Amazon or Aliexpress


