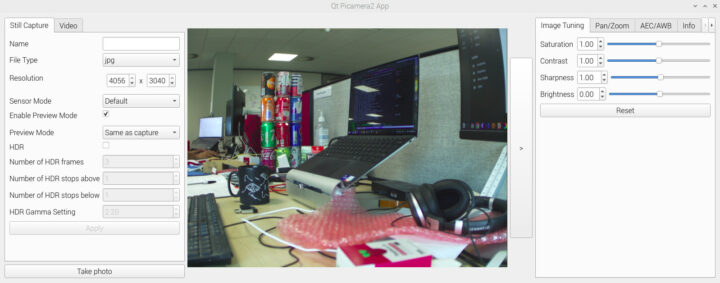
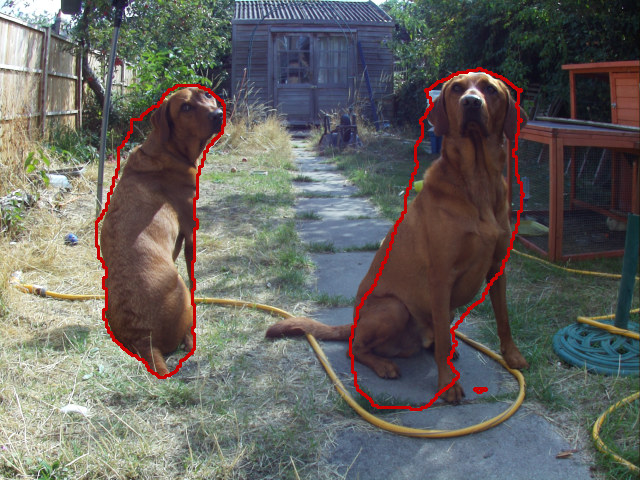
Raspberry Pi Trading released a new version of Raspberry Pi OS last week with the highlight being the Picamera2 Python library for Raspberry Pi cameras, along with small changes such as the ability to search menu items, a new audio input control,
The new Picamera2 library was first announced in mid February 2022 with a preview release, and it’s the first time the Python library is included by default in Raspberry Pi OS. It is now based on the libcamera open-source framework instead of the proprietary and closed camera APIs from Broadcom found in the original Picamera library.

Some of the key features of the Picamera2 library include:
- The preview windows use OpenGL acceleration for hardware-assisted rendering or DRM/KMS for efficient rendering when X Windows is not running
- Picamera2 commands can be typed into a Python interpreter or scripts
- Support for embedding Picamera2 widgets into Qt applications
- NumPy integration provides easier use of OpenCV, TensorFlow, and other Python “scientific computing” libraries.
- Video encoding and recording
- Record audio and video together
- Drawing display overlays on top of the camera images
- All official Raspberry Pi cameras are supported as well as some third-party cameras from Arducam and others.

The source code and documentation (65-page PDF file) can be found on GitHub. The library should be installed in the latest Raspberry Pi OS image, but if somehow it’s not there, or you’d like to install it on an older Bullseye image, it can be installed as follows:
|
1 |
sudo apt install -y python3-picamera2 |
Capturing an image is just the lines of code:
|
1 2 3 |
from picamera2 import Picamera2 picam2 = Picamera2() picam2.start_and_capture_file("test.jpg") |
If you want to show a preview window before the capture, it’s not overly complicated either.
|
1 2 3 4 5 6 7 8 9 10 |
from picamera2 import Picamera2, Preview import time picam2 = Picamera2() camera_config = picam2.create_preview_configuration() picam2.configure(camera_config) picam2.start_preview(Preview.QTGL) picam2.start() time.sleep(2) picam2.capture_file("test.jpg") |
The sample code above is valid with X-Windows, but if you’re not using X-Windows, Preview.QTGL by Preview.DRM instead:
|
1 2 3 4 5 6 7 8 9 10 |
from picamera2 import Picamera2, Preview import time picam2 = Picamera2() camera_config = picam2.create_preview_configuration() picam2.configure(camera_config) picam2.start_preview(Preview.DRM) picam2.start() time.sleep(2) picam2.capture_file("test.jpg") |
You can also capture videos, adjust camera parameters (exposure, gain, etc..), display overlays, stream video to the network, and more.
Future plans include fixing bugs that may show up in the beta version, working on better documentation, improving the frame-by-frame control of exposure and gain, etc…

Jean-Luc started CNX Software in 2010 as a part-time endeavor, before quitting his job as a software engineering manager, and starting to write daily news, and reviews full time later in 2011.
Support CNX Software! Donate via cryptocurrencies, become a Patron on Patreon, or purchase goods on Amazon or Aliexpress


