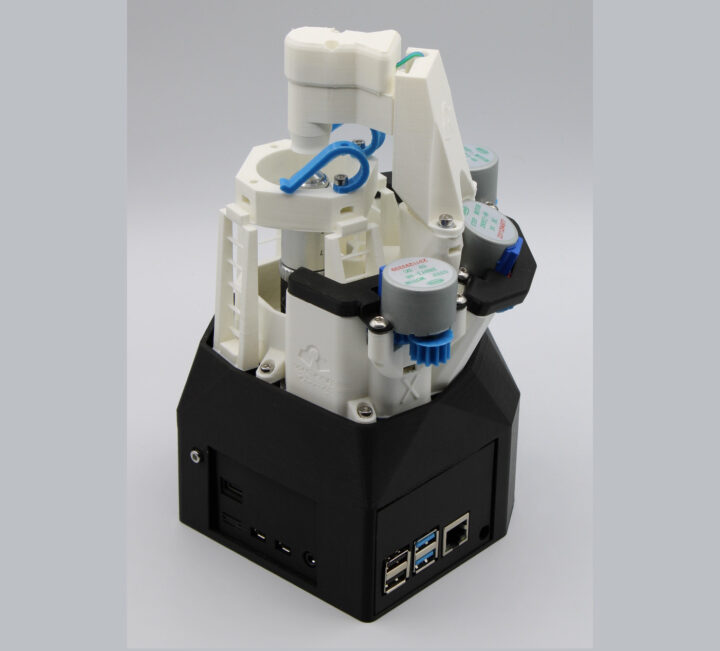
The OpenFlexture Microscope is a DIY, open-source, 3D-printed microscope built around the Raspberry Pi 4, a Raspberry Pi Camera Module v2, and a choice of optics or various qualities up to lab-grade optics. It can be motorized using low-cost geared stepper motors and can achieve a resolution of up to around 100 nanometers
I found out about the OpenFlexture Microscope in one of the sessions at the upcoming FOSDEM 2025 event whose description partially reads:
The OpenFlexure Microscope is an open-source laboratory-grade digital robotic microscope. As a robotic microscope, it is able to automatically scan microscope slides creating, enormous multi-gigapixel digital representations of samples. The microscope is already undergoing evaluation for malaria and cancer diagnosis in Tanzania, Rwanda, and the Philippines. As an open project, our key goal is to support local manufacturing of microscopes in low-resource settings.
[..] high-quality consistent documentation has enabled thousands of microscopes to be built around the world, in over 50 countries.
The OpenFlexure project itself is designed to create “high precision mechanical positioning available to anyone with a 3D printer”, so the Microscope is only one of the projects that will be the focus of this article, but “micromanipulators” are also potential applications. For example, the OpenFlexure Delta Stage is suitable for motorized microscopy with high stability, and the OpenFlexure Block Stage supports sub-micron mechanical positioning.
The first step will be to build the open-source microscope with instructions for the latest version (v7 beta) listing three versions:
- High-resolution motorized microscope – This configuration uses a traditional microscope objective for the highest image quality. It supports Standard RMS threaded objectives and is a fully functioning motorized laboratory-grade microscope
- Motorized microscope with low-cost optics using the original lens from a Raspberry Pi Camera Module v2. You’ll end up with a microscope with a field of view of about 750μm, similar to using a 20x objective.
- Upright microscope – This configuration has the objective above the sample rather than below. It’s newer, and not as well-tested, so you may have a harder time building it at this time
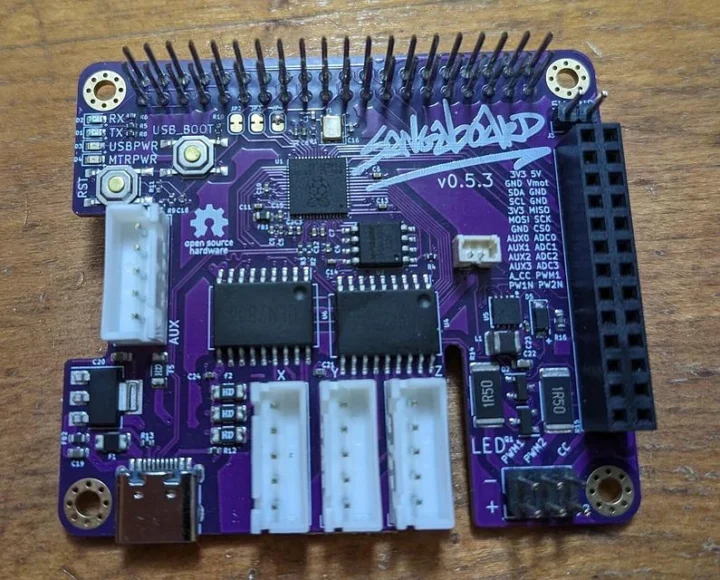
The instructions list the tools needed (3D printers, screwdriver, utility knife, etc…), main components (Raspberry Pi 4, Raspberry Pi Camera Module v2, Sangabord v0.5 motor control board, 28BYJ-48 micro geared stepper motors, etc…), and materials. You’ll then be guided through the 3D printing and assembly process. The instructions look thorough yet easy to follow.

The next step will be software installation. The developers prepare two Raspberry Pi OS 32-bit images with the required software respectively named Raspbian OpenFlexure for controlling the microscope directly from the built-in Raspberry Pi 4 (models with 8GB RAM are not supported) or Raspbian OpenFlexure Lite for controlling the microscope from another host. With the latter, you could also use an older Raspberry Pi 2 or Raspberry Pi (1) SBC.
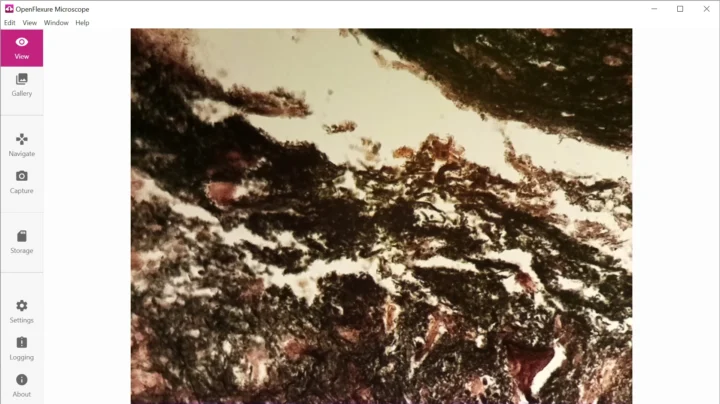
OpenFlexure Connect is an electron-based client for the OpenFlexure Microscope pre-installed on the aforementioned images. It’s also available on Windows, Linux, and macOS (building from source required) for remote access. Alternatively, you can also access the microscope through the built-in Web interface by going to http://microscope.local:5000 in your web browser.

If you plan to build the Openflexure Microscope yourself, most of the components should be easy to source, and the Sangaboard v0.5 can be found on Lectroncz and Taulab. If you’d rather just get kits or purchase parts, there are distributors in the US (IO Rodeo), UK (Taulab, LabCrafter), as well as in Europe, Africa, and other places around the world. The price for a full kit starts at around $300. More details can be found on the official website.

Jean-Luc started CNX Software in 2010 as a part-time endeavor, before quitting his job as a software engineering manager, and starting to write daily news, and reviews full time later in 2011.
Support CNX Software! Donate via cryptocurrencies, become a Patron on Patreon, or purchase goods on Amazon or Aliexpress. We also use affiliate links in articles to earn commissions if you make a purchase after clicking on those links.


