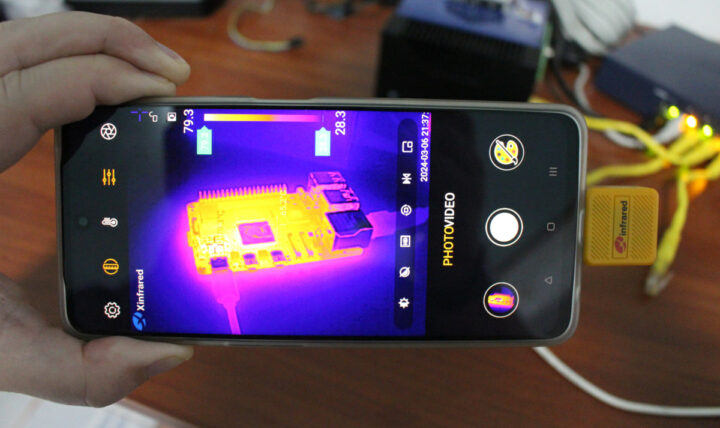
Shortly after I wrote about the Mustool MT13S 2-in-1 thermal imager and multimeter, Xinfrared asked me if I wanted to review the Xtherm II TS2+ thermal imager for smartphones. They offer versions that work for Android or iOS smartphones, so the company sent me the Android version of the Xtherm II TS2+ for review. After listing the key features and specifications, I’ll go through an unboxing, and report my experience using the thermal imager with the OPPO A98 5G smartphone running Android 14.
Xtherm II TS2+ specifications
- Minimum focus – 8mm
- Resolution – 256×192
- Pixel Pitch – 12μm
- FOV – 44.9° x 33.4°
- Image Frame Rate – 25Hz
- NETD (Noise Equivalent Temperature Difference) – ≤40mK@25°C, F#1.0
- MRTD (Minimum Resolvable Temperature Difference) – ≤500mK@25°C,F#1.0
- Temperature Range
- Measurements- -20°C ~ +450°C with ±2°C or ±2% reading accuracy
- Operating – -20°C ~ +50°C
- Temperature Correction – Manual/automatic
- Power Consumption – <350mW
- Dimensions – 26×26×24.2mm
- Weight – Less than 18grans
Supported OS including Android, Harmony OS, and iOS, but not the hardware will change too since some devices use a USB-C port, while Apple devices rely on a Lightning connector. The Xtherm application can capture photos or videos, and the company also offers an SDK for secondary development.
Unboxing
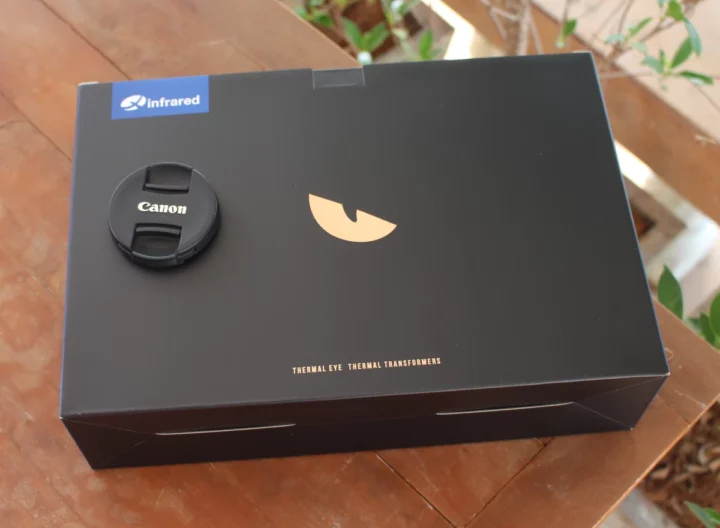
I was expecting to receive a small USB-C device, so I was confused when I received the relatively large package.
There’s a bag inside…
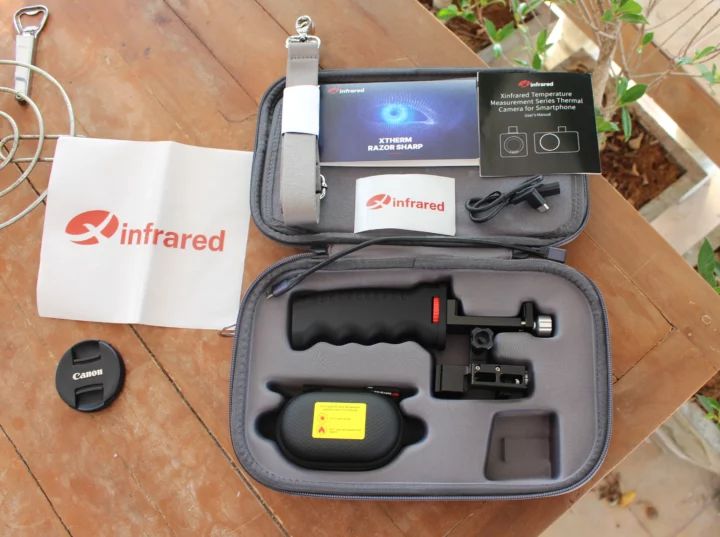
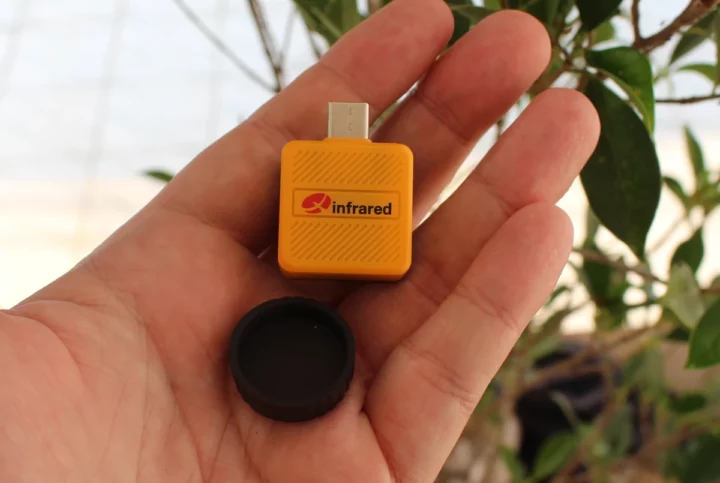
… with a bunch of accessories including another small bag with the thermal imager, a smartphone and thermal imager holder, a female USB-C to male USB-C cable, a female USB-C to male micro USB cable, a lanyard, a user guide, and two Xinfrared stickers.
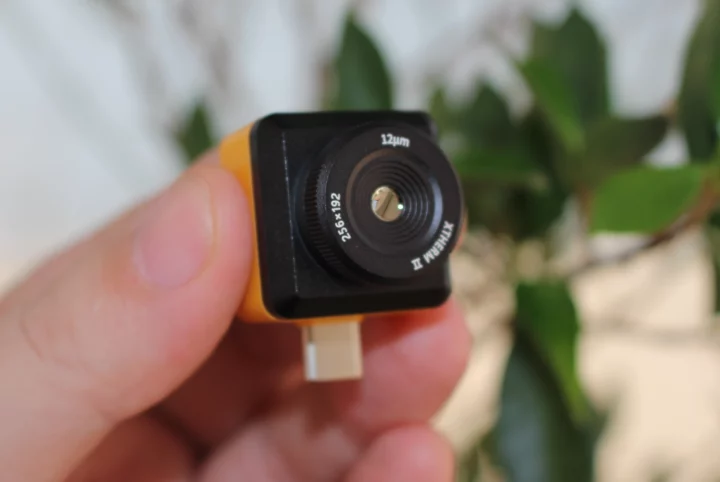
The thermal imager itself is tiny with the lens protected with a plastic cover.
The outer ring can be rotated to manually adjust the focus point. More on that later.
Thermal imager and smartphone holder
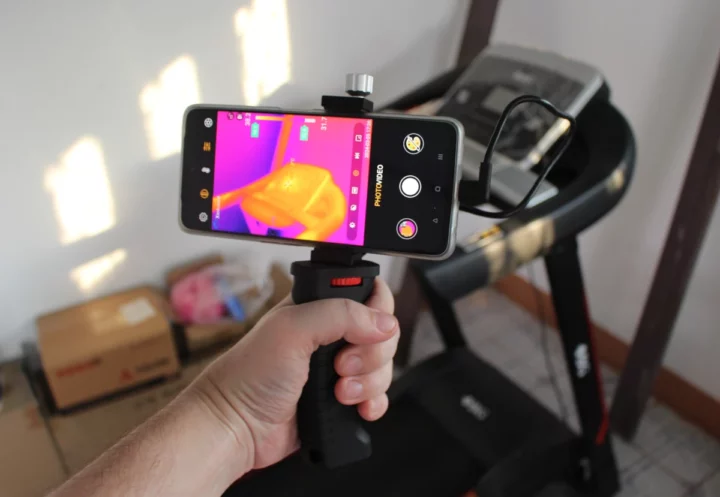
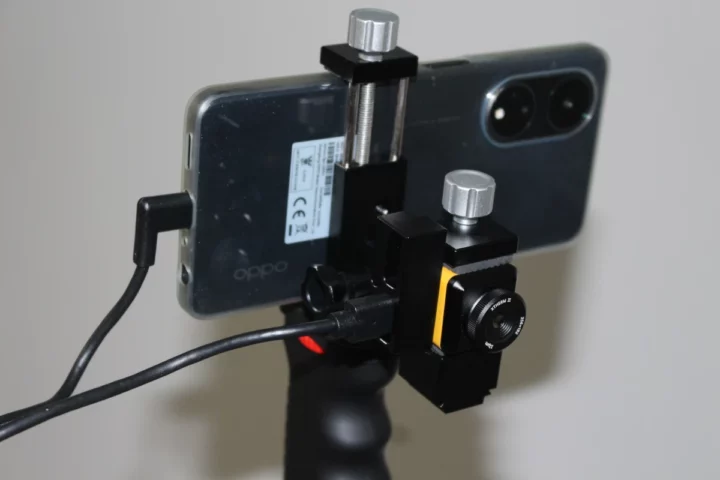
While it’s possible to connect the Xinfrared Xtherm II TS2+ directly to your smartphone’s USB Type-C port, the provided smartphone holder can be convenient for some use cases, notably to mount the kit to a tripod.
Xtherm II TS2+ review with the Xtherm app on Android
We’ll need to install the Xtherm app for Android and insert the thermal imager into the USB-C port of the smartphone to get started. But the first time, I only had a black screen with controls, and it looked like the thermal imager was not detected.
That’s because the OTG port is disabled by default in Android for security reasons. So I went to the settings, searched for “USB” or “OTG”, and enabled the OTG connection. Note that if the USB-C OTG connection is not used for over 10 minutes, it will be automatically disabled. In practice, that means that each time I need to use the app, the OTG connection must be manually enabled before inserting the thermal camera.
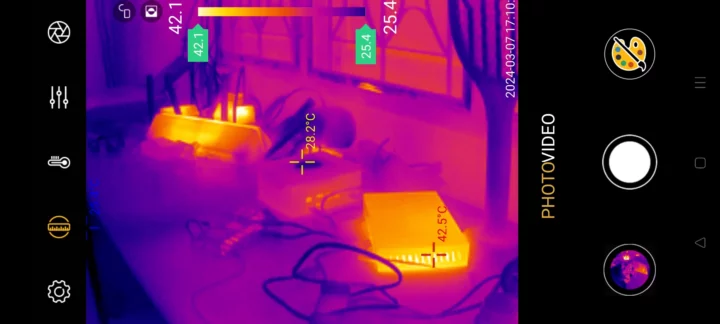
Here’s what the interface looks like:
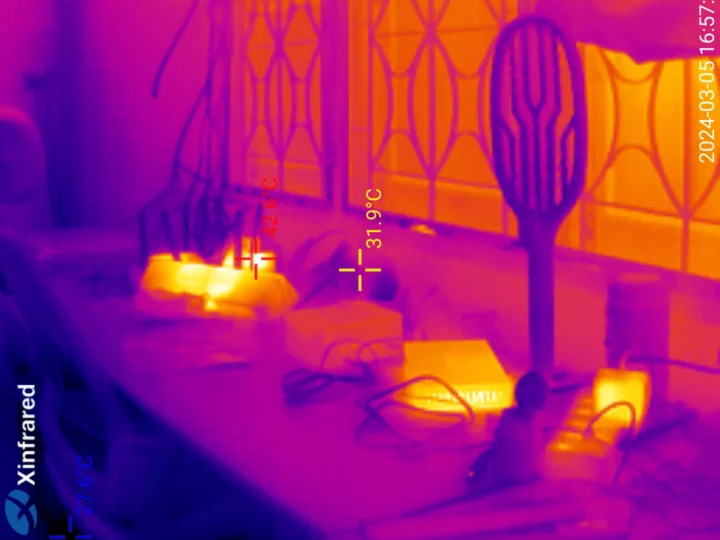
It’s basically just like a camera app. My first “photo” was of my review table. It shows the temperature at the center (31.9°C) and the highest temperature (42.6°C) which happens to be the power supply fpr the TP-Link switch in the center-right of the image. We can also see a Xiaomi Mi AX6000 router that’s fairly warm on the left and another power supply on the right.
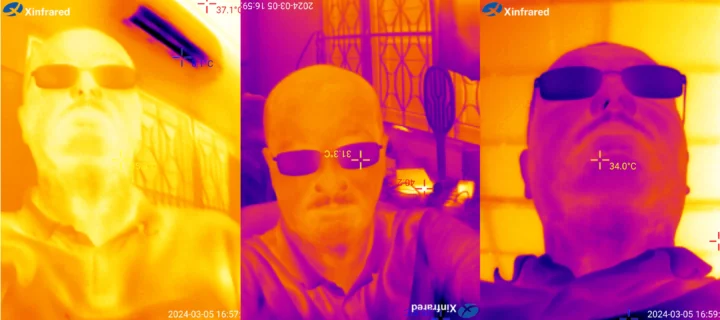
I also turned the camera around to take some selfies. The left one is with the aircon with the air coming out at about 8°C where I’ll yellow because I’m the hottest part of the capture, the center one is with the review table, and in the last one, I mainly point at the ceiling that’s fairly warn due to a hot afternoon in Thailand.
I also went through some practical checking out ice cubes in the freeze (as well as -20.7°C) and boiled some water (100.8°C). As you can see from the left screenshot it’s also possible to enable the camera from the smartphone as well. But note that this feature is useless for closer shots since the smartphone camera points to another area.
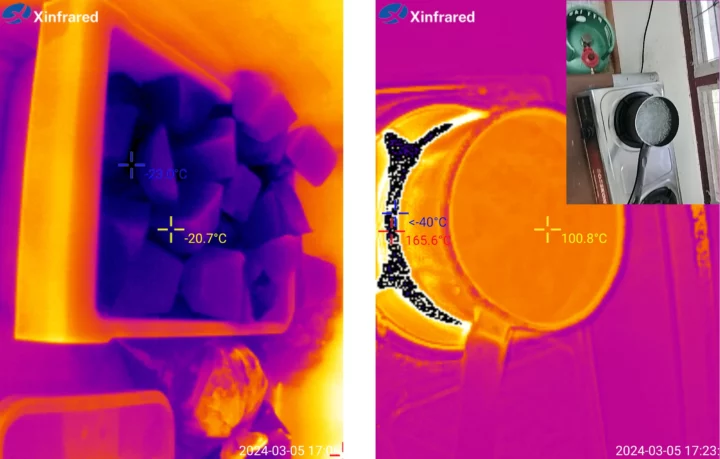
I also tried the video capture function while starting to boil the water. There aren’t any flames in the shot, and the yellow parts just represent hot air.
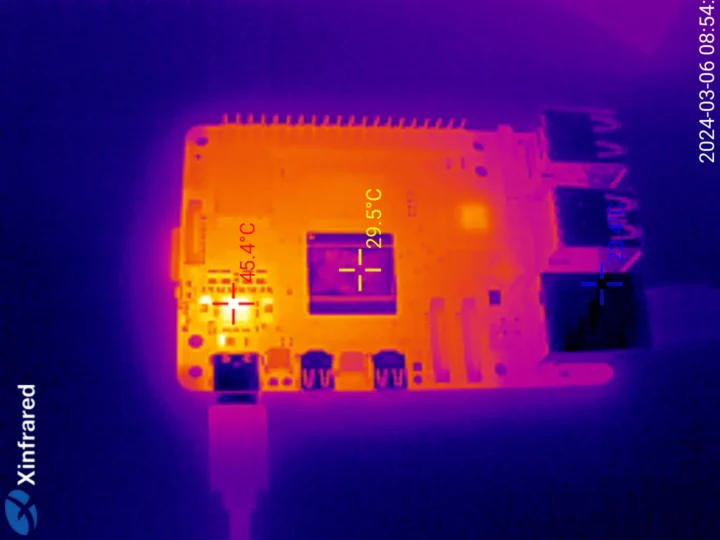
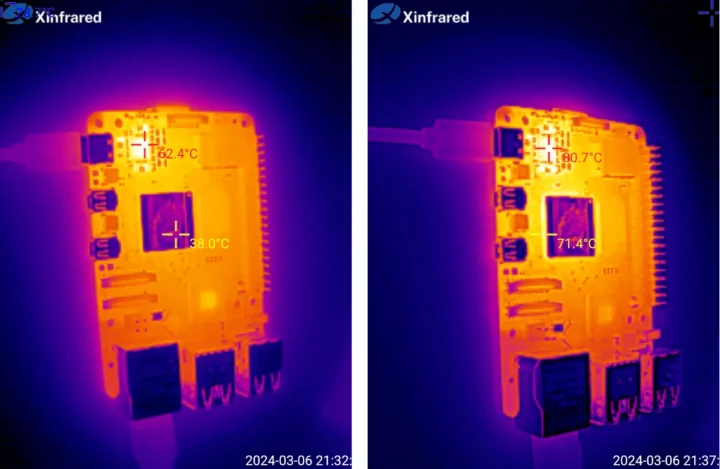
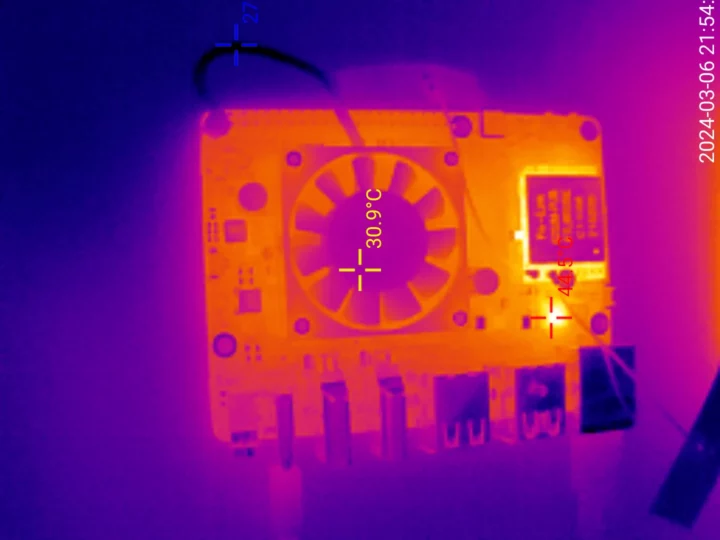
The main reason I was interested in a thermal imager was for single board computer and mini PC reviews. So the next step was to connect a Raspberry Pi 5 SBC, remove the active cooler, and check the temperature at idle.
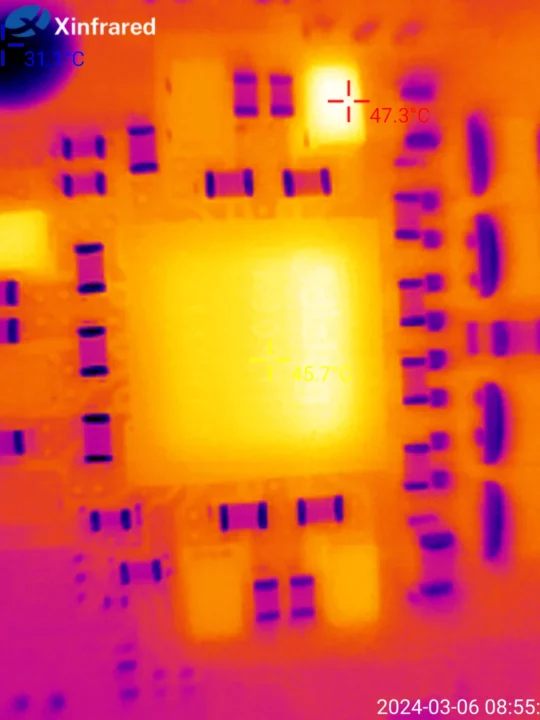
The top of the CPU was pretty cool at just 29.5°C (we’ll explain why below), and the hottest part was the DA9091 PMIC (45.4°C). Since the Xtherm II TS2+ thermal imager can focus as close as 8mm, I moved closer to the PMIC and circuit around after adjusting the focus ring until it would not turn anymore.
The hottest part was not the PMIC itself, but one of the components around it.
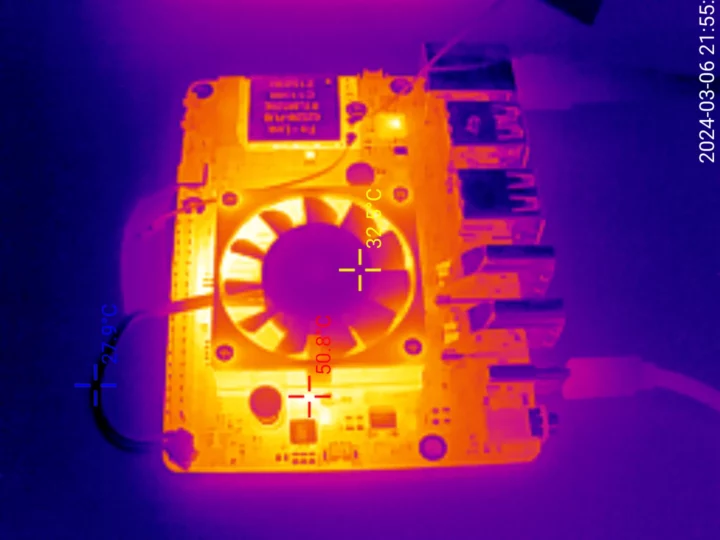
I then started a stress test on all four cores…
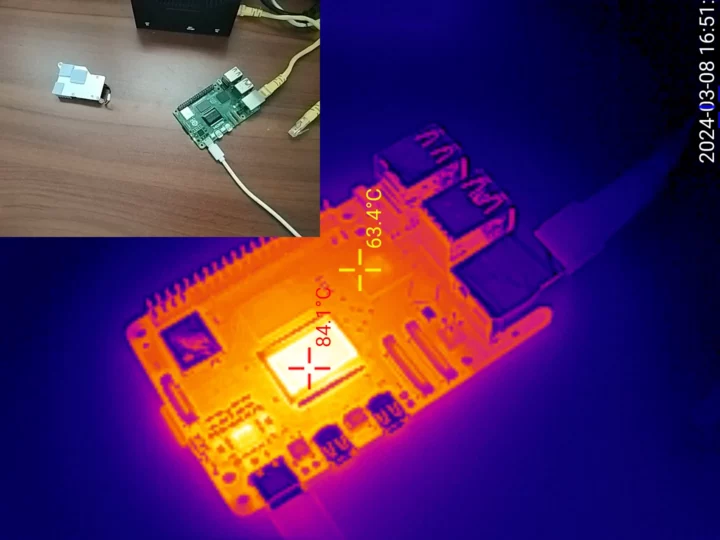
The metal cover on the Broadcom BCM2712 processor never really got hot, but we can see heat flowing from the sides. Again the DA9091 PMIC was the hottest shown as reaching up to 80.7°C above. [Update: That’s because the top of the processor is a bright reflective material with low emissivity, so the temperature measurement is not valid. So I stuck some black tape on top of the processor, ran the stress test for around 15 minutes, and took another measure, and this time around the CPU temperature was indeed shown to be 84.1°C.
]
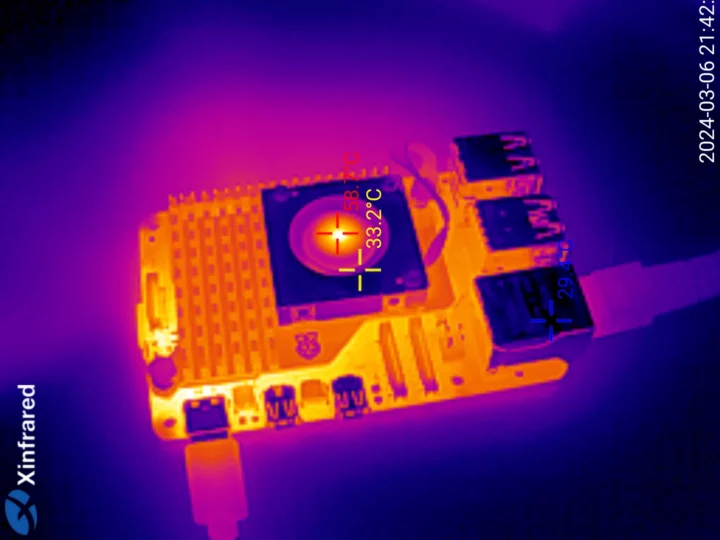
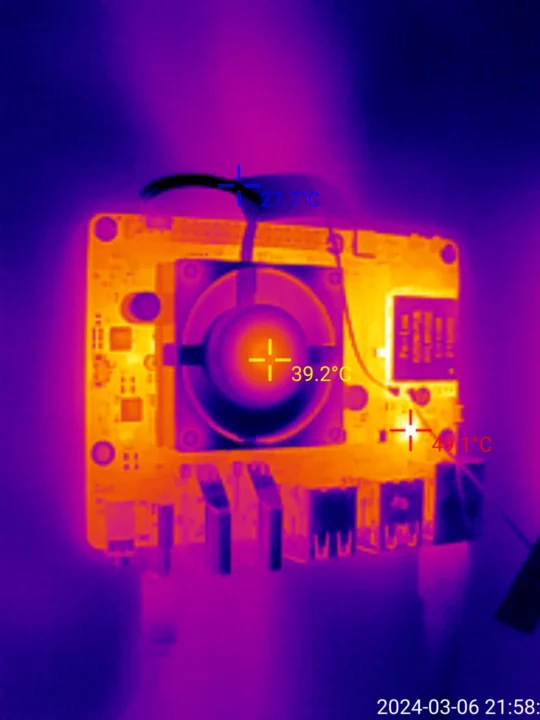
I then fitted the active cooler back on top of the Raspberry Pi 5 while the stress test was running and waited a little while before checking again.
Although we can see still some heat coming out of the power circuitry, the hottest parts of the board are now covered up, and the hottest part is not in the middle of the cooling fan.
Next up I switched to the Radxa Rock 5B SBC with the fan disconnected. At idle, the hottest part is the Realtek RTL8125B 2.5GbE controller at 44.5°C.
If I start a stress test on the eight cores of the Rockchip RK3588 processor, the area under the fan gets hotter.
If we connect the fan, the temperature around it drops, and the Realtek RTL8125B controller becomes the hottest part on the board again.
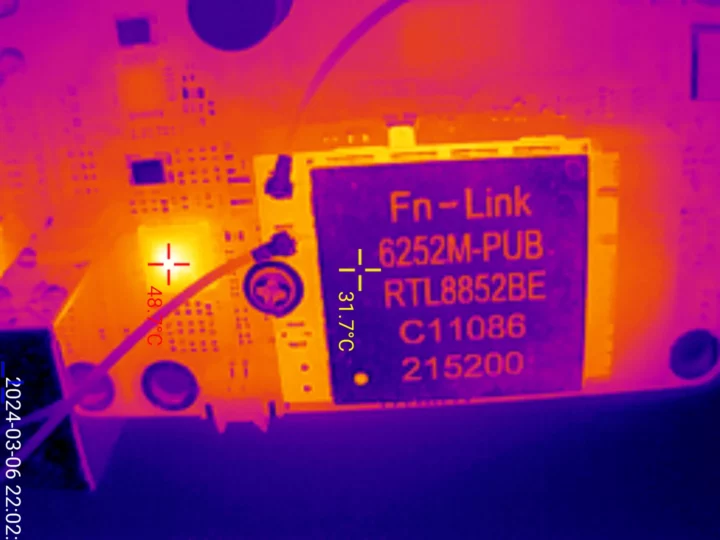
I changed the focus point again to have a closer look at the networking part (Ethernet and WiFi) of the Rock 5B board.
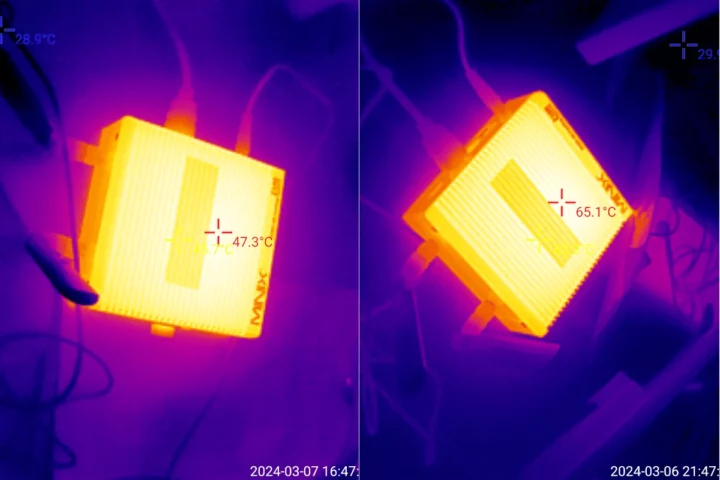
I also did a quick test on the MINIX NEO Z100-0dB fanless mini PC while it was idle (left)…
… and under higher loads (right).
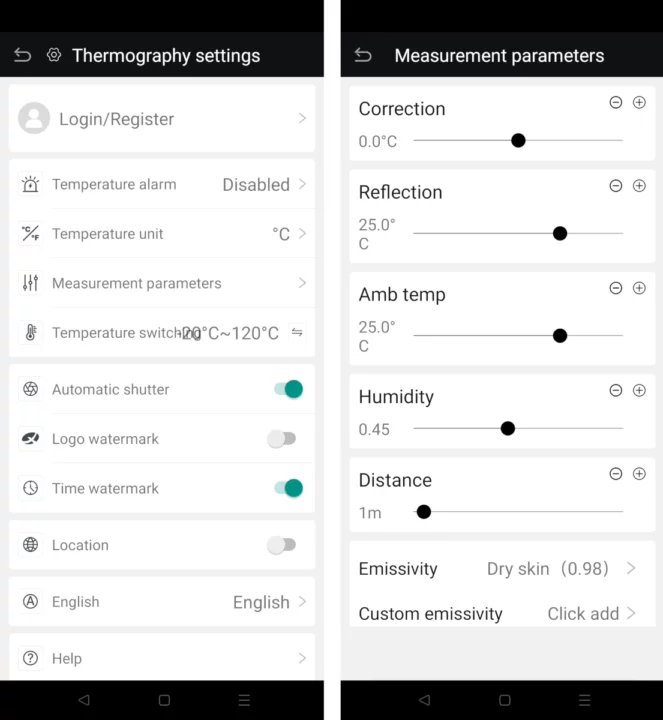
The Xtherm Android app is pretty easy to use and also comes with various settings for the thermal imager notably the temperature switch to select between -20°C to +120°C and +120°C to +450°C measurement ranges. It’s also possible to mirror, flip, and rotate the image depending on the orientation of the thermal imager.
Conclusion
Xinfrared Xtherm II TS2+ thermal imager is very easy to use with the Android app and seems fairly accurate based on the ice and boiling water tests I did. It can also be useful to test PCB heat dissipation with a minimal focus length of just 8mm allowing the user to take close-up thermal images of the boards.
I’d like to thank Xinfrared for sending the Xtherm II TS2+ for review. You’ll find the kit reviewed there on Aliexpress for $323.53 including shipping, but the SHOUHOU301 coupon code will bring that to under $300. It’s also available on Amazon ($339) and the official store ($339). Update: The coupon code CNXSOFT5 will lower the price by 5% on the Amazon and Xinfrared stores.

Jean-Luc started CNX Software in 2010 as a part-time endeavor, before quitting his job as a software engineering manager, and starting to write daily news, and reviews full time later in 2011.
Support CNX Software! Donate via cryptocurrencies, become a Patron on Patreon, or purchase goods on Amazon or Aliexpress


