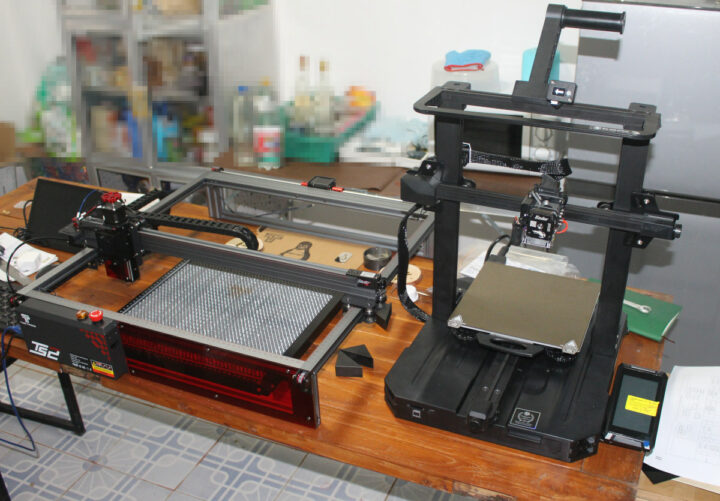
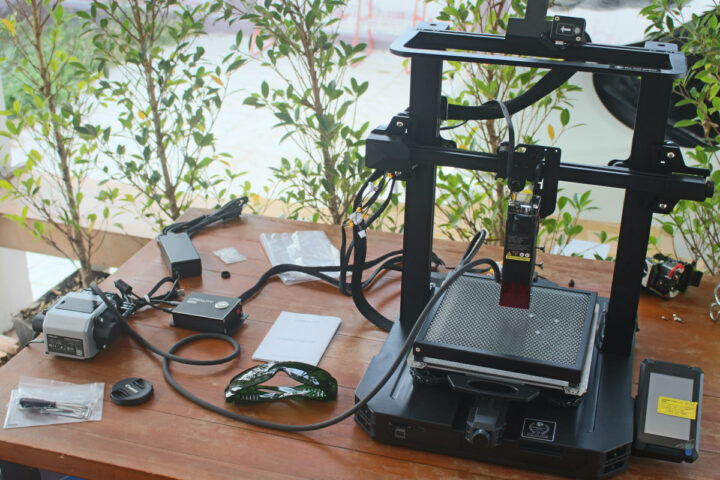
Creality Ender-3 S1 Pro is a 3D printer that can be converted into a laser engraver thanks to a choice of 1.6W, 5W, and 10W laser modules, making it in theory a space-saving machine that can print 3D objects and engrave & cut materials.
The company sent me a full kit with a 10W laser module, so after looking at the 3D printer’s specifications, I’ll check the various packages, and report my experience assembling the 3D printer, and then converting it into a laser engraver in this article, before actually testing both functions in the second part of the review. Since Karl reviewed the Ender-3 Pro 3D printer over two years ago, I asked about the difference and was told the new model got various improvements such as a direct extruder, CR-Touch auto bed-leveling, and support for high-temperature printing.
Creality Ender-3 S1 Pro specifications
- Technology – FDM
- Maximum printing volume – 220 x 220 x 270mm
- Print precision – ±0.1mm
- Nozzle diameter – 0.4 mm
- Nozzle temperature – Up to 300°C
- Printing Speed – Up to 150 mm/s
- Layer thickness – 0.1-0.4 mm
- Features – Resume printing, Filament detector
- Extrusion method – “Sprite” full-metal dual-gear direct extruder with 1:3.5 gearing
- Hotbed temperature – Up to 110°C
- Print bed – Spring steel PEI magnetic build plate
- Printing filament – PLA, ABS, PVA, Wood, TPU90-95, PETG, PA
- Filament diameter – 1.75mm
- Host interface – USB Type-C port or SD card
- Power rating – 350W
- Power supply – 24V/350W
- Dimensions – 490 x 455 x 625 mm
- Weight – 8.6 kg
The company provides its own Creality slicing software available for Windows, macOS, and Linux, but the 3D printer is also compatible with Cura, Repetier-Host, and Simplify3D. When converted into a laser engraver, the company shows how to use the system using Lightburn.
Creality Ender-3 S1 Pro (and accessories) unboxing
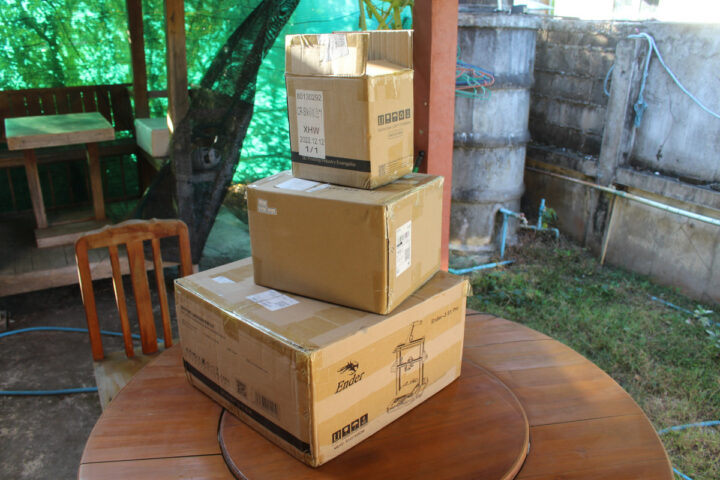
I received not one but three packages from Creality. Let’s go through them from the smallest to the largest.
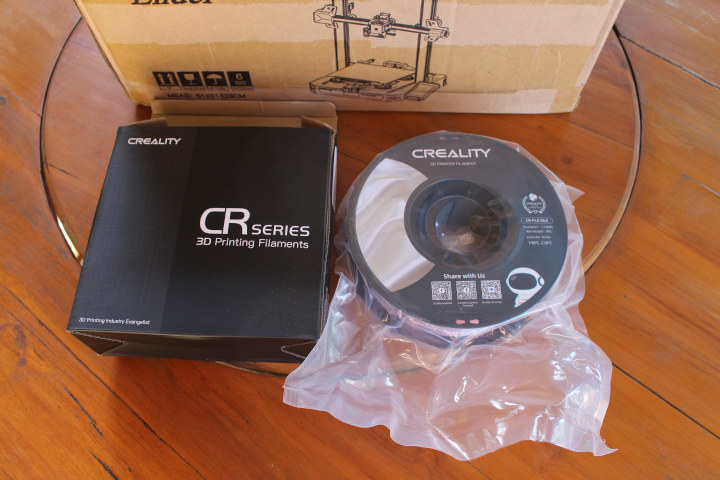
The first package comes with one kilogram of Creality CR-PLA SILK 3D printing filament with multiple colors.
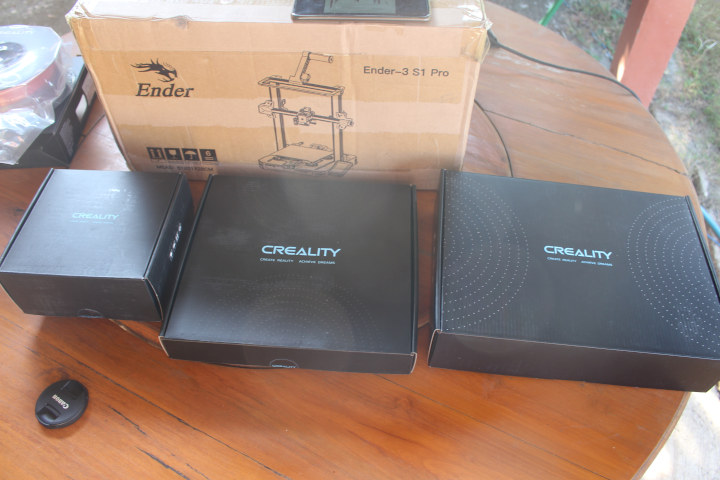
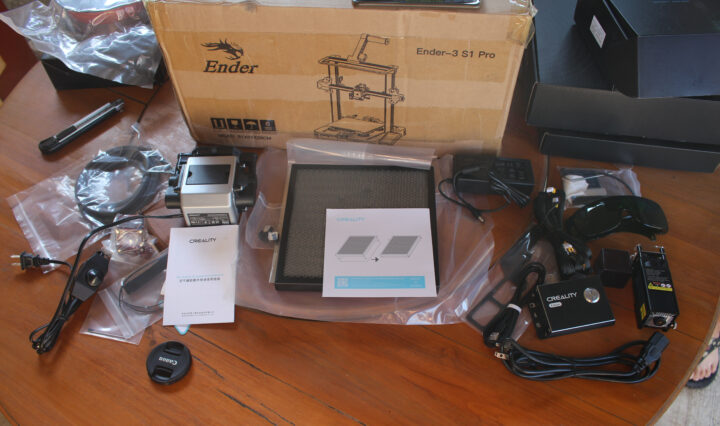
The second package came with three smaller packages for the 10W laser module.
That was unexpected, but that’s because the company did not only send the 10W laser module and accessories to mount it to the 3D printer, but also an air assist system and a honeycomb plate for laser cutting.
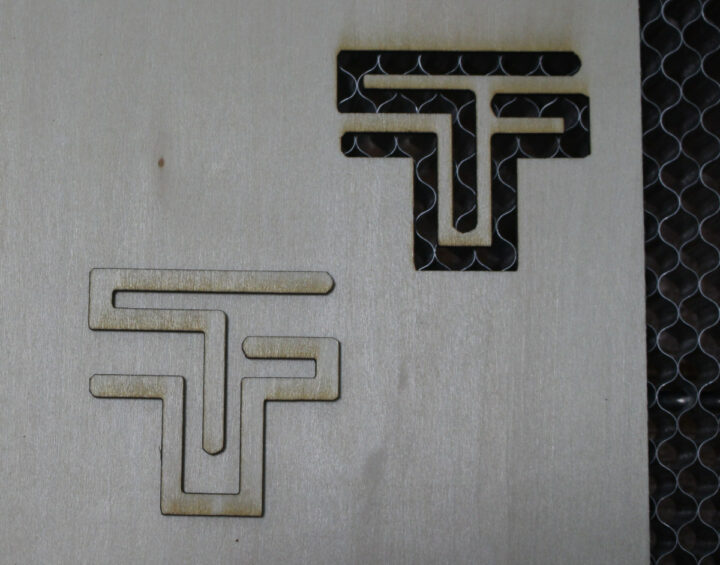
The air assist will blow air to make sure the cut is as clean as possible without burnt areas. Below is an example of laser cutting on the TwoTrees TS2 laser engraver that was done without an air pump connected to the laser module.
Plywood looks to be burnt around the cut area and using an air assist should reduce or even completely remove those.
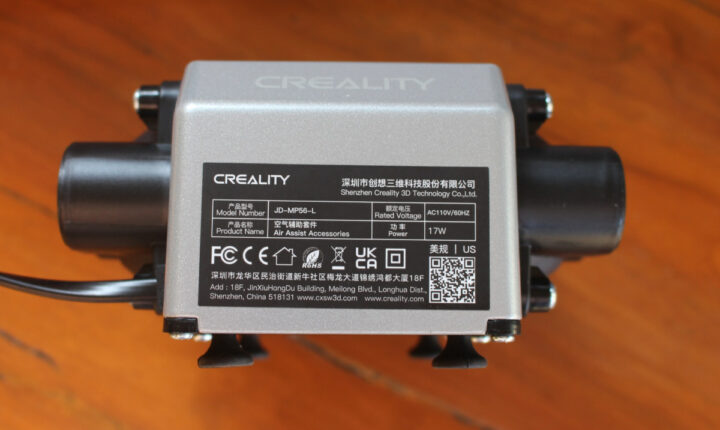
The model in the kit is named JD-MP56-L and has up to 17W of power. It is adjustable thanks to a rotary encoder on the power cable.
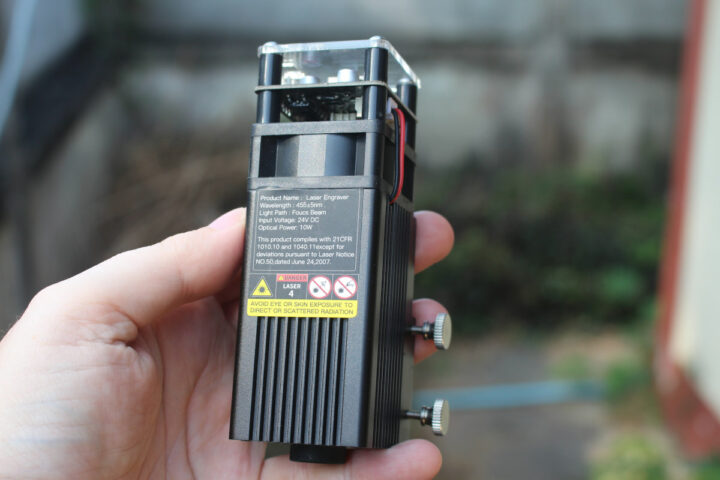
The laser module itself operates in the 455nm wavelength and offers up to 10W of “optical power”.
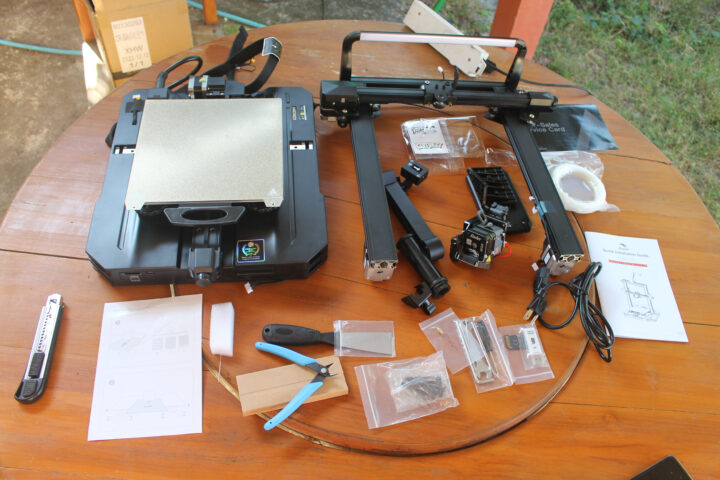
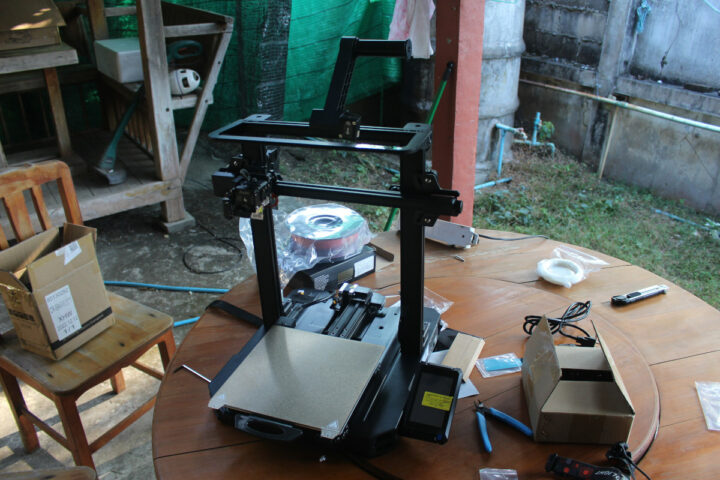
The latest package is the Ender-3 S1 Pro 3D printer itself which comes partially pre-assembled and with a few tools such as a metal blade and cutting pliers, plus everything we may need for assembly.
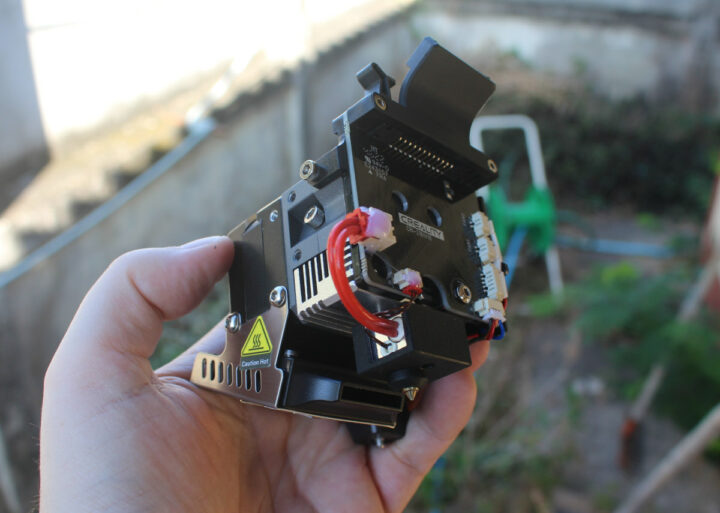
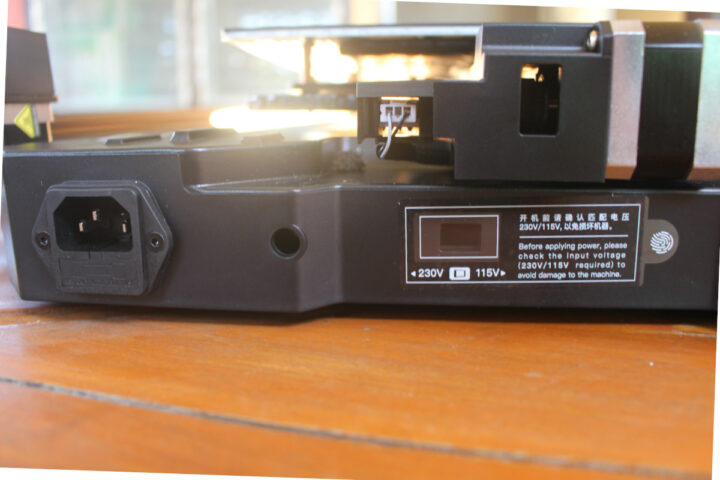
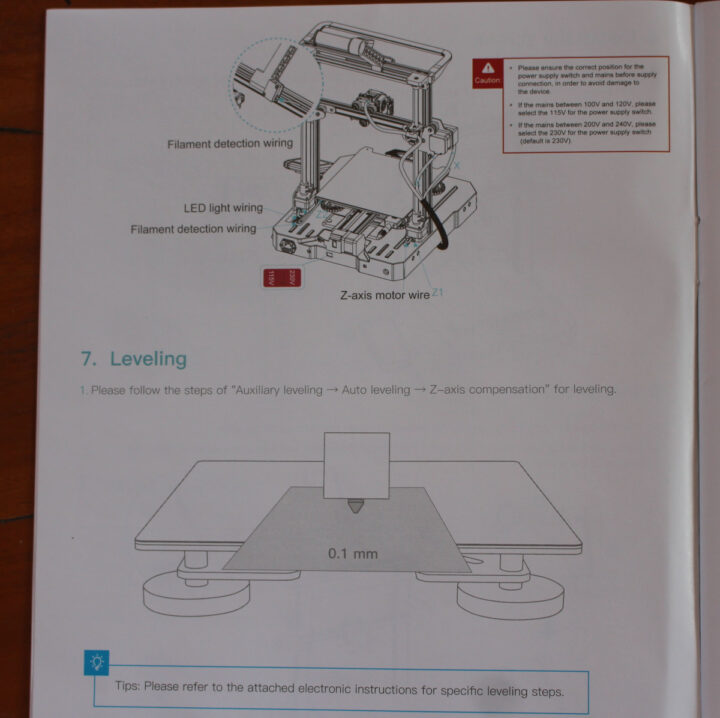
The machine supports either 230 or 115V input, but importantly, this is not automatic and the right voltage needs to be confirmed before connecting the machine to the mains. It was set to 230V in my case, so I did not have to change anything to operate the device in Thailand
Ender-3 S1 Pro 3D printer assembly
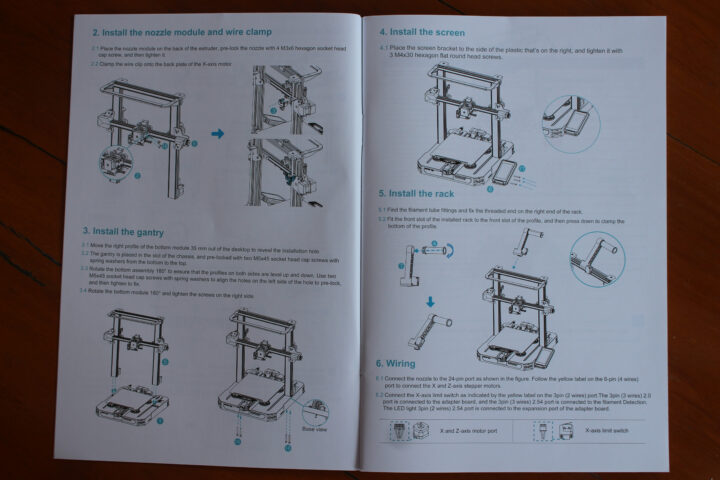
The 3D printer comes with a user manual and says assembly takes 5 to 20 minutes, but that’s a bit optimistic unless assembling the Ender-3 S1 Pro is your day job and you’ve gone through a few already. I found parts of the user manual hard to understand, and I estimate it took me around one hour to complete the build.
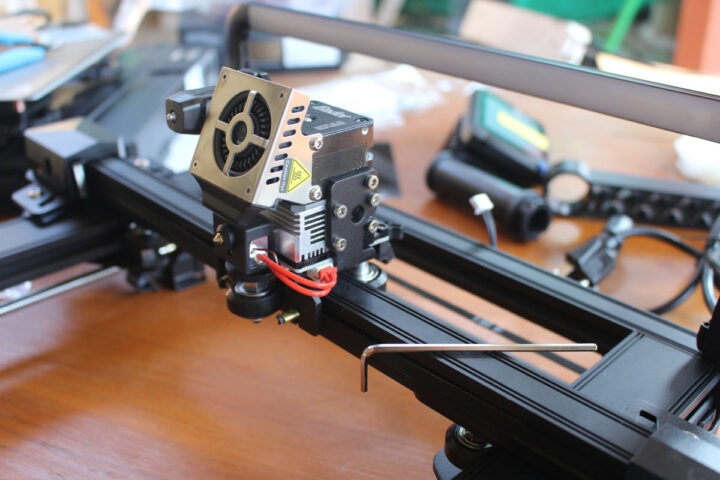
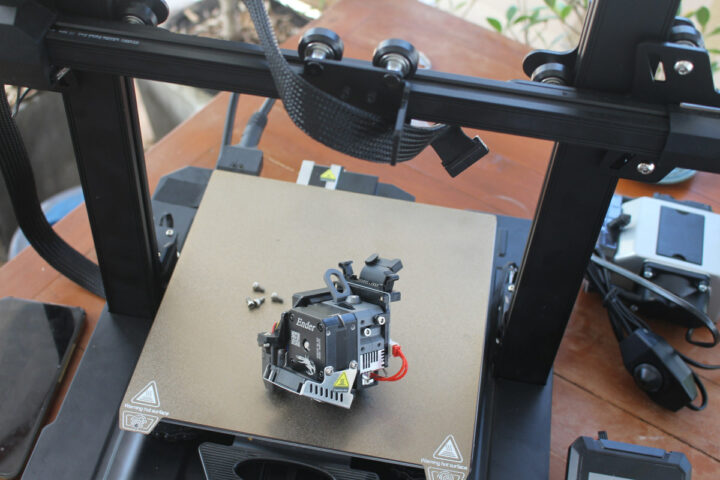
The first step is to install the hotend and fasten it with four hex cap screws.
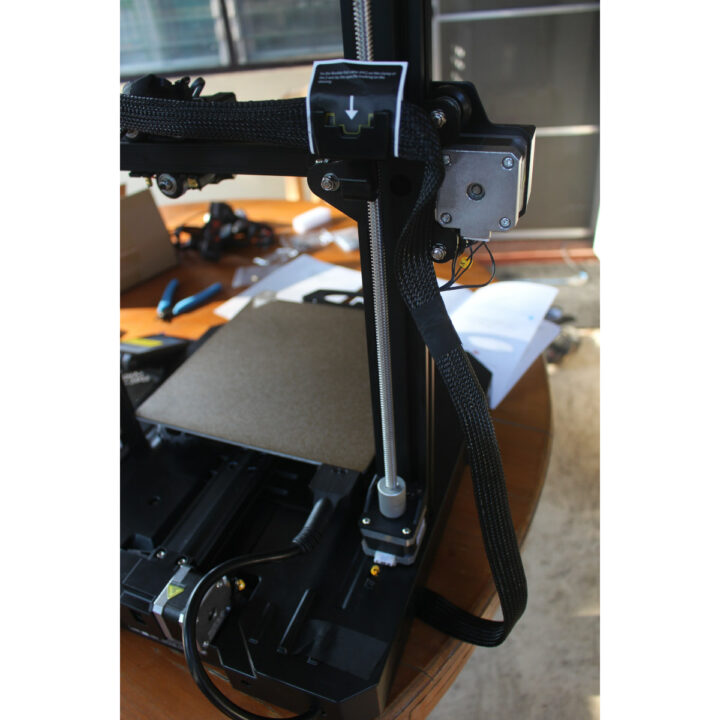
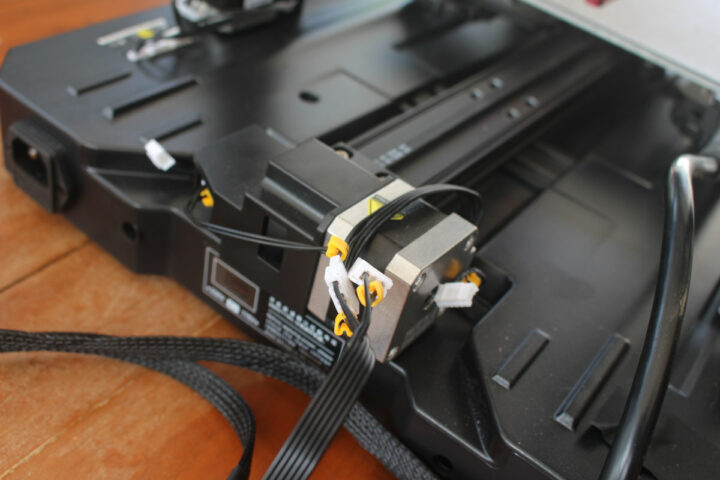
We also need to clamp the wire clip to the X-axis motor.
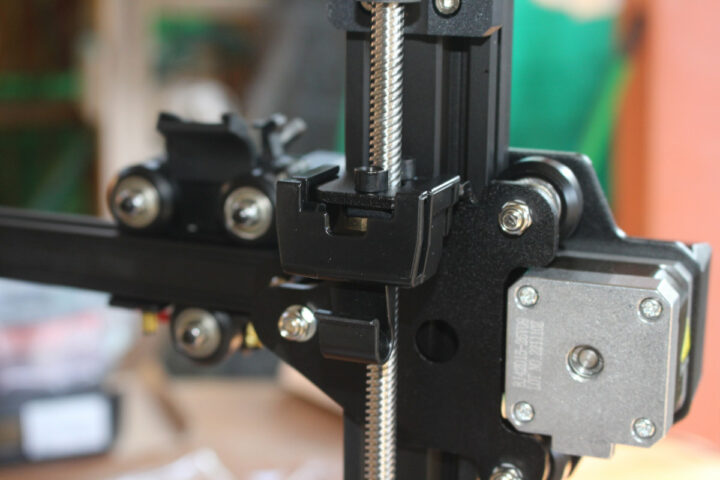
Once done, we can install the gantry using four hex cap screws with spring washers fastened underneath the chassis module, before installing the control screen and the rack for the filament. I wasted a bit of time here to align the gantry properly, and then I had some issues with the screen holder alignment, and one of the screws would not get in easily.
The final step from the user manual is the wiring. We’ll need to slot the cablet into the wire clip,
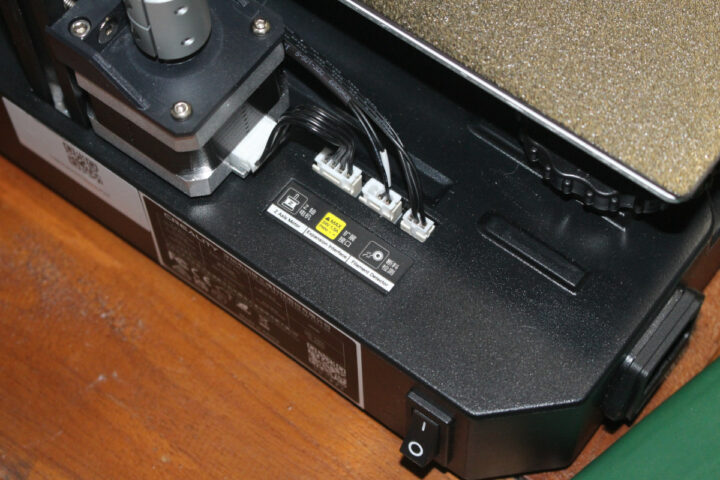
connect the various wires:
- 24-pin cable to the top of hotend
- 6-pin cables for the X and Z-axis stepper motors
- 3-pin cable for the X-axis limiter
- 3-pin cable for filament detection
- 3-pin cable (2 wires) for the expansion board
- Cable for the control screen
Most cables are clearly marked with yellow labels, but it took me a little while to find the filament detector and expansion interface cables since they were hidden in the left rod of the gantry.
The user manual stops here, and the next steps, namely leveling and filament installation, can be found in electronic form only. I’ll do that a little later because I want to check out the laser module first, and I need to make some space on my working table and complete the TS2 laser engraver review.
While using a 2-in-1 machine for 3D printing and laser engraving will certainly save space, the engraving area is greatly reduced compared to a traditional laser engraving machine. But as someone who has lived in an 8m2 room in Hong Kong for a year and a half, I understand why some people may want to save space.
Air assist and laser module assembly
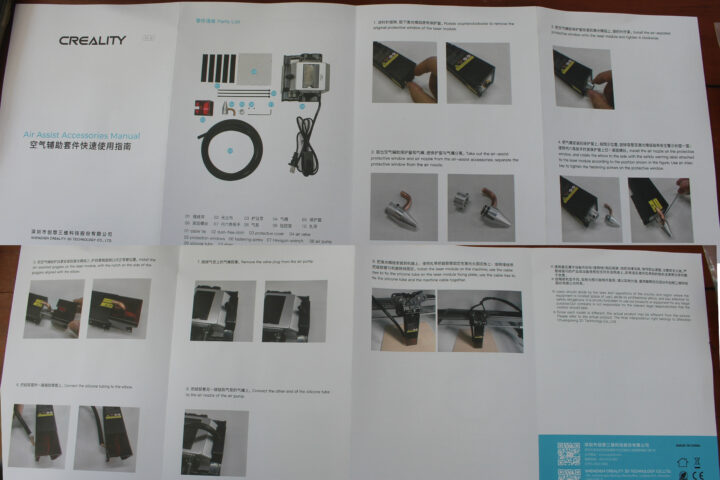
While the 3D printer has an imperfect multilingual user manual for the main assembly steps, the laser module did not ship with any. So I started by connecting the laser module with the aire assist since it came with assembly instructions.
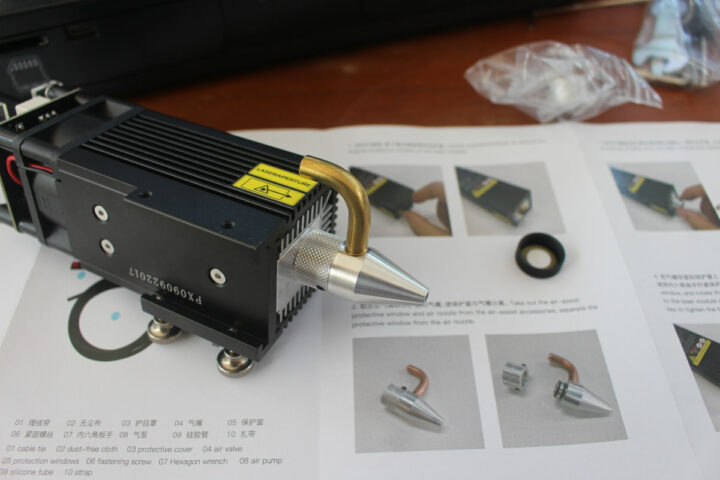
I had to remove the protective window from the laser module, and install the air assist’s protective window and air nozzle instead making sure the pipe is aligned with the yellow warning sticker, and then tighten the two screws on the side to secure everything to the laser module.
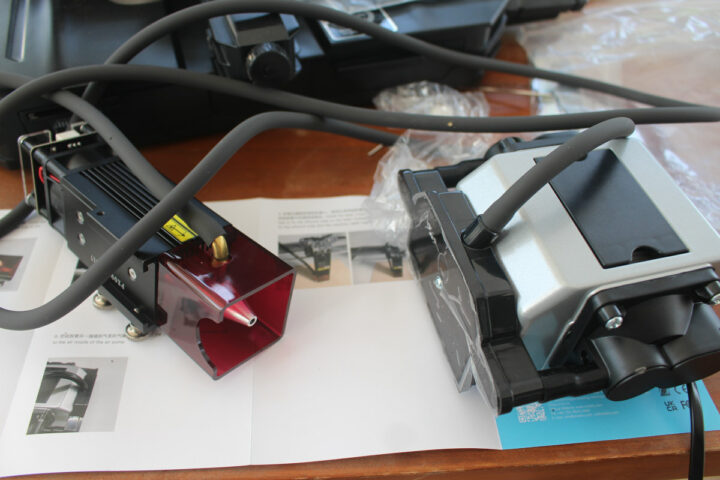
The next step was to install the magnetic laser protective cover (red) and the silicone tubing between the laser module and the air assist device.
That part was very easy. But I had to look for some more documentation online to install the laser module on the 3D printer.
I followed the instructions to disconnect the 24-pin cable from the hotend and remove the hotend from the gantry. I don’t think it’s optimal, as if you have to do this often it will be easy to lose some of the screws. I then realized the PDF document was for another printer, and eventually Creality told me to check out a video. It’s not my preferred “instructions following method”, but it did the job.
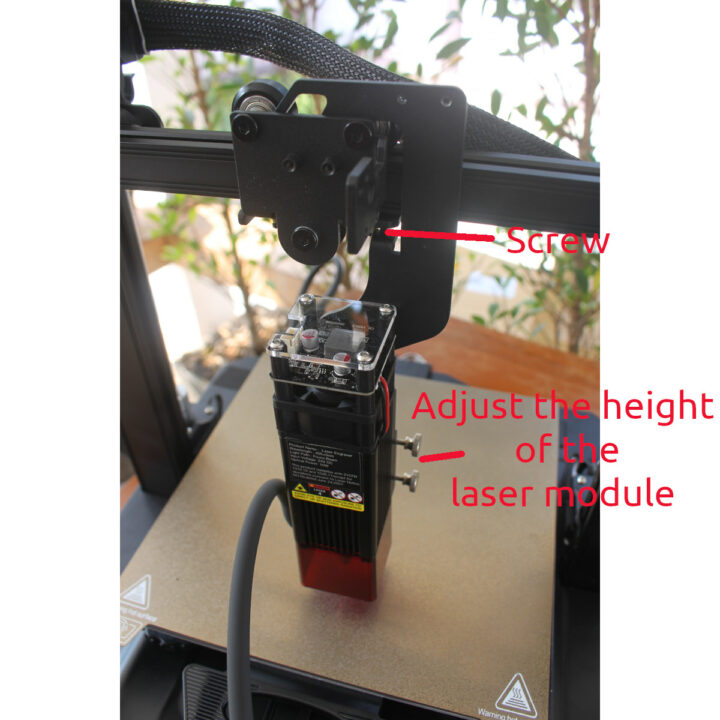
We need to insert the laser module into the laser fixing plate, then insert the plate into the X-axis, and secure it with the screw shown in the photo above, The vertical position of the laser module can then be adjusted manually and secured by tightening the two thumbscrews on the side. Note there’s no Z-axis/laser focus probe like on the TS2, so this will have to be done manually using the tools provided with the laser module.
The X & Y-Axis wires for the stepper motors and limit switches need to be removed and replaced with the ones from the Falcon laser module controller. The Z-marked cable needs to be connected to the laser module.
It would not be a good idea to insert and remove those cables directly from the stepper motors, as the connectors may get damaged over time, and that’s why there are short adapter cables, so next time we want to use the 3D printer, but can leave those sort cables and connect the 3D printer to them instead of directly to the stepper motors.
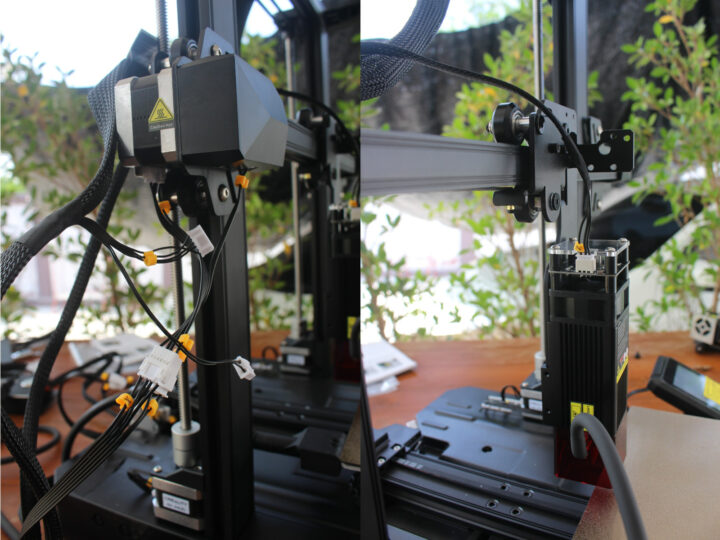
This is what the final result of the 3D printer to laser engraver conversion looks like. The package also includes some cable ties and a cable management belt, which I have not used in the photo above. While I like having a single device acting as a 3D printer and a laser engraver I find switching between the two with this design is a little cumbersome. It would be nice to have a more integrated system with a single controller and an easy-to-use mechanism to switch between the laser module and hotend in less than a minute. But again, the Creality Ender-3 S1 Pro 2-in-1 3D printer and laser engraver may be an interesting option for people staying in dwellings with limited space, provided it works as expected, something we’ll test in the second part of the review.
I’d like to thank Creality for sending the Ender-3 S1 Pro for review alongside the 10W laser module and air assist. The 3D printer can be purchased for $479 on the company’s store or Amazon. The Creality 10W laser module goes for $199, and the CR-Laser Falcon air assist for $79. That means the complete kit reviewed above costs around $780 with the 1kg of CR-PLA filament.
Continue reading
- “Creality Ender-3 S1 Pro review – Part 2: Engraving and 3D printing“
- “Review of BIGTREETECH Pad 7 Klipper pad with Creality Ender-3 Pro S1 3D printer“

Jean-Luc started CNX Software in 2010 as a part-time endeavor, before quitting his job as a software engineering manager, and starting to write daily news, and reviews full time later in 2011.
Support CNX Software! Donate via cryptocurrencies, become a Patron on Patreon, or purchase goods on Amazon or Aliexpress


