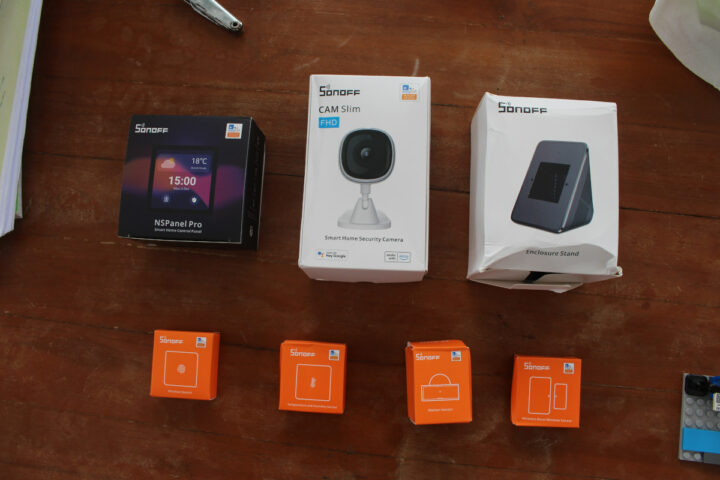
ITEAD has sent us a Smart Home kit for review including the SONOFF NSPanel Pro Android control panel and Zigbee gateway, an enclosure stand, the CAM Slim WiFi camera, and four Zigbee modules, namely the SNZB-01 wireless switch, the SNZB-02 temperature & humidity sensor, the SNZB-03 motion sensor, and the SNZB-04 door/window sensor.
In this review, we’ll configure the NSPanel Pro controller with the eWelink app in Android, show how to add the WiFi camera and Zigbee devices directly to NSPanel Pro, and go back to the eWelink app for more advanced features such as scenes with triggers and actions.
Sonoff NSPanel Pro kit unboxing
Let’s get started by having a closer look at the SONOFF NSPanel Pro controller. As previously noted, the device is based on Rockchip PX30 quad-core Cortex-A35 processor and runs Android 8.1. It acts both as a control panel and a WiFi to Zigbee 3.0 gateway.
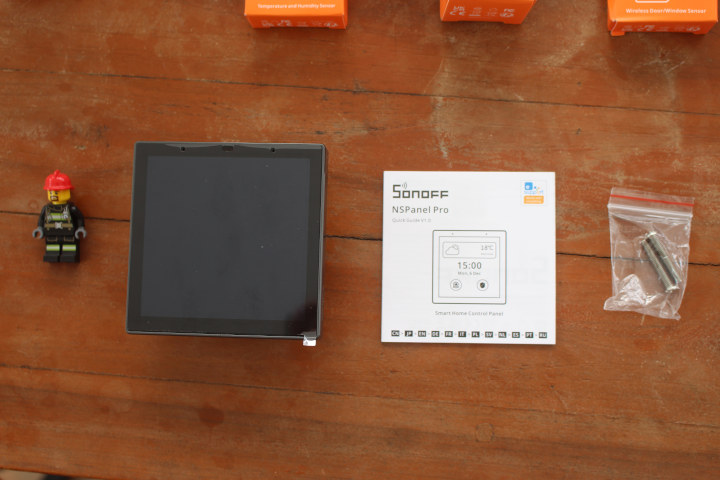
The package includes the controller, a Quick Start Guide, and some screws for mounting.
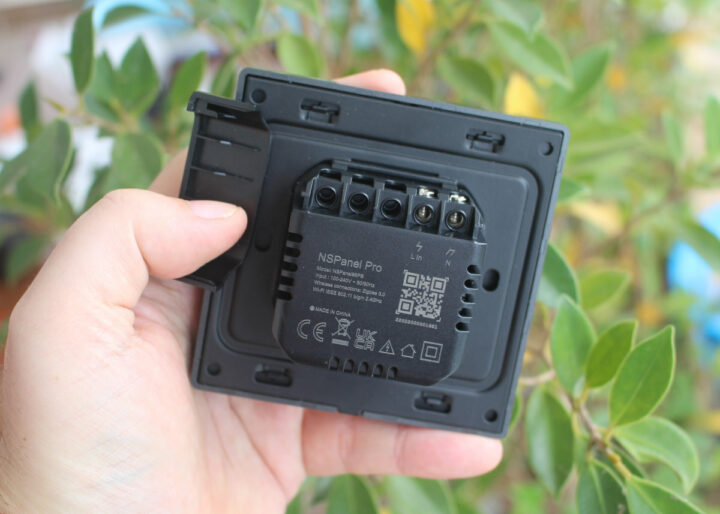
It does not feature a built-in relay and only comes with Live (L) and Neutral (N) screw terminals to power itself.
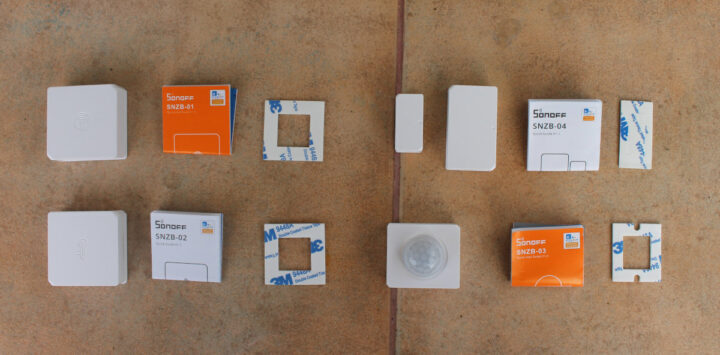
The other items part of the kit are the SNZB-01, SNZB-02, SNZB-03, and SNZB-04 as noted in the introduction together with their respective user manual and 3M sticky tape for mounting.
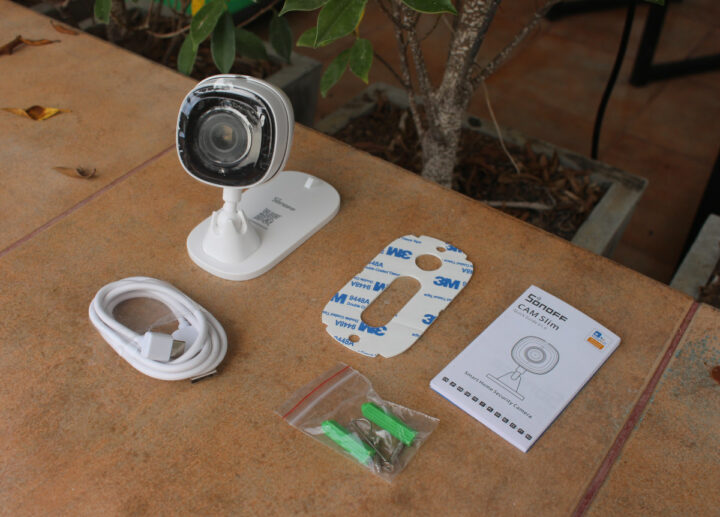
Finally, we have the 2MP CAM Slim WiFi camera with a user manual. some mounting screws, a 3M sticky tape, and a USB-C to USB cable for power.
SONOFF NSPanel Pro Teardown
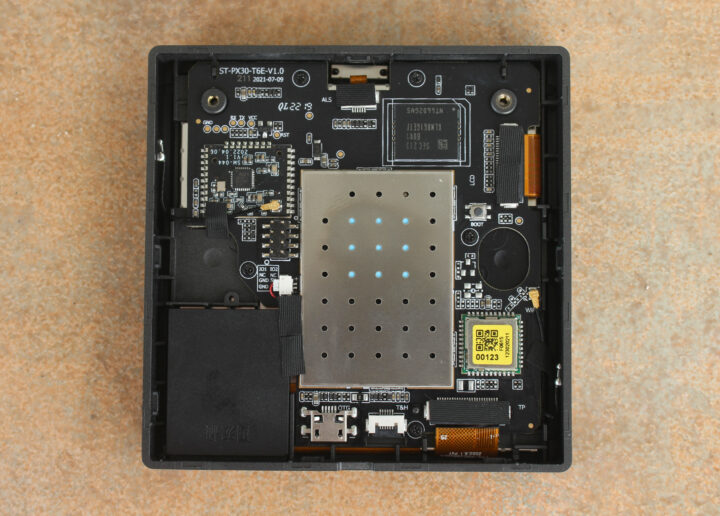
We can open the NSPanel Pro to have a look at the main components.
The Rockchip PX30 processor, memory, and storage are covered by a metal shield. We can still see the Silabs MG21 Zigbee 3.0 module, Samsung KLM8G1GETF 8GB eMMC flash, and what should be a WiFi module on the main board, as well as the speaker, an 8-pin header, etc… The panel is not based on ESP32, so you can’t install the usual ESPHome or Tasomota firmware, and the only “hack” so far is the ability to sideload apps through ADB.
Hardware Preparation
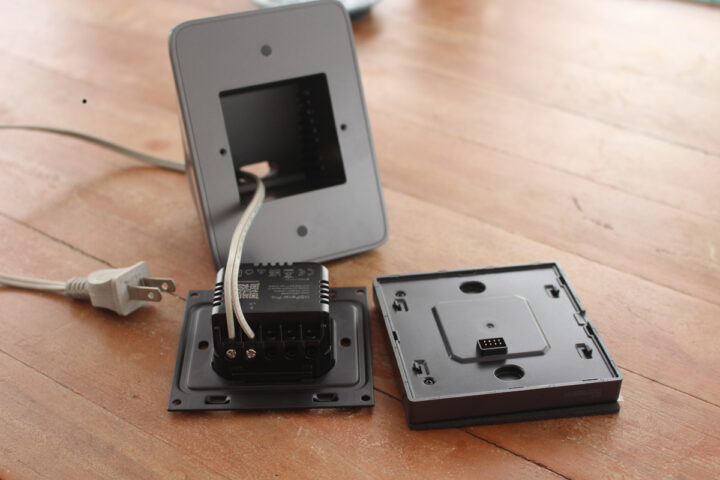
European customers of the SONOFF NSPanel Pro should be able to install it into a gang box. But as we are based in Thailand, relying on US-styled gang boxes, we’ll have to install the controller into the provided enclosure stand.
We’ve just got an older power cord from some old home appliance and connected it to the Live and Neutral terminals of the device.
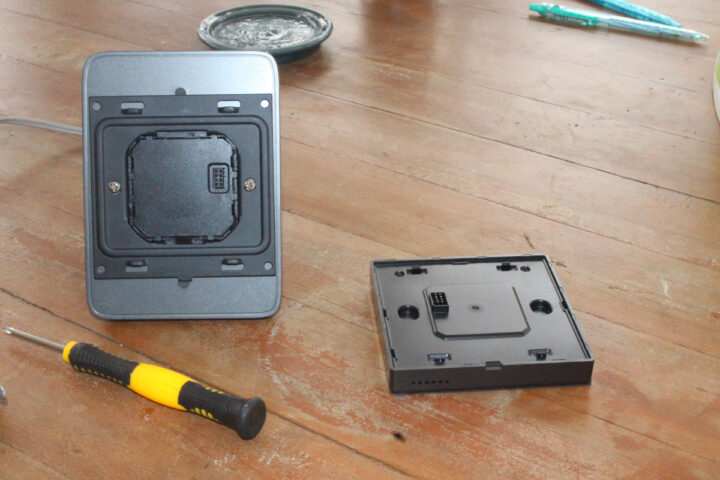
Once this is done we can fasten an adapter to the enclosure stand using two screws, and finally, connect the display to the 8-pin header.
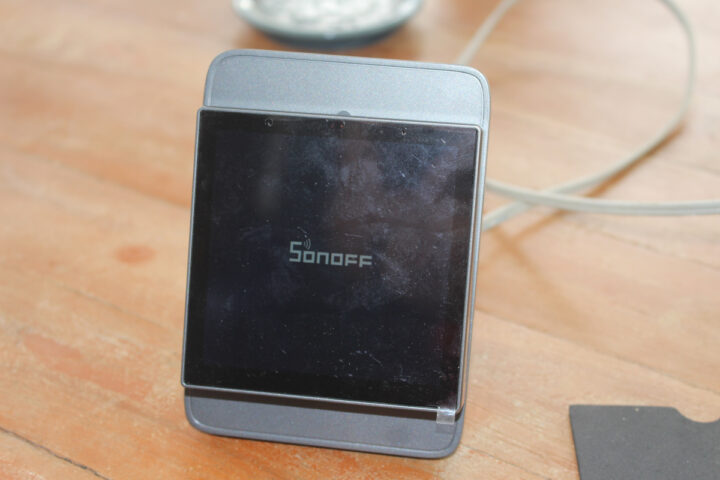
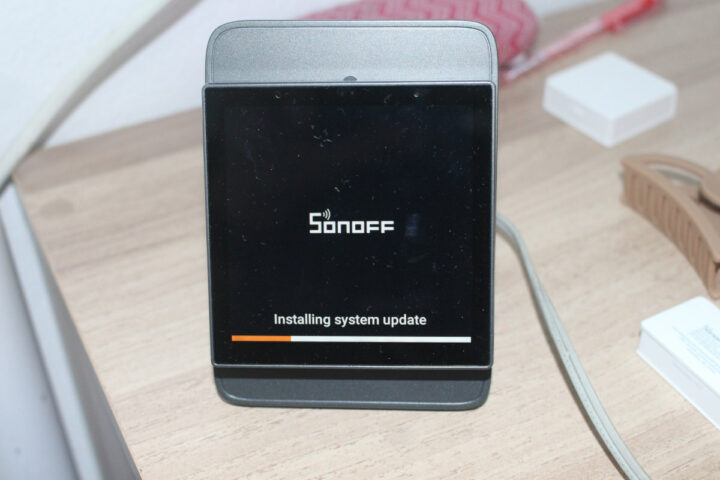
We can make sure the device works if we connect the power cord to the mains with a SONOFF logo shown showing up on the display.
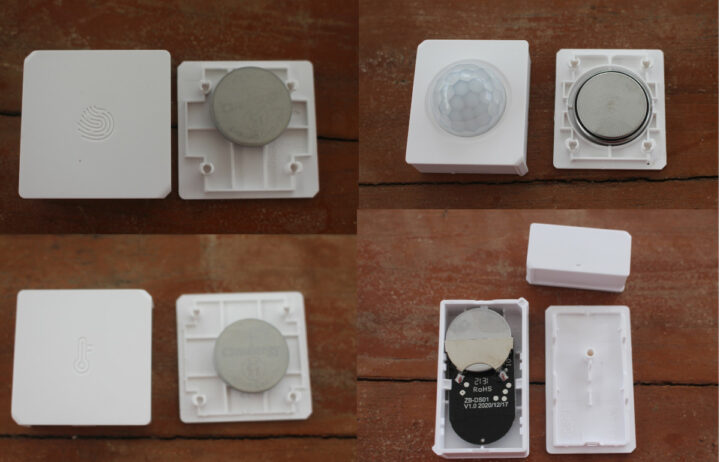
At this stage, you may also want to open all your Zigbee devices to remove the plastic films protecting the built-in battery (2032 or 2045) to make sure they are all powered up. The SNZB-01, SNZB-02, and SNZB-03 come with a 3V CR2450 coin-cell battery, while the SNZB-04 comes with a smaller 3V CR2032 coin-cell battery.
SONOFF NSPanel Pro setup
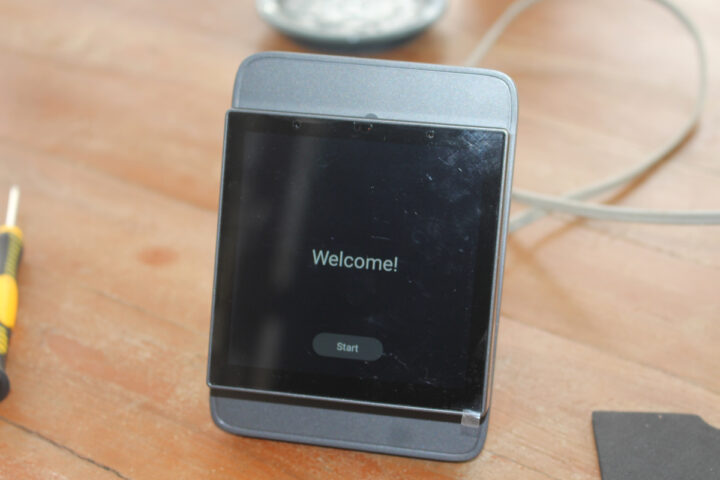
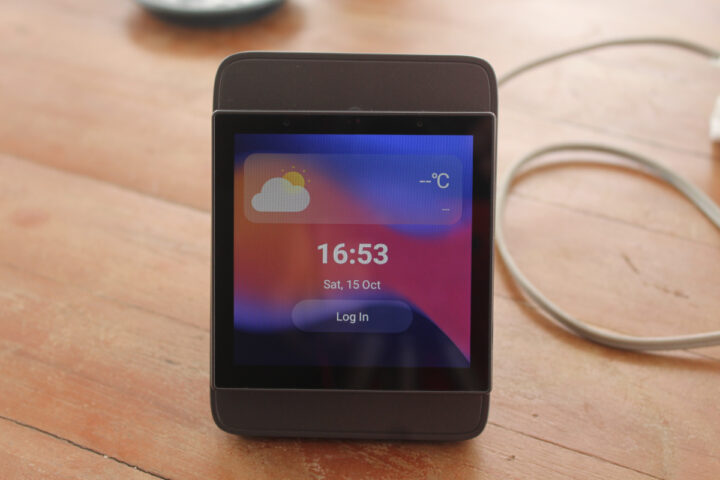
The first time you start the NSPanel Pro control panel, you’ll be asked to go through a setup wizard.
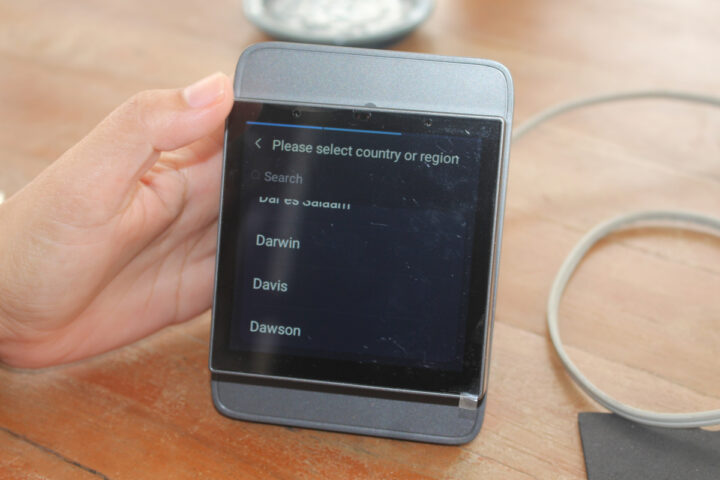
This includes country selection…
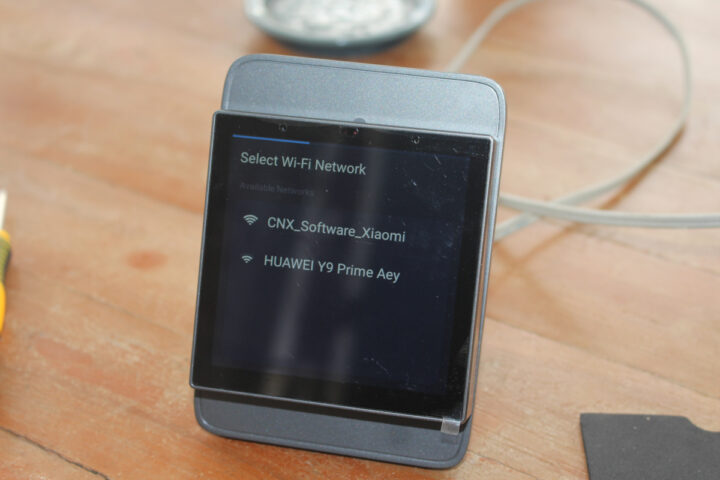
.. and setting up WiFi.
Once this is done, you’ll want to log in using the same credential as used in the eWelink app.
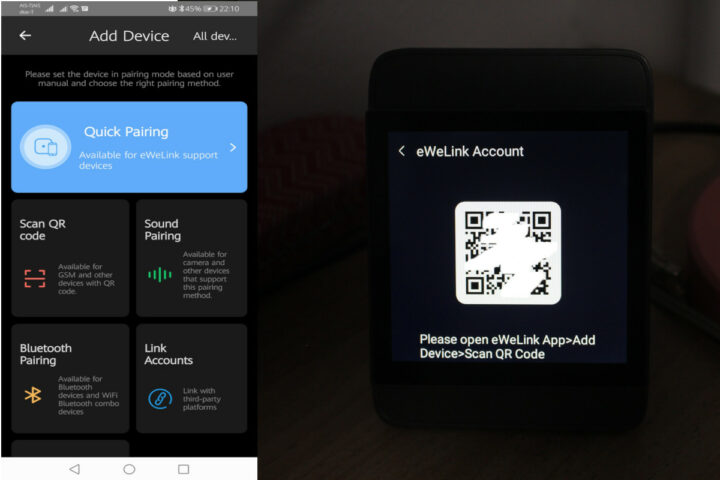
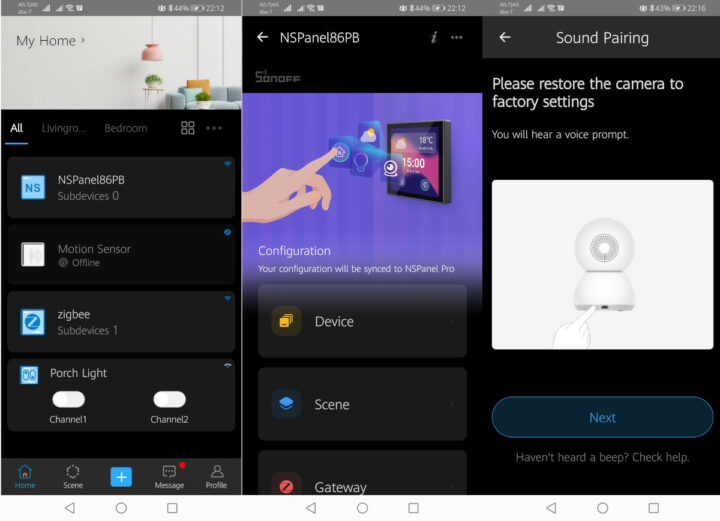
The NSPanel Pro will show a QR Code that you should scan to easily add it to the eWelink app.
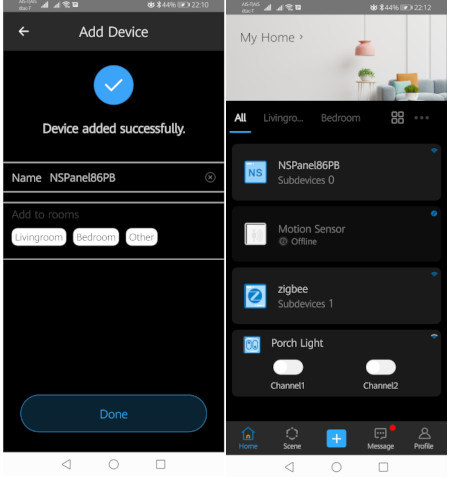
Once everything is done, the device will show up as NSPanel86PB, unless you decided to give it another name
Ignore the other devices in the screenshot above, since those were added from another tutorial using the Sonoff Zigbee motion sensor and the T2 WiFi light switch.
NSPanel Pro firmware upgrade
ITEAD does provide firmware upgrades for the NSPanel Pro and at one point I was prompted about a new firmware and went ahead with the system update. It went without issue and most of the review was done with the new firmware version 1.3.5. The downside of that particular firmware update is that it required us to pair the Zigbee modules again. It’s not a big problem since it just takes around one minute, as we’ll see further below.
CAM Slim WiFi camera setup
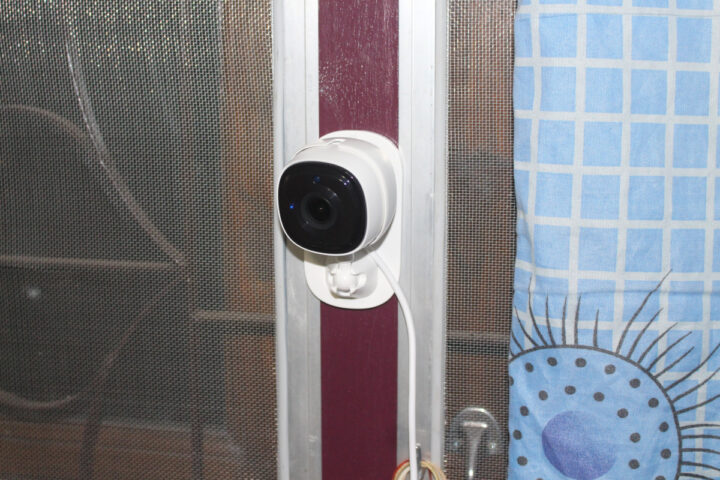
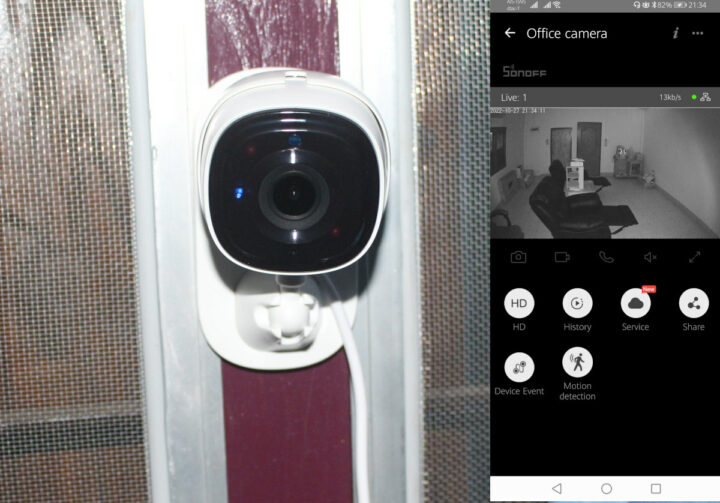
I then used the provided 3M sticky tape to attach the SONOFF CAM Slim WiFi camera to one of my window frames.
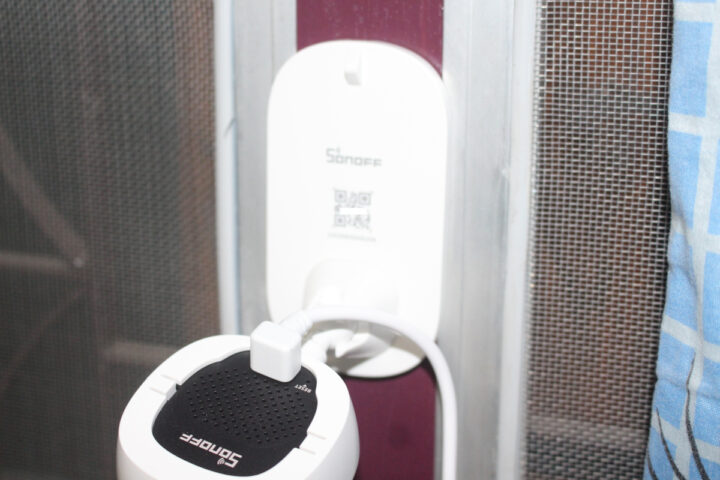
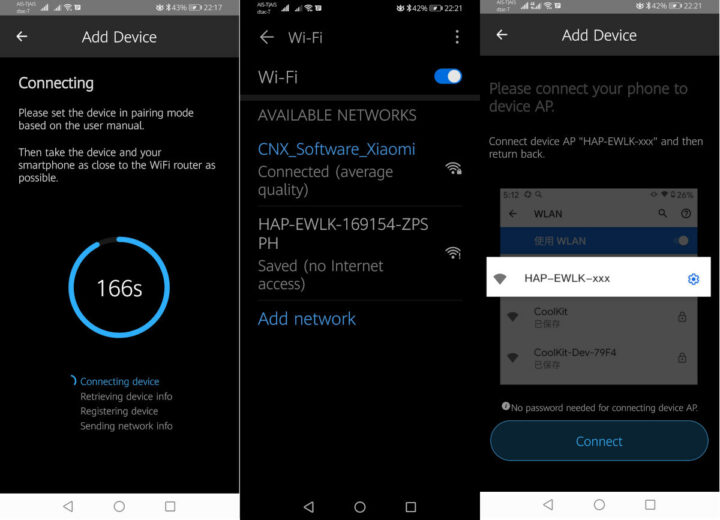
Connect it to a USB socket on my power extension, and scan the QR Code to add it to the eWelink app.
I also had to press the button in the Reset pinhole to enter pairing mode.
Once the camera is in pairing, you’ll be asked to connect to the HAP-EWLK-xxx access point.
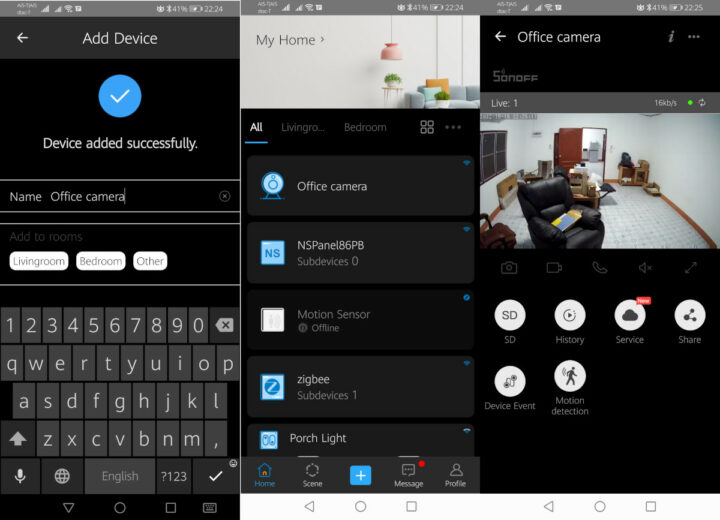
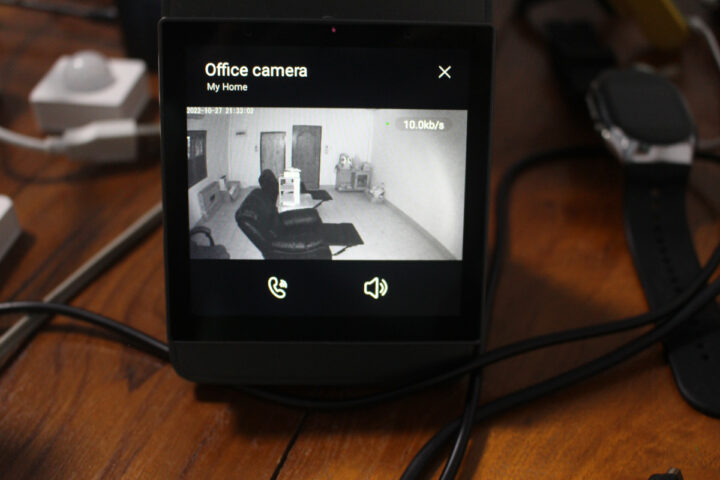
After that, I could enter my WiFi router credentials, and the “Office camera” would show up in Android…
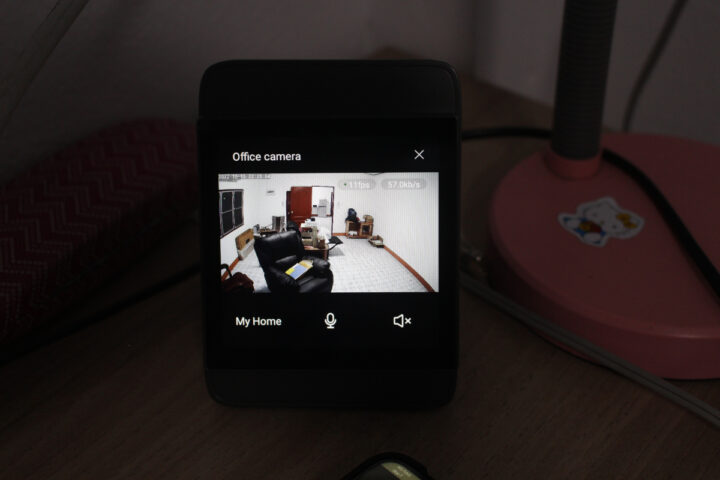
.. as well as on the NSPanel Pro control panel.
The camera includes infrared lights and works fine at night as well.
It can also support PIR motion sensing, two-way audio, store videos to a microSD card or the cloud (paid service), and you can check the event history in the eWelink app.
Adding Zigbee devices to NSPanel Pro
I did not use the eWelink app at all to add the four Zigbee models to the NSPanel Pro controller.
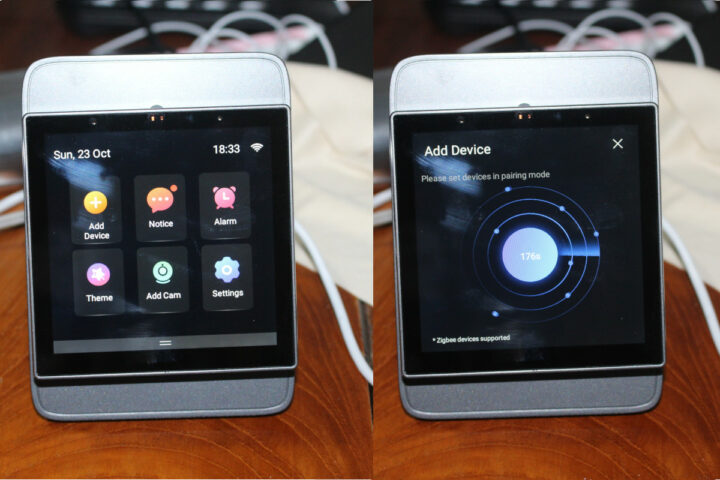
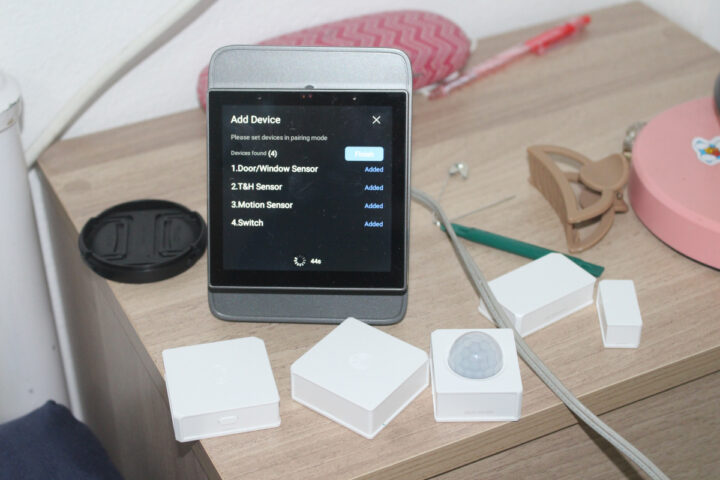
Instead, I swiped up on the touchscreen display, selected Add device, and pressed the reset button on all the Zigbee modules.
They were all detected within a minute or so. So it was a breeze to add those.
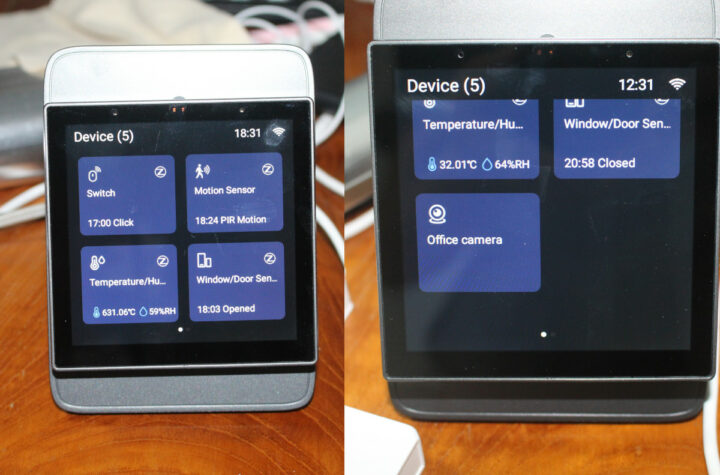
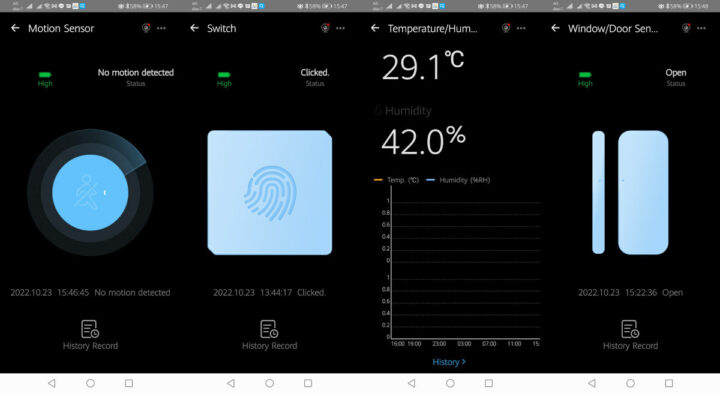
The NSPanel Pro controller will show widgets for each sensor showing the later action or measured data. You’ll see 631.06°C for the temperature and humidity sensor, but that’s because I put it in my freezer, and to my surprise, it would send data through the fridge. But it’s only supposed to work between -10°C and +40°C so that may be the reason… When in the room, it would report the ambient temperature correctly.
Notifications will show detected events. The wireless switch can be used to generate three events: click, double-click, and long press. Triggering the PIR motion sensor will make it blink red and also generate a notification on the display. But note there’s a timeout of 60s, so any other motion will be discarded for the next minute or so. The door/window sensor will just show Opened or Closed as one would expect.
Configuring scenes in the eWelink app
There’s not much you can do from the NSPanel Pro controller with the Zigbee modules except get notifications. But we can do more in the eWelink app, and we’ll find those automatically added to the app after being added to the controller.
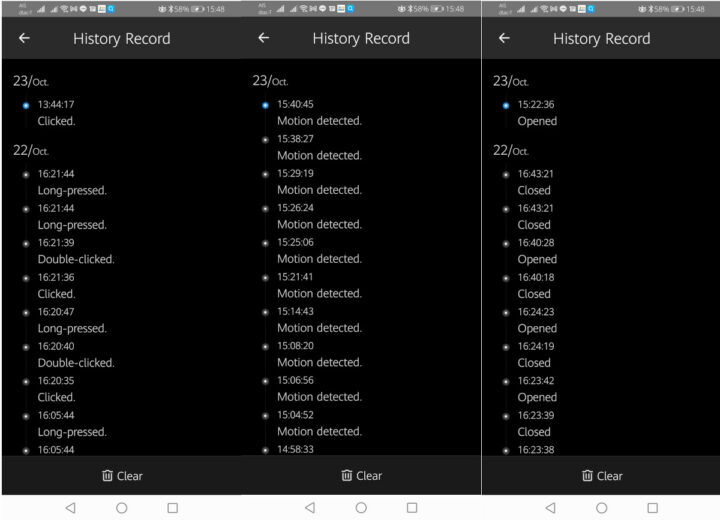
The history of notifications can also be visualized in the app in a way that’s easier than on the NSPanel Pro controller, especially if there’s a long list.
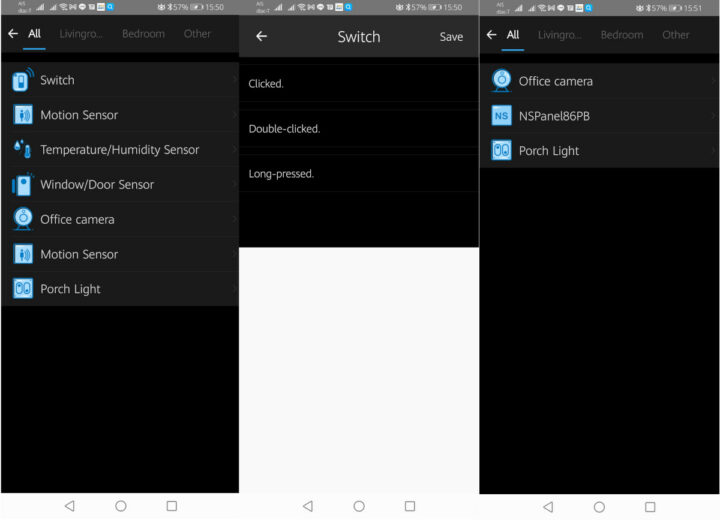
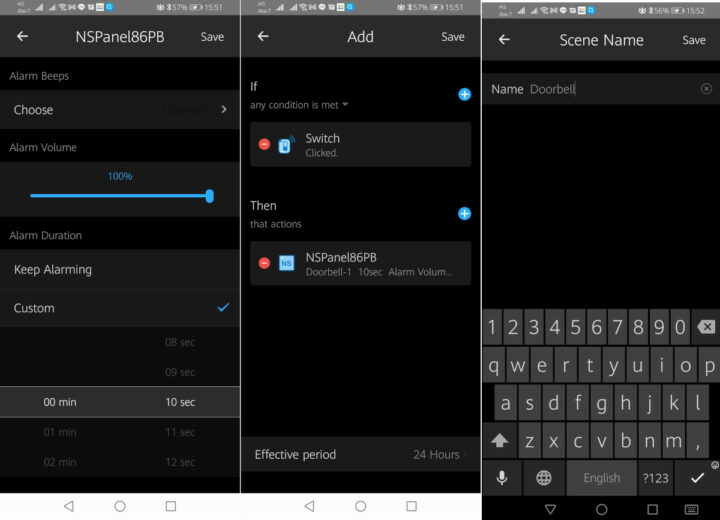
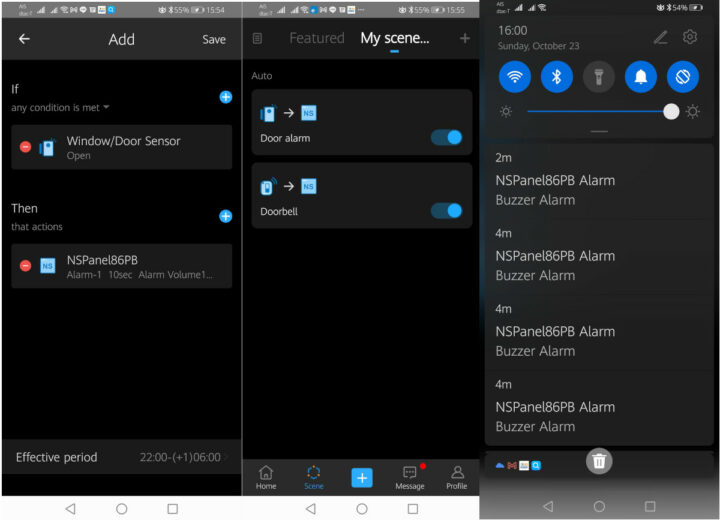
We can define a scene by adding a trigger and an action, and in this case, we’ll use the wireless switch as a doorbell. For the trigger, we selected Smart Device->Switch->Clicked…
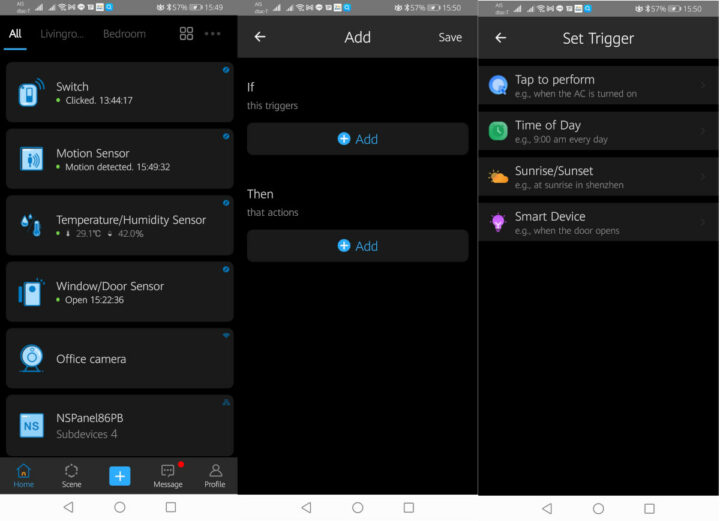 and for the action, we selected Smart Device -> NSPanel86PB
and configured it to make a sound like a doorbell using one of the sound samples available in the app with maximum volume and a custom duration of 10 seconds.
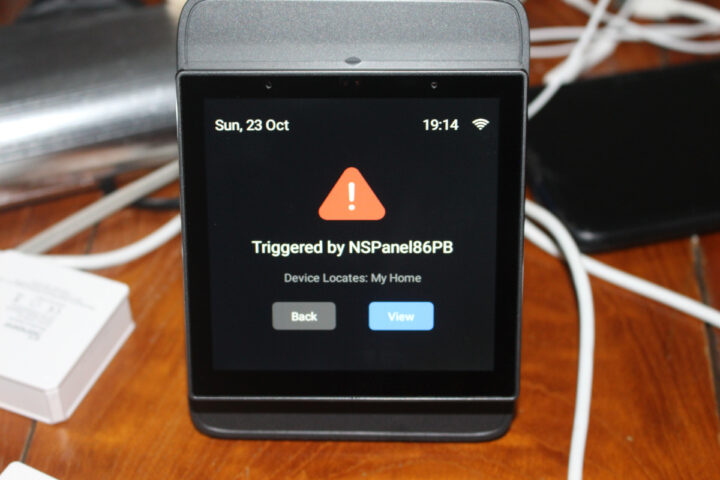
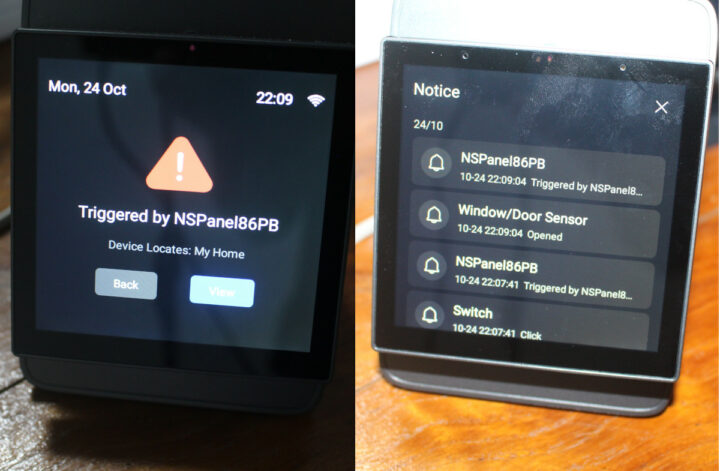
A single press will make the NSPanel Pro ring for 10 seconds, just like a doorbell, and show a windows reading “Triggered by NSPanel86PB”.
The audio is loud enough to hear it clearly within a room, but it’s not as loud as an actual doorbell. I also noticed a bug since it appears to work only once. At first it felt like the Zigbee connection was not very good, and I only manage to make it ring after pressing the button often. But then I thought they may be “debouncing” the button press and ignoring repeated identical events at least for a while. So I tried to double-click before going for a single click, and the doorbell would work all the time. Same thing if I use long press first and then single click. I informed ITEAD of the bug, and the company told me it would be fixed in an upcoming firmware update around the 15t of November.
I then repeat the same method, but this time using the window/door sensor to create an alarm in case the door is opened.
That one works perfectly without issues, and it sounds like an actual alarm except it’s not quite as loud, and your neighbor would probably not hear it. It’s a nice feature to have, but it’s probably better to connect a proper Zigbee alarm to the NSPanel Pro rather than relying on its internal speaker. You’ll also get notifications on your smartphone and the controller each time the alarm is triggered.
Final words
Sonoff NSPanel Pro kit is very easy to use and works relatively well with just a few bugs (e.g. ignored wireless switch presses) in the Android app that should be fixed over time. More advanced functions like scenes still need the eWelink mobile app.
I’d like to thank ITEAD for sending the NSPanel Pro control panel and Zigbee gateway, and associated accessories. The full kit reviewed here sells for $159.32, but you should be able to get 10% extra off with CNXSOFTSONOFF coupon. The NSPanel Pro only goes for $89.90, or $80.91 after a 10% discount.
Note: This review is an adaptation/translation of the original review on CNX Software Thailand by

Jean-Luc started CNX Software in 2010 as a part-time endeavor, before quitting his job as a software engineering manager, and starting to write daily news, and reviews full time later in 2011.
Support CNX Software! Donate via cryptocurrencies, become a Patron on Patreon, or purchase goods on Amazon or Aliexpress


