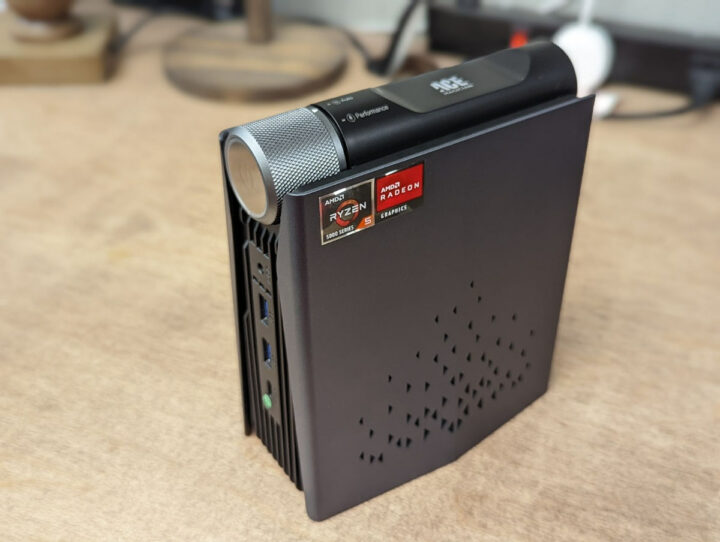
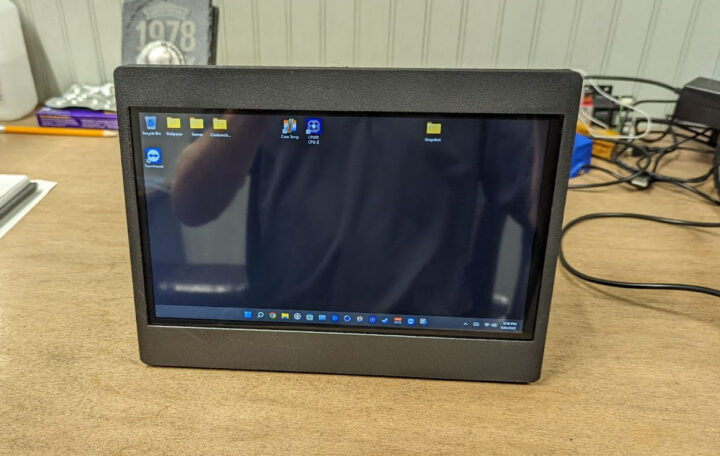
Hey Karl here. The first thing I need to do is thank the manufacturer of the brand Ace Magician for sending over a unit of their AMR5 gaming mini PC to more or less play with. I did a tiny bit of benchmarking along the way. This is the last time you will see the system in this state 😀
Story time. I have been really wanting a Steam Deck. But we purchased a Nintendo Switch about a year ago and it has barely been used. As soon as my son picked it up he asked why it was so laggy and has shown very little interest in it. So that got me worried about purchasing essentially a one-trick device. There have been a couple of good attempts at a DIY Steam Deck and I wanted to experiment with a small form factor. I went into this with a general idea of what I was wanting to achieve…What I ended up with is a small AIO PC. Remember those: a screen with a PC attached, or maybe a thick tablet. For what I was trying to achieve I really like it. Maybe not as slick as a Steam Deck but definitely functional.
DIY all-in-one PC project’s parts list
- Ace Magician AMR5 Mini PC with AMD Ryzen 5 5600U, 16GB RAM, 512GB SSD – $499 on Amazon
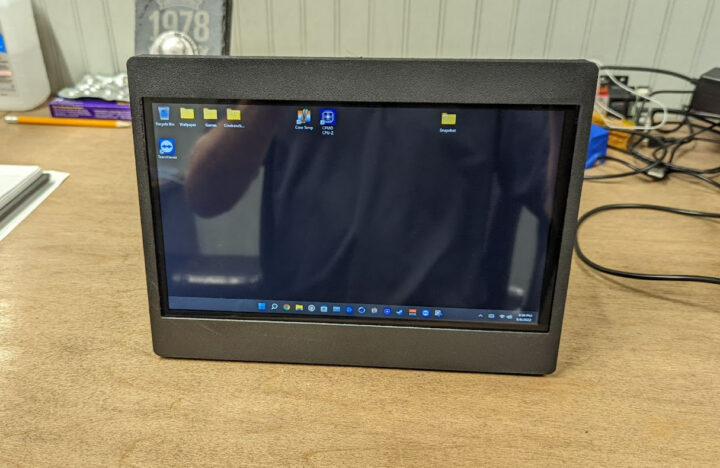
- 10.1-inch 1024×600 touchscreen display for Raspberry Pi – $109.99 on Amazon
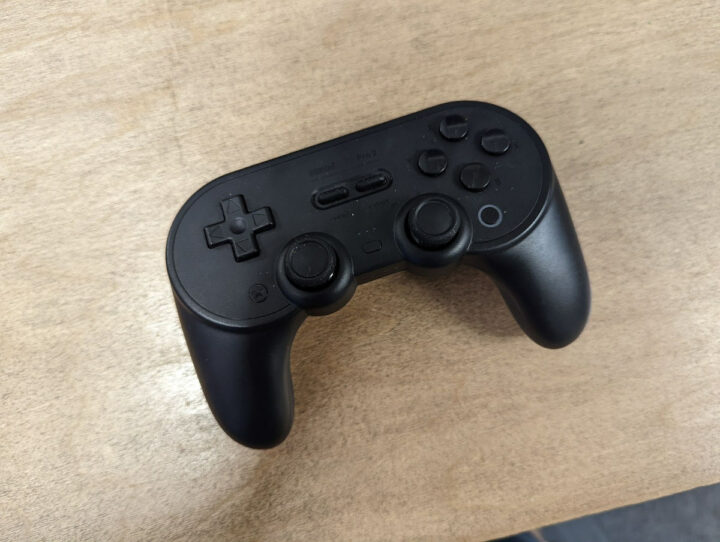
- 8bitdo Bluetooth controller(s) – $39.99 each
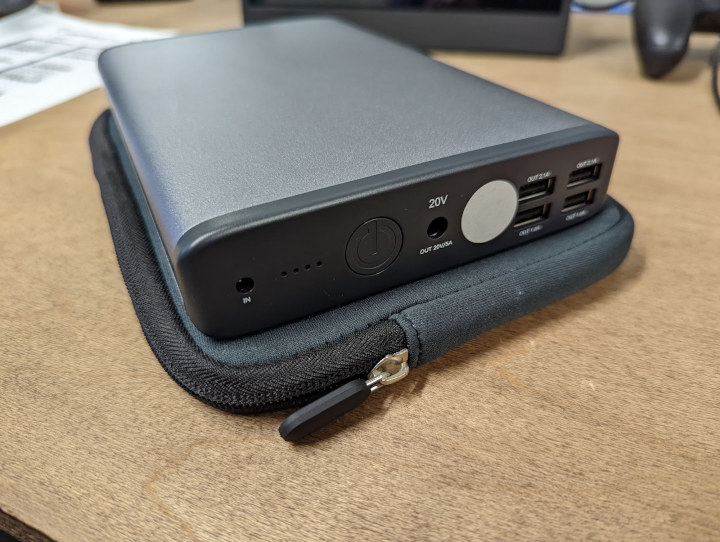
- 50,000 mAh MAXOAK K2 laptop power bank
- Crucial RAM 16GB Kit (2x8GB) DDR4 3200MHz (Faster than the one included in the mini PC) – About $56
- A 3D Printer – ANYCUBIC Vyper was used ($429.99)
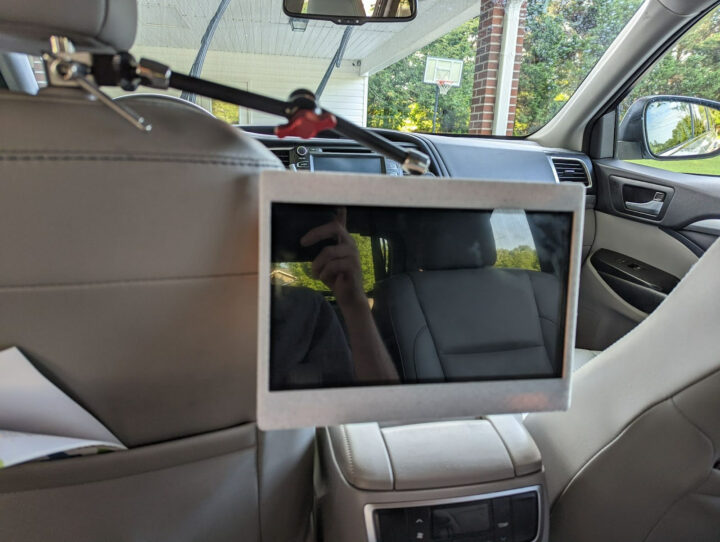
- 11-inch Magic Arm and Super Clamp – $29.99
I had been thinking about this for quite some time and a prerequisite for this build was a mini PC with an AMD mobile processor. I wanted a Ryzen 6000 series mini PC for performance benefits but this Ryzen 5 5600U device came up for review.
The parts list is a mixture of items that I already had and ordered specifically for it.
The touchscreen is my only regret for 2 reasons. The Steam Deck comes with a 7” 1280×800. The screen is small and the resolution is low enough to where a mobile processor is able to push a good enough frame rate. I wanted a bigger screen because we do way more gaming together than solo and it would be easier to share. I was focused on the resolution that I forgot about other use cases. Text can be difficult to read. The 10.1-inch screen does a fair job but I wish I got a 10.1-inch 1080p display and just forced the resolution down to 720p in software while gaming. Besides the higher resolution, I wish it was a bit brighter. There are a couple of things I do like. I really like the ribbon HDMI connection and USB power/touch delivery. I didn’t have to get crazy with the bezel or get any funky right-angle HDMI cables. The screen is also powered and touch is transmitted through USB.
I recently purchased a couple of 8bitdo controllers. One of my Nvidia Shield controllers died a while back and my son broke an Xbox we had. This left us the 2 original Shield controllers. We do occasionally dock the switch and wanted the whole family to enjoy it. With these factors, I did some googling I ran into this 8bitdo controller. It ticked all the boxes and fit our home very well. They worked with the Switch, Nvidia Shield/Android, and PC. It’s been a great controller and my only complaint is the poorly labeled switch to change between environment modes. Other than that it has been fantastic.
One goal was to incorporate a battery but they can be quite pricey. I was originally going to compromise but I had some good luck. The stars aligned and my wife mentioned getting one more battery bank before we left for vacation. Through a little salesmanship, I got a 50,000mAh battery bank that can put out 12V or 20V as well as USB. It is a beast of a battery. The battery has 2 different barrel connectors for 12V and 20V. I put a sticker over the 12V for now so there is no confusion.
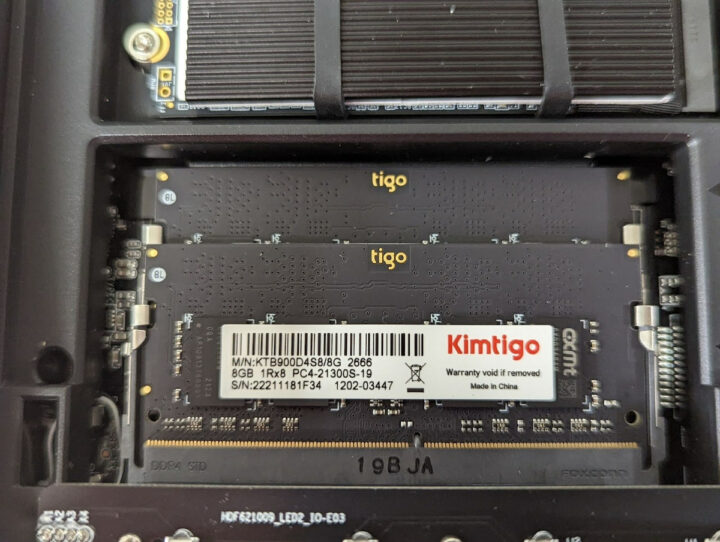
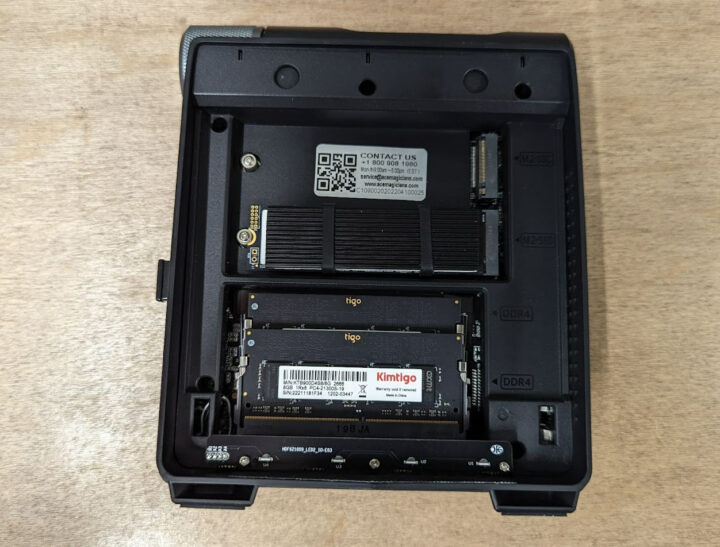
It did not plan to do anything with the memory. It came with 16GB RAM, but it is the most basic Kimtigo kit. I have read that memory makes a big impact on integrated graphics and it was not terribly expensive so I got an upgraded kit. I got a crucial 16GB 3200mhz kit. I am glad I did. Even before I started doing any gaming the system had a slight lag when launching applications. I didn’t think much of it and chalked it up to a low-power system. But after replacing the memory I noticed the hesitation was not as bad when launching applications. I did not do any testing to quantify this.
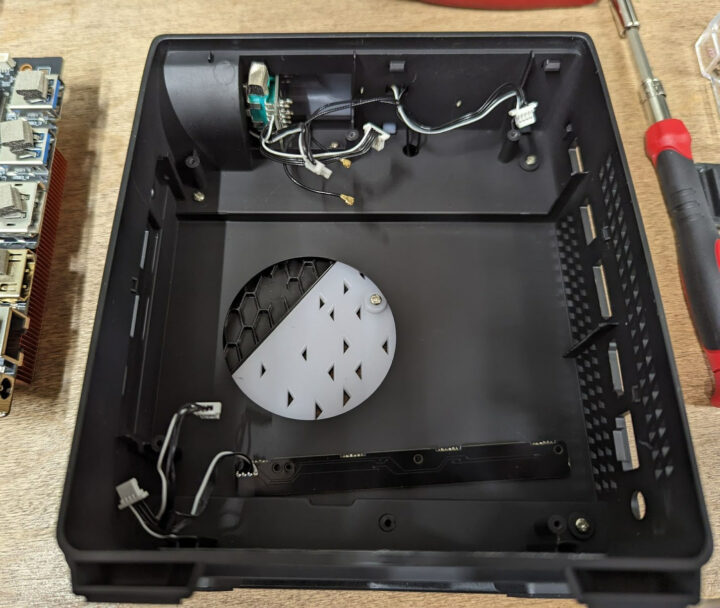
Ace Magician AMR5 mini PC teardown
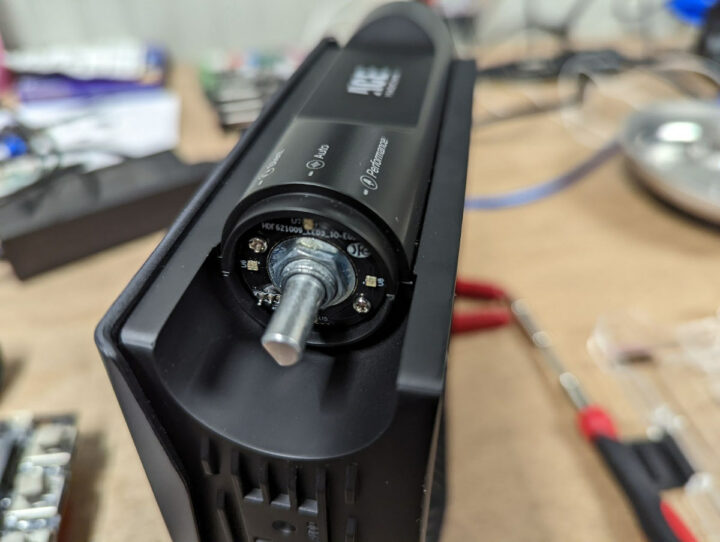
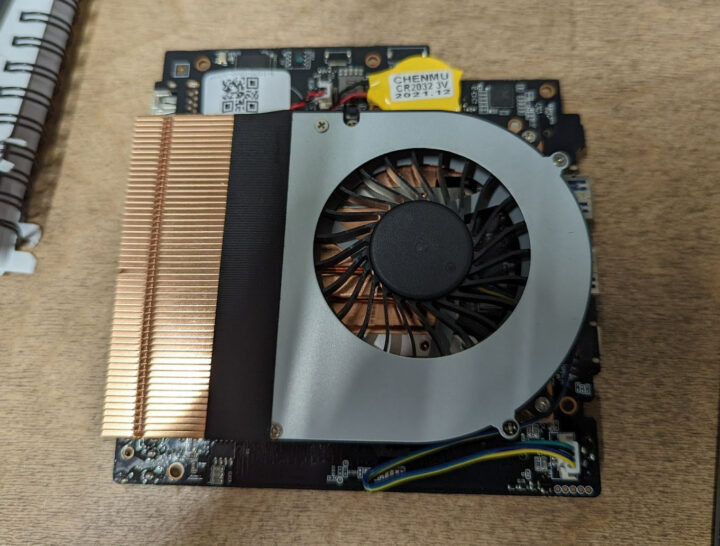
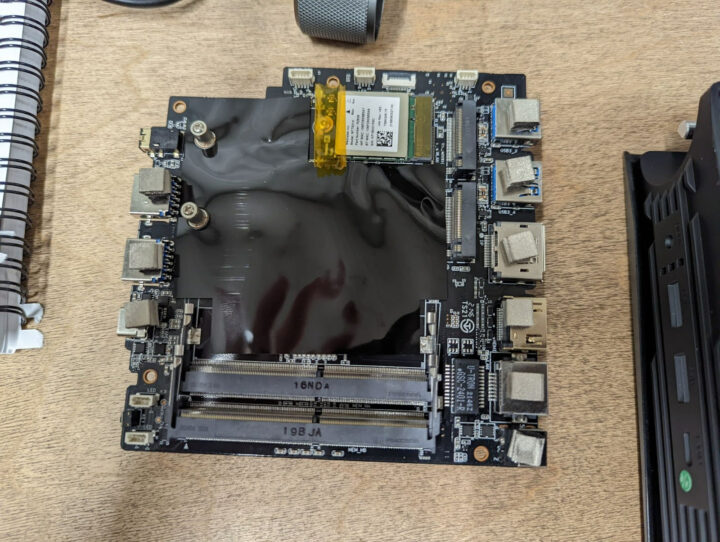
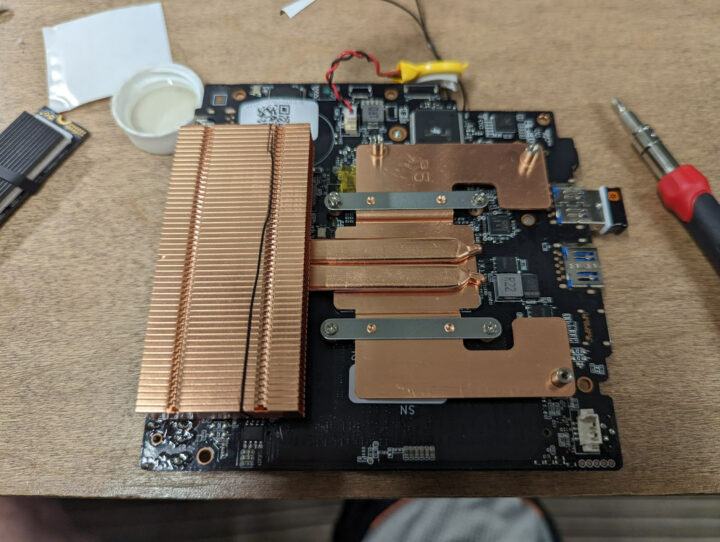
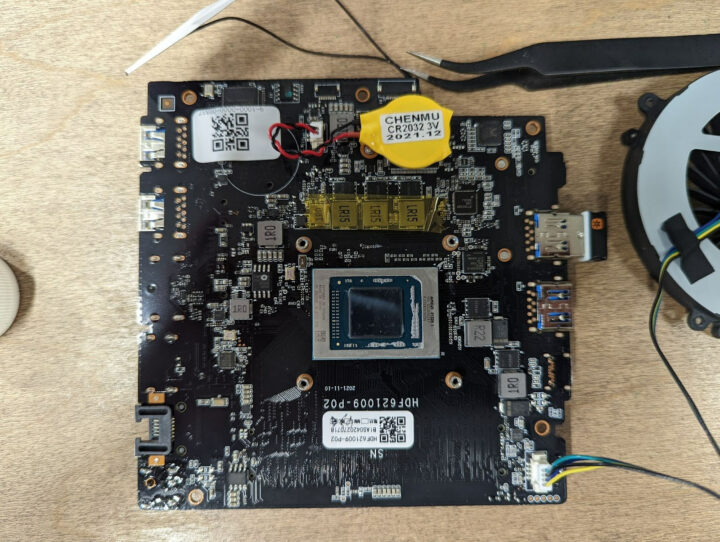
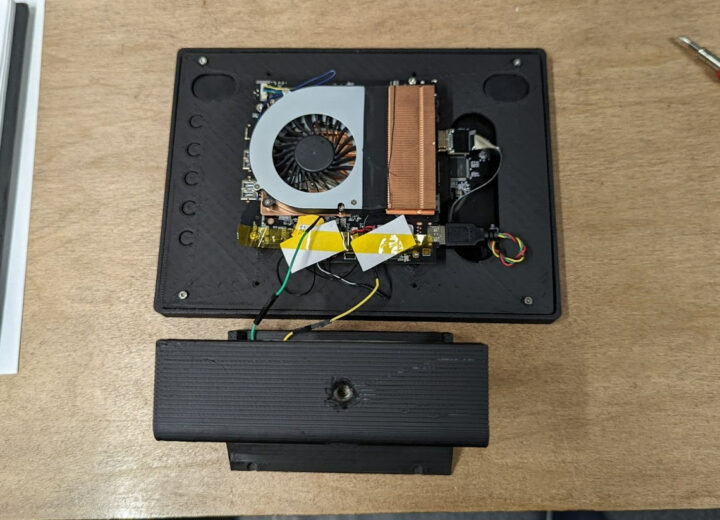
It was relatively easy to tear down and happy to see what looks to be a fully copper heatsink. Nothing was notably tricky. There are several LED boards that can be used but I didn’t bother incorporating them into the build. The mini PC had a rotary/power knob. Press the knob to power on the mini PC and the 3-position rotary can adjust the TDP limit of the chip. It would be very easy to extend and incorporate but I wanted to utilize software for this. The TDP switch’s highest setting only went up to 30W. I located a setting in the BIOS that would power on the system when power was applied but at some point the BIOS reset and I was afraid I would end up somewhere and not be able to turn it on. So I cut the connector and identified the push button wires and installed a simple power button.
First Tests
First tests on the bench and I didnt get any complaints.
One of my goals was to build a DIY heatsink but a couple of factors came into play. The cost was probably the single biggest factor. Time was another. When I saw a low-profile desktop cooler for $15 I had to give it a shot. It was mm’s away from working.
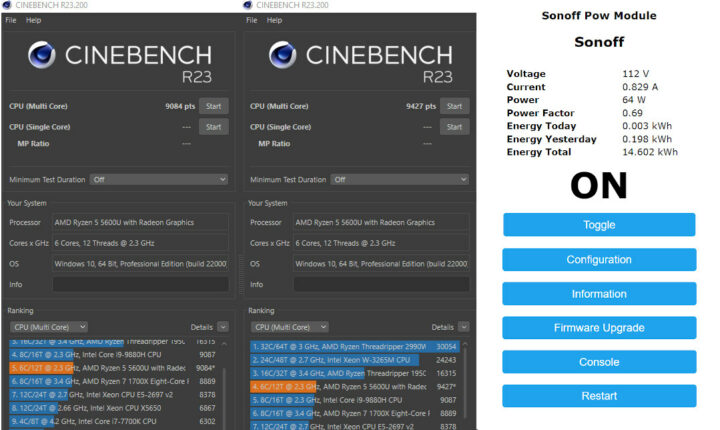
And after further breaking the system down to realize the low-profile heatsink did not work, I reassembled it. I can’t recall what prompted me to check but I was pleased to see a decent reduction in temps and an increase in performance.
I was able to get 400 extra points after only applying some new thermal paste. It will not pull over 65W from the wall.
The final nail in the coffin for the DIY heatsink is that I think I hit a wall with the stock cooler. One of the features that attracted me to the Ryzen mobile processor was the ability to modify the power draw with some tools available on the internet. If you can keep temps down you get some significant performance gains. Before changing the thermal paste, I was topping out around 30W and thermal throttling @ 95°C. After putting the system back together with some new thermal paste, it is now peaking at 40W @ 90°C. I got an ~400 points lift in Cinebench R23.
DIY all-in-one PC build
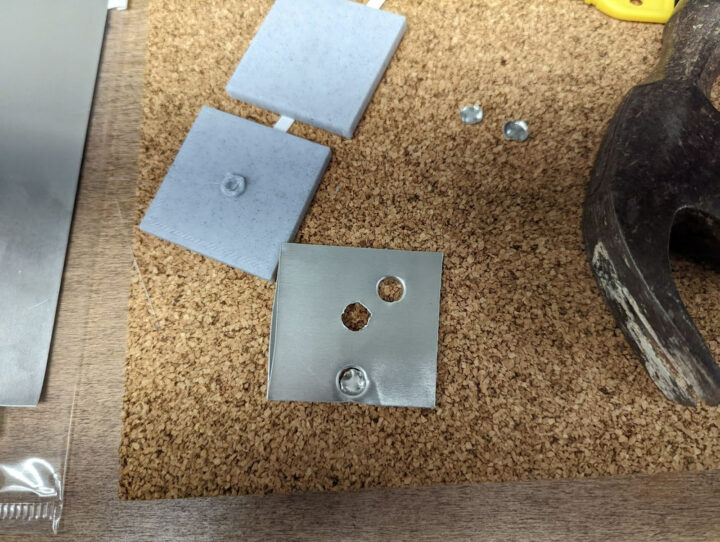
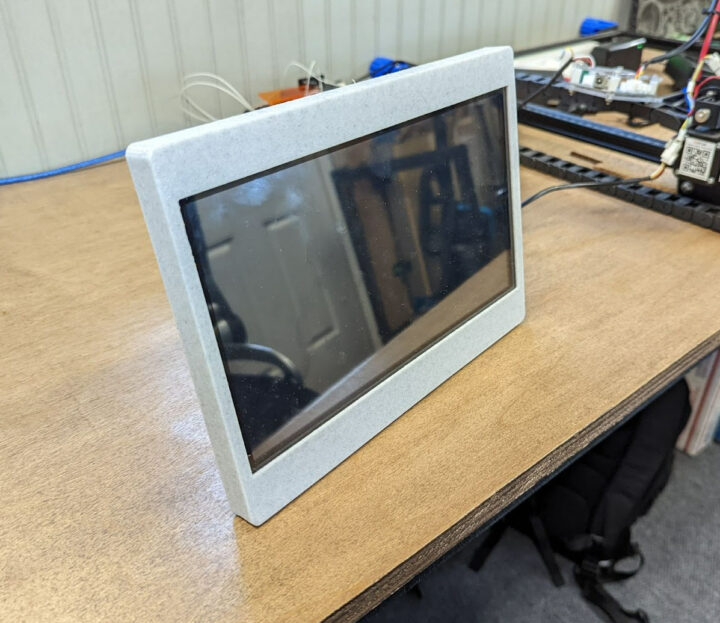
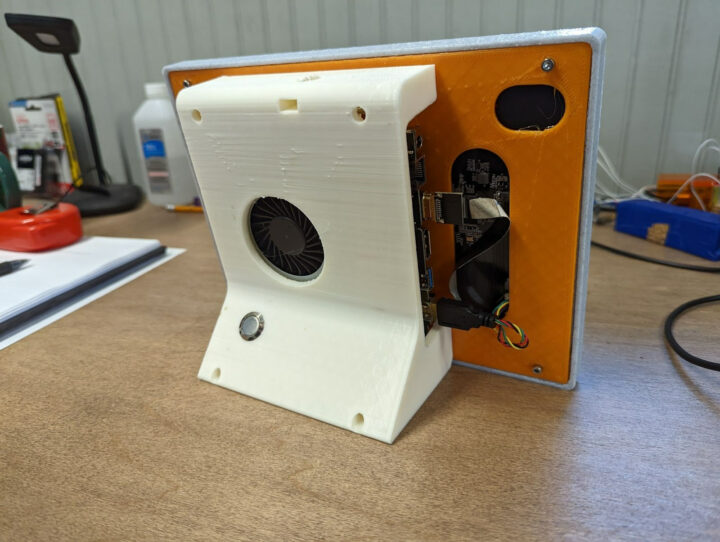
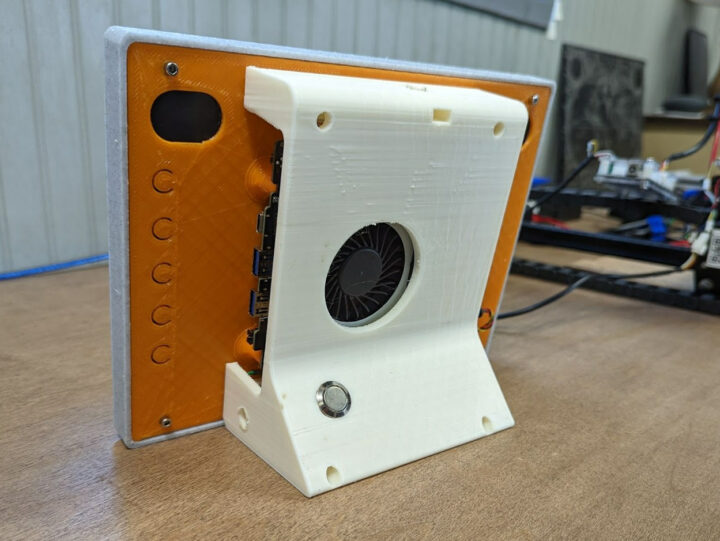
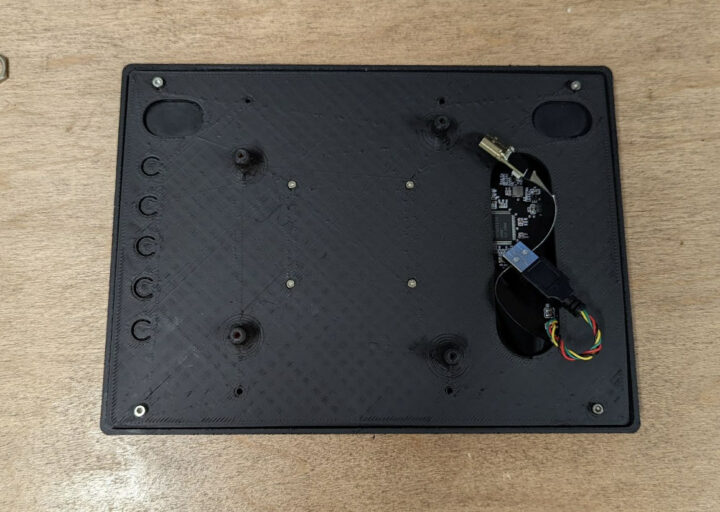
I use Fusion 360 as my choice for 3D modeling. It took some time to design. I ended up with three pieces: frame, back plate, and housing stand. First, I started with the bezel and frame and got it right in the first shot. It was not difficult as I was just laying the foundation. The orange backplate took one iteration. The back didn’t quite line up and the board mount was slightly off. The buttons for the screen are still usable mostly. Thankfully I never have to use them. The backplane I only printed once even though I missed the hole for the fan by a couple of millimeters. I really like the ¼ 20 thread camera mount standard so I incorporated a hole for a ¼ 20 threaded nut. I think this is the feature I like the most. People wanting to reproduce the build can find the STL files on the MyMiniFactory website.
I just got everything done and it was finally time for vacation which meant a trip to the beach for a week.
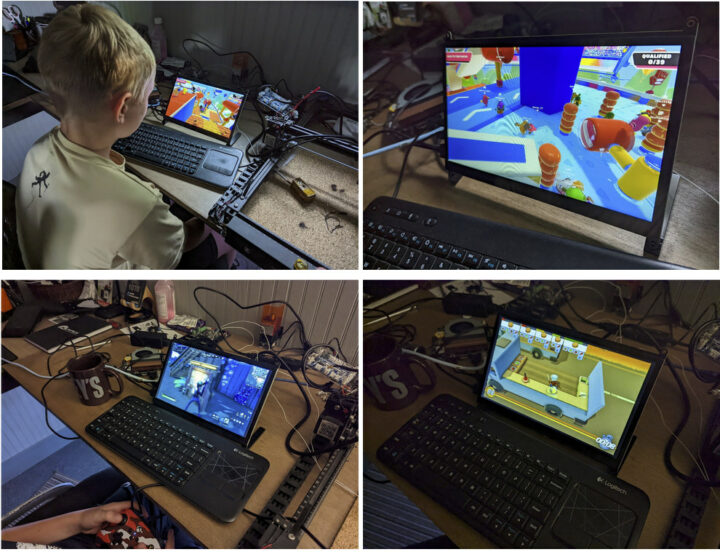
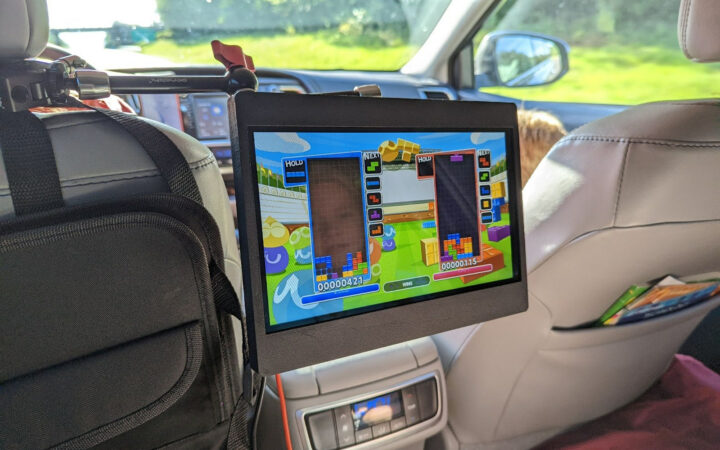
The trip went well. We used the mini PC all the way there and back. We did some gaming. My son got a kick out of playing Fall Guys going down the road as well as GTA V. But we were in the middle of Stranger Things latest season so we watched it mostly. This is where the brightness was put to the test. Stranger things is a pretty dark show and it was difficult to see at times.
One issue we had to overcome was figuring out how to use 2 different sound devices at the same time. After a few minutes of googling and we downloaded and installed Voicemeeter to resolve it. Pretty easy concept. Point Windows to use Voicemeeter as the virtual device…and in Voicemeeter point it at the 2 output devices.
During the vacation week, I disconnected the HDMI from the touchscreen and connected it to the TV in the condo, and used it sparingly throughout the week.
Finishing up
I was wrapping up writing this and my wife sprang a quick trip a couple of hours away as a last-minute farewell to summer. So before we left I found some matte black spray paint and took it apart one last time. I liked the mix of colors but figured I should do a final painting. I like the way it turned out.
I didn’t even bring the battery this time and used the car’s built-in inverter and power adapter that came with the PC.
Wrap up
I have found a couple of other use cases. I have been keeping it on my desk with security cameras pulled up. I can tap the screen and it wakes up pretty quickly. The other way we have been using it is with my son’s friends. He can take the unit and set up another gaming machine at his desk and attach a keyboard and mouse.
I have used quite a few small PC’s over the years. I think my first experience was with one of those mini laptops powered by an Atom processor. It was far from ideal. Then I played around with a ton of Rockchip and Amlogic Android sticks and boxes. That was a fun time. Later some lower power mini PC’s with various Intel processors. This is by far the fastest and most capable I have used. Granted it has a far higher TDP but it still has a similar volume as some of the previous mini PC’s I have used.
Again thank you Ace Magician for sending the AMR5 mini PC for this experiment. It was a fun project. The Ryzen 5 5600U is a very capable processor and when you keep it cool it performs very well.

Karl is a technology enthusiast that contributes reviews of TV boxes, 3D printers, and other gadgets for makers.
Support CNX Software! Donate via cryptocurrencies, become a Patron on Patreon, or purchase goods on Amazon or Aliexpress


