
The Raspberry Pi 4 will soon be able to install Raspberry Pi OS without the need for external hardware to flash the image. Raspberry Pi Network install will allow users to install a blank MicroSD card into their board, which will trigger the launch of Raspberry Pi Imager on the Raspberry Pi, and flash the image downloaded from the Raspberry Pi website.
So far in order to install Raspberry Pi OS, you had to download Raspberry Pi Imager on a computer or a working Raspberry Pi, insert the MicroSD card into the host, and flash the image, before moving the MicroSD card into the Raspberry Pi board. This works just fine for most people, but if the Raspberry Pi is your only computing device, as may be the case in developing countries, that does not work. Network Installs may also speed up the installation process in the classroom where multiple boards may need to be set up.
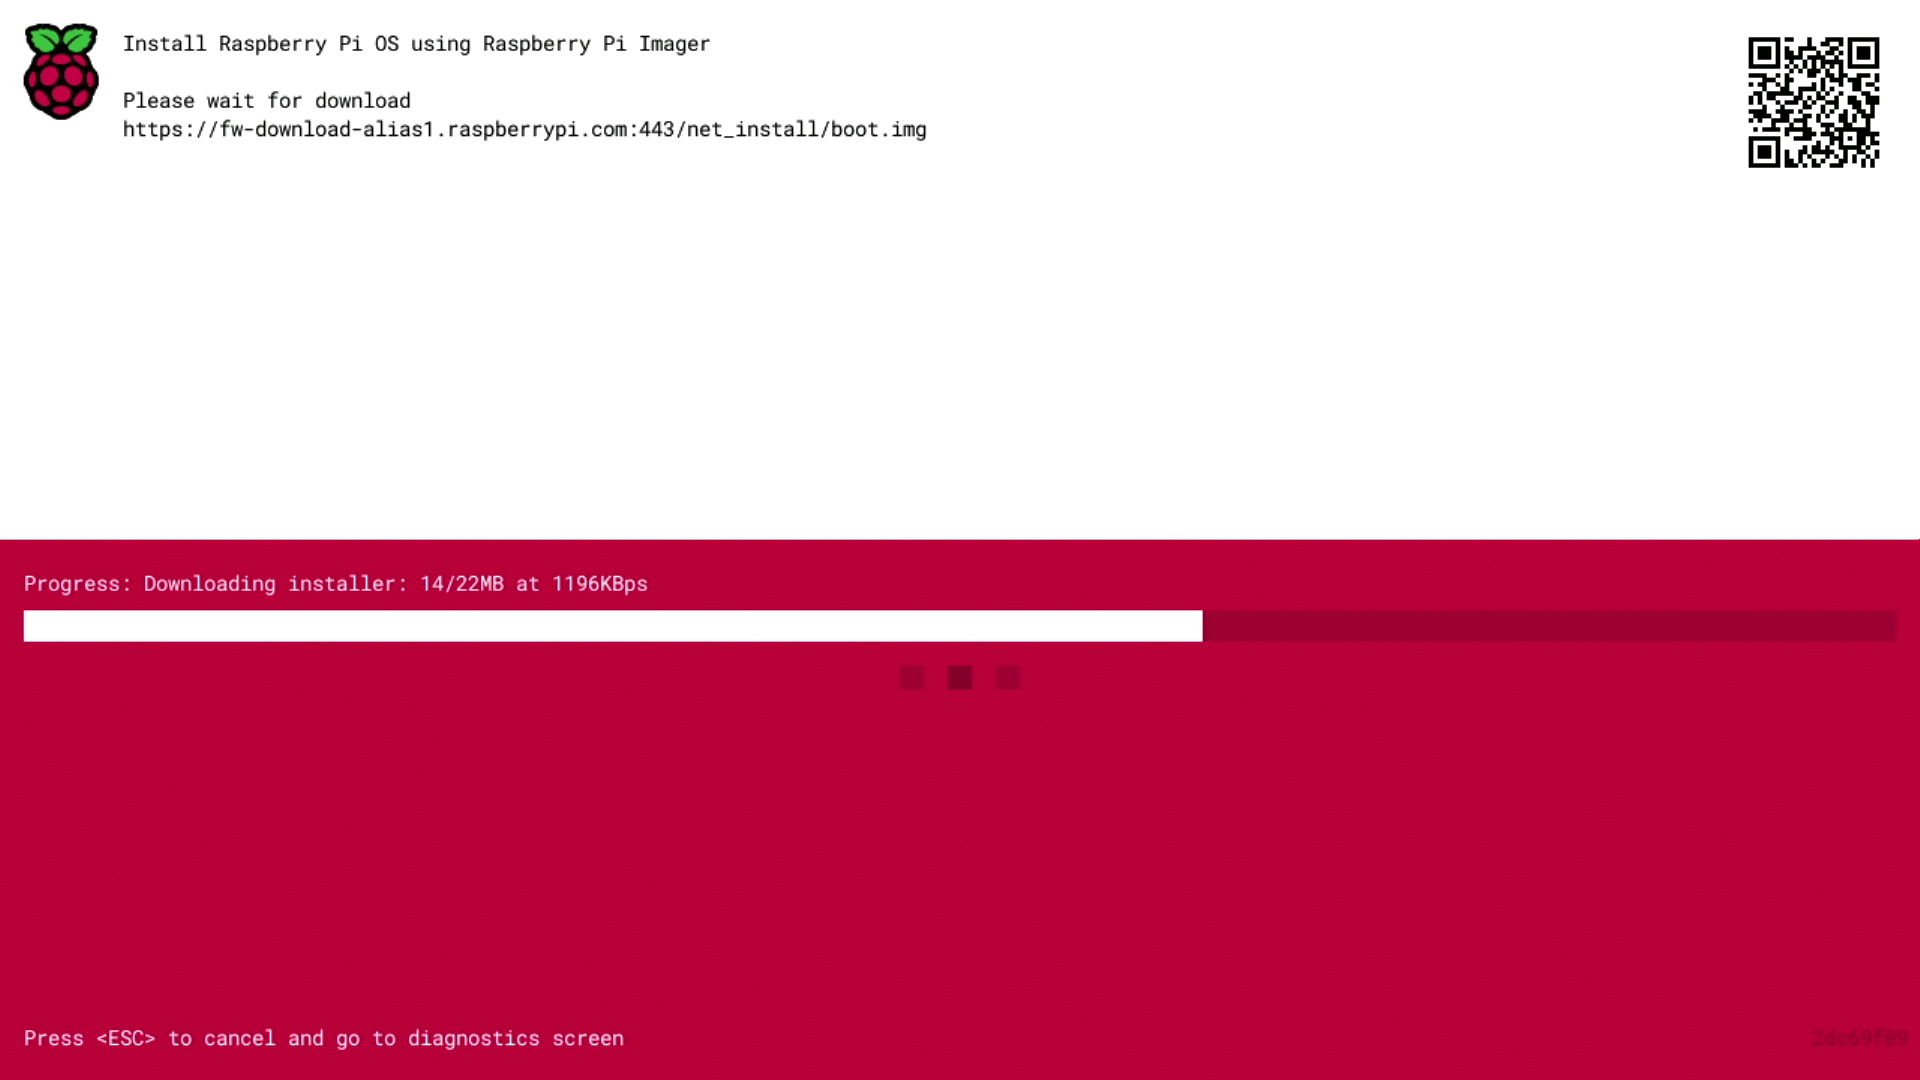
But wait… If the SD card is empty how can this possibly work? That’s because while the bootloader (bootcode.bin) used to be found in the MicroSD card’s boot partition in earlier Raspberry Pi boards, the bootloader is now located in the Raspberry Pi 4 EEPROM. The Raspberry Pi Foundation simply changed the bootloader code to enable the Network install feature, and yes, it will only work with Raspberry Pi 4, CM4, and Raspberry Pi 400 keyboard PC, but not Raspberry Pi 3 and earlier models. You’ll need an Ethernet cable too since WiFi is not available from the bootloader.
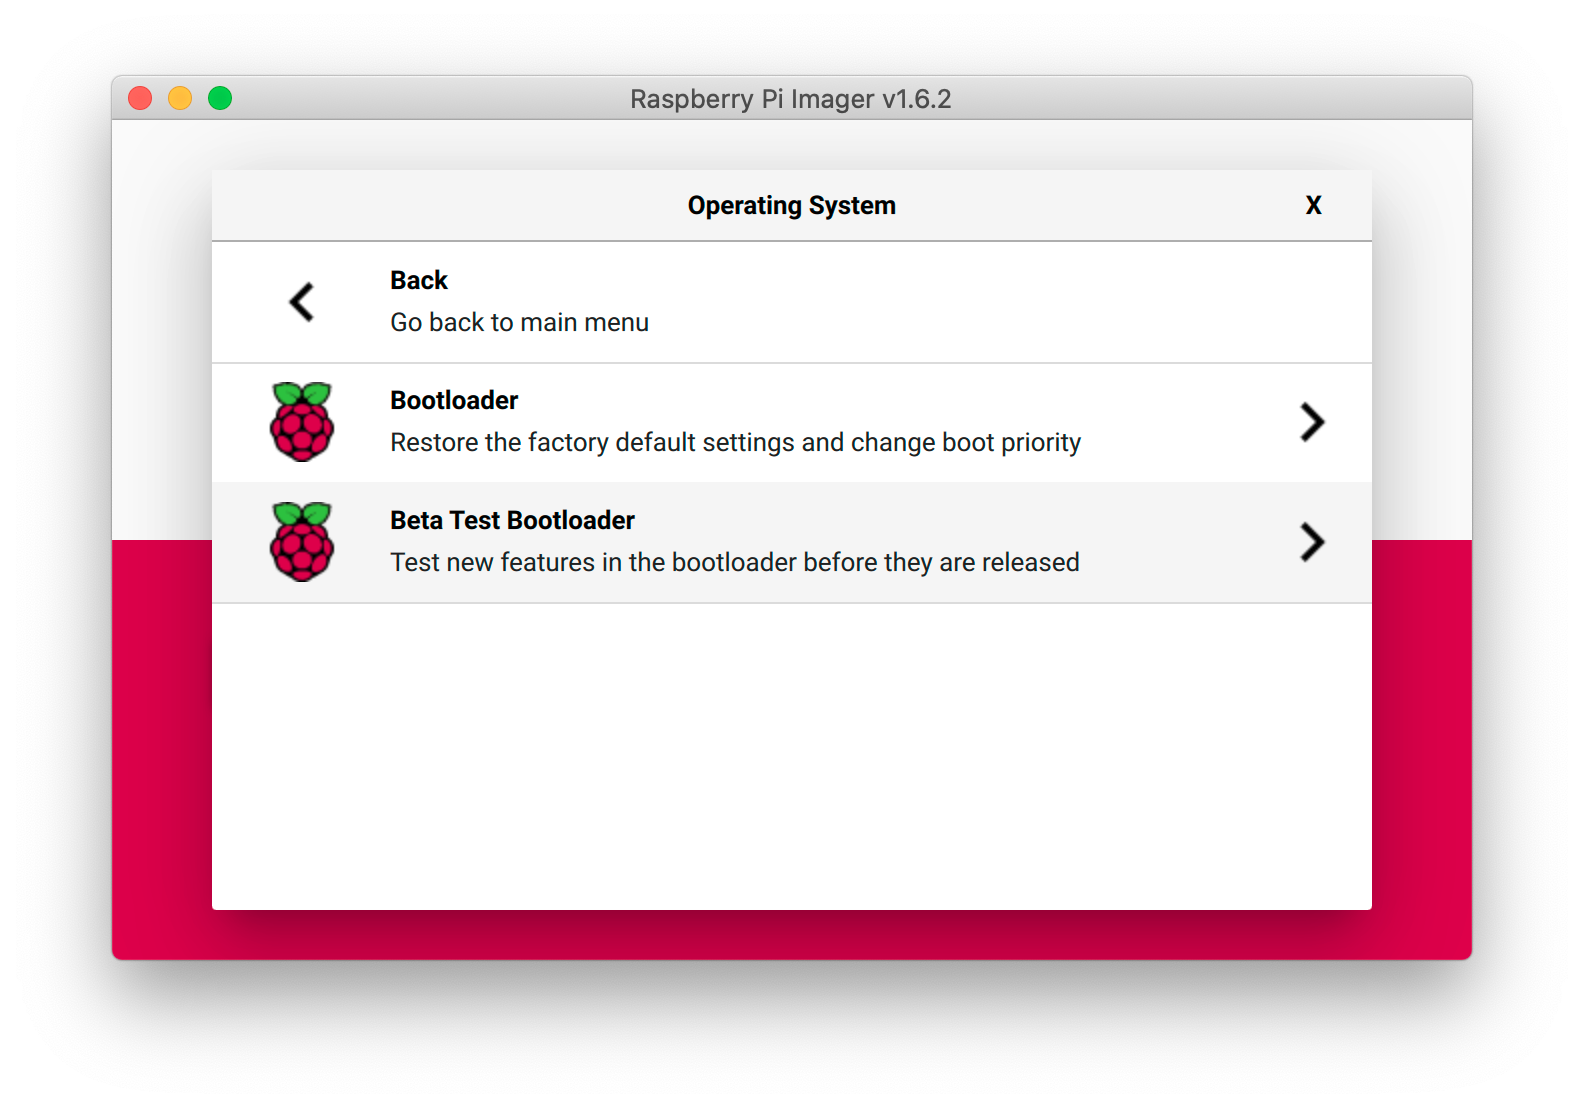 Eventually, the new bootloader will be installed in the factory, so it will work out of the box. But if you want to try it today, you’ll need to install the Beta Test Bootloader using Raspberry Pi Imager by clicking on the “Choose OS” button, scrolling down to “Misc utility images”, then selecting “Beta Test Bootloader”, and finally “SD card boot”. Once the image is flashed to the MicroSD card, insert it to your powered-down Raspberry Pi 4, connect the power, and wait until the display turns green, or the boards’ LED blinks regularly indicating success.
Now you’re ready to go through the Network Install procedure as shown in the video below.
It looks like only Raspberry Pi OS is supported at this time, and you may not be able to change that easily since the Raspberry Pi Bootloader is closed-source and the Raspberry Pi Foundation only provides binary files.
Via Raspberry Pi Blog.

Jean-Luc started CNX Software in 2010 as a part-time endeavor, before quitting his job as a software engineering manager, and starting to write daily news, and reviews full time later in 2011.
Support CNX Software! Donate via cryptocurrencies, become a Patron on Patreon, or purchase goods on Amazon or Aliexpress


