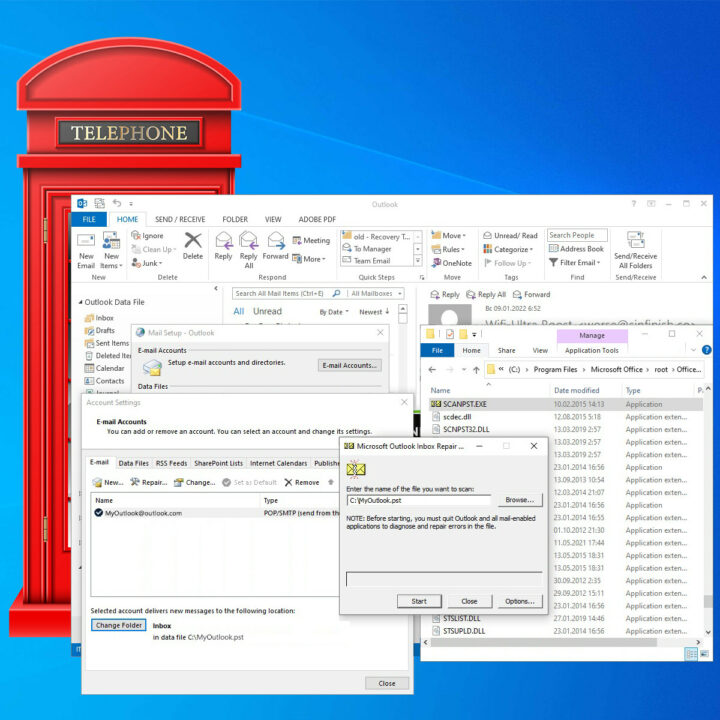
 Any software, even the most reliable, can at times encounter certain errors that prevent it from functioning, and Microsoft Outlook is no exception. Despite the fact that this program is extremely reliable, in certain situations, users may indeed encounter errors that require proactive action. In most cases, these errors are related to the storage of personal information in OST and PST files. These files are necessary for the stable operation of the application since they store part of the user data. In the event that these files are damaged, then further work with the program becomes impossible, and it will complain about errors. In this article, we will take a closer look at the basic recovery methods. Note that not only standard approaches to solving the problem will be considered, but also various additional tools.
Recovery Toolbox for Outlook is an effective tool for recovering errors from Outlook. The program can be downloaded from the following link: https://outlook.recoverytoolbox.com/repair-outlook/.
Recovery Toolbox for Outlook features
Before looking at specific recovery steps, it should be noted that they apply to all existing versions of Outlook (up to Microsoft 365). However, there may be some differences in the location of individual options, files, or folders depending on the specific version.
The first step you need to take to start recovering files is to stop using Microsoft Outlook 365 and close it. It is very important to remember that any attempts to recover a file while it is open in a program will, at best, lead nowhere, and at worst, may cause even more damage.
Next, you need to enter the following program address in the search:
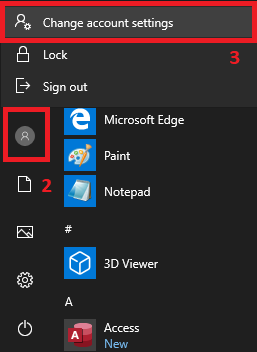
You will need to open the Windows menu using the appropriate button, and then select a specific user account to start changing its settings.
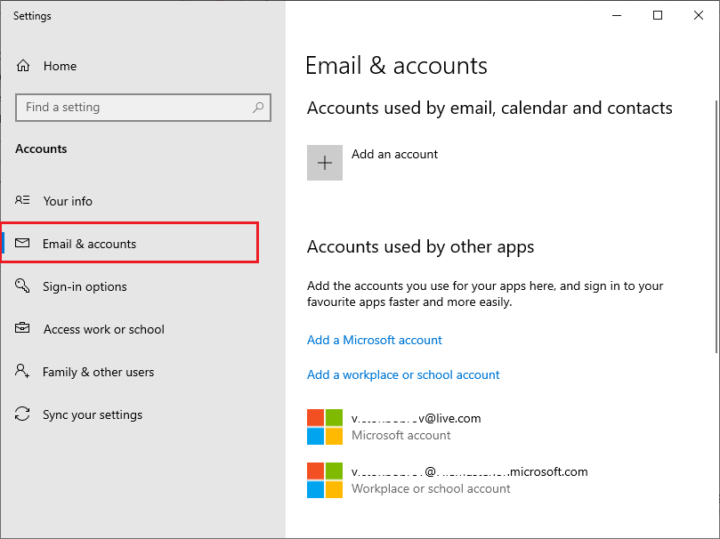
In the new window that opens, you need to turn your attention to the panel on the left, where the Email & Accounts item is located in the second tab.
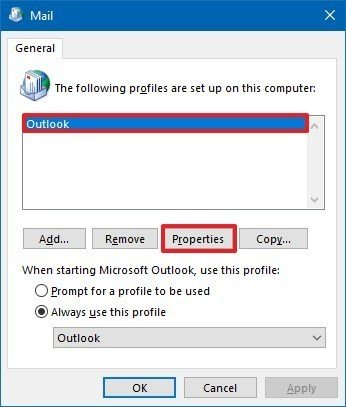
Here you will need to select a user account that is malfunctioning. Most users only have one account. Only those who have a lot of these accounts need to be especially careful at this stage. We choose an account in order to open its Properties and continue working with them.
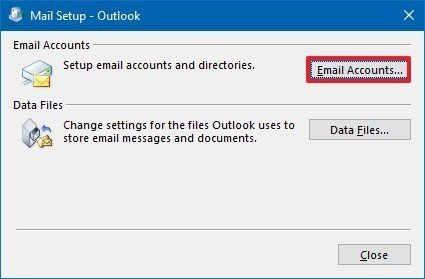
In the window that opens, click on “Email Accounts”.
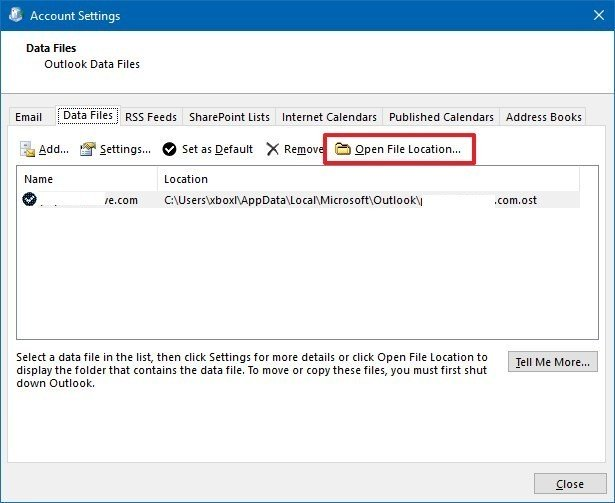
A new window will open in front of you, in which you will again have to select the problematic account. In the next step, you select the location where this file is stored using the appropriate button. It is shown in the figure below.
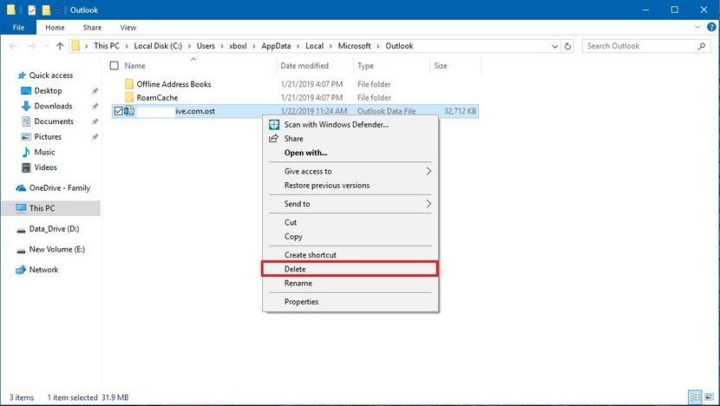
Now that you have followed all the above steps, you can close most of the windows. You only need to leave the very last window, where you are shown the location of the files. Here you need to find the problematic file and delete it so that it does not interfere with the further operation of Recovery Toolbox for Outlook.
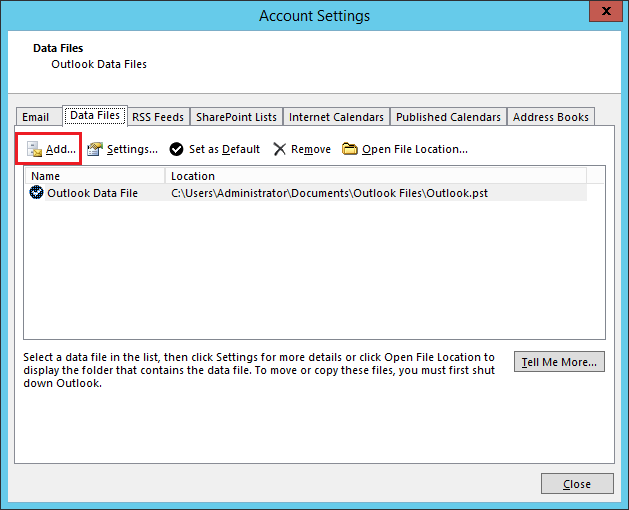
Now you can safely go to Outlook and create a new file with the PST extension. The necessary information will be overwritten in it, which will become a successful recovery for your account data.
How to recover PST file for Outlook
It is also necessary to consider ways of recovering PST files since this process is somewhat different from recovering OST / PST files. As soon as you encounter any errors, you need to close the program before restoring. Firstly, this will avoid the formation of further errors, and secondly, the recovery process is impossible while the file is in use.
The first thing you need to do is figure out exactly where your Outlook program is located. In most cases, it is located in folders on the C drive, since these save settings are set by default. If you changed them, then you need to copy this path yourself.
After copying the program path, you must open the desktop and press the Windows key + R key combination to open the command execution window and paste the path you found here
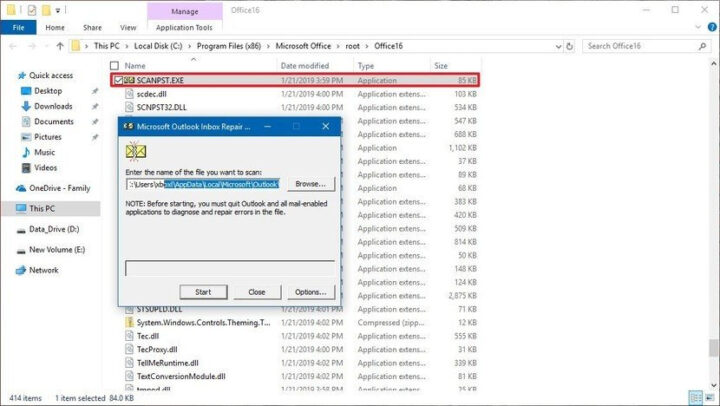
After confirming the actions, a window with files will open in front of you, where you will need to select SCANPST.EXE. This file will help us open the automatic recovery program.
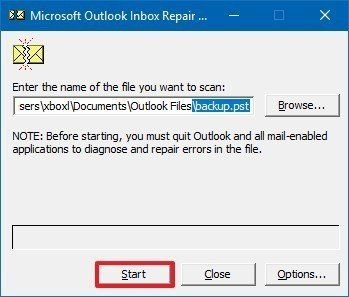
When the recovery tool starts working, it will prompt you to select a file to recover. Here you indicate the damaged file, as well as confirm the start of the recovery process with the Start button.
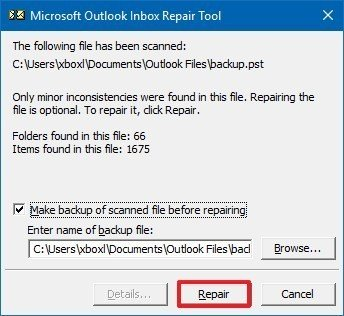
To play it safe against force majeure, it is recommended that you create a backup copy of the file that you want to recover. To do this, just copy it. Once you have completed all the preparatory work, start the recovery with the appropriate button.
Additional advanced tools
As practice shows, in most cases, the built-in recovery methods are really enough. However, sometimes the errors that occurred during the work still remain. There is a solution in such situations, since you can use additional recovery methods, which we will consider in this part of the material.
Restoring from a folder
Let’s imagine that you have finished automatic recovery, but some of the files are still damaged. You can try to fix them manually by dragging and dropping them from the Lost and Found or Recovered Personal Folders. After you pull the files out of these folders, you just need to delete them. From this moment on, the work of the program should be adjusted.
Recovering missing components using backups
Backups are an important recovery tool. They must be done in those moments when the program is stable, so that at any time after an update or changes made, you can roll back to the moment when there were no errors. The program creates such copies automatically, although you can do it yourself by simply copying the file from the root folder.
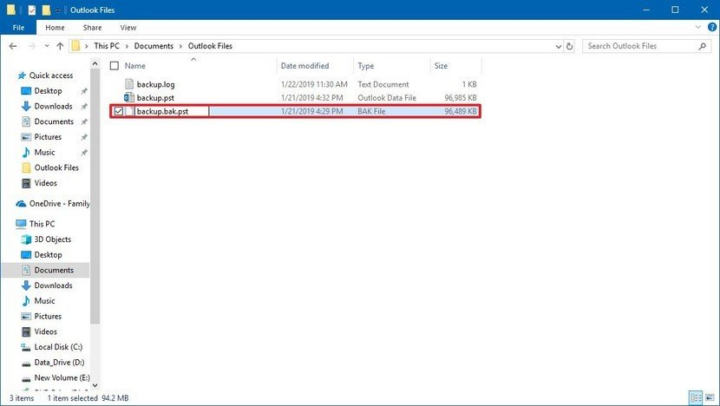
To restore your personal data using a backup, you only need to open this file (it will be marked with the .bak extension), changing its name to .bak.pst.
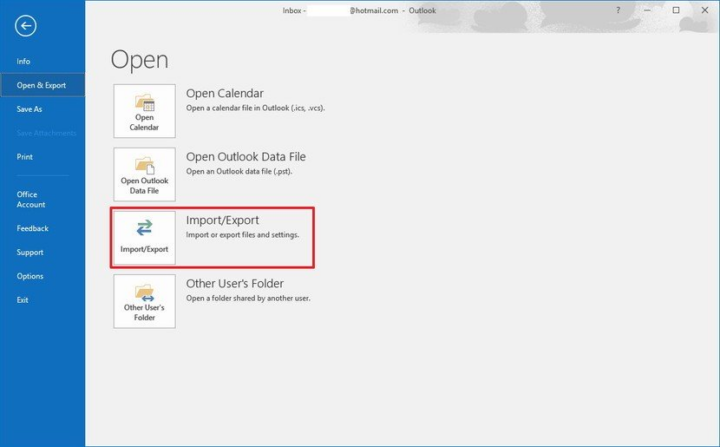
If you have a similar backup, then in order to start working with it, then in the original program you need to go to the control panel above, where in the “File” tab you need to select the “Open …” item. Here you will need to select the specific file that you are going to open, and, as it becomes clear, here you need to select the backup file.
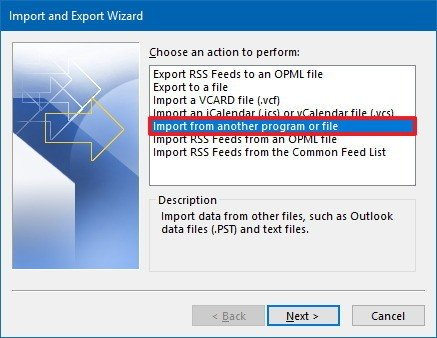
Next, you need to confirm that you plan to import information from a third-party file so that the program can make the necessary changes to the current configuration.
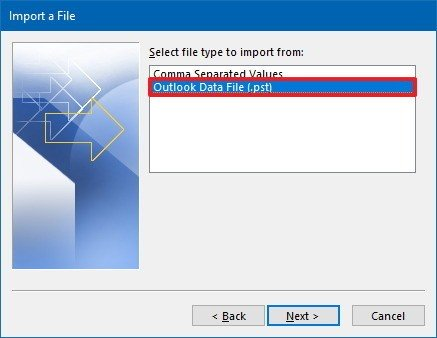
Here you will need to select the .PST file type for the program to recognize it correctly.
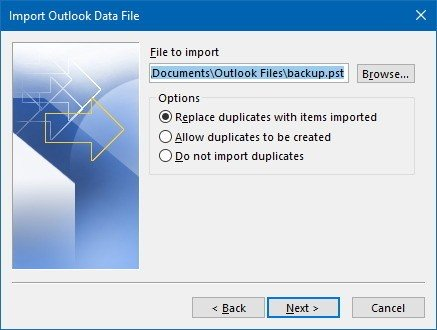
The program will continue to run, but will require you to specify the specific location of your file. To do this, just insert the path to the root location of your backup into the highlighted line. Note that in the additional options we mark that the program replaces old files with new ones if completely identical components are encountered.
Confirm the start of the procedure so that the program finishes working with the backup. After that, you can start working with the program without fear of any problems with its stability.
Additional recovery tools
In the event that no internal recovery methods helped you, then you can use third-party software that was specially created to solve such problems. The most effective application for solving Microsoft Outlook 365 errors today is Recovery Toolbox for Outlook. There is also an online version of this software, it can also be used for data recovery.
Recover Lost PST Files
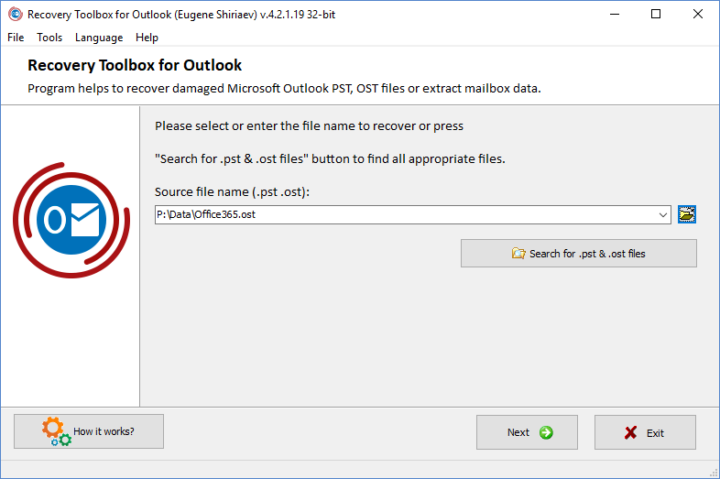
If you decide to restore the program using the application, then, obviously, first of all, you need to download it and then install it. After launching it, you will need to select a file to repair.
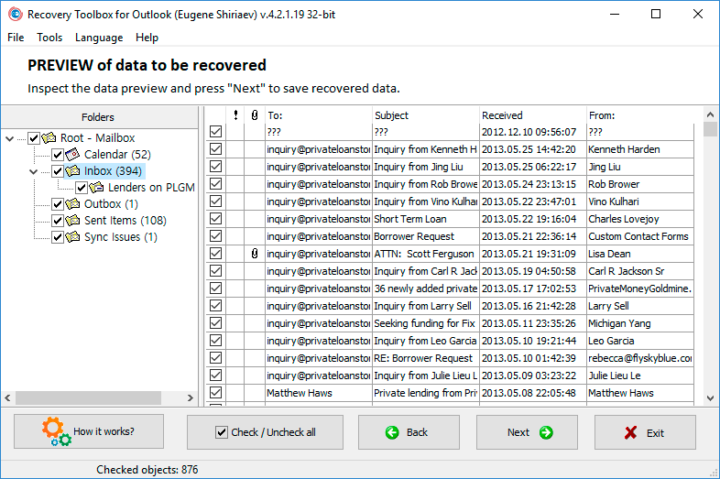
Recovery Toolbox for Outlook automatically reads the file.
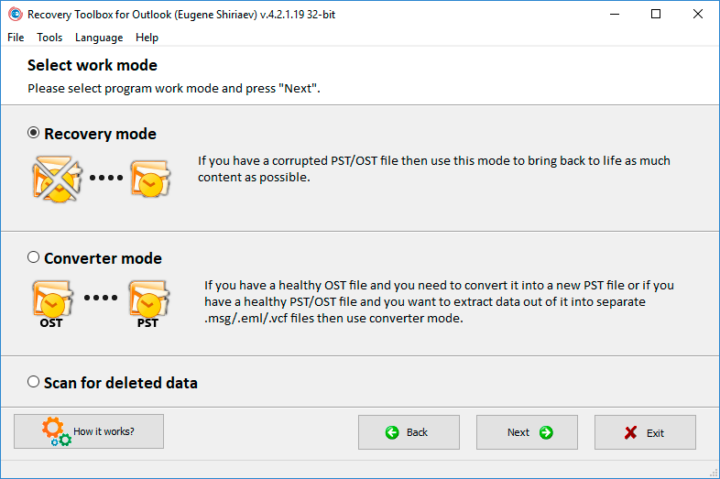
After that, the user can select the mode of operation of Recovery Toolbox for Outlook.
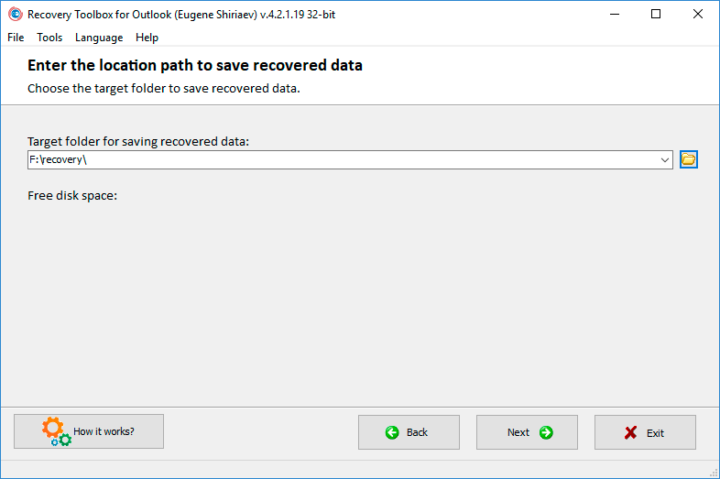
Next, you need to select the folder where the recovered file will be saved.
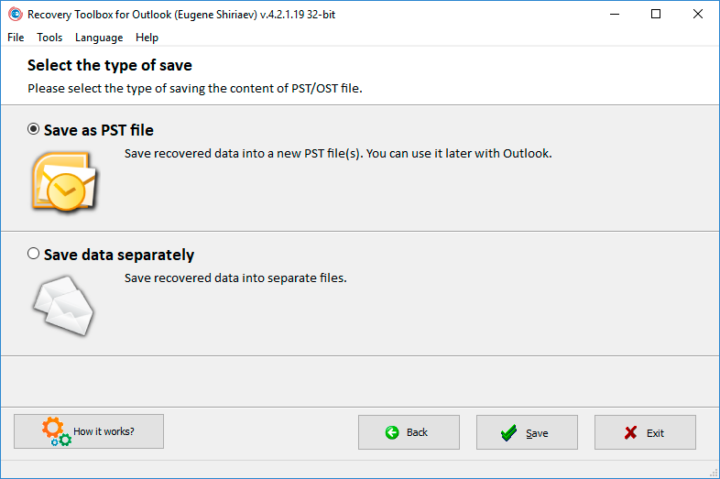
The user can also choose the save configuration.
At the end, you need to choose a name under which the recovered file will be saved.
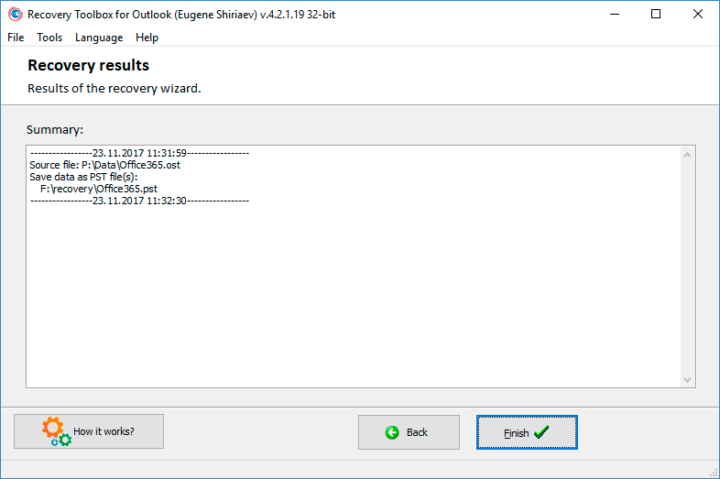
As soon as Recovery Toolbox for Outlook informs you about the completion of the recovery, you can start your work.
Online recovery service
If the user does not want to download the program to his computer, then he can also use the online tool. Immediately, we note that it almost completely copies the functionality of the downloaded application, however, to work, you just need to visit the official website of its developer at: https://outlook.recoverytoolbox.com/online/.
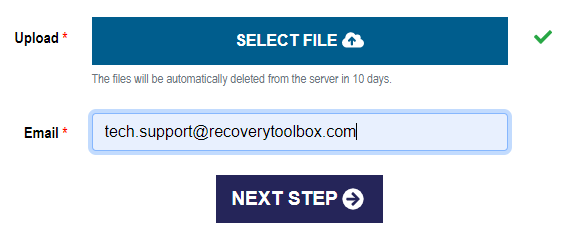
There is no need to use any special settings, you just need to select the file and confirm the scan. After that, you just need to wait for the result.
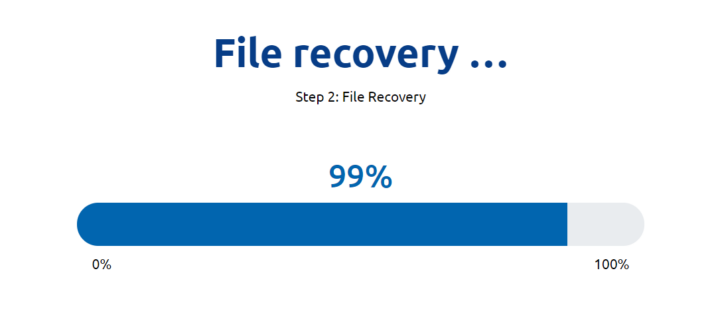 In the event that you are satisfied with the result obtained, then to receive the file you will have to pay $ 10 for each gigabyte of the original file that was processed.

This account is for paid-for, sponsored posts. We do not collect any commission on sales, and content is usually provided by the advertisers themselves, although we sometimes write it for our clients.
Support CNX Software! Donate via cryptocurrencies, become a Patron on Patreon, or purchase goods on Amazon or Aliexpress


