
Tuya is an All-in-one IoT Platform that enables the user to build smart IoT solutions by connecting devices efficiently, securely, and reliably. This is a getting started article to set up the Tuya platform with the Espressif’s ESP32 boards via tuya link SDK. Further, we use it to control an LED through an Android device. When the switch in the Tuya Smart App is turned ON, the LED connected to the ESP32 board glows and vice versa.
Prerequisites
Hardware:
- ESP32 board
- LED with suitable ballast resistor
- Breadboard, micro-USB cable, and connecting wires
Software:
- Tuya Account: Tuya IoT Platform (Web)
- Tuya Account: Tuya Smart Application (Android)
- Python 3.x
- Arduino IDE
GitHub Link: https://github.com/JayeshRajam/Tuya-ledapp.git
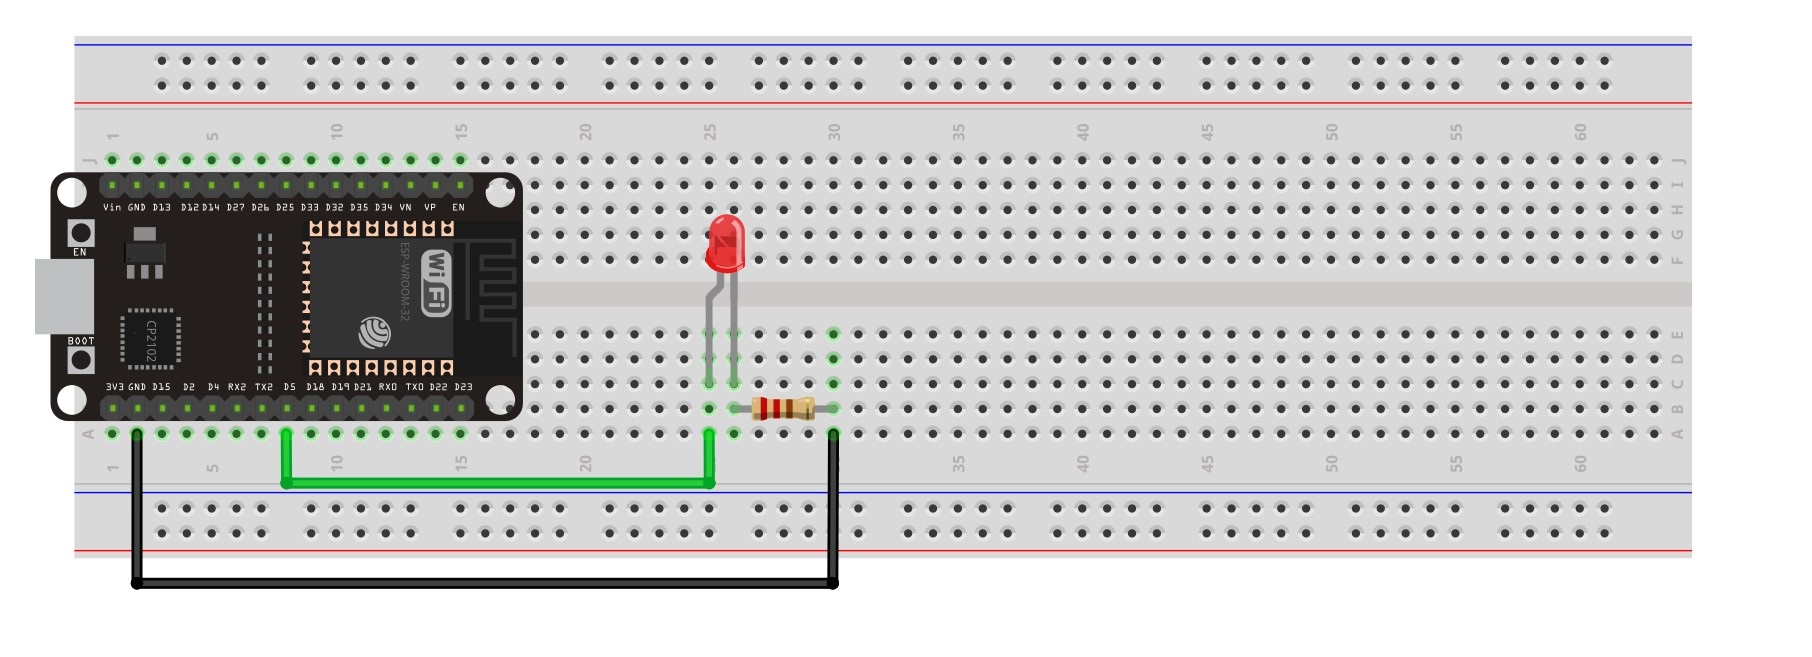
Hardware Connections for Tuya Link SDK
The ESP32 board is placed on a breadboard. The positive terminal of the LED is connected to digital pin 5 of the ESP32 board and the negative terminal is connected to the ground pin via the ballast resistor as shown in the following circuit diagram.
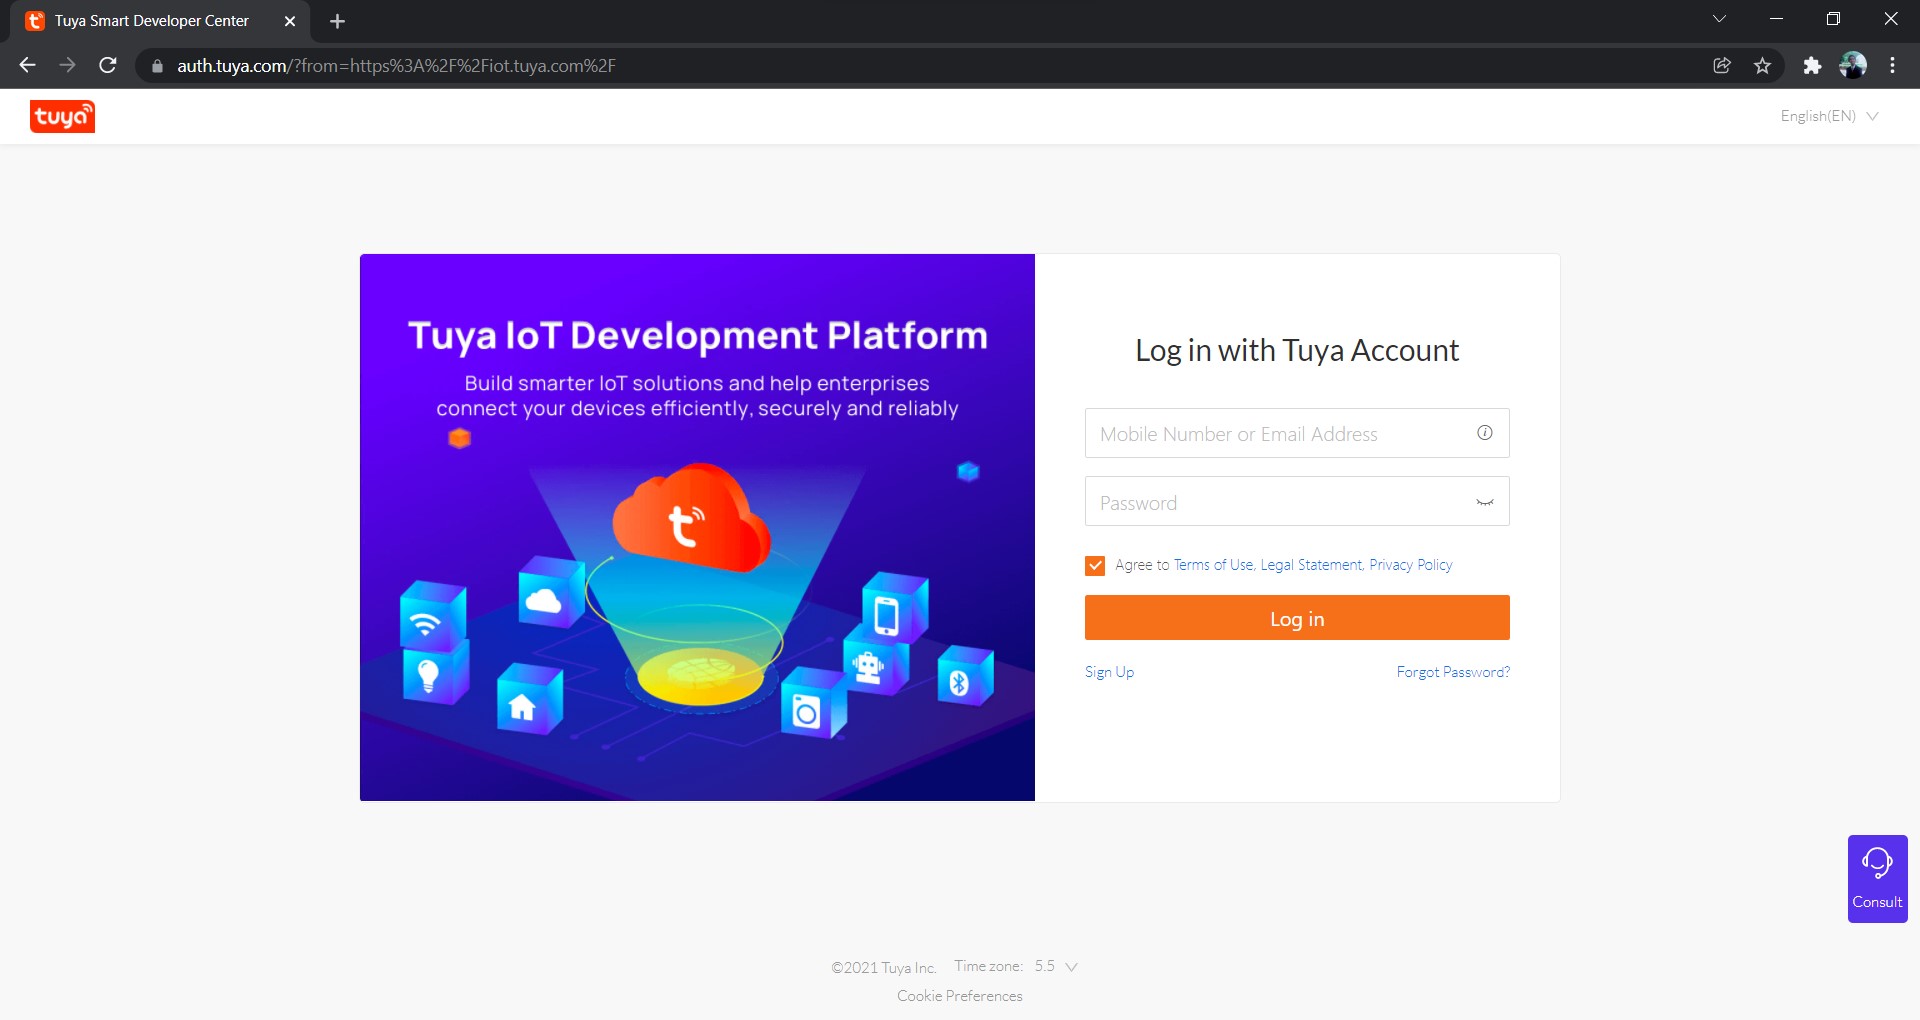
Software Setup: Tuya IoT Platform
Login to your Tuya Account or if you don’t have an account then create one using the SignUp option.
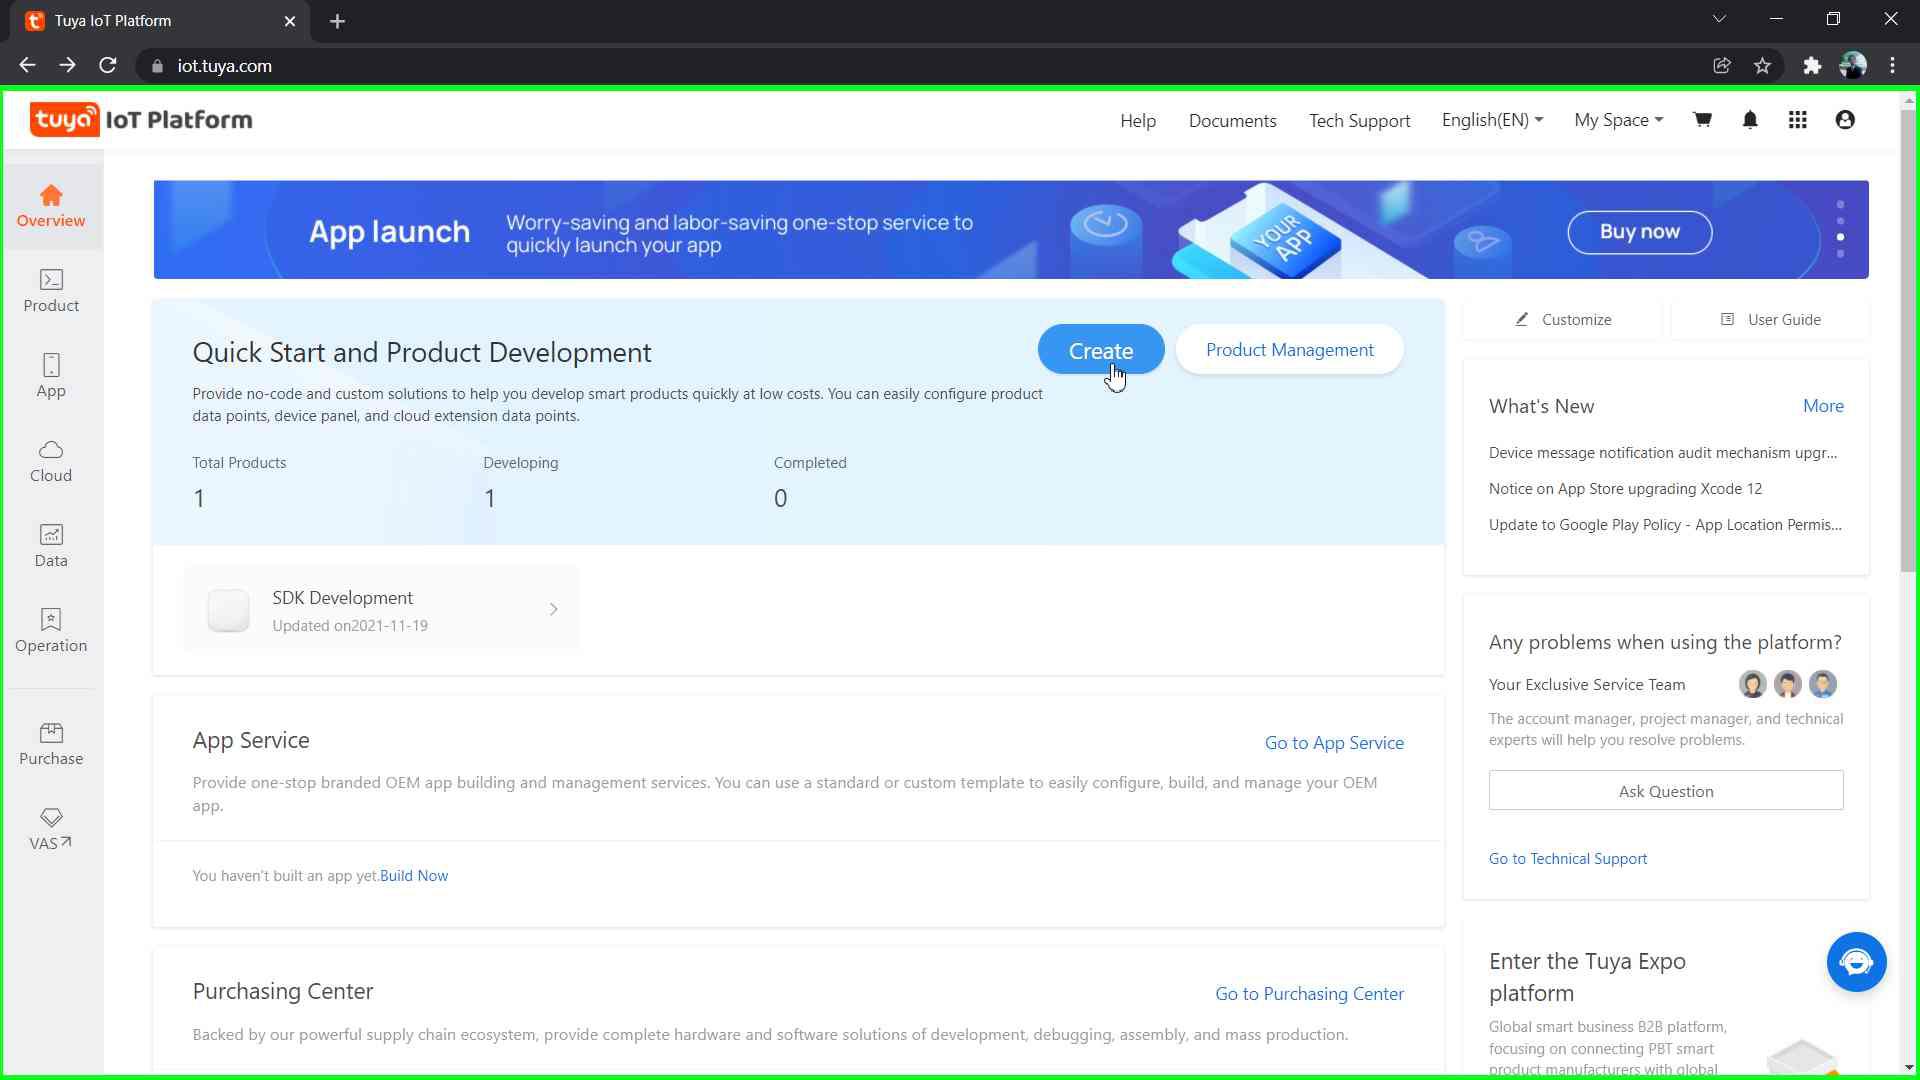
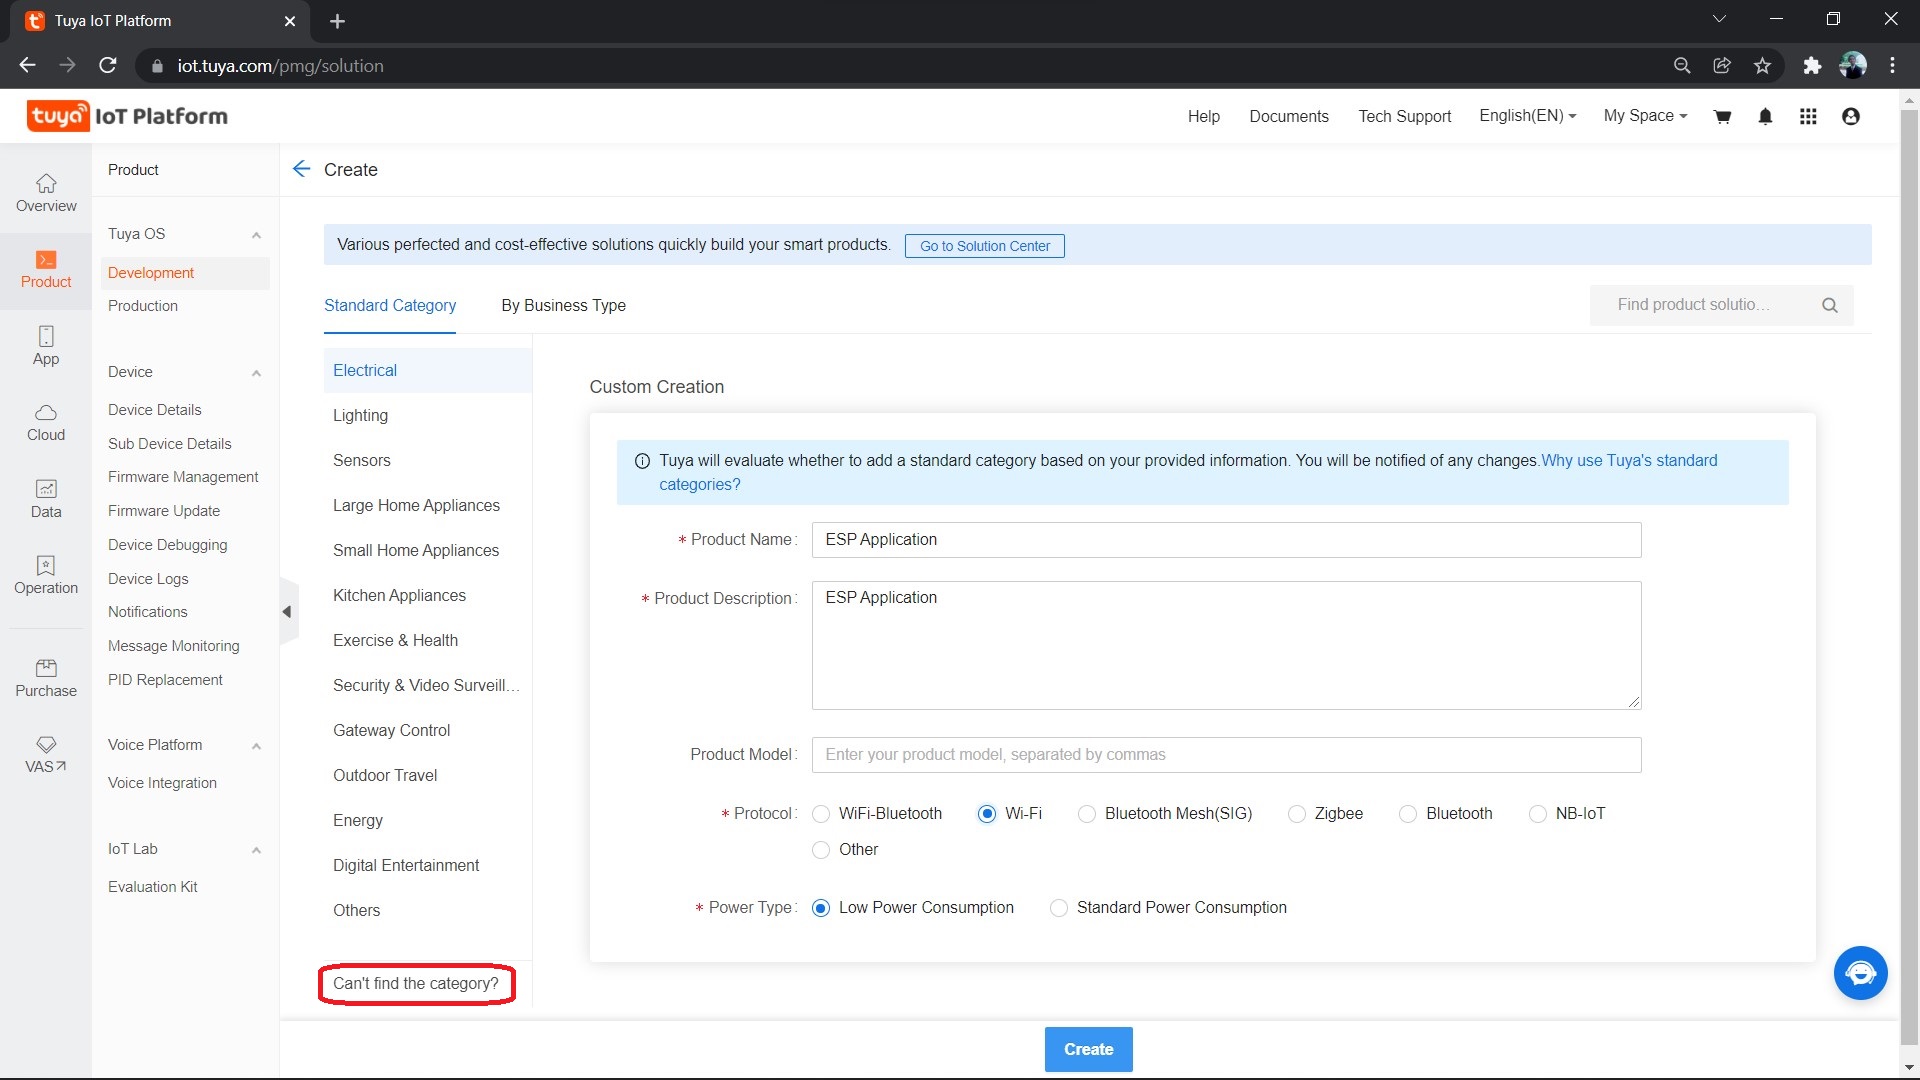
Once Logged In, an overview of the platform is visible. Click the Create button to start a new Project.
To develop the application for ESP32 click on ‘Can’t find the category?’. The following custom creation menu should appear.
Fill the required fields as done above and click Create. A pop-up box will appear, just close it to get the following screen.
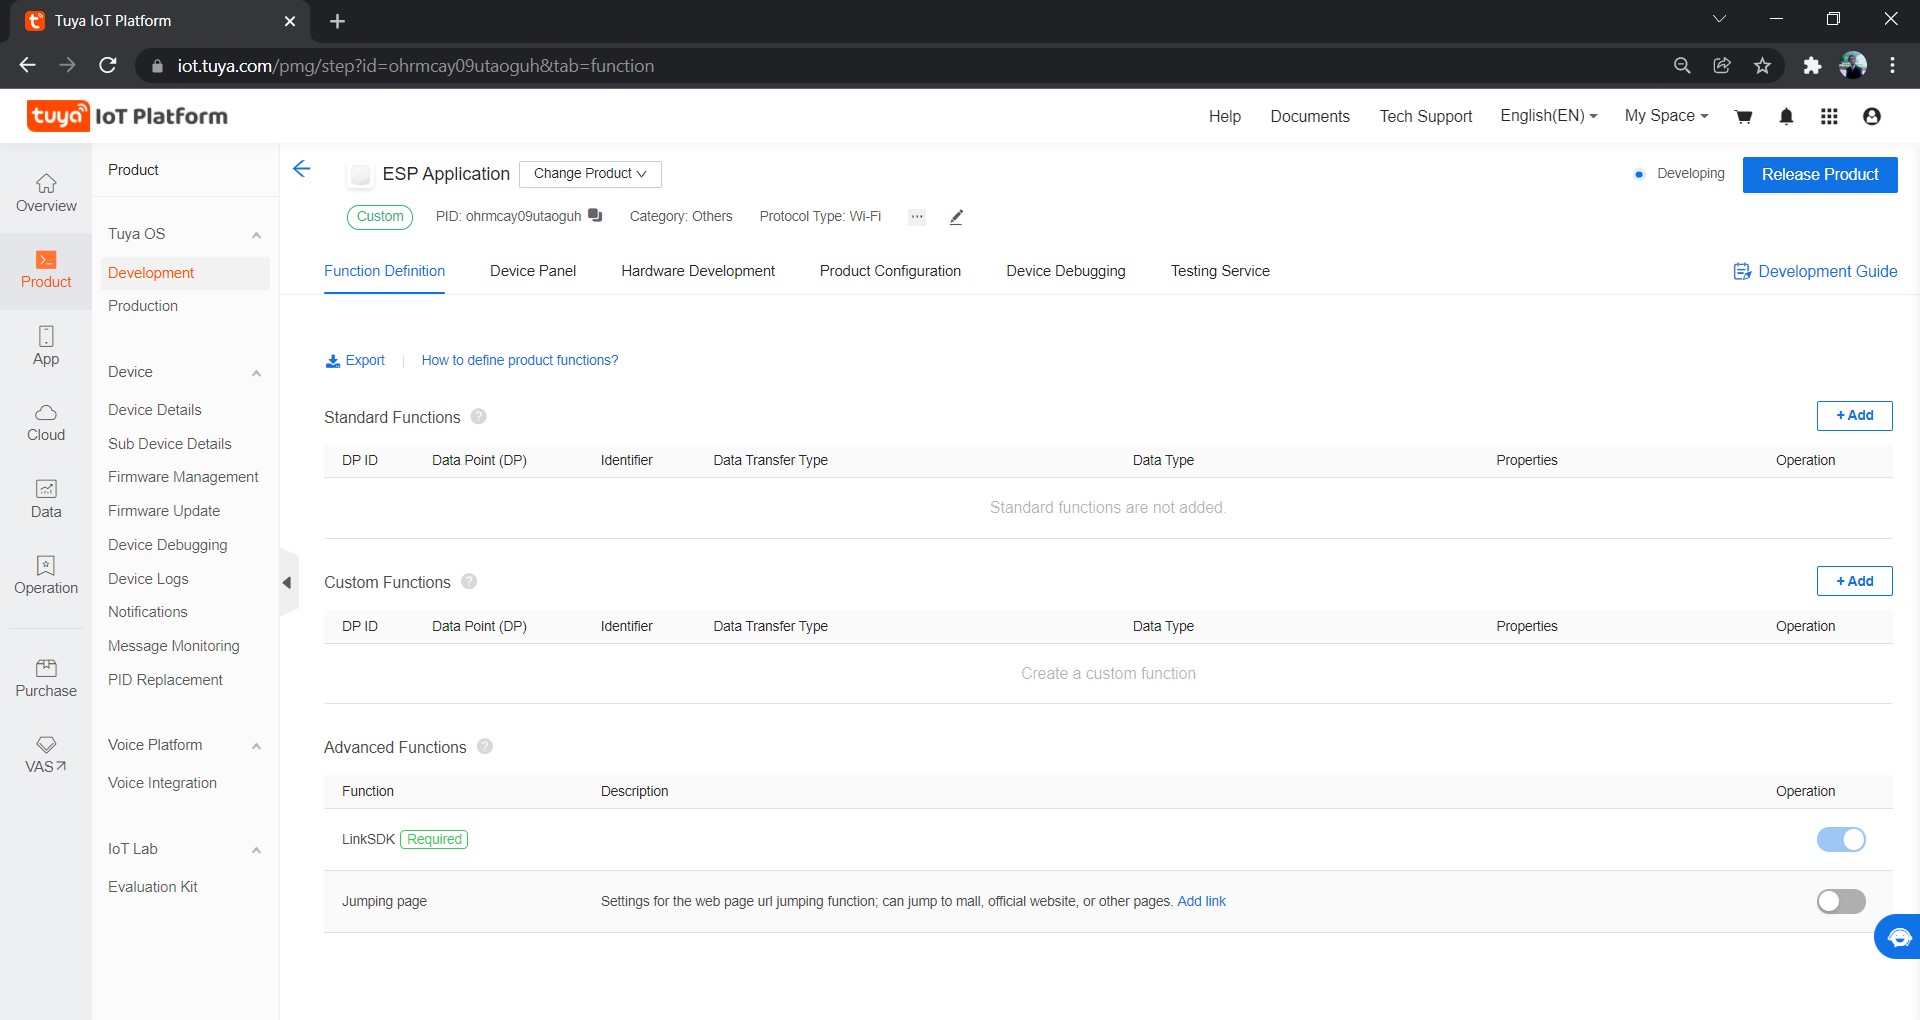
Here, we’ll add a custom function of the following settings.
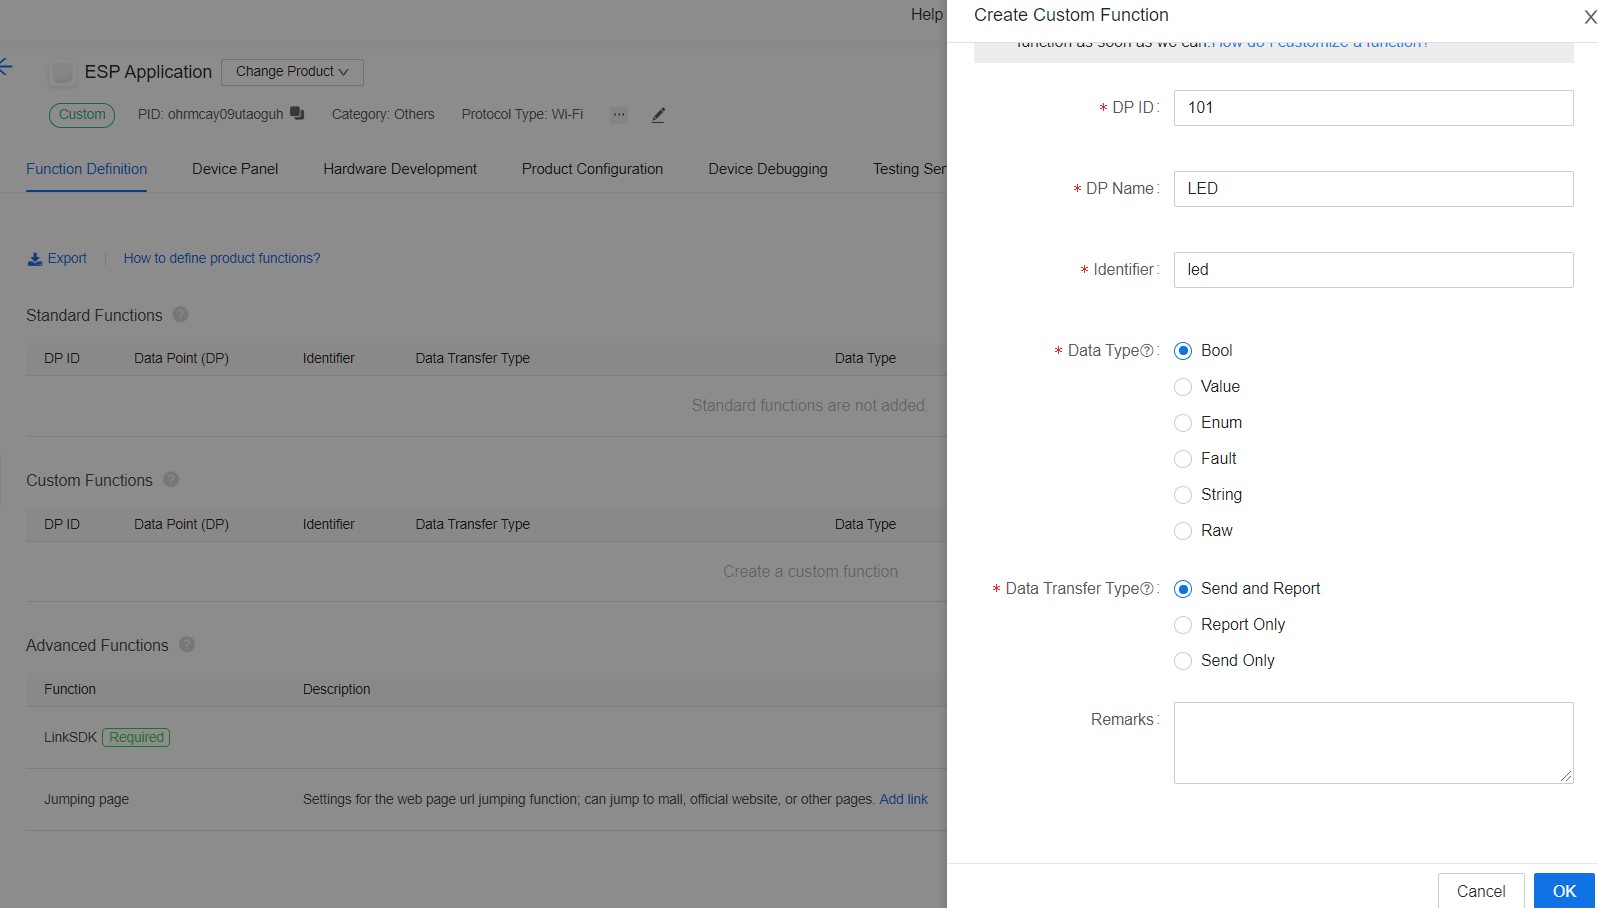
Click OK. The function will now be visible.
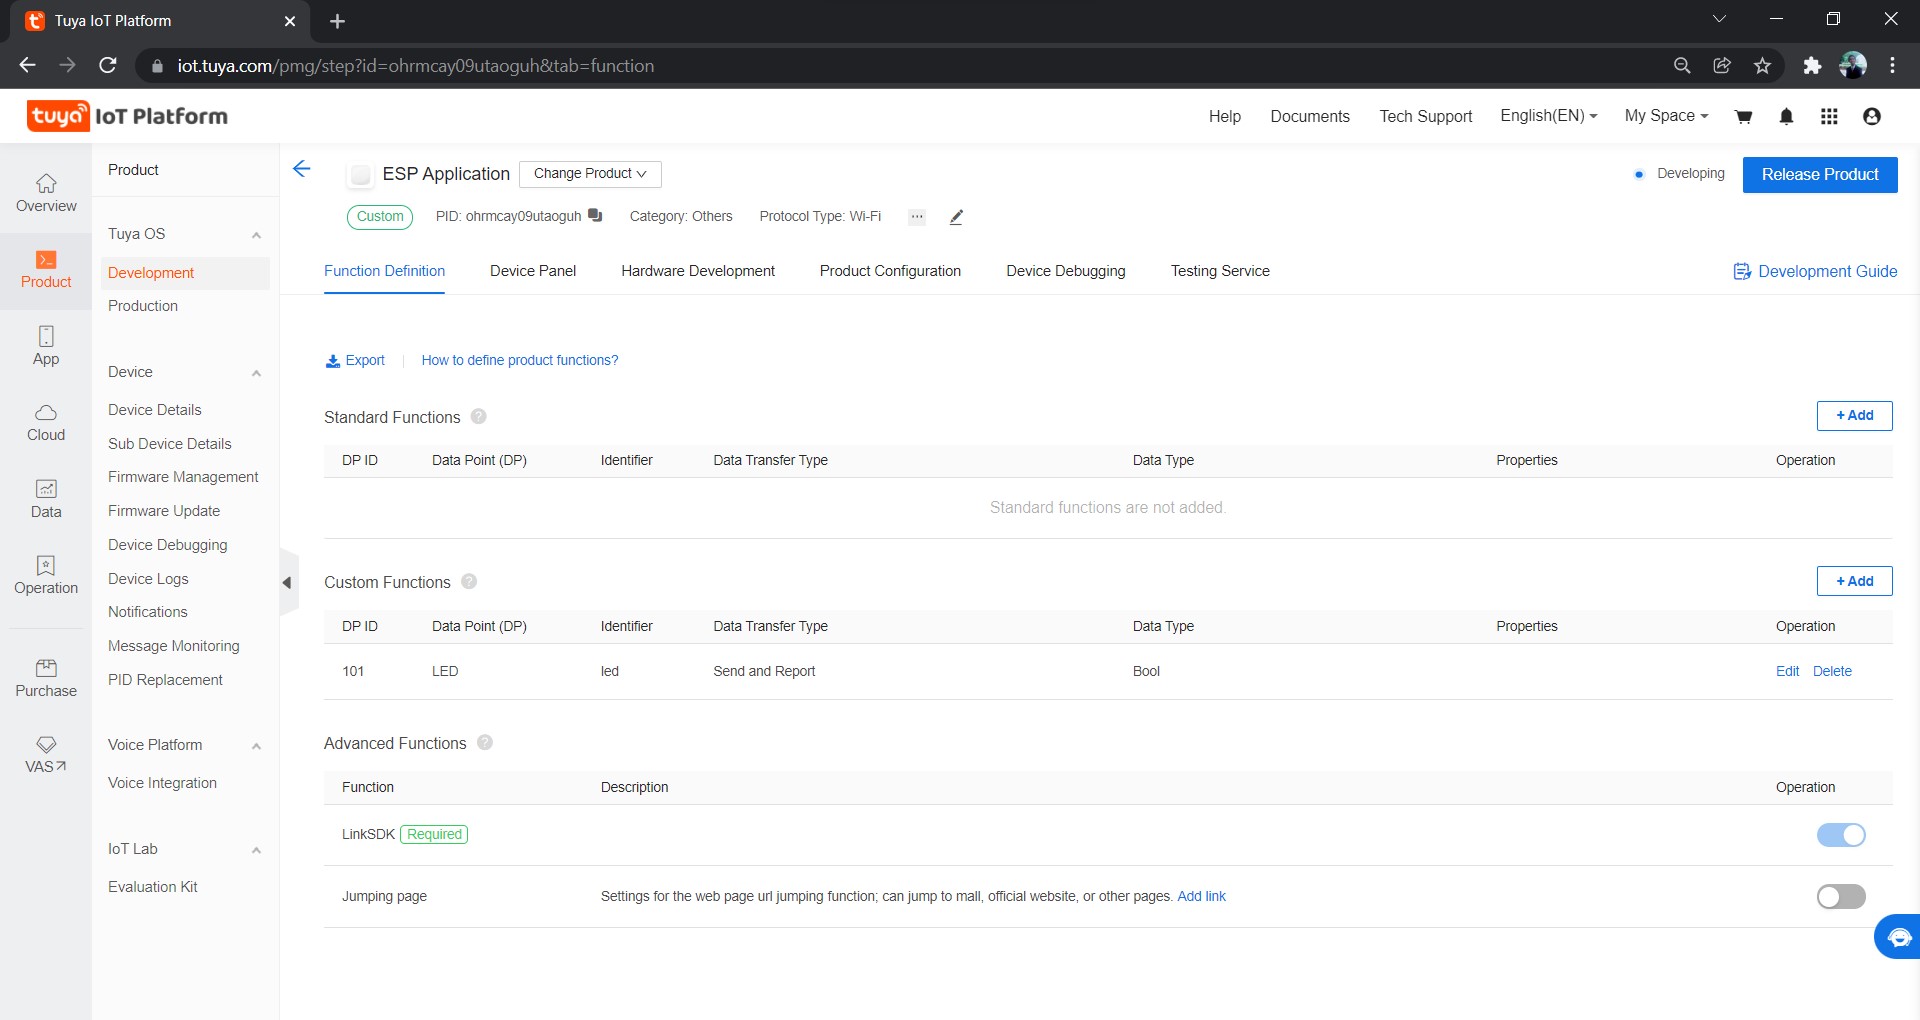
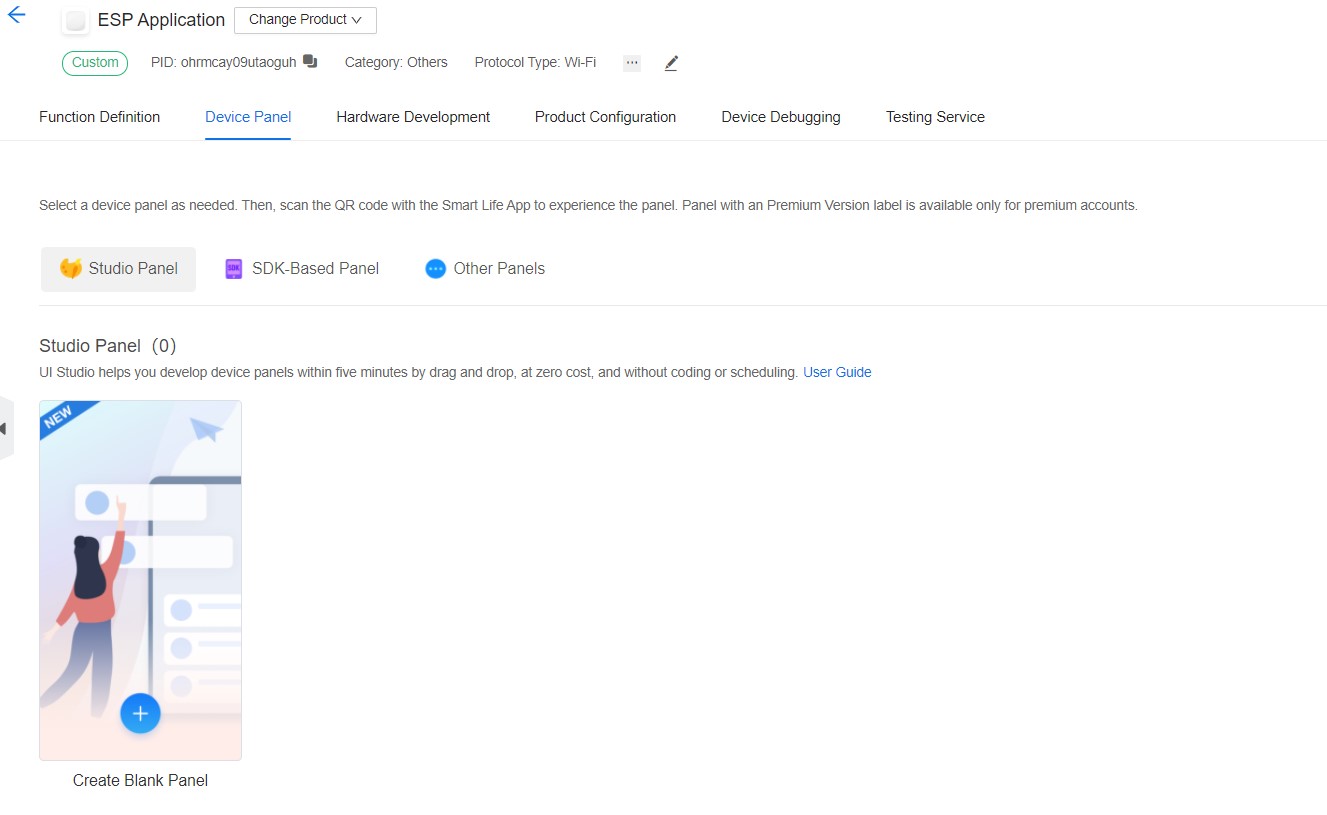
Tuya Smart Application Graphical User Interface (GUI) now needs to be developed. For that, simply switch to the Device Panel tab and select ‘Create Blank Panel’.
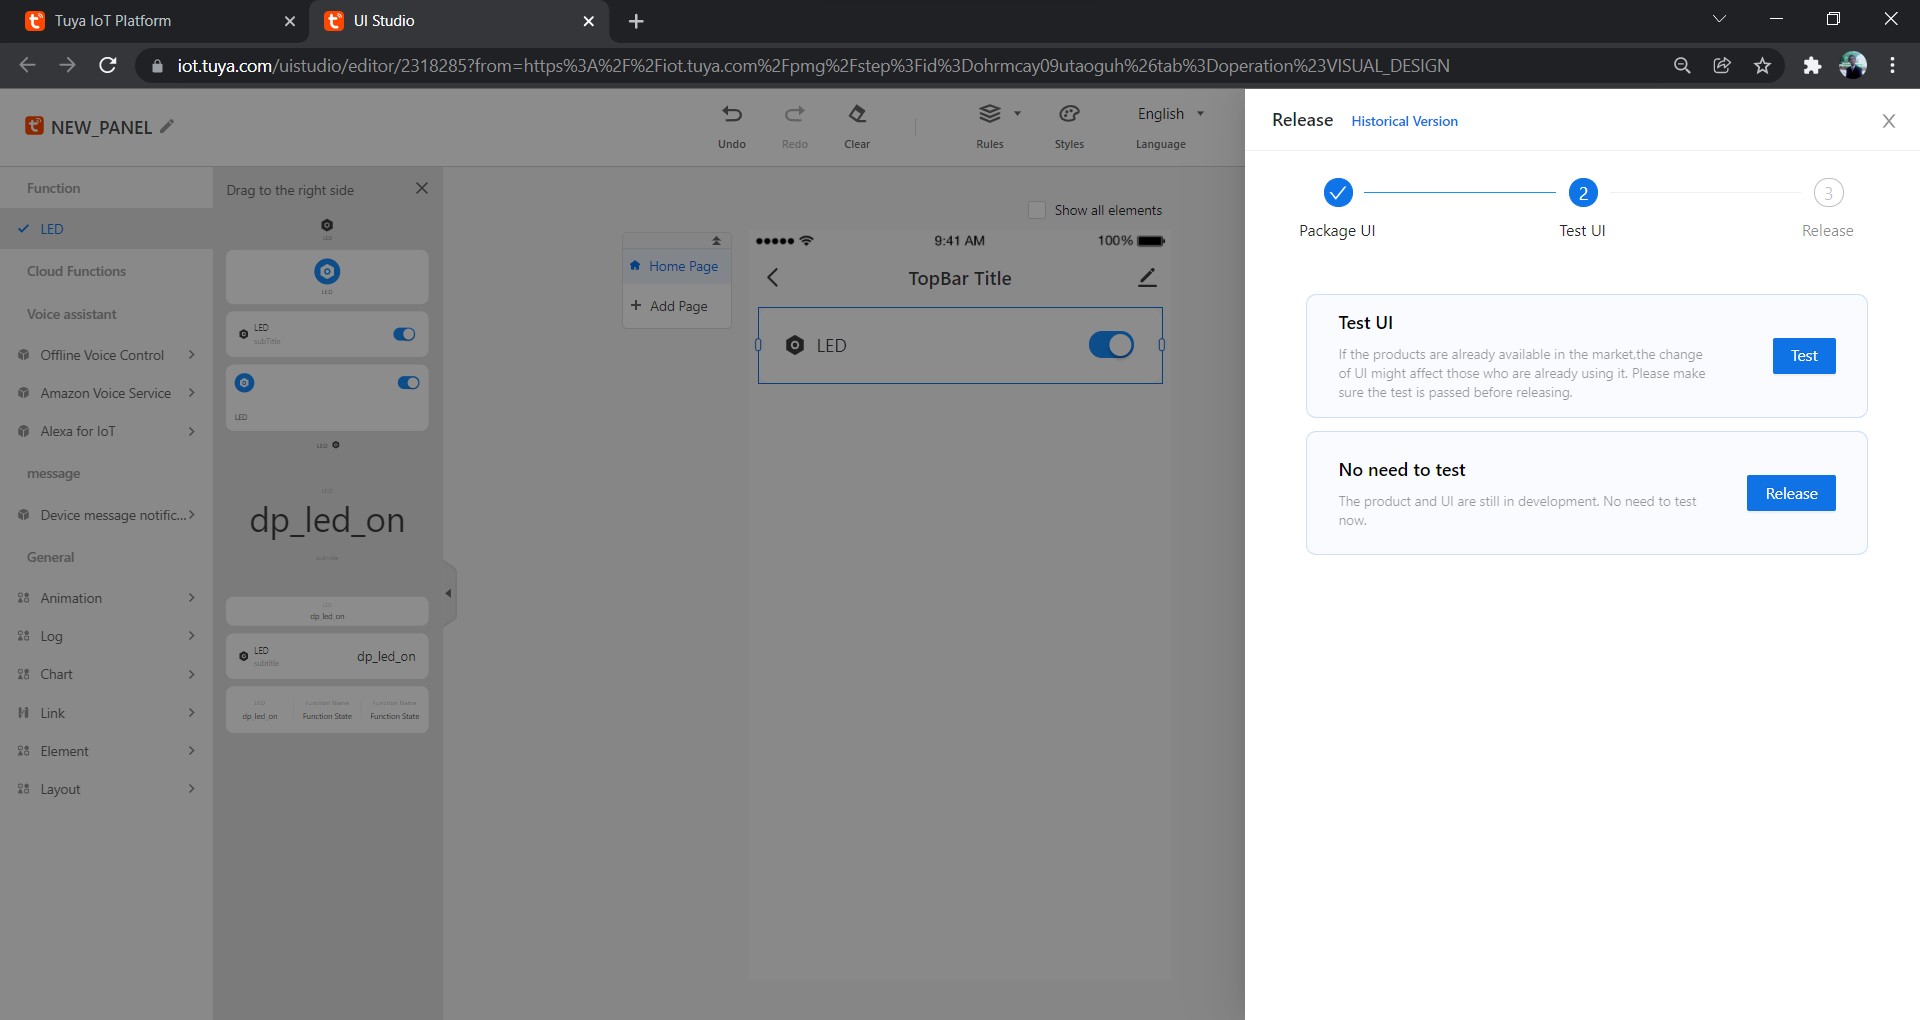
Following are the steps to complete the UI Studio procedure.
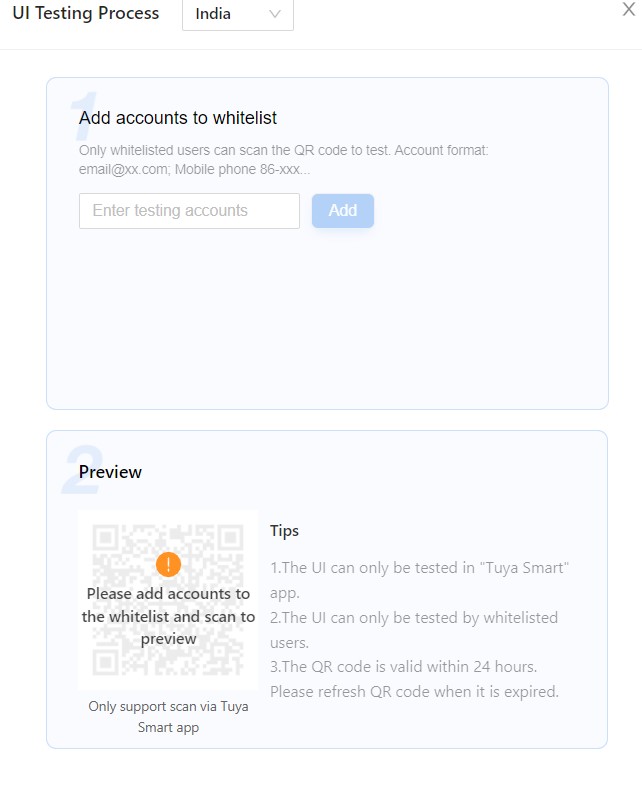
You can always test and release the application before moving further. You can also visit this article to know more about the Tuya platform for designing and manufacturing smart home solutions.
Note: The testing procedure requires you to install and login to the Tuya Smart Application on your Android and enter the same login email id here.
 Once back to the Tuya IoT platform, it’s now time to generate a license for Link SDK.
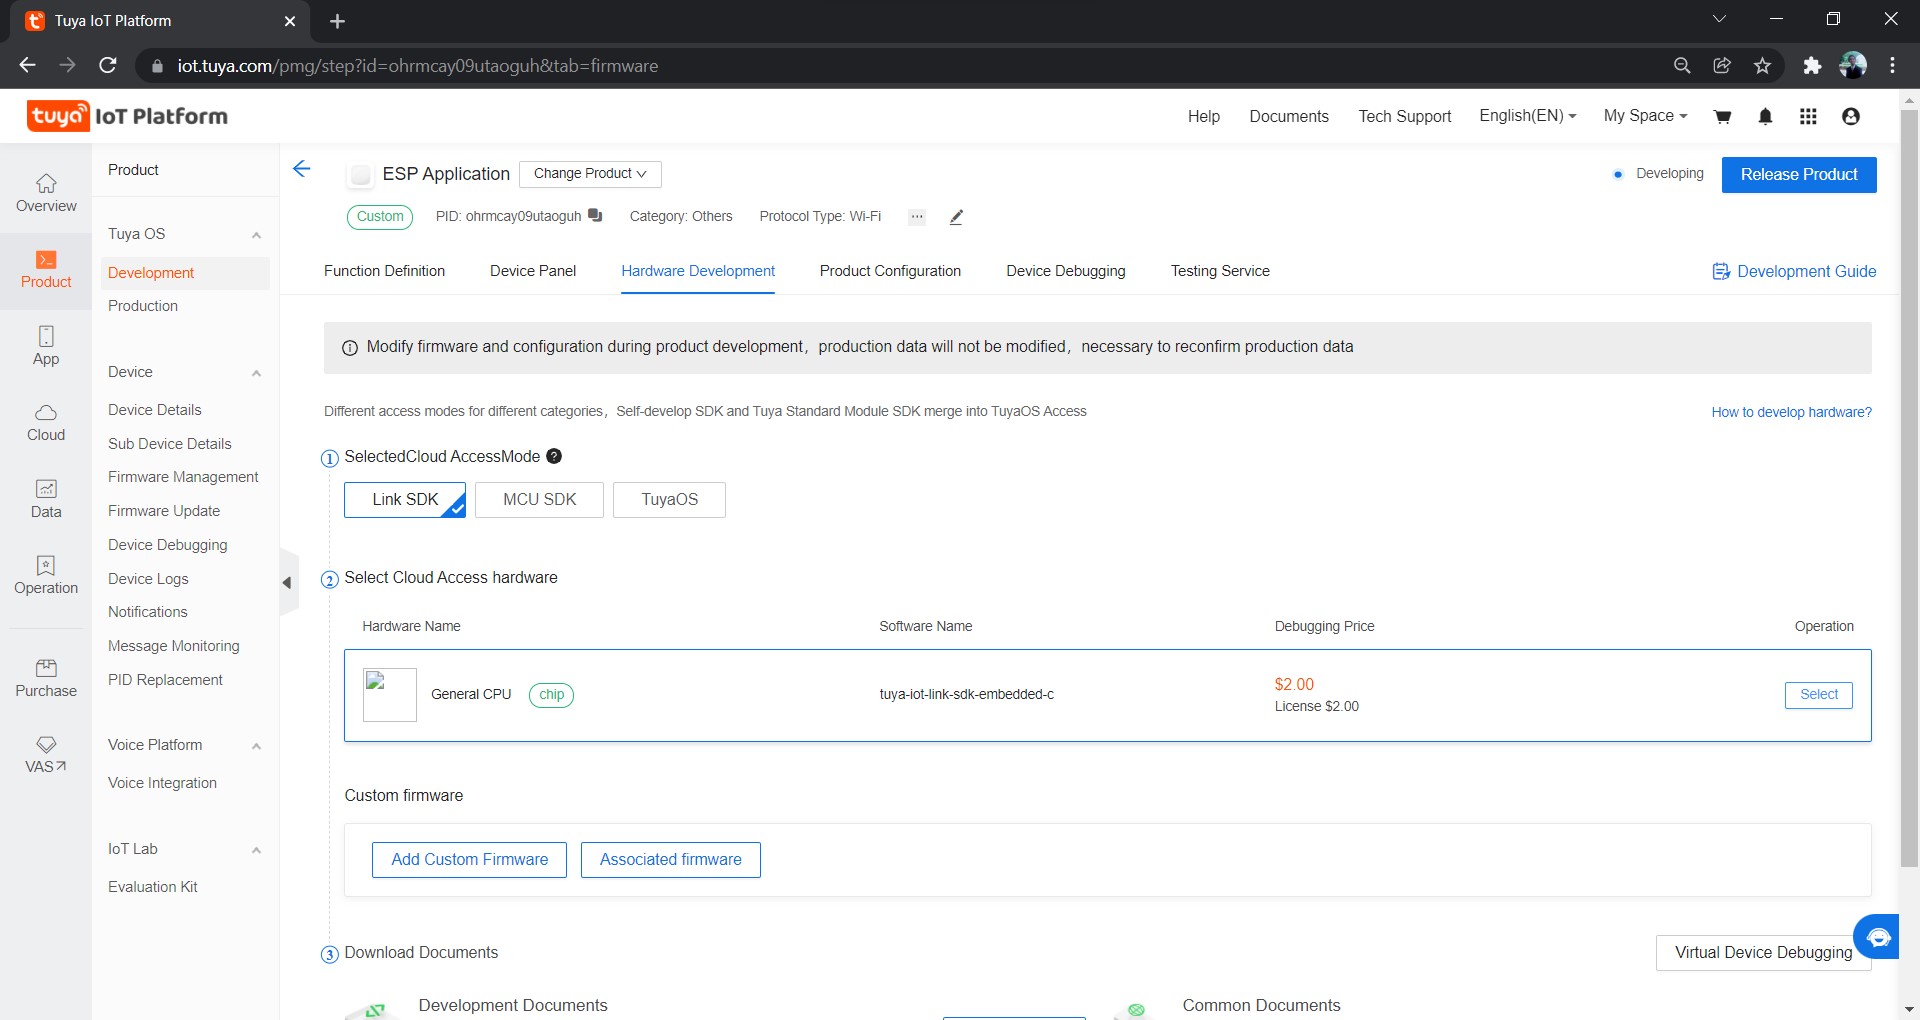
Select Link SDK Cloud Access Mode from the Hardware Development Tab. Click on the ‘Select’ button provided to place the License order. Click ’Get 2 Free Licenses’ and complete the steps to finally download a .xlsx file with uuid and key.
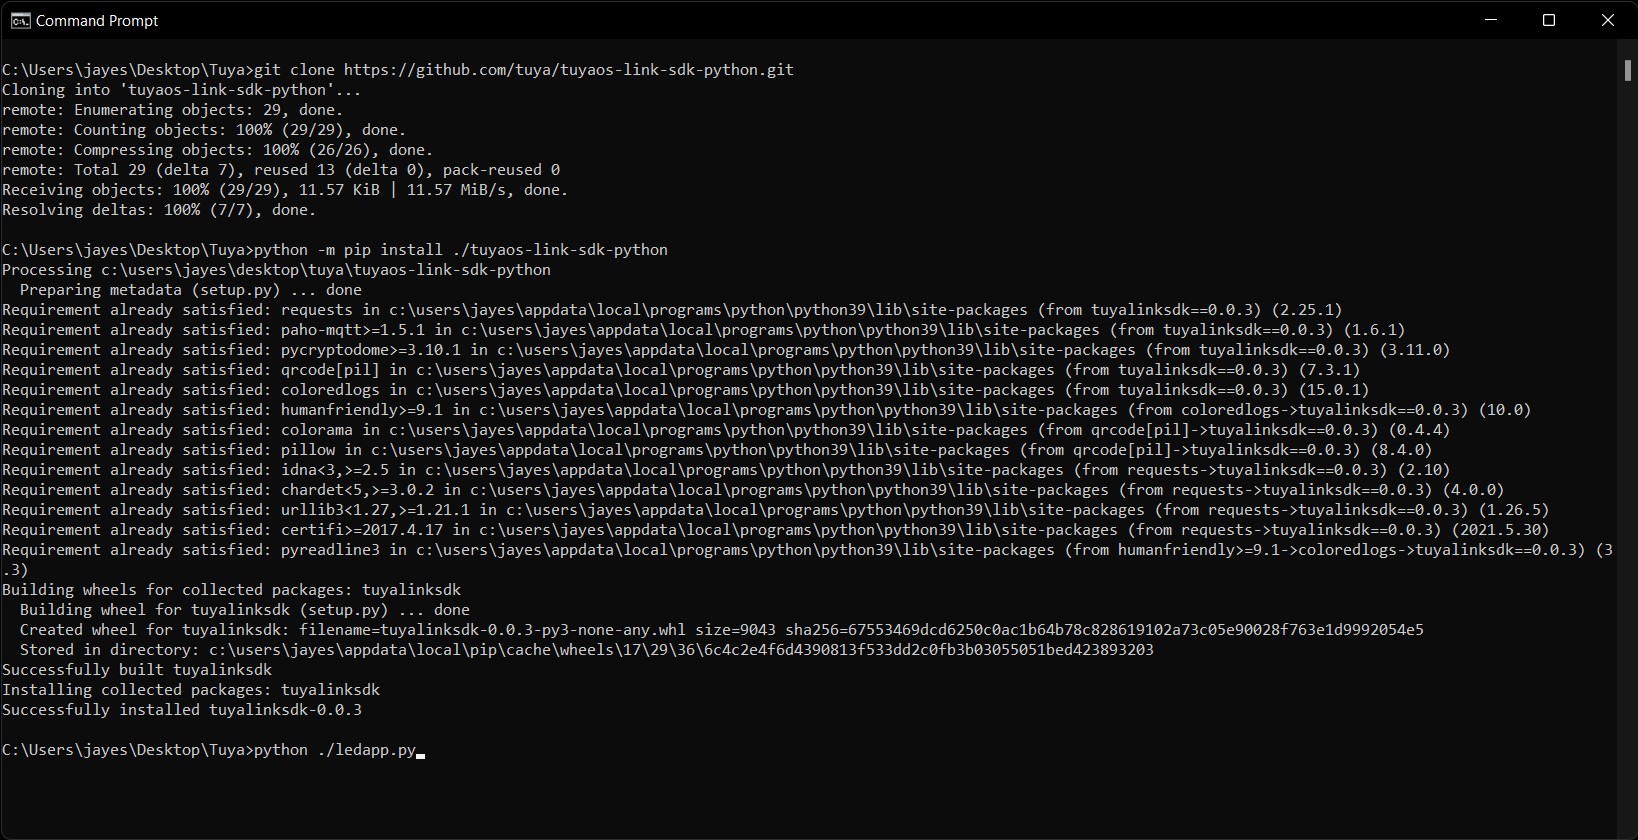
Now it’s time to install tuyaos-link-sdk to avail connectivity to Tuya Smart Application via Python 3.x. On your Windows PC run the following commands to clone the GitHub repository and install the tuyaos-link-sdk.
|
1 2 |
git clone https://github.com/tuya/tuyaos-link-sdk-python.git python -m pip install ./tuyaos-link-sdk-python |
Open the ledapp.py file from the GitHub repo in the editor. Edit and change the productid, uuid, authkey and the COM port of your connected ESP32 device in the file. We’ll further use this file in the output section of this article.
Software Setup: Tuya Smart Application
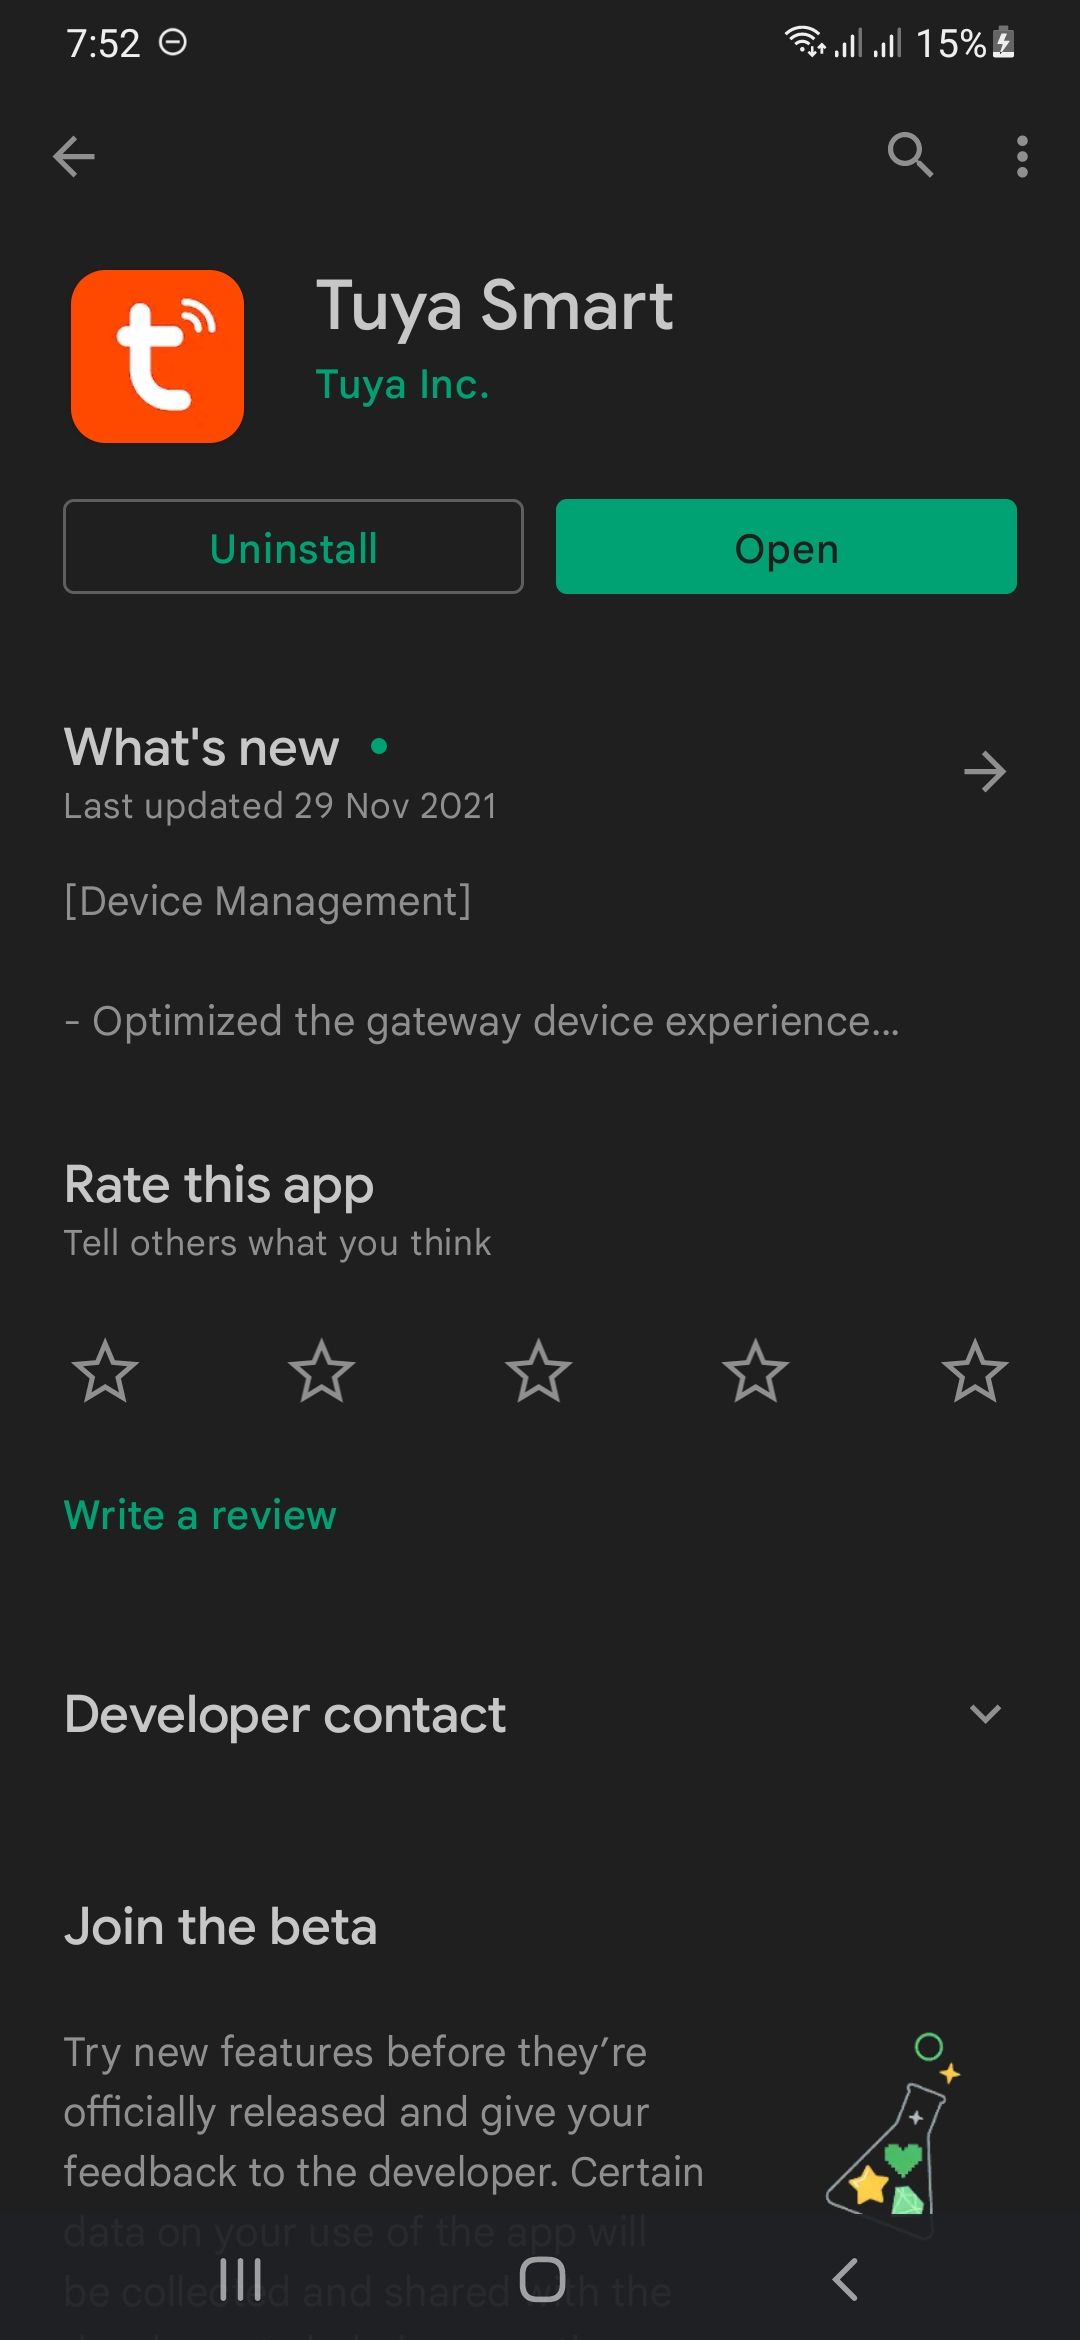
Install the Tuya Smart App from the Google Play Store of your Android Device.
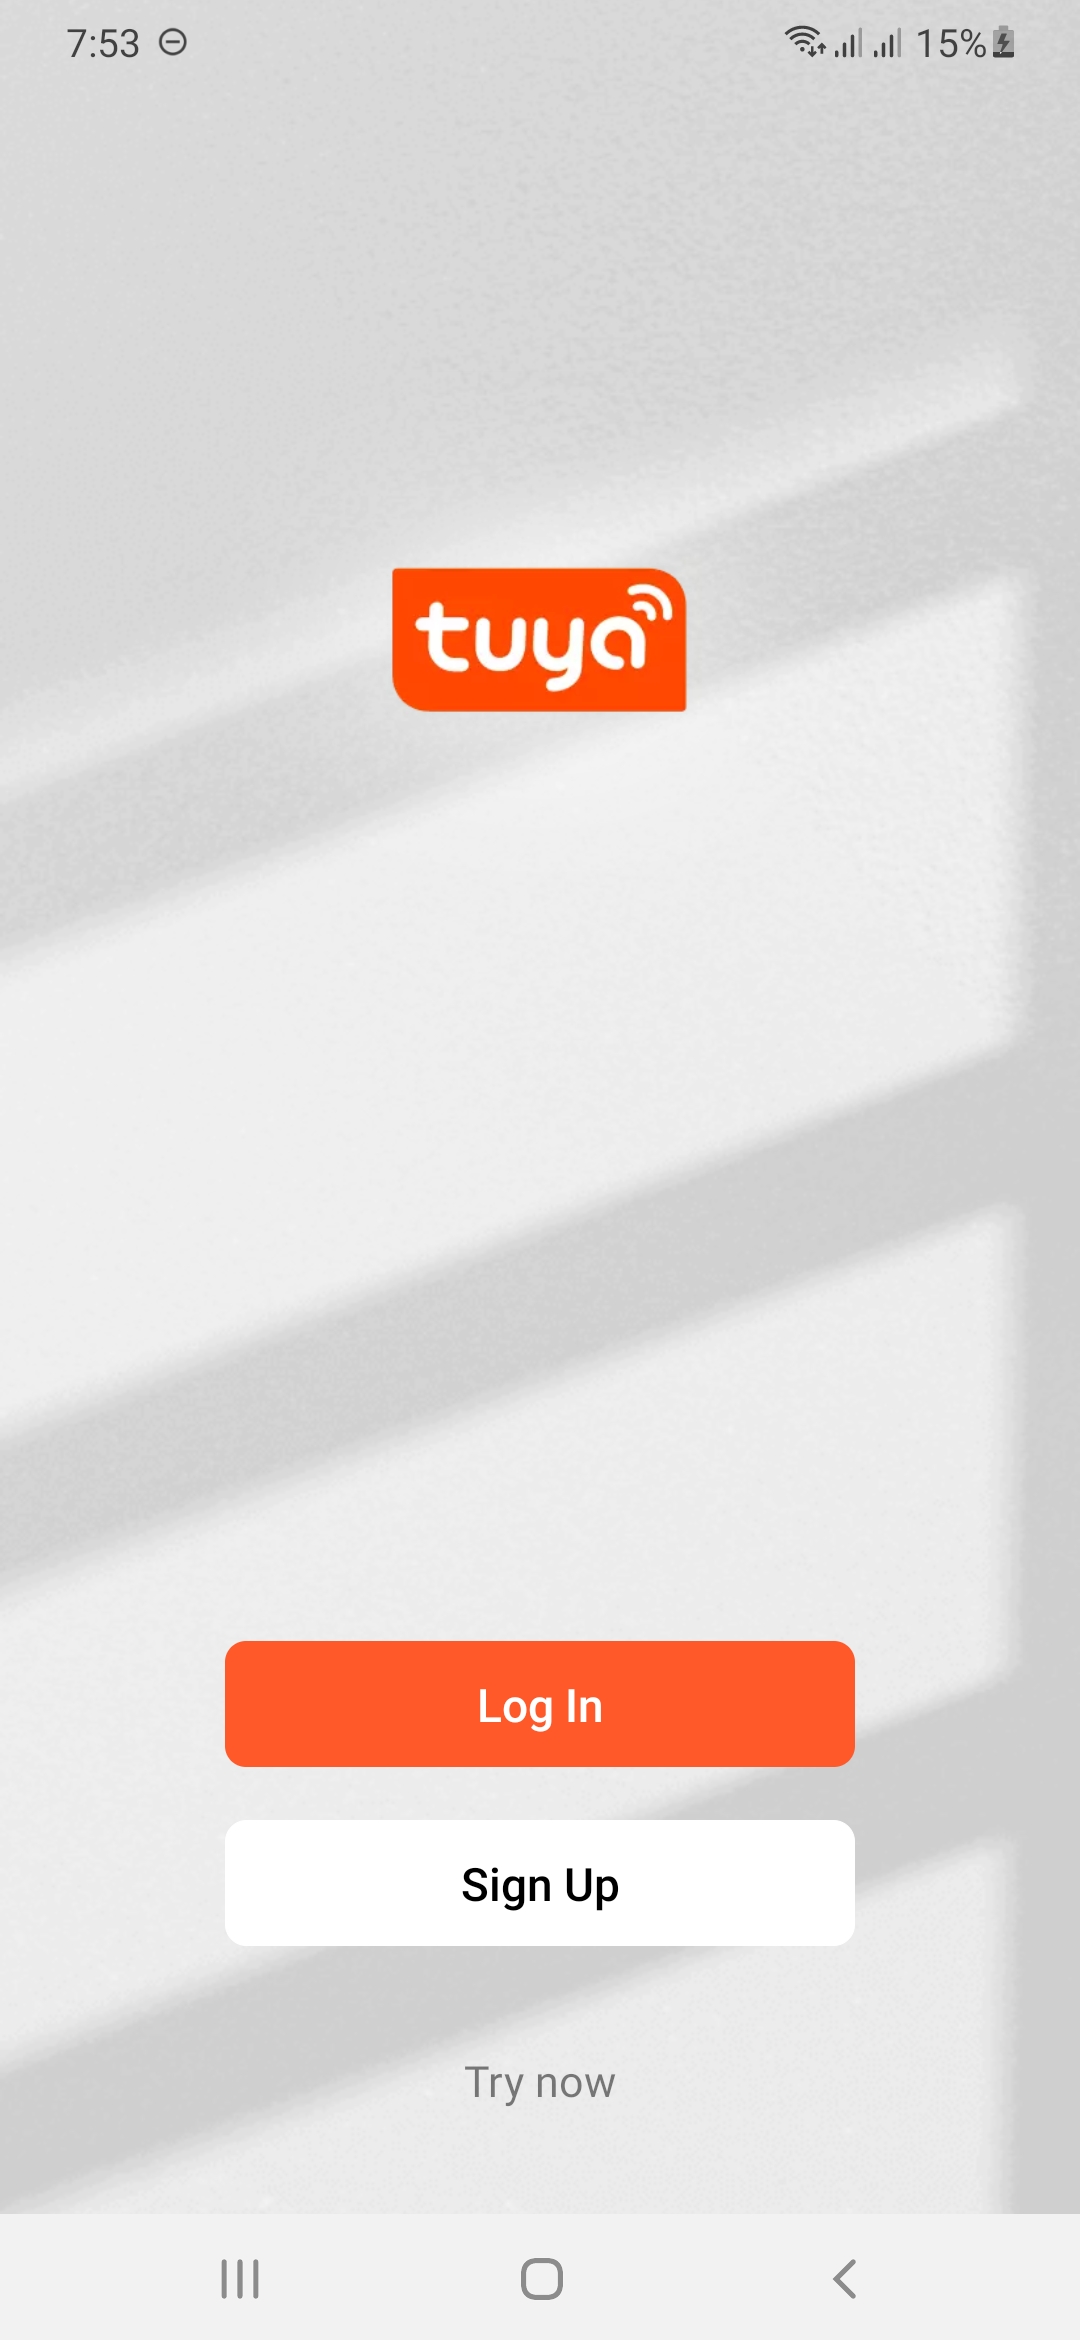
Login to your Account or if you don’t have one create one!
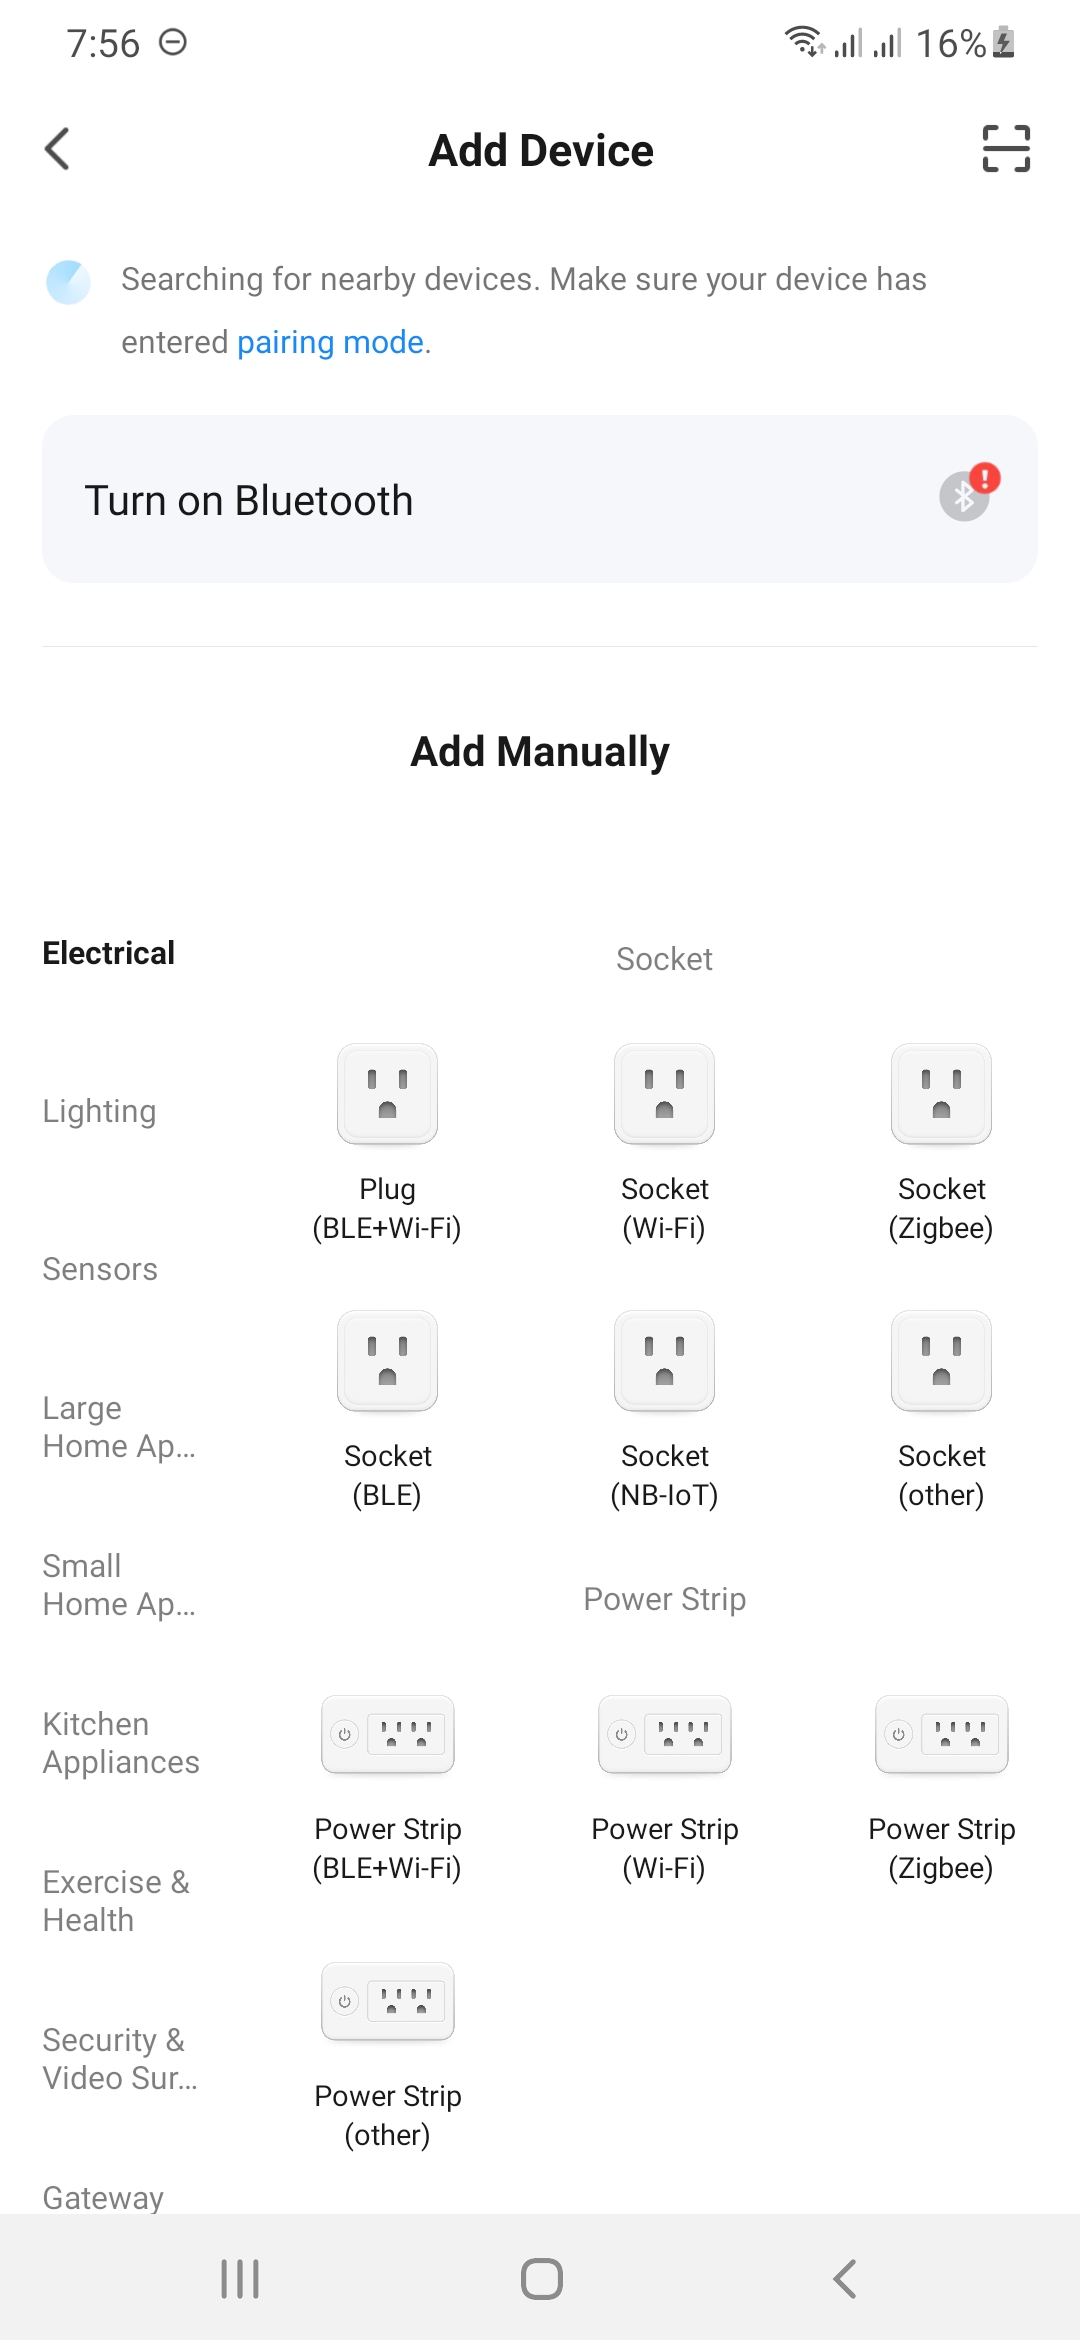
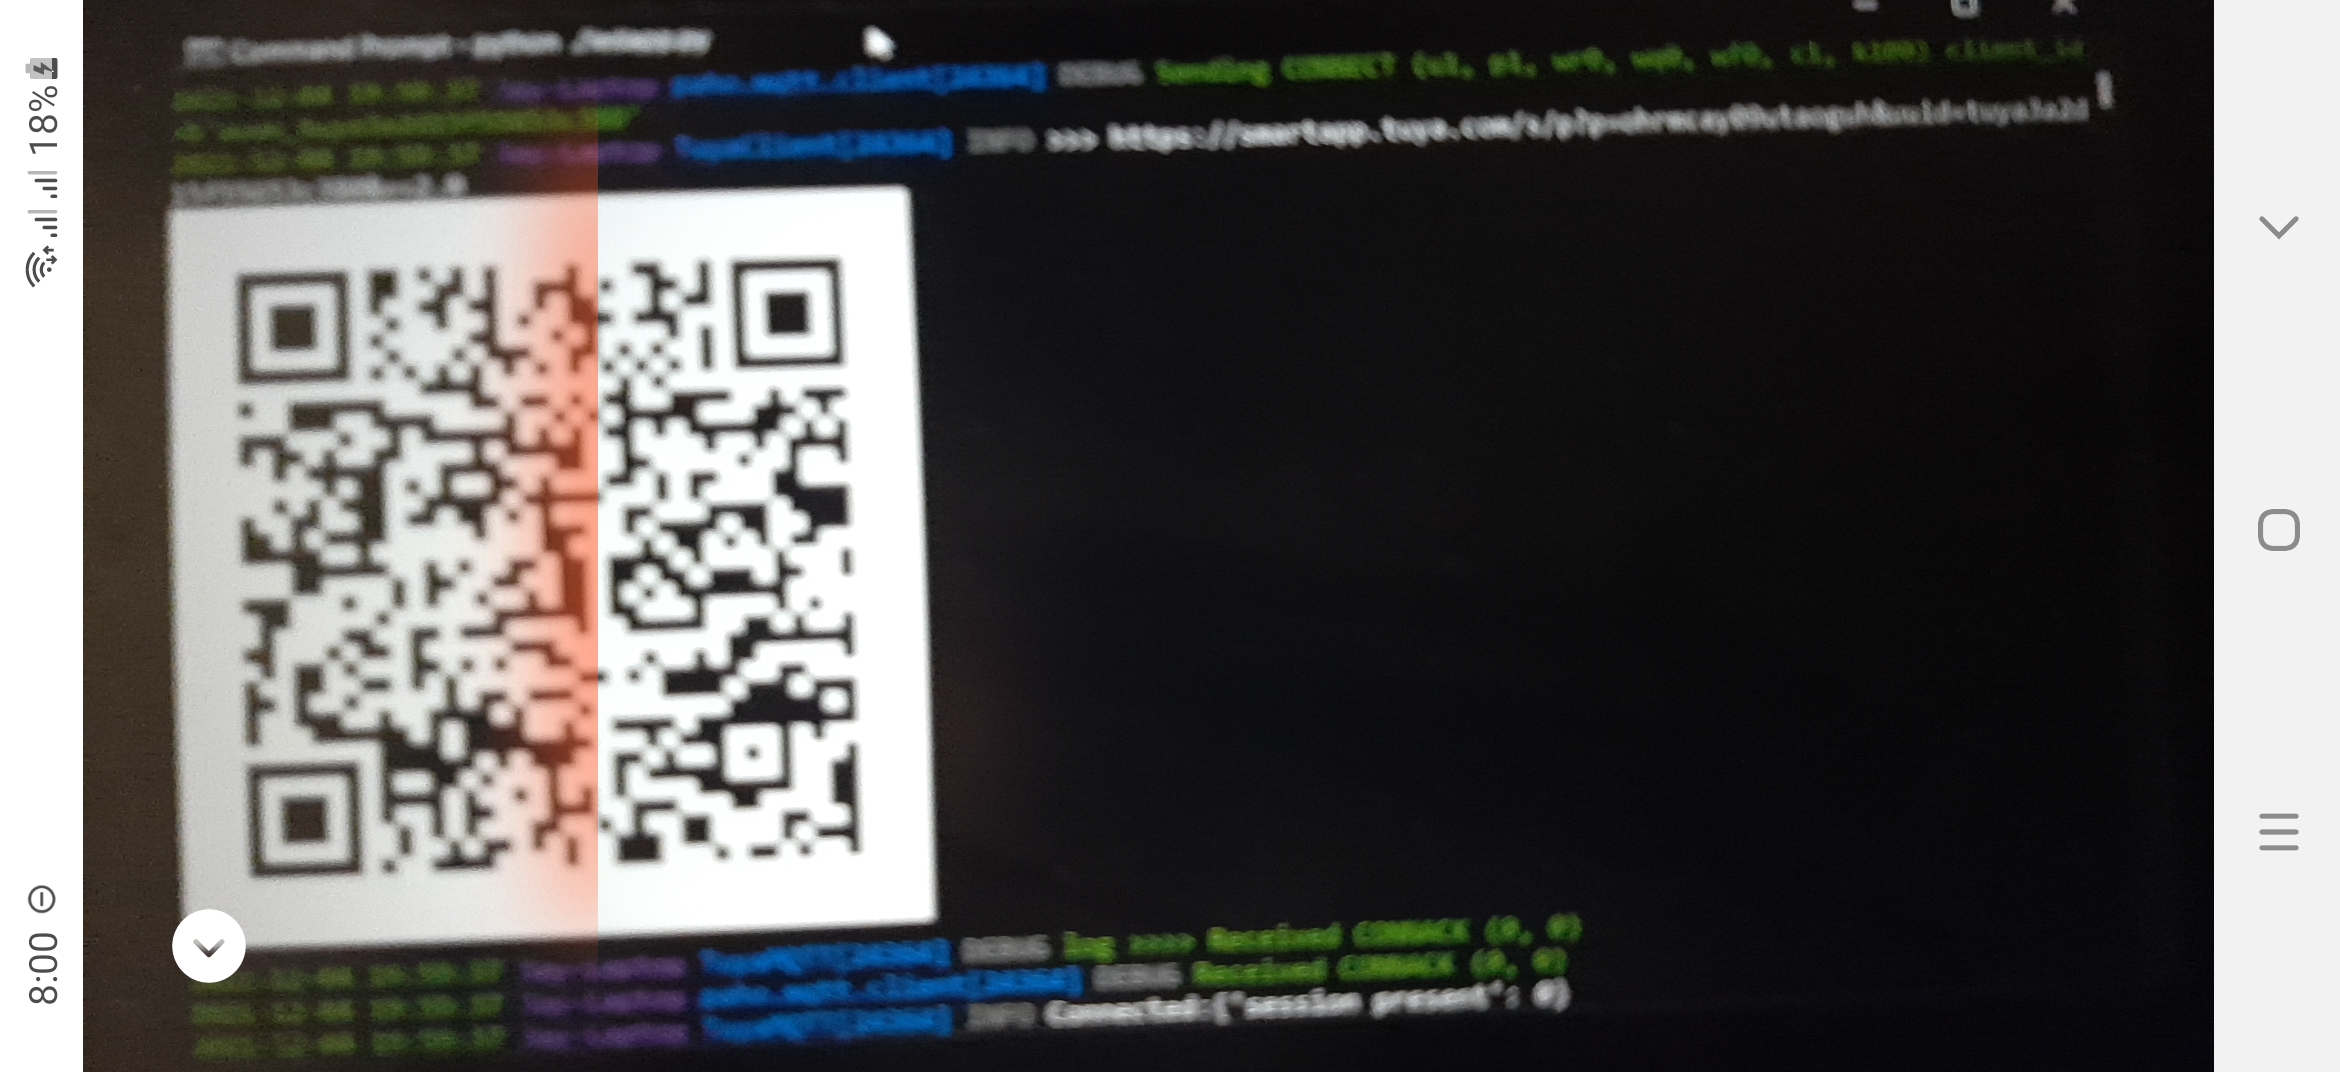
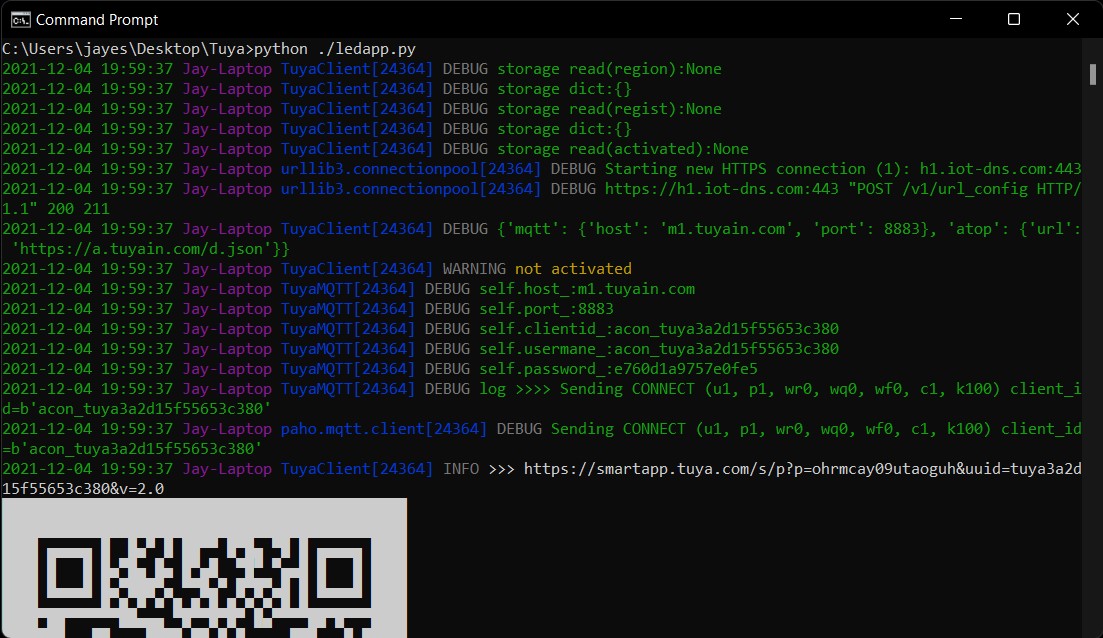
Now from the add device section click the scanner button to scan the QR code generated by the ledapp.py file.
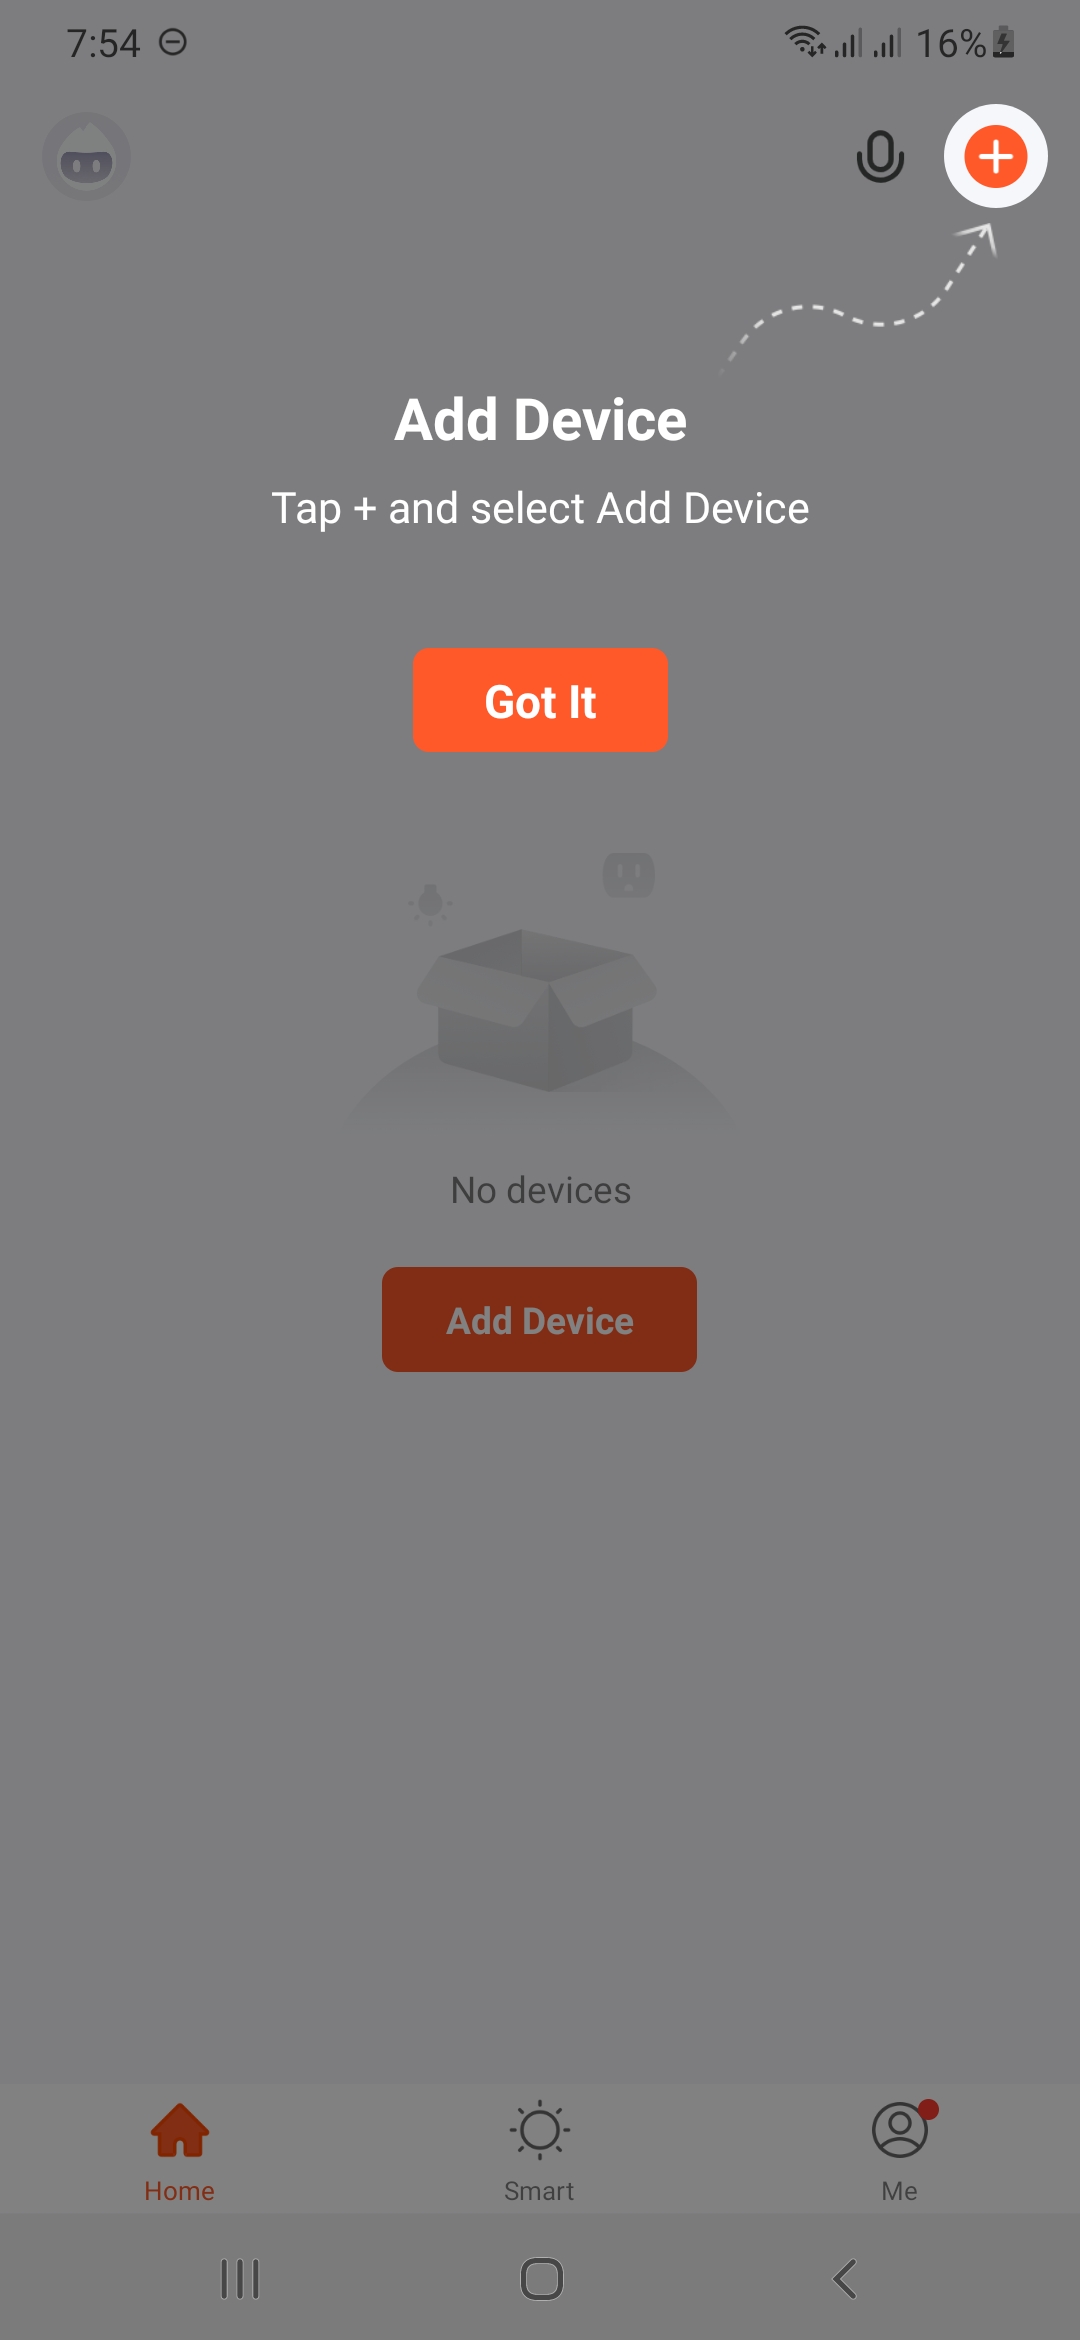
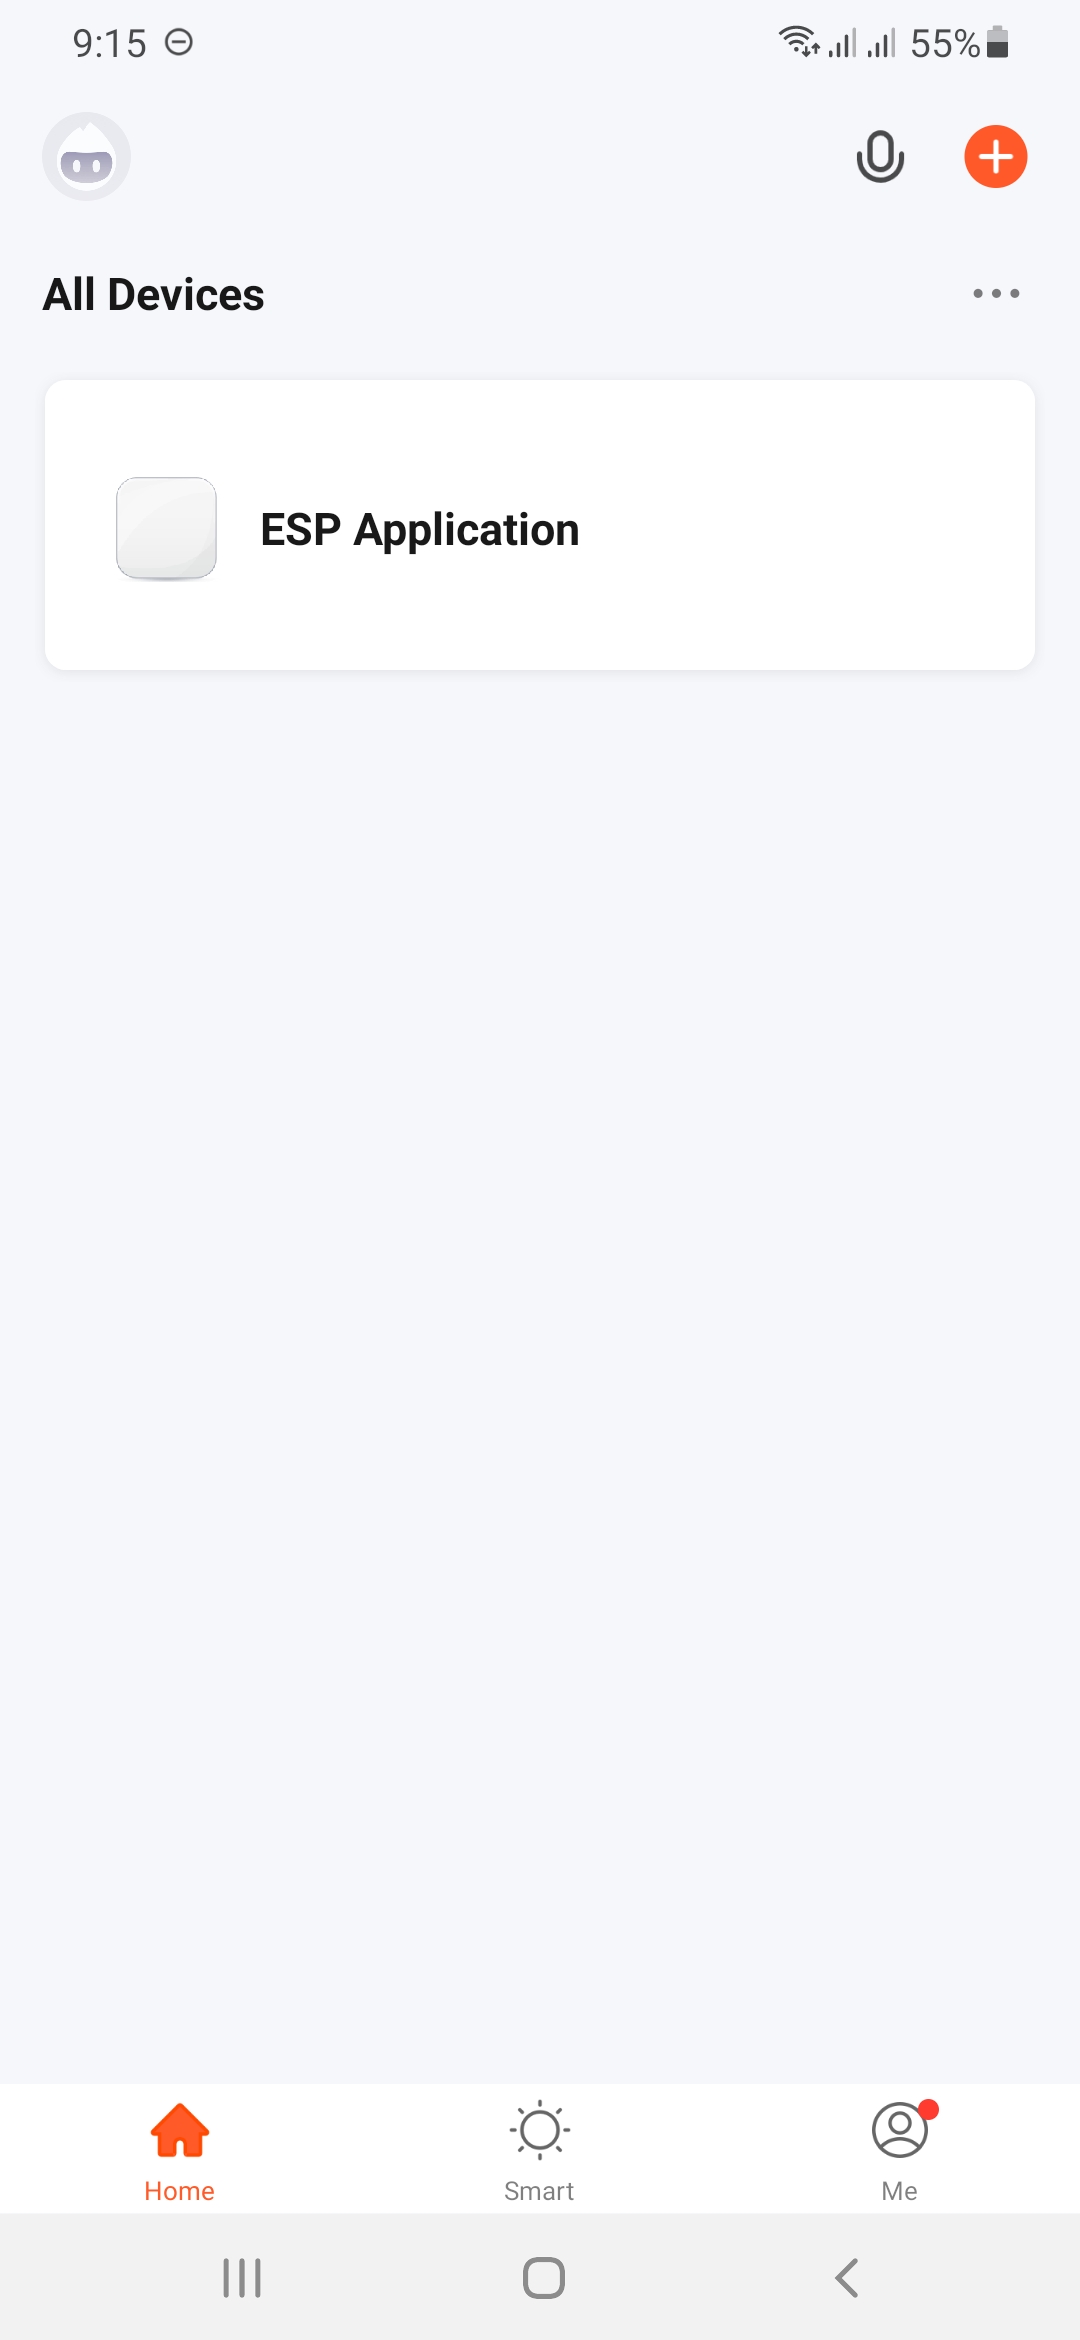
Now the ESP Application will be added to the All Devices section of the Tuya Smart App.
Software Setup: Arduino IDE for Configuring Tuya Link SDK
The Arduino IDE here is used to process the serial message from the desktop Python on the ESP32 board similar to the PhysicalPixel Built-in Example.
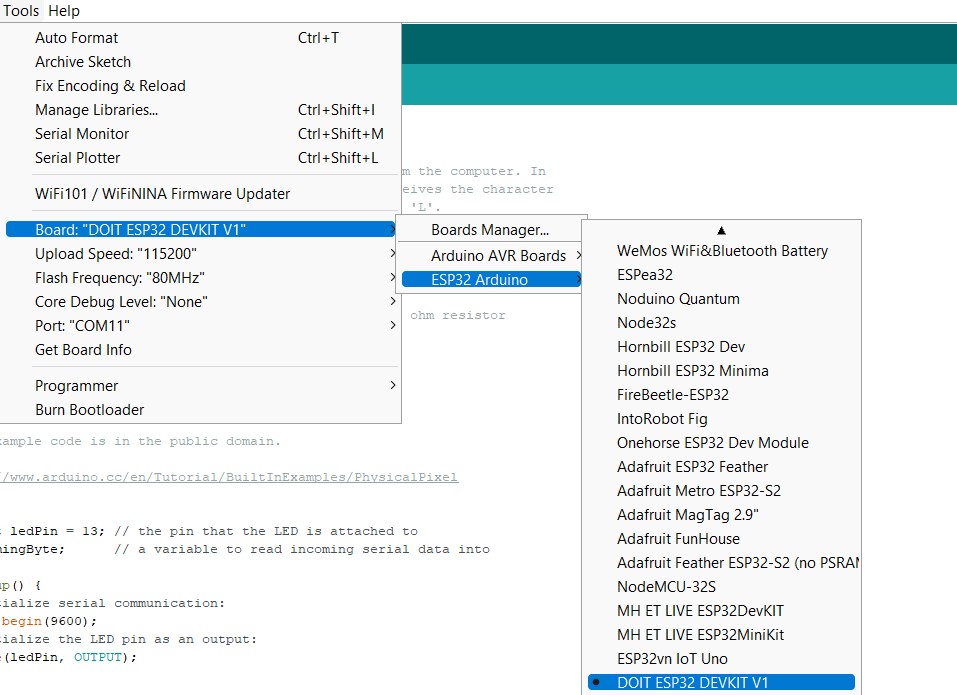
Add the ESP32 board in the Arduino IDE
Board Manager URL: https://raw.githubusercontent.com/espressif/arduino-esp32/gh-pages/package_esp32_dev_index.json
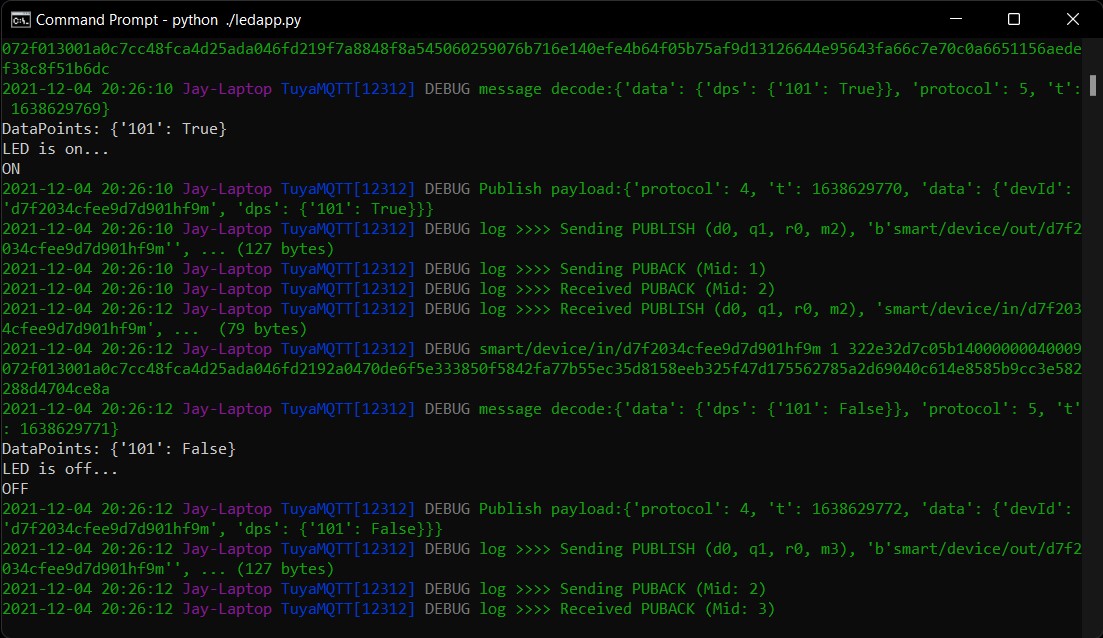
When the incoming Byte over serial is ‘H’, the program turns the LED on. The LED is turned off when the incoming Byte is ‘L’. Remember to set the proper GPIO pin to which the LED is connected.
Output
Run the ledapp.py file using the command
|
1 |
python ./ledapp.py |

Team of young engineers writing tutorials and developing projects related to embedded systems, IoT, edge AI, and more.
Support CNX Software! Donate via cryptocurrencies, become a Patron on Patreon, or purchase goods on Amazon or Aliexpress


