
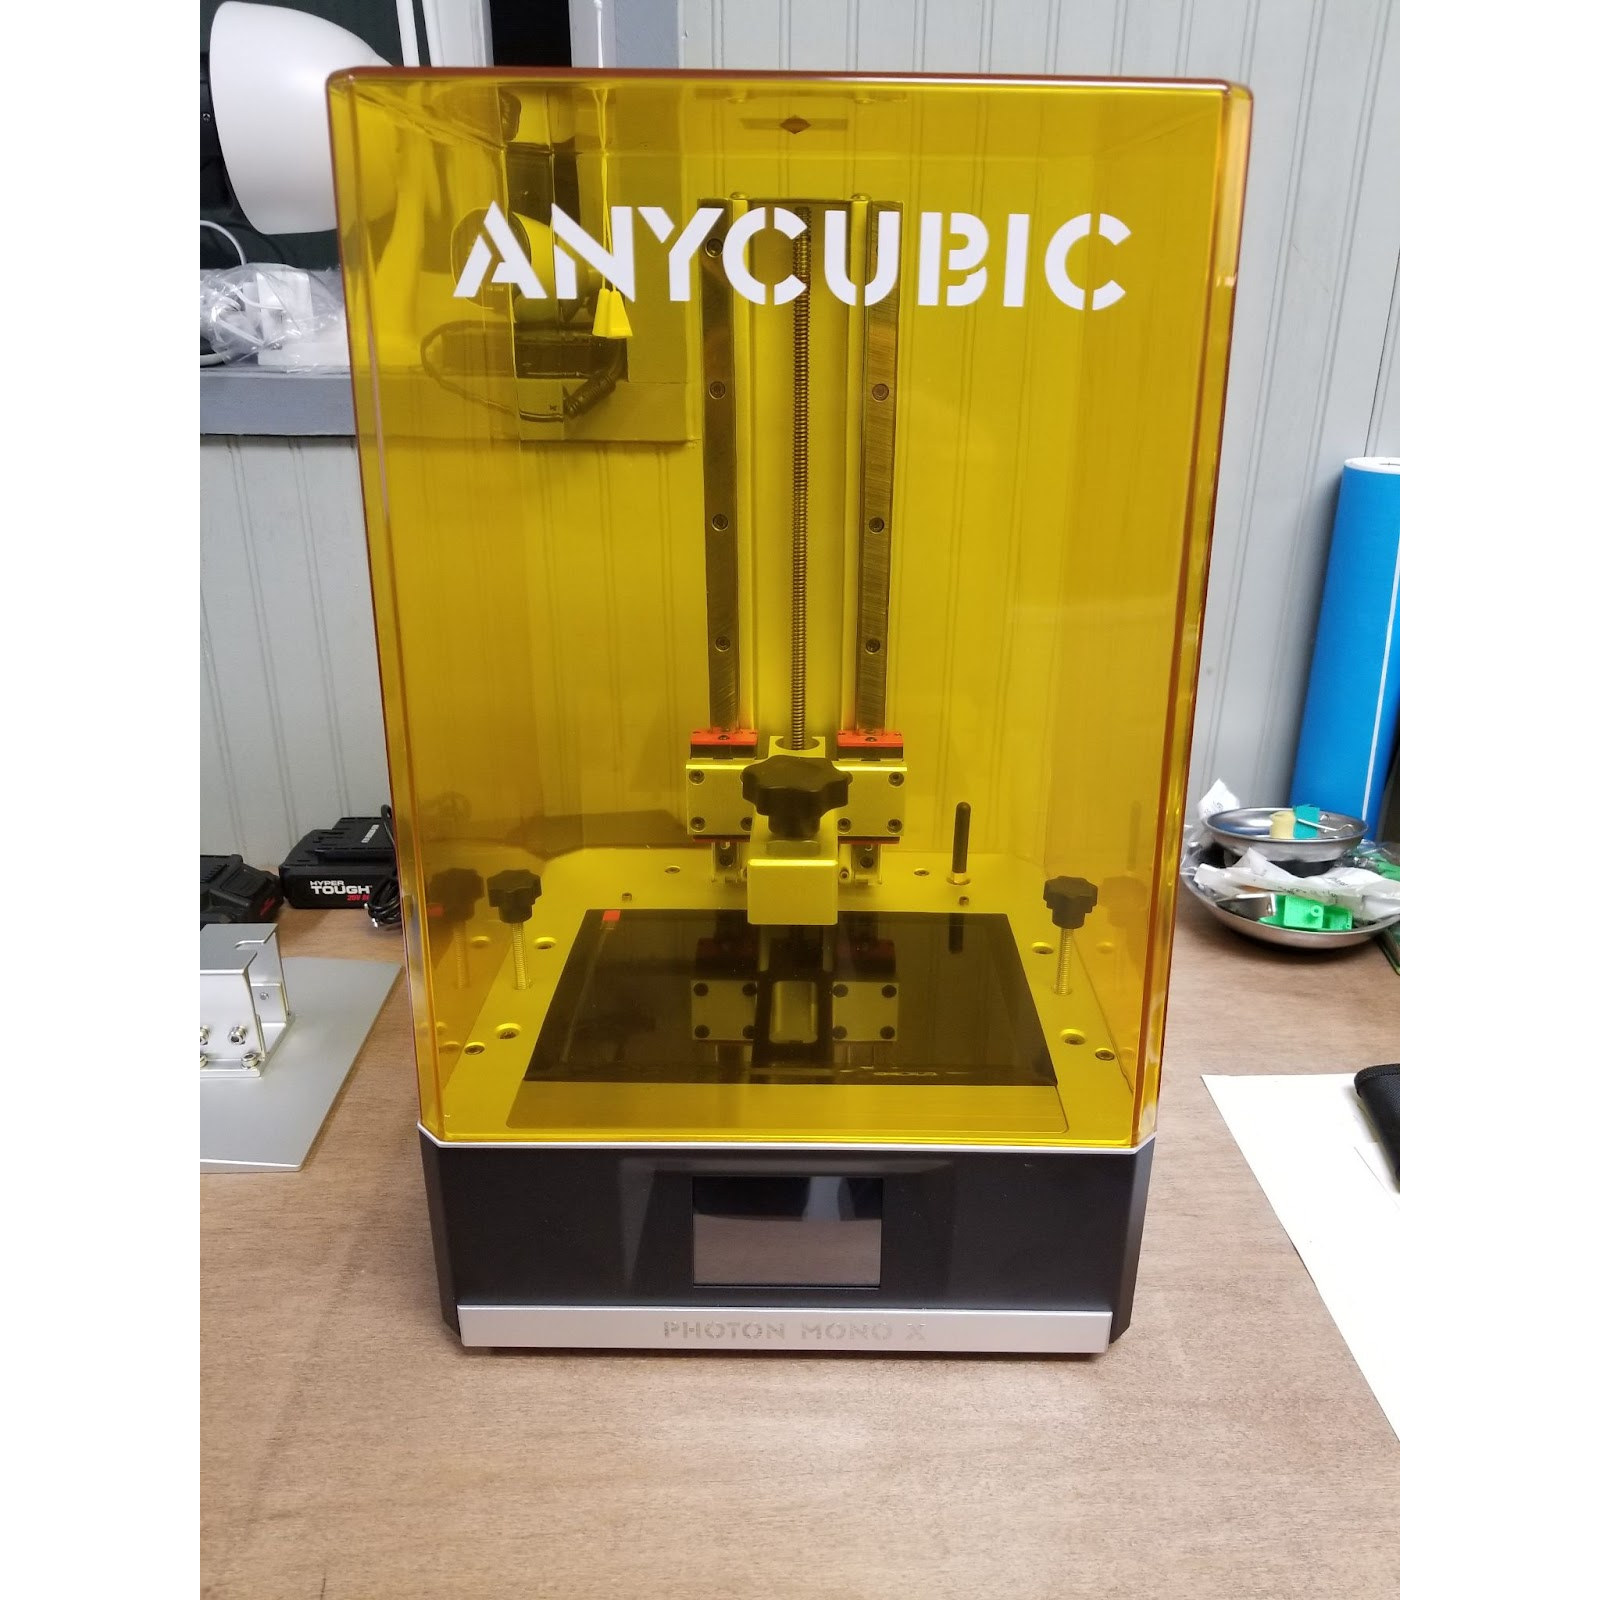
Hey, Karl here. Today we are going to unbox and take a look at Anycubic’s Photon Mono X resin 3D printer and Wash and Cure Plus machine. The Mono X is what I would consider a medium size resin 3D printer that boasts a 192x120x245 build volume. Mono is included in the name because they have changed to a mono screen. They say there are 2 advantages when using a mono screen. 1 the screen lasts longer compared to an RGB screen and 2 it allows more light through allowing for faster prints. I won’t go into much detail as I believe most people are aware of this 3D printing method. In summary, UV reactive resin is cured layer by layer until a model is printed. The typical layer height of .05mm vs a typical .2 layer height for FDM printing allows for high detail printing and the layers are barely visible. These larger printers definitely make the printers more useful.
Unboxing of Anycubic Photon Mono X
If you notice above there is a screen protector installed from the factory. I think it is supposed to be left on and replaced as needed but is not mentioned in the instructions. Directly under the screen protector is the polarizing film and it is easy to damage. I saw a couple of instances of this in the Facebook group.

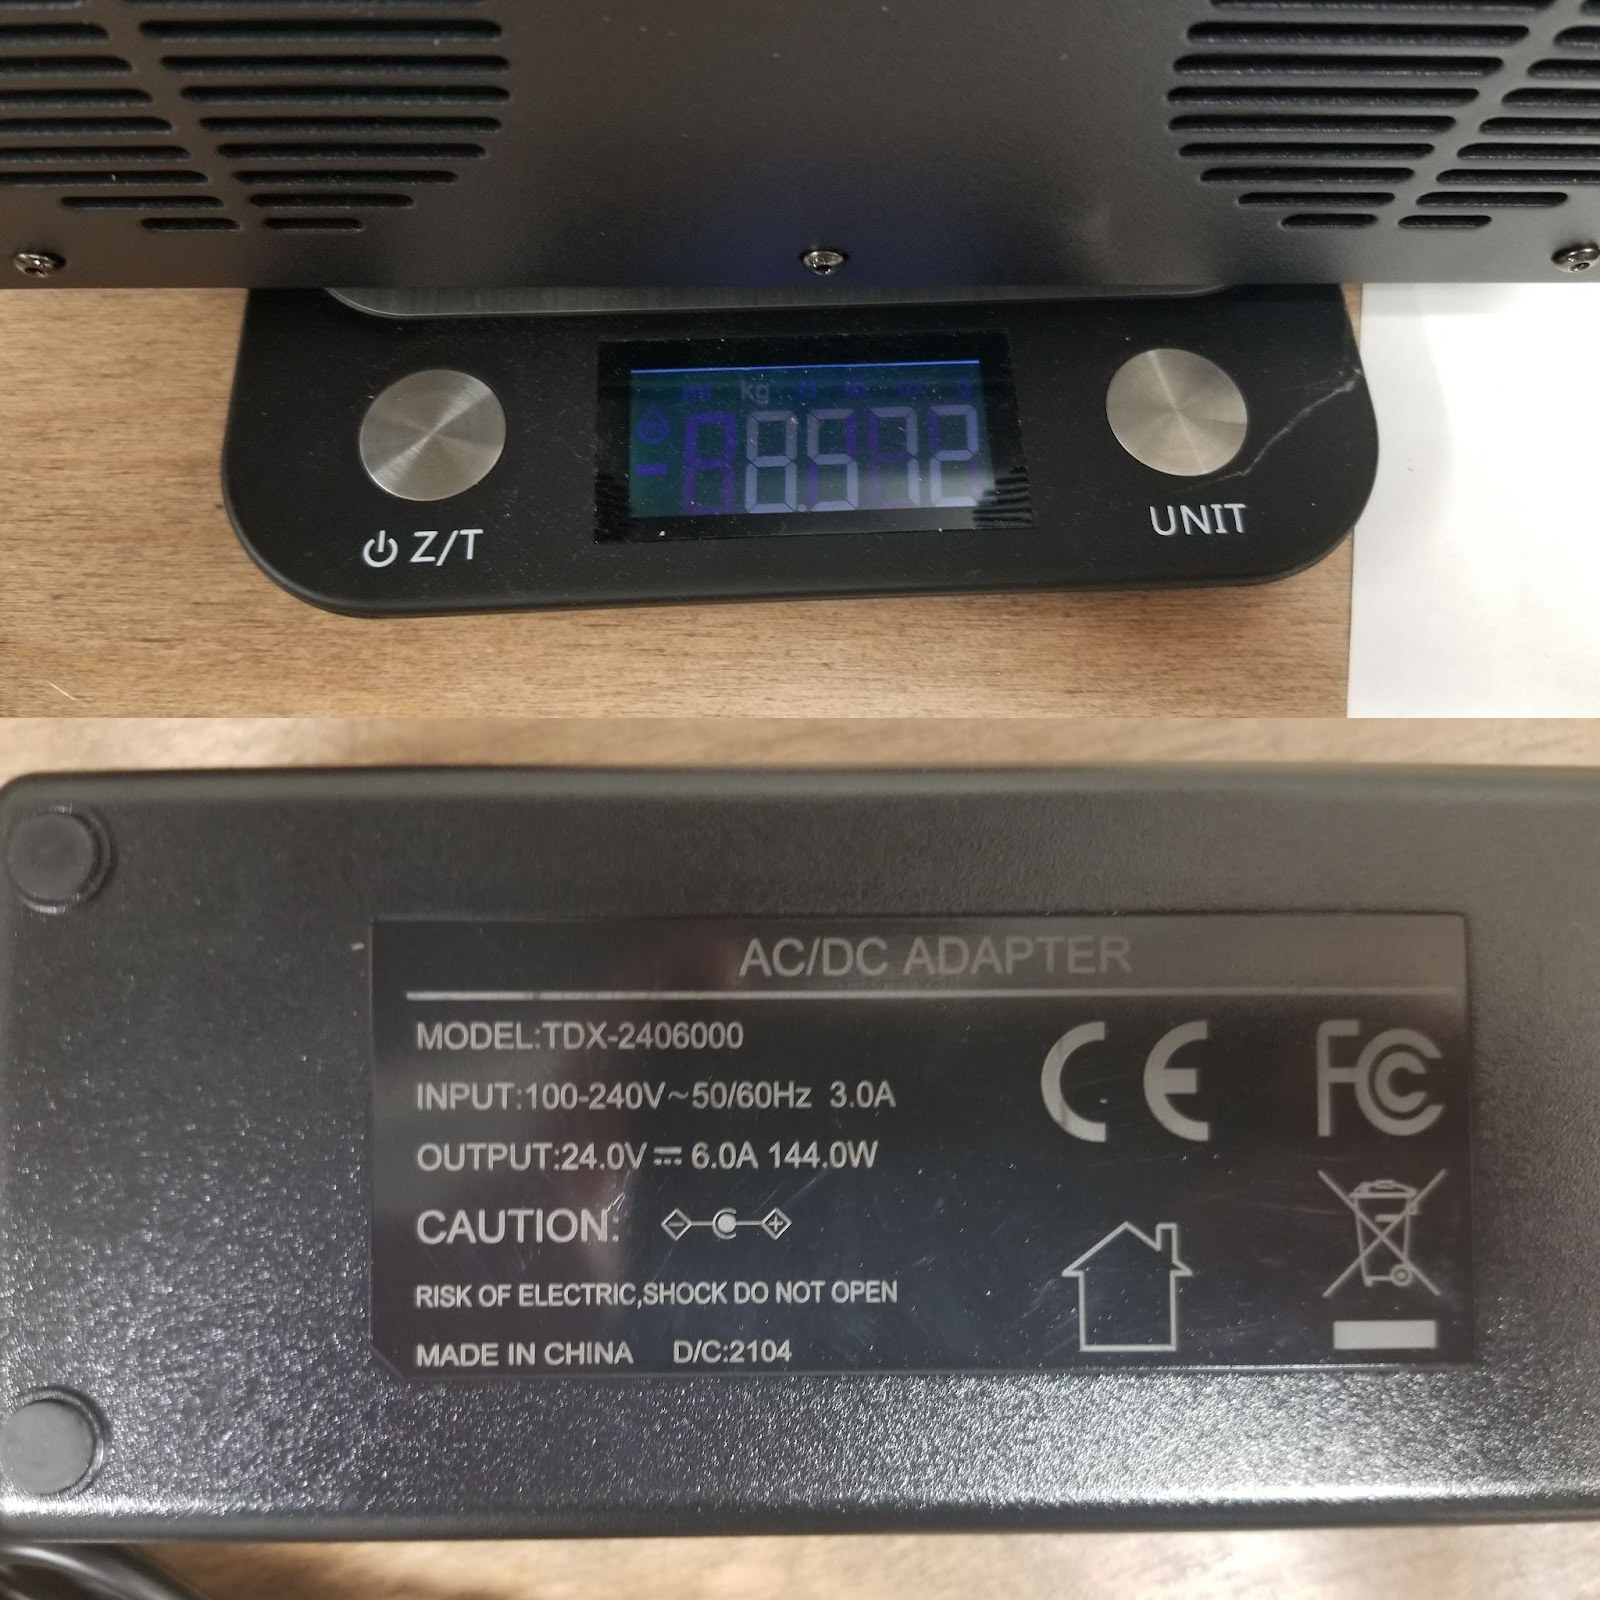
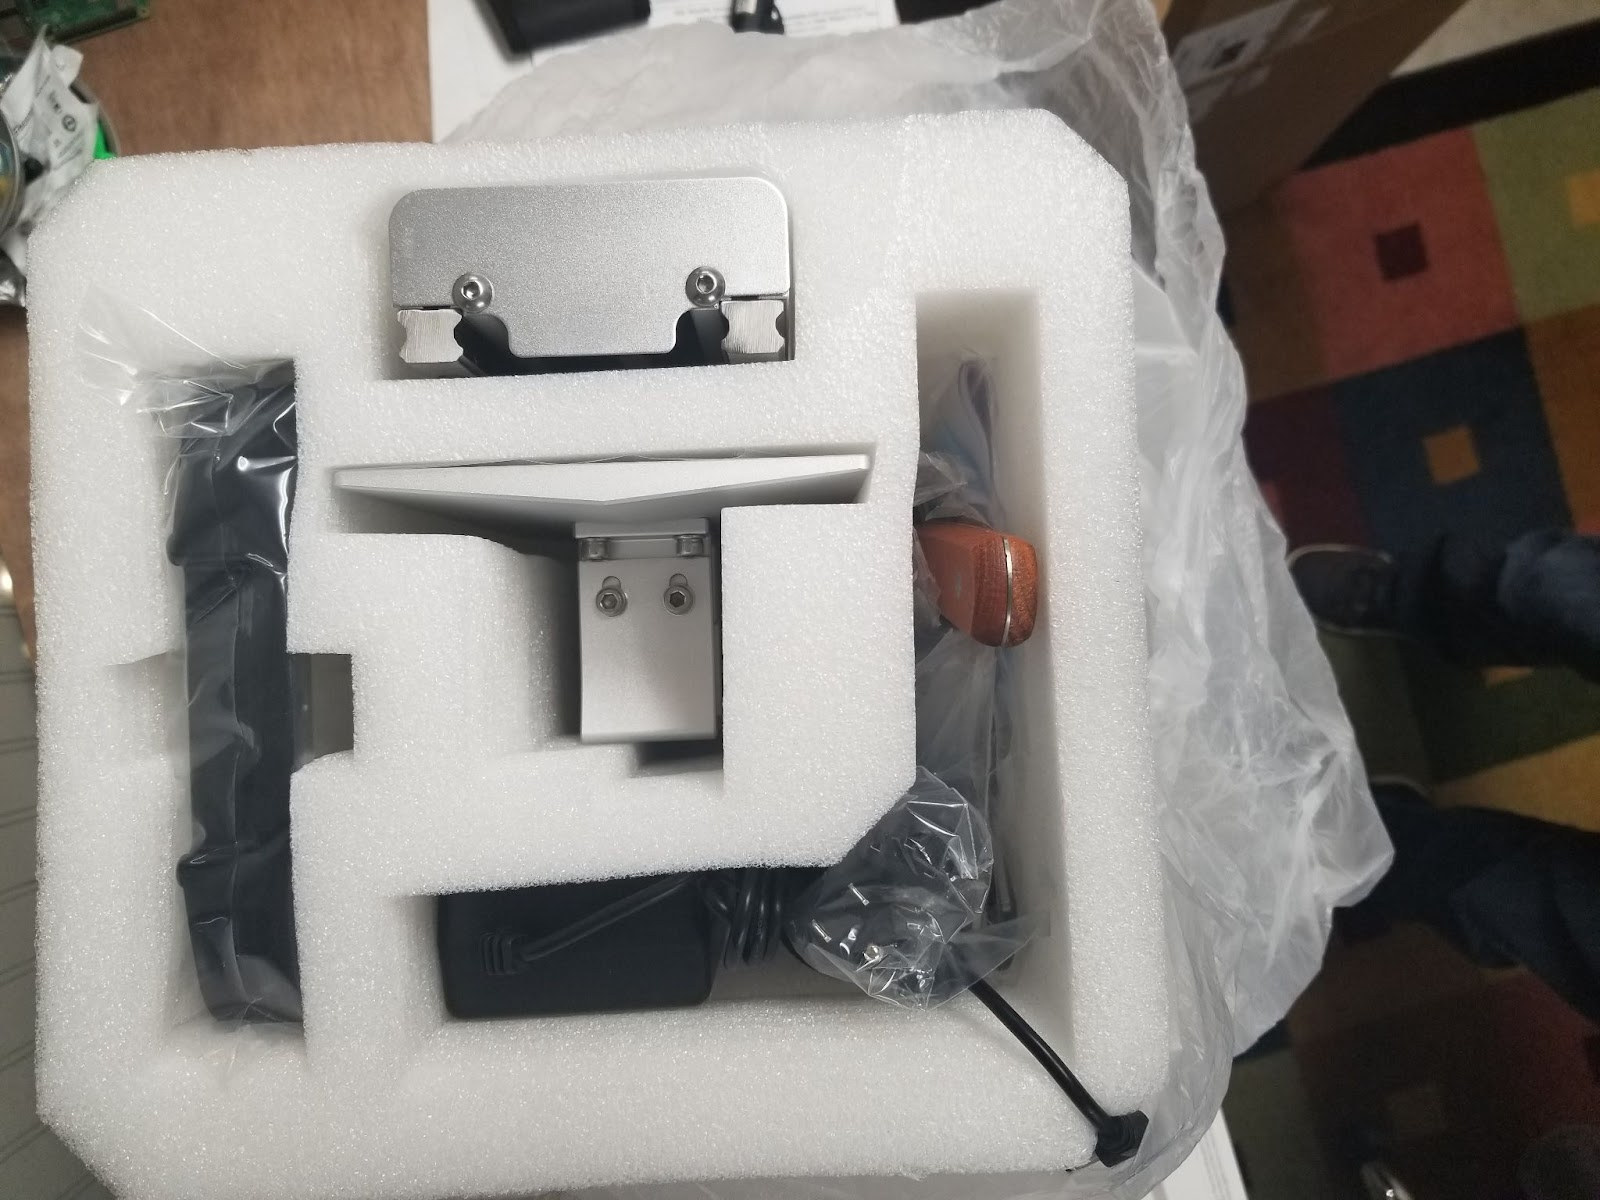
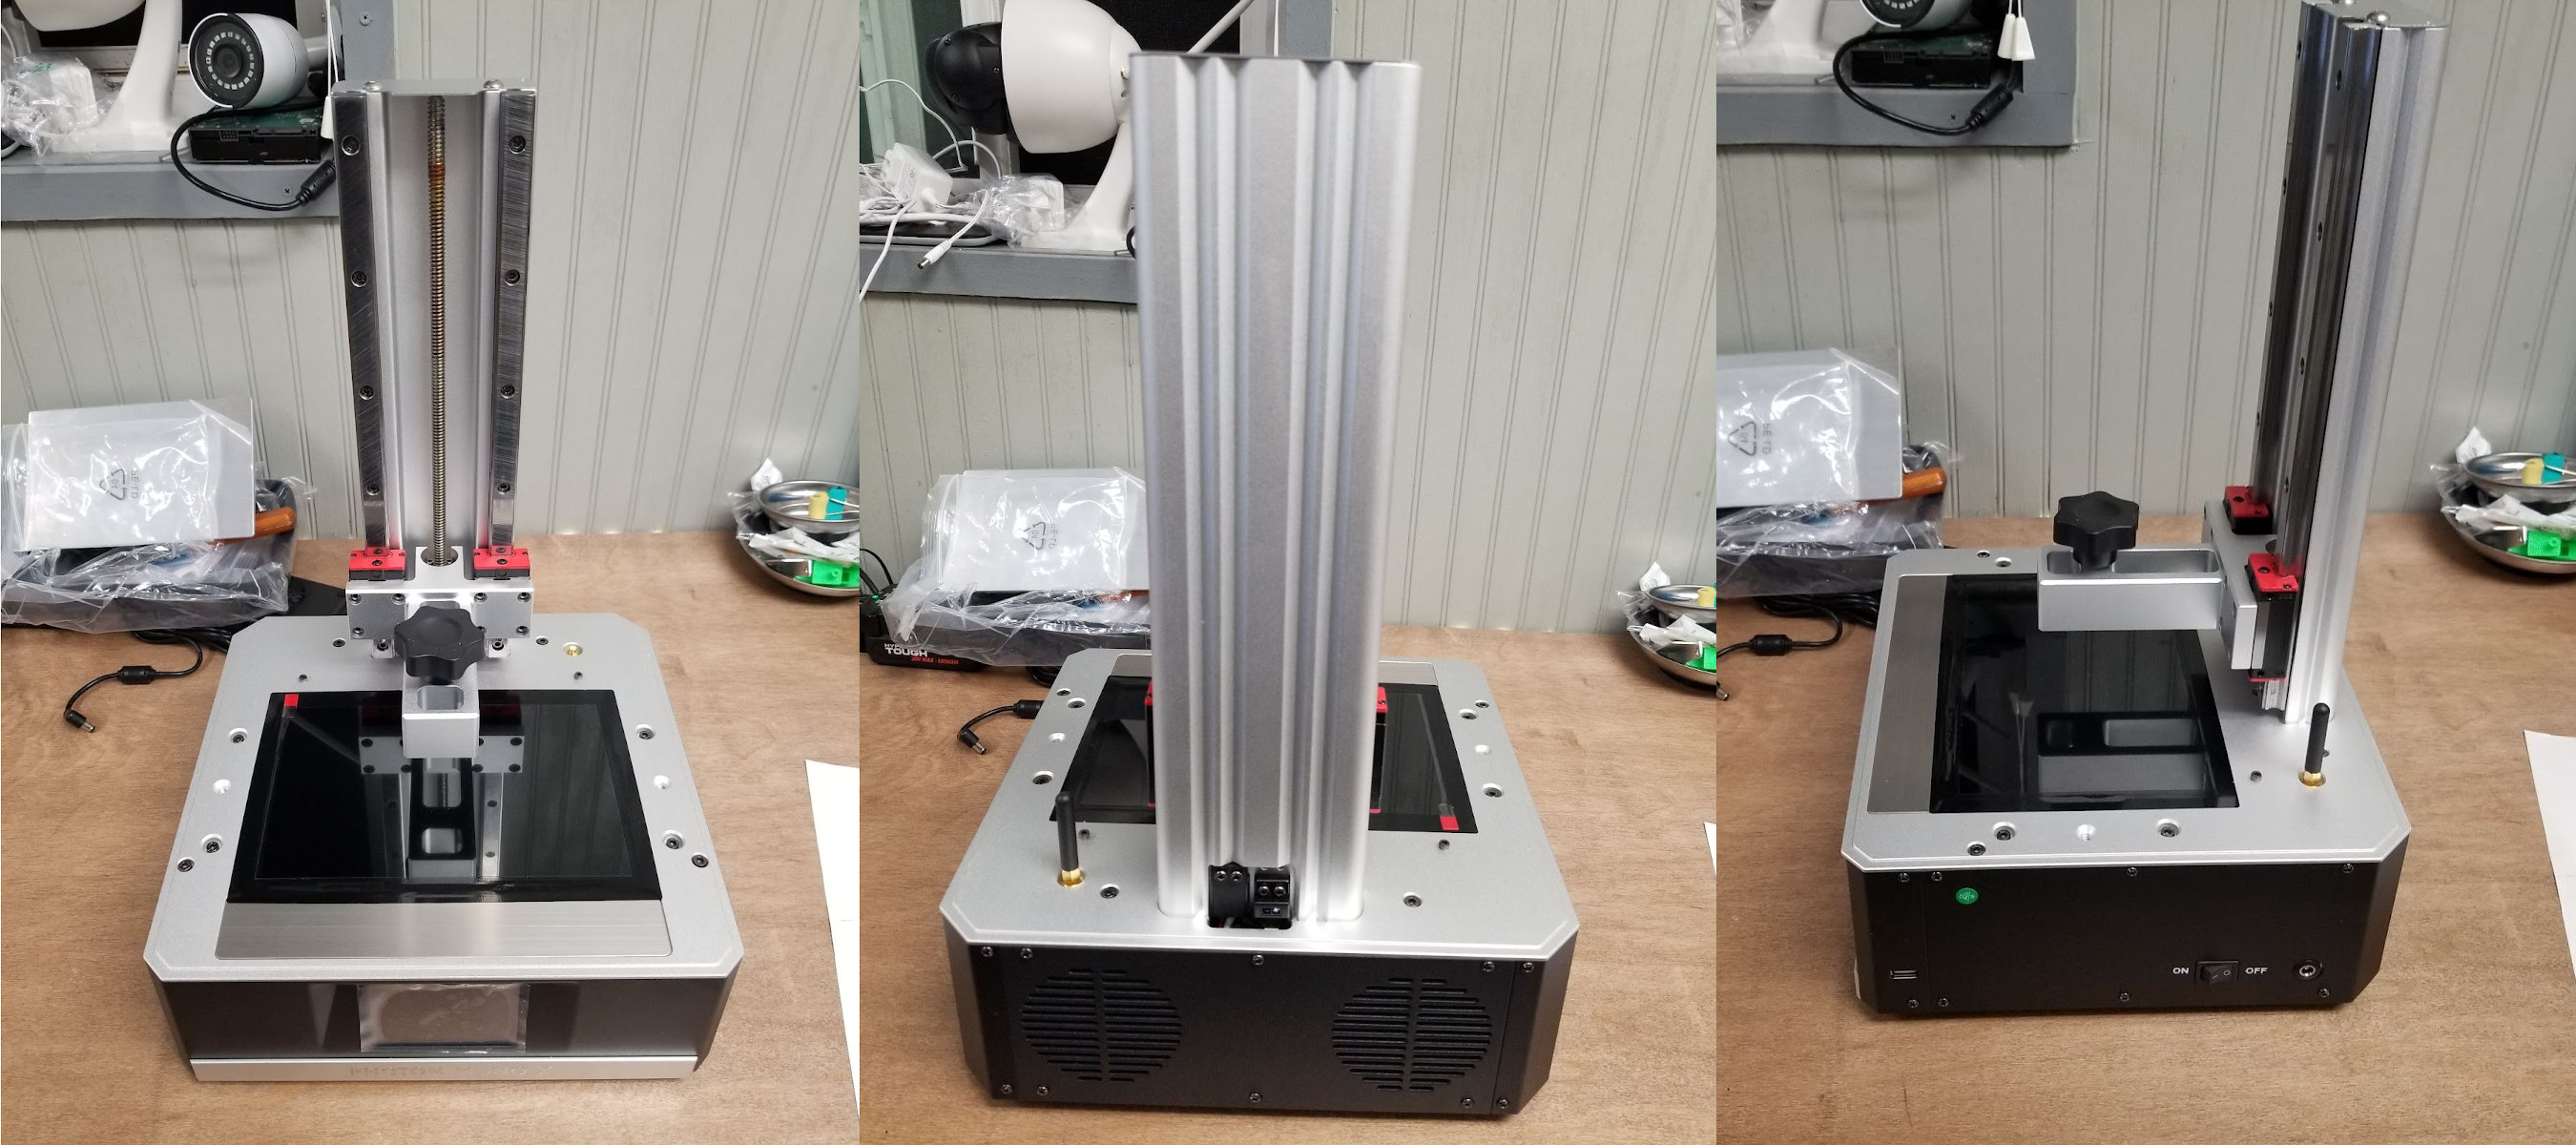
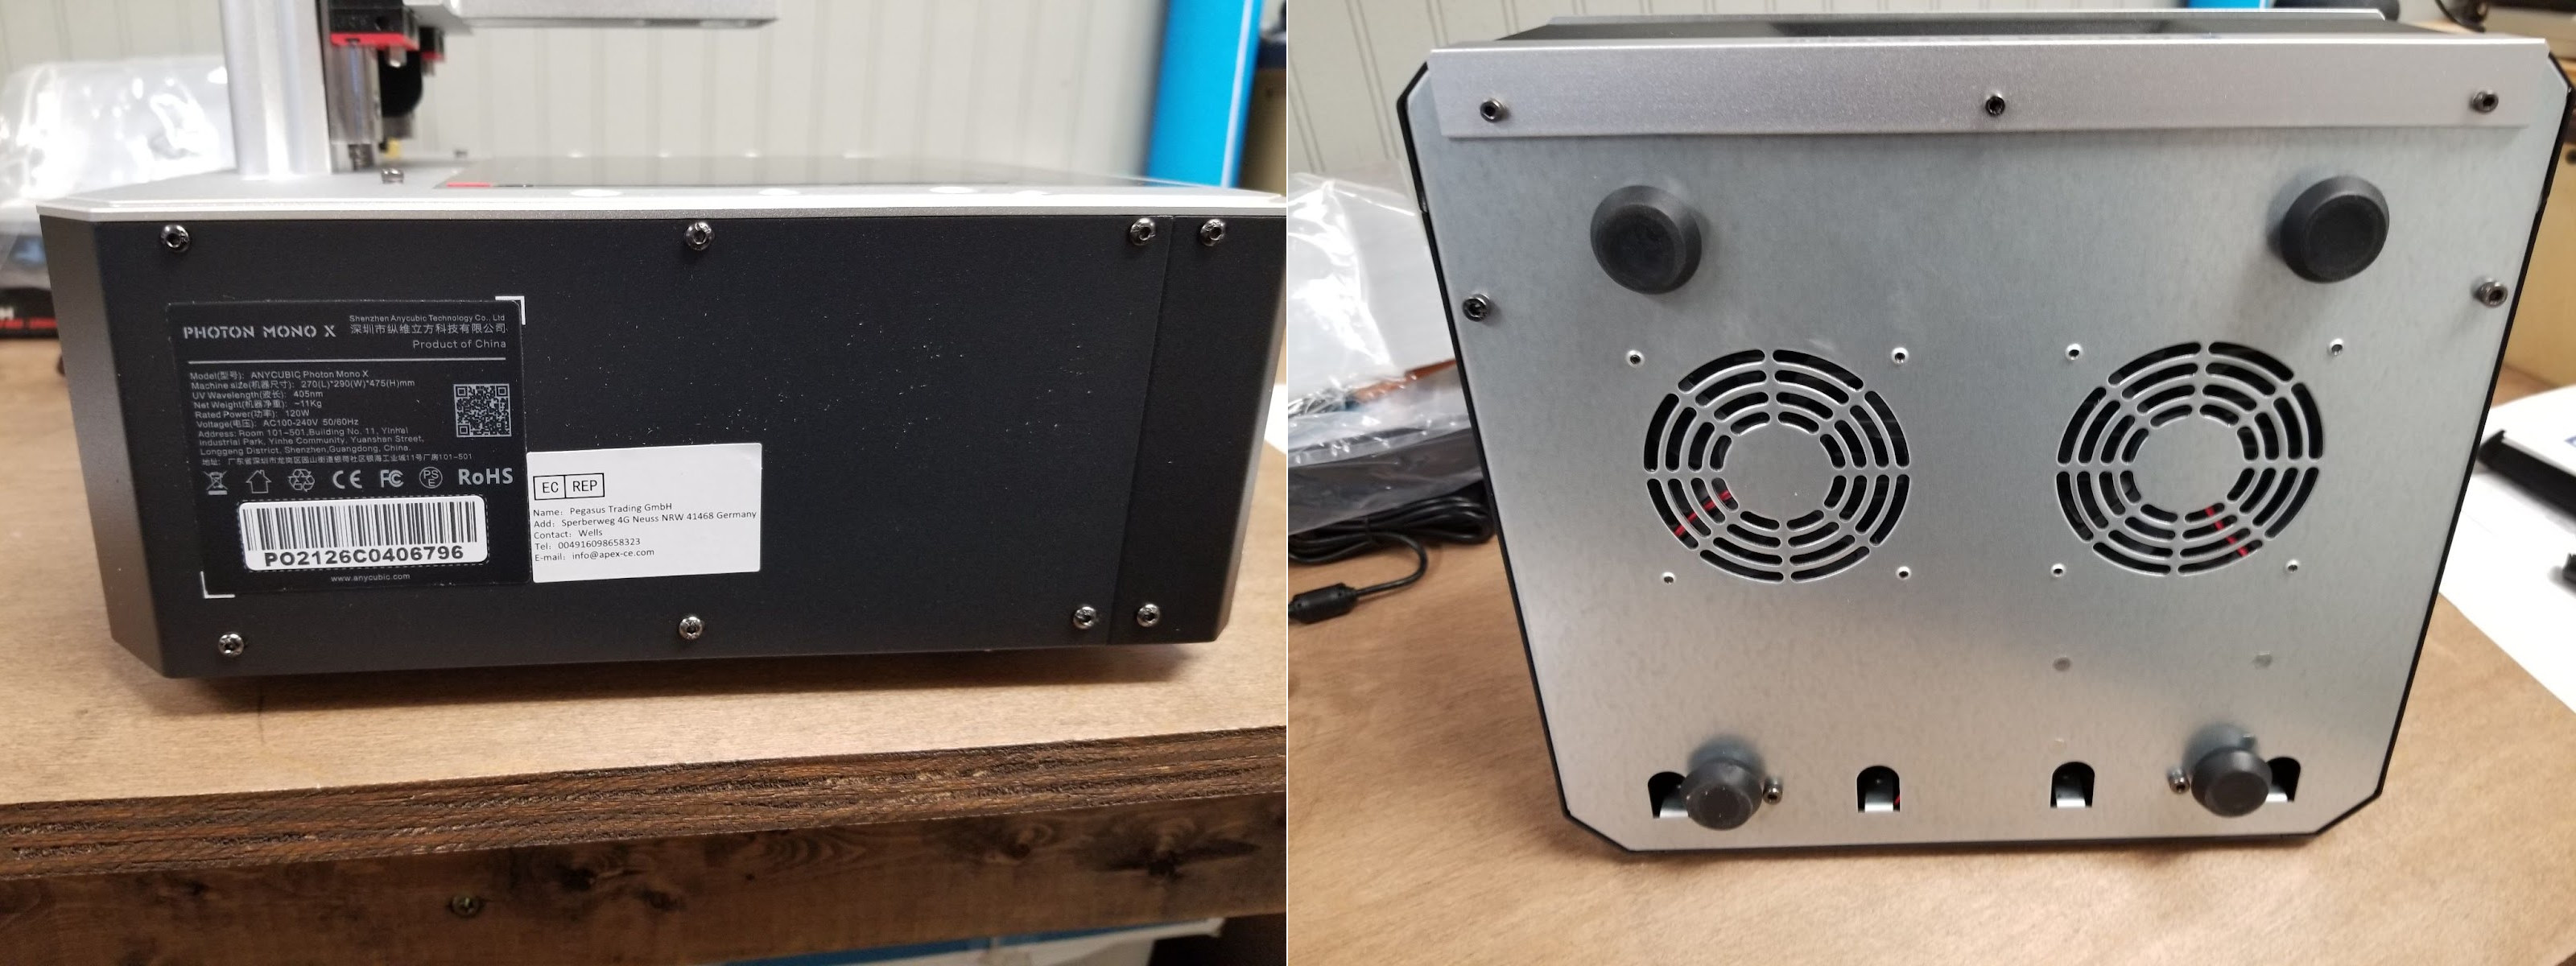
Contents include the main chassis, build plate, power supply, handful of gloves and masks. Plastic and metal scraper. Resin vat. USB drive. WiFi antenna and a handful of spare screws. It feels very well built and comes in at 8.5 kg.

I saw 2 posts about build plates not being flat in the Facebook group. The one I received looks perfect.
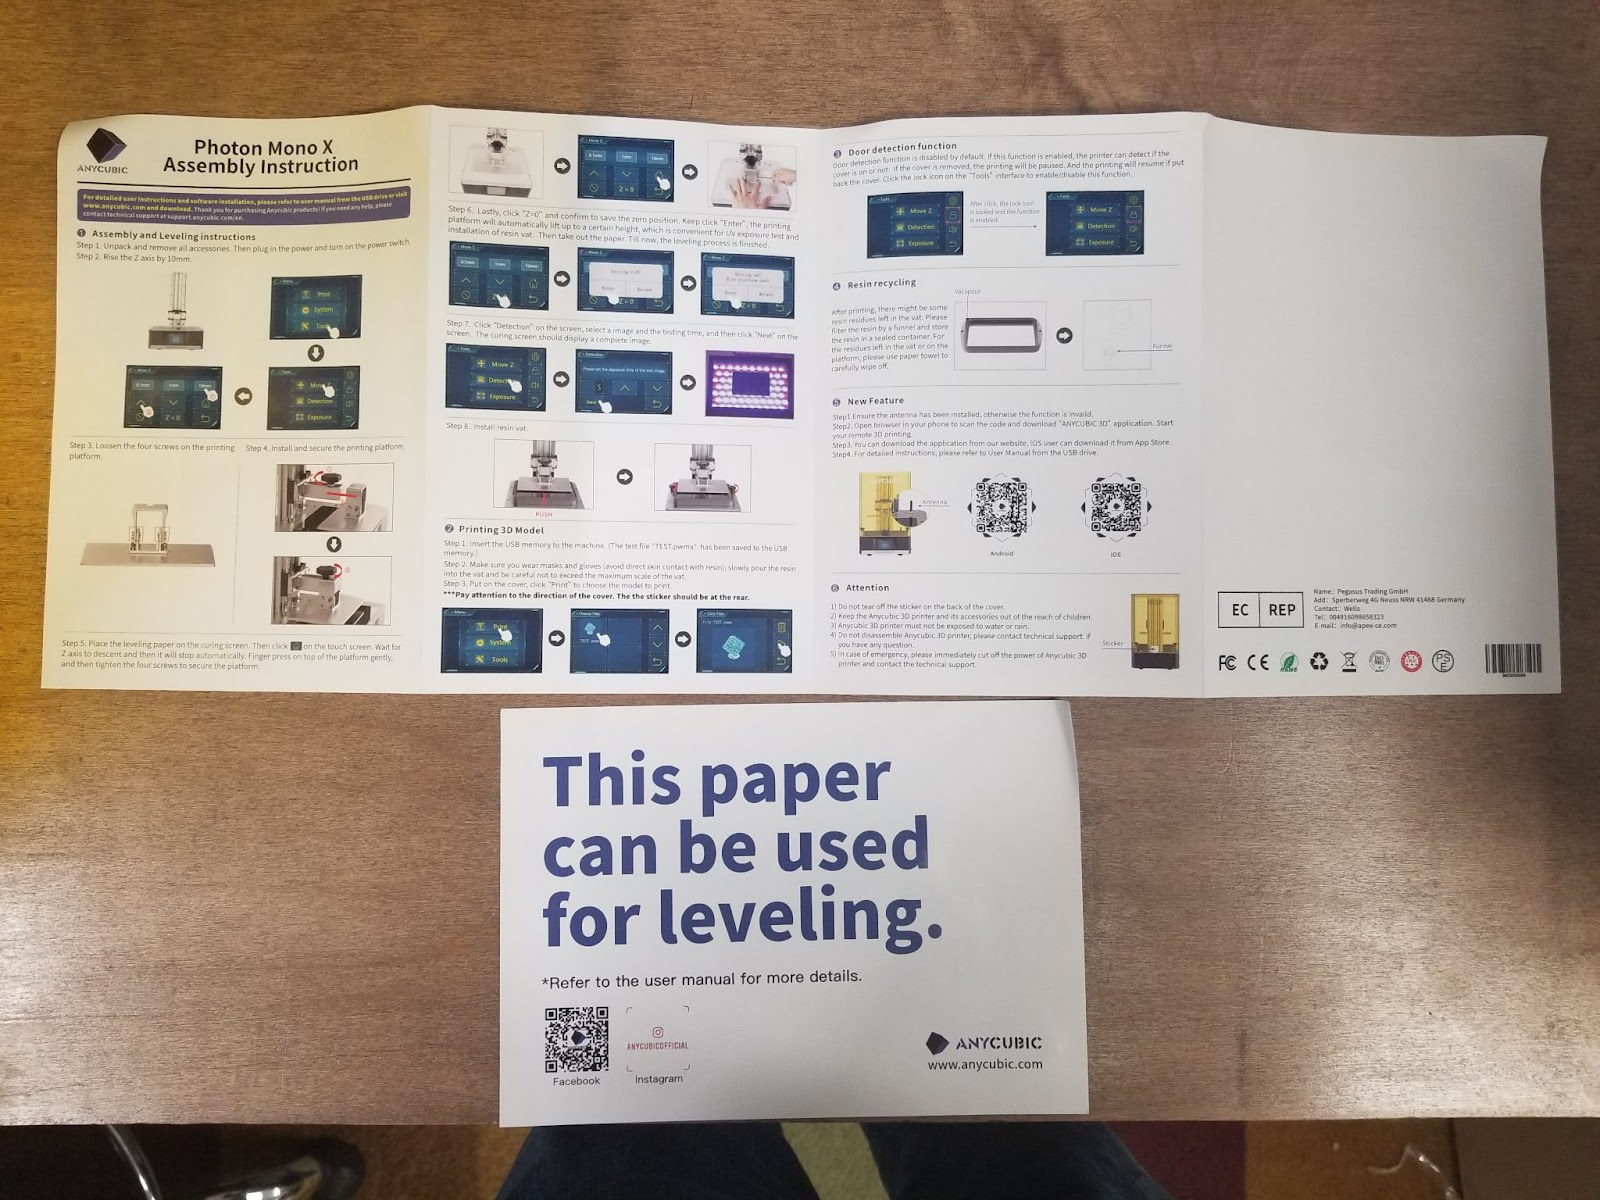
Instructions are included but only cover the leveling of the bed. Thankfully these types of printers have been around a while and there is a lot of content around the internet to get you going.
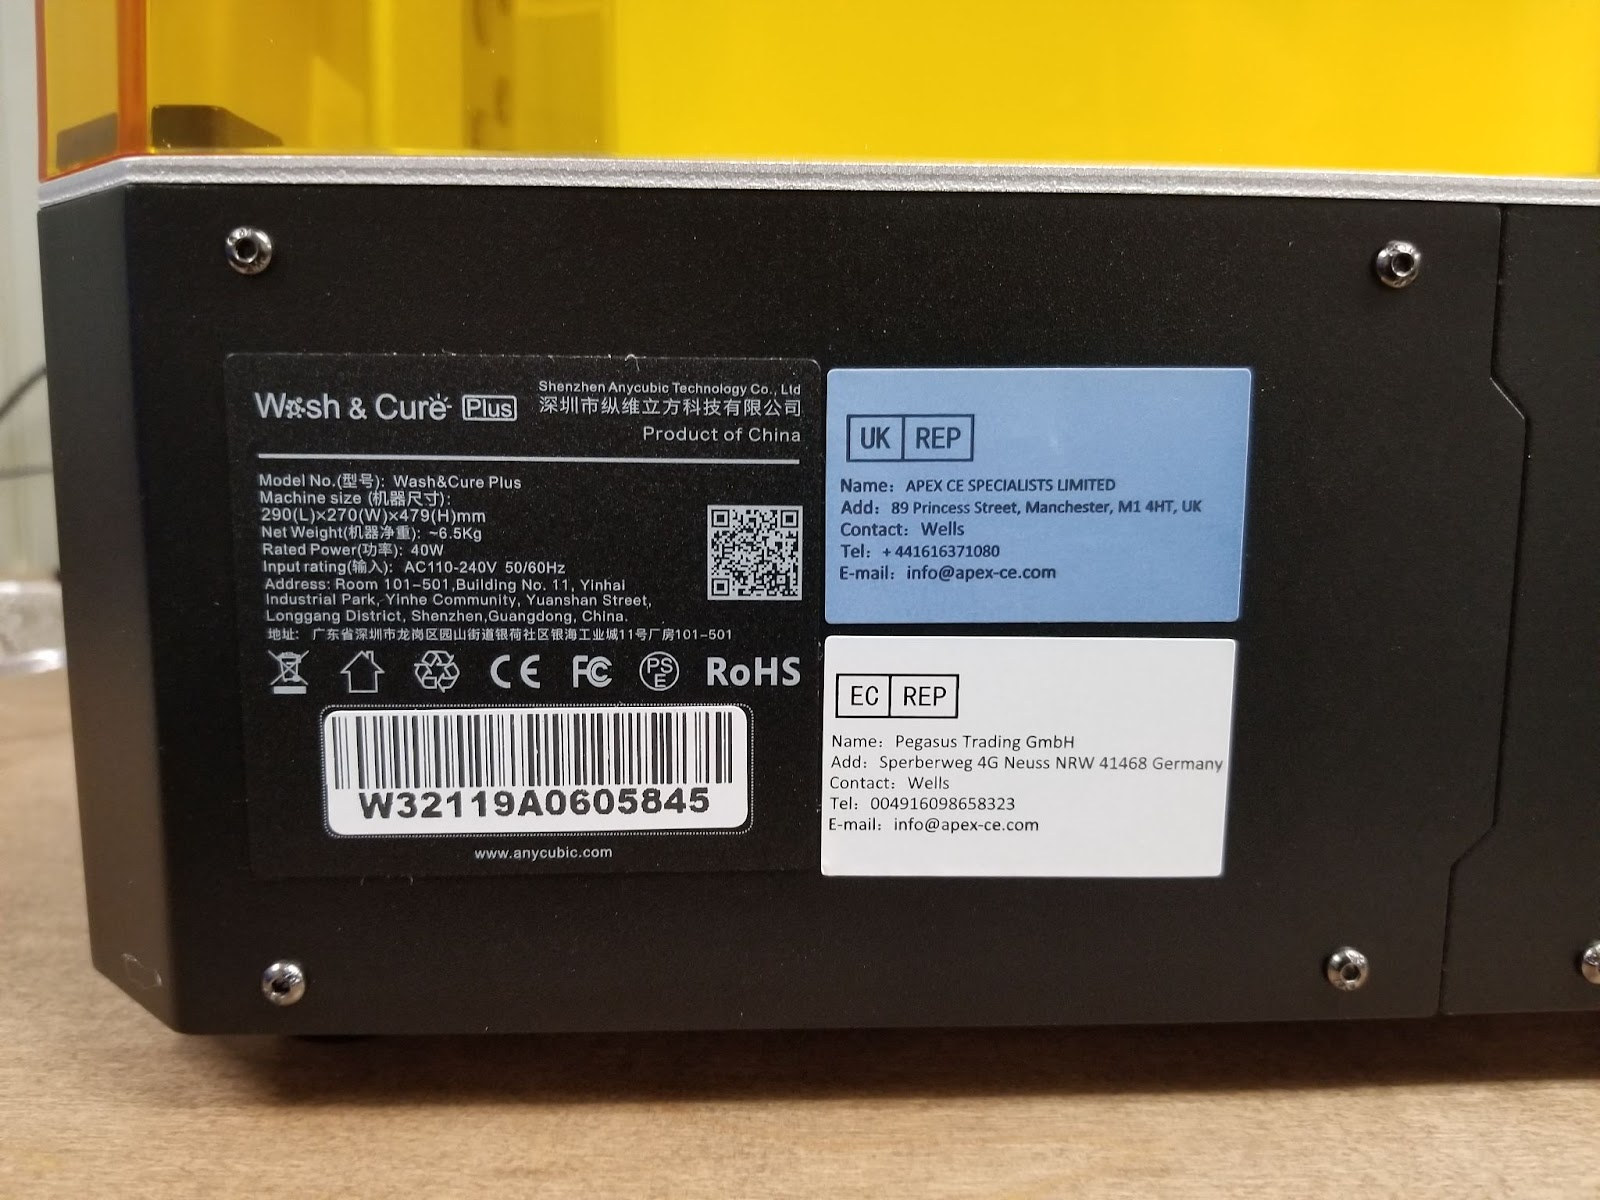
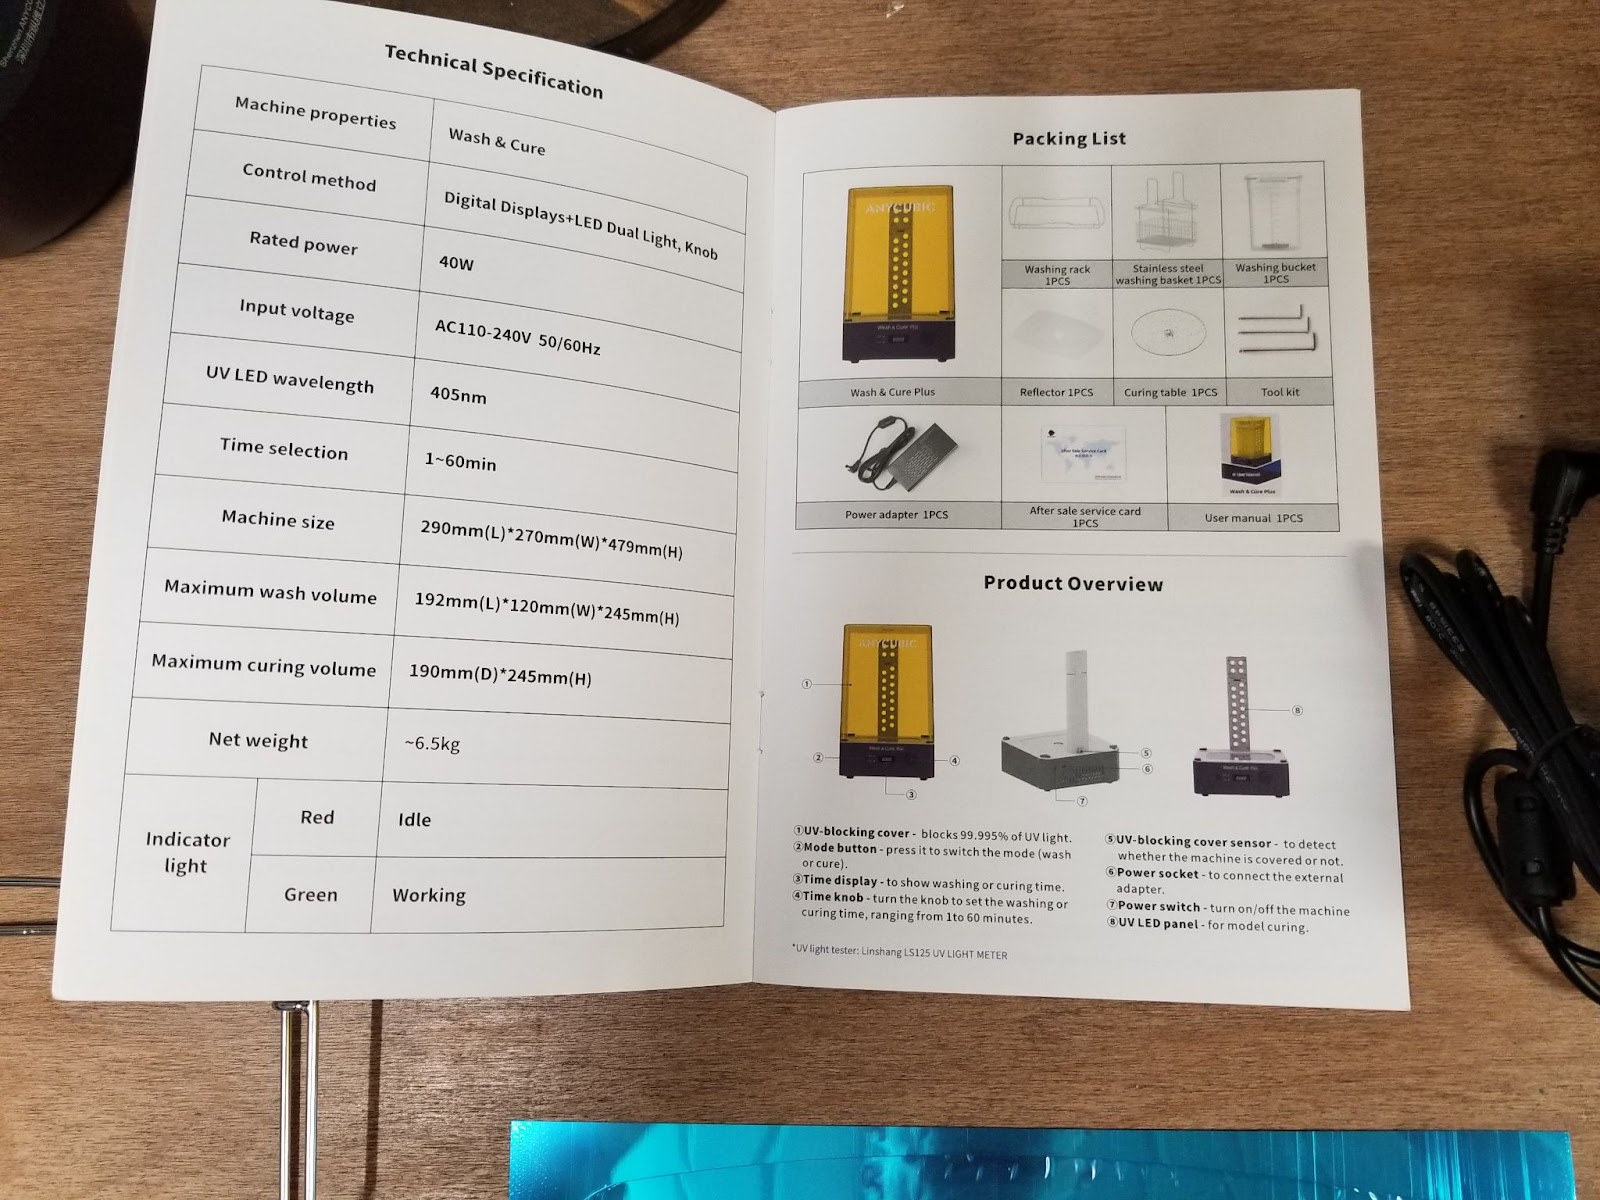
Wash and Cure Plus machine
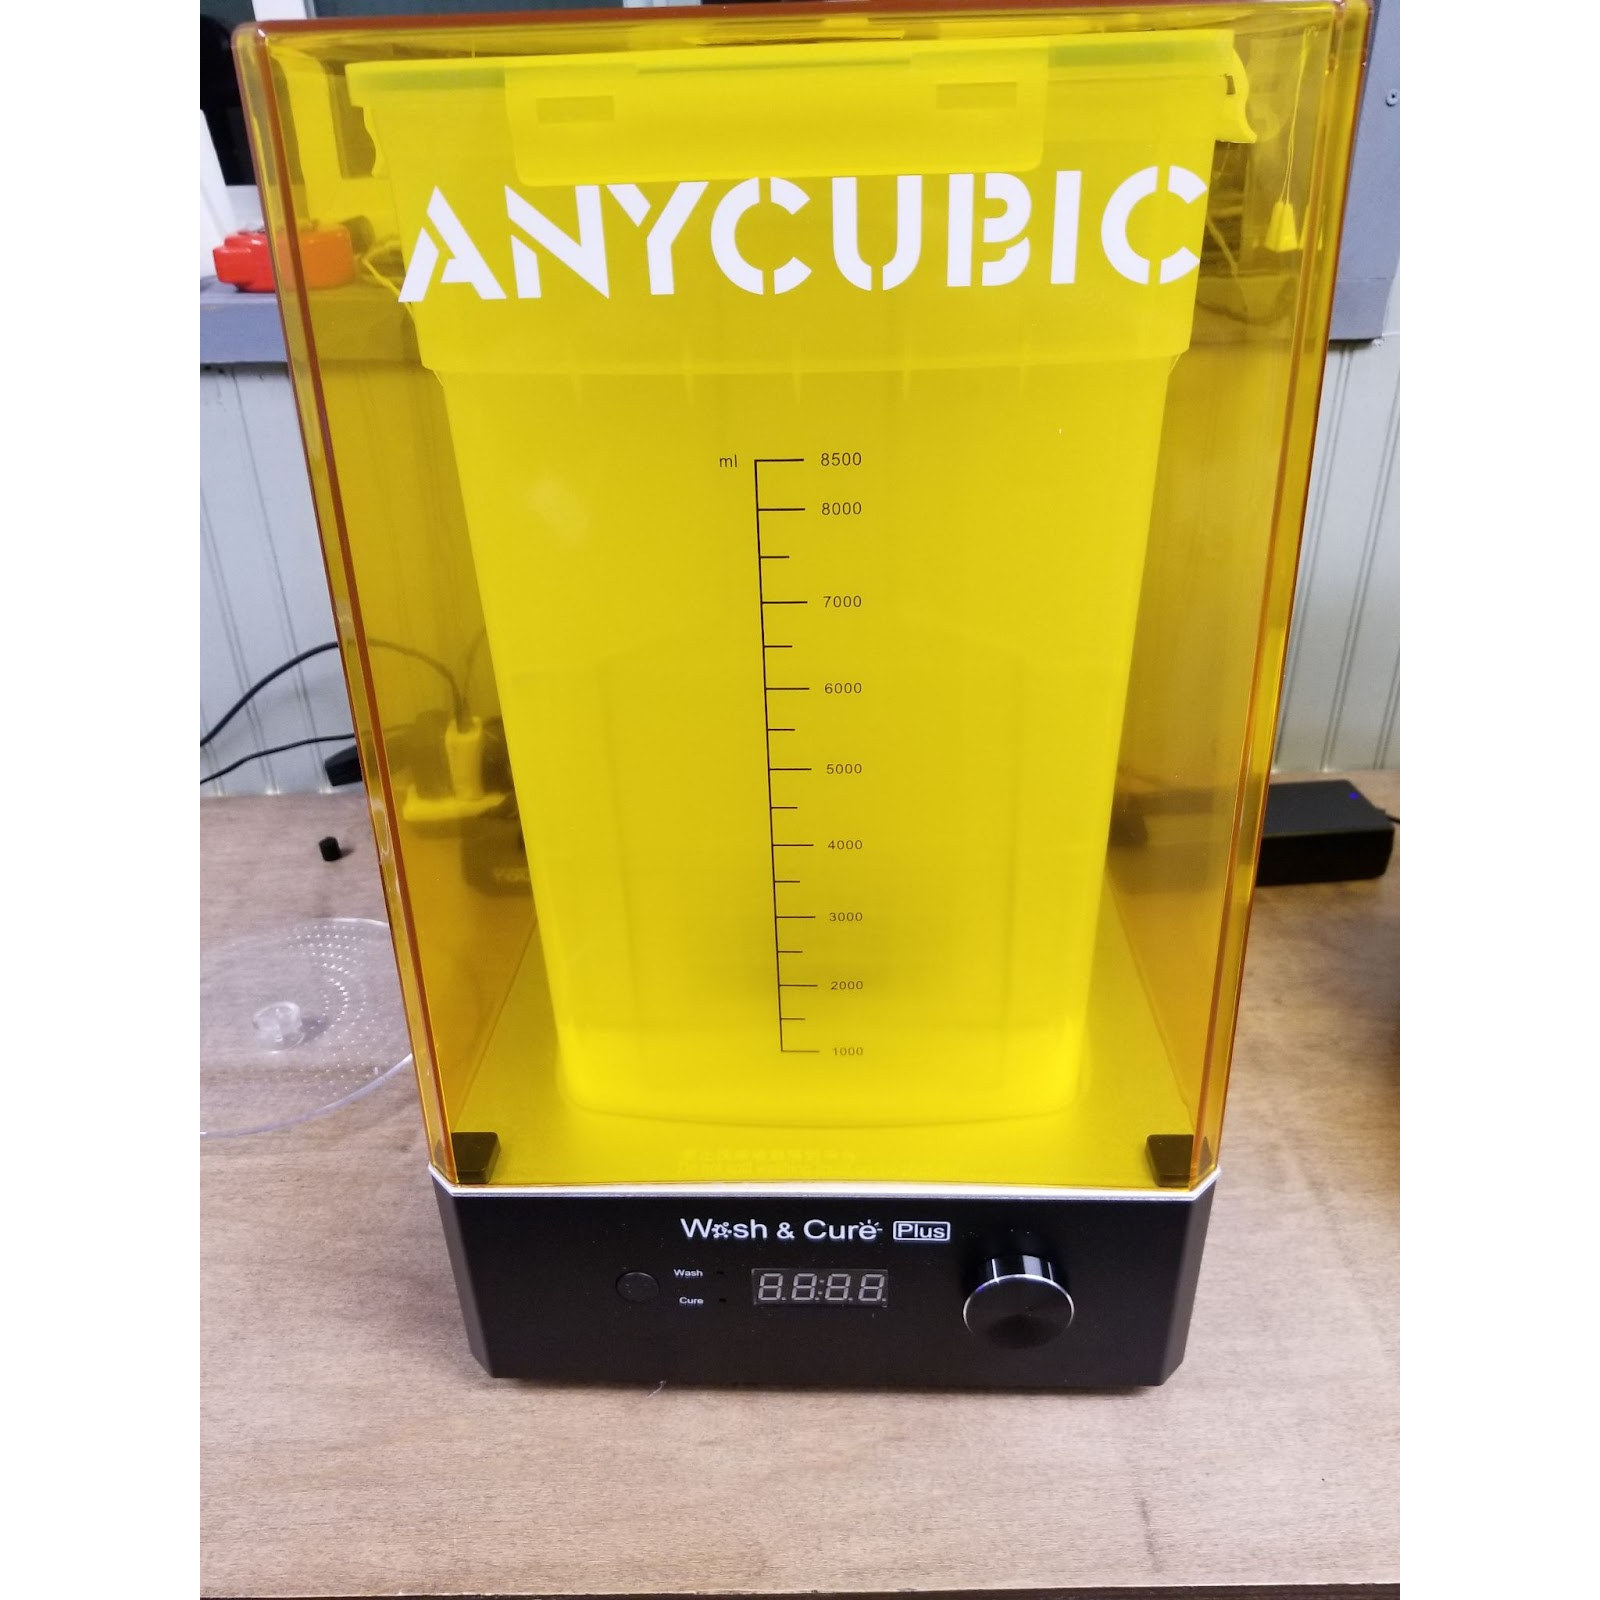
Anycubic was also kind enough to send over their Wash and Cure Plus. I was not too interested in this device until I used it the first time. I can definitely see value in the washing aspect and wish they had a cut-down version for just that function. Curing is still not that important to me. Placing a model in the window has the same effect, but I can see it is convenient.
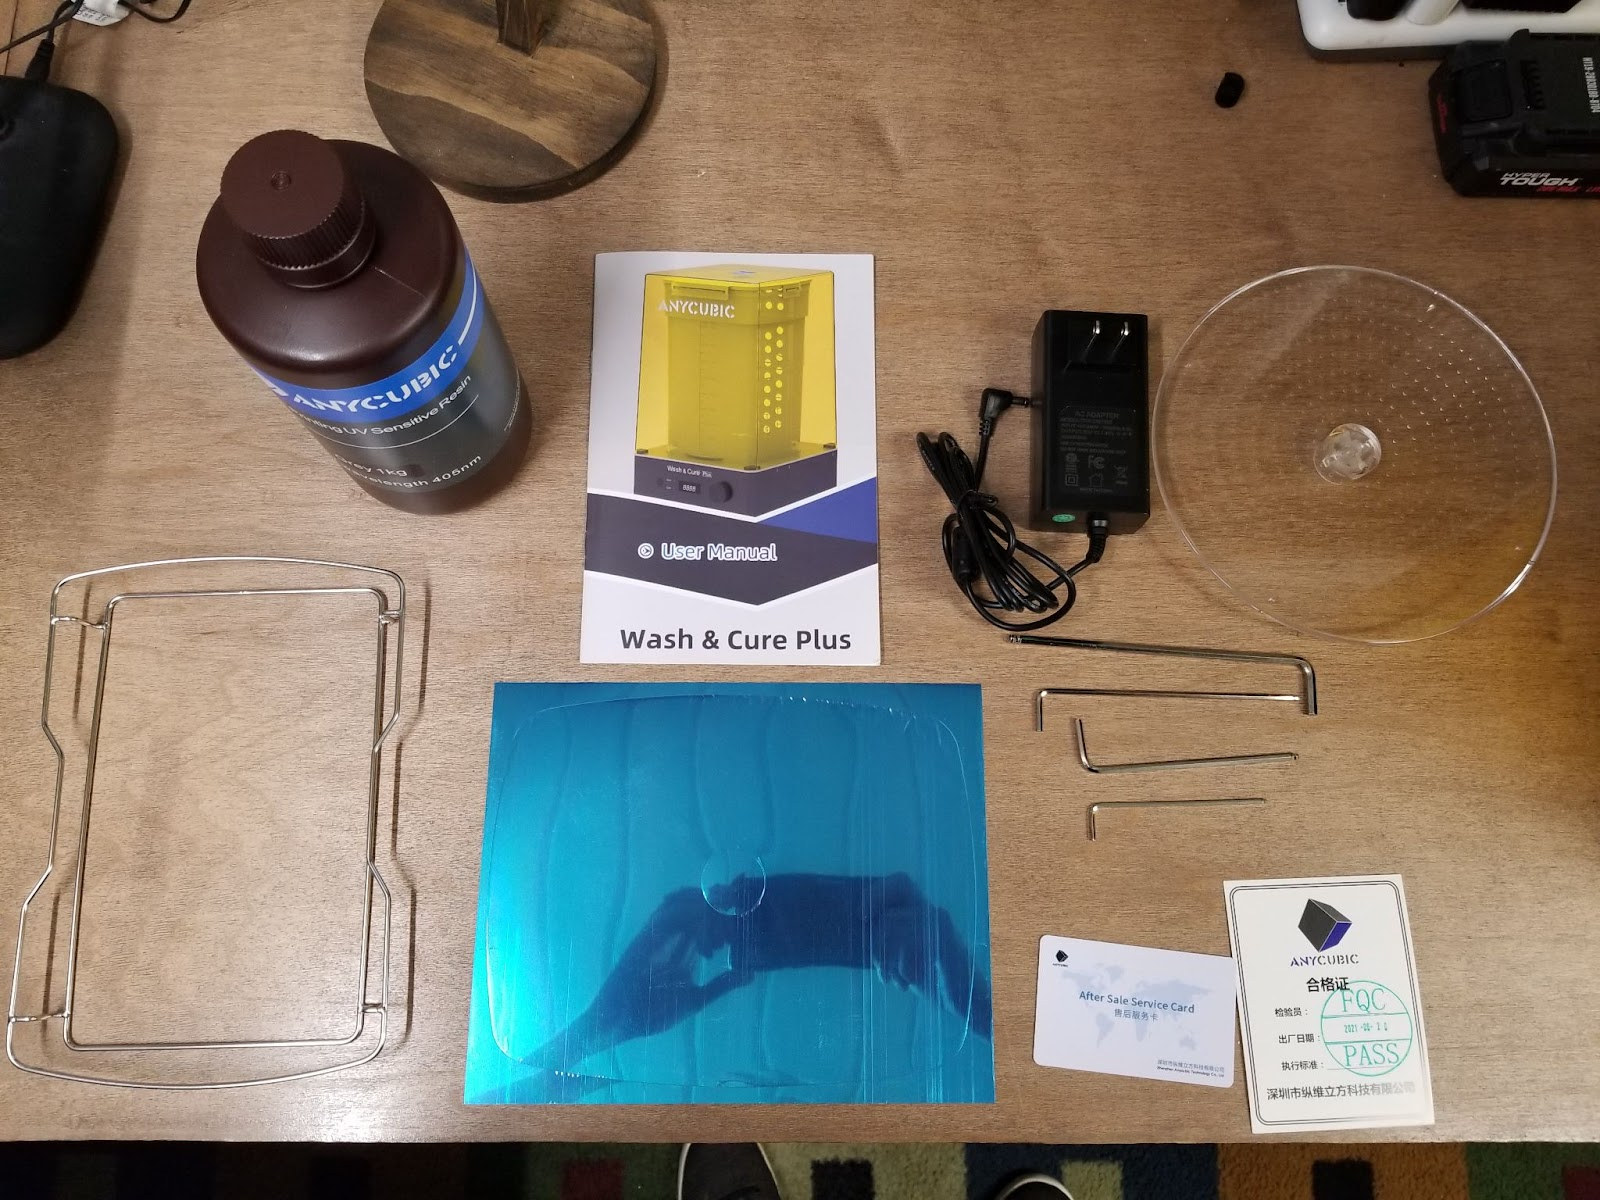
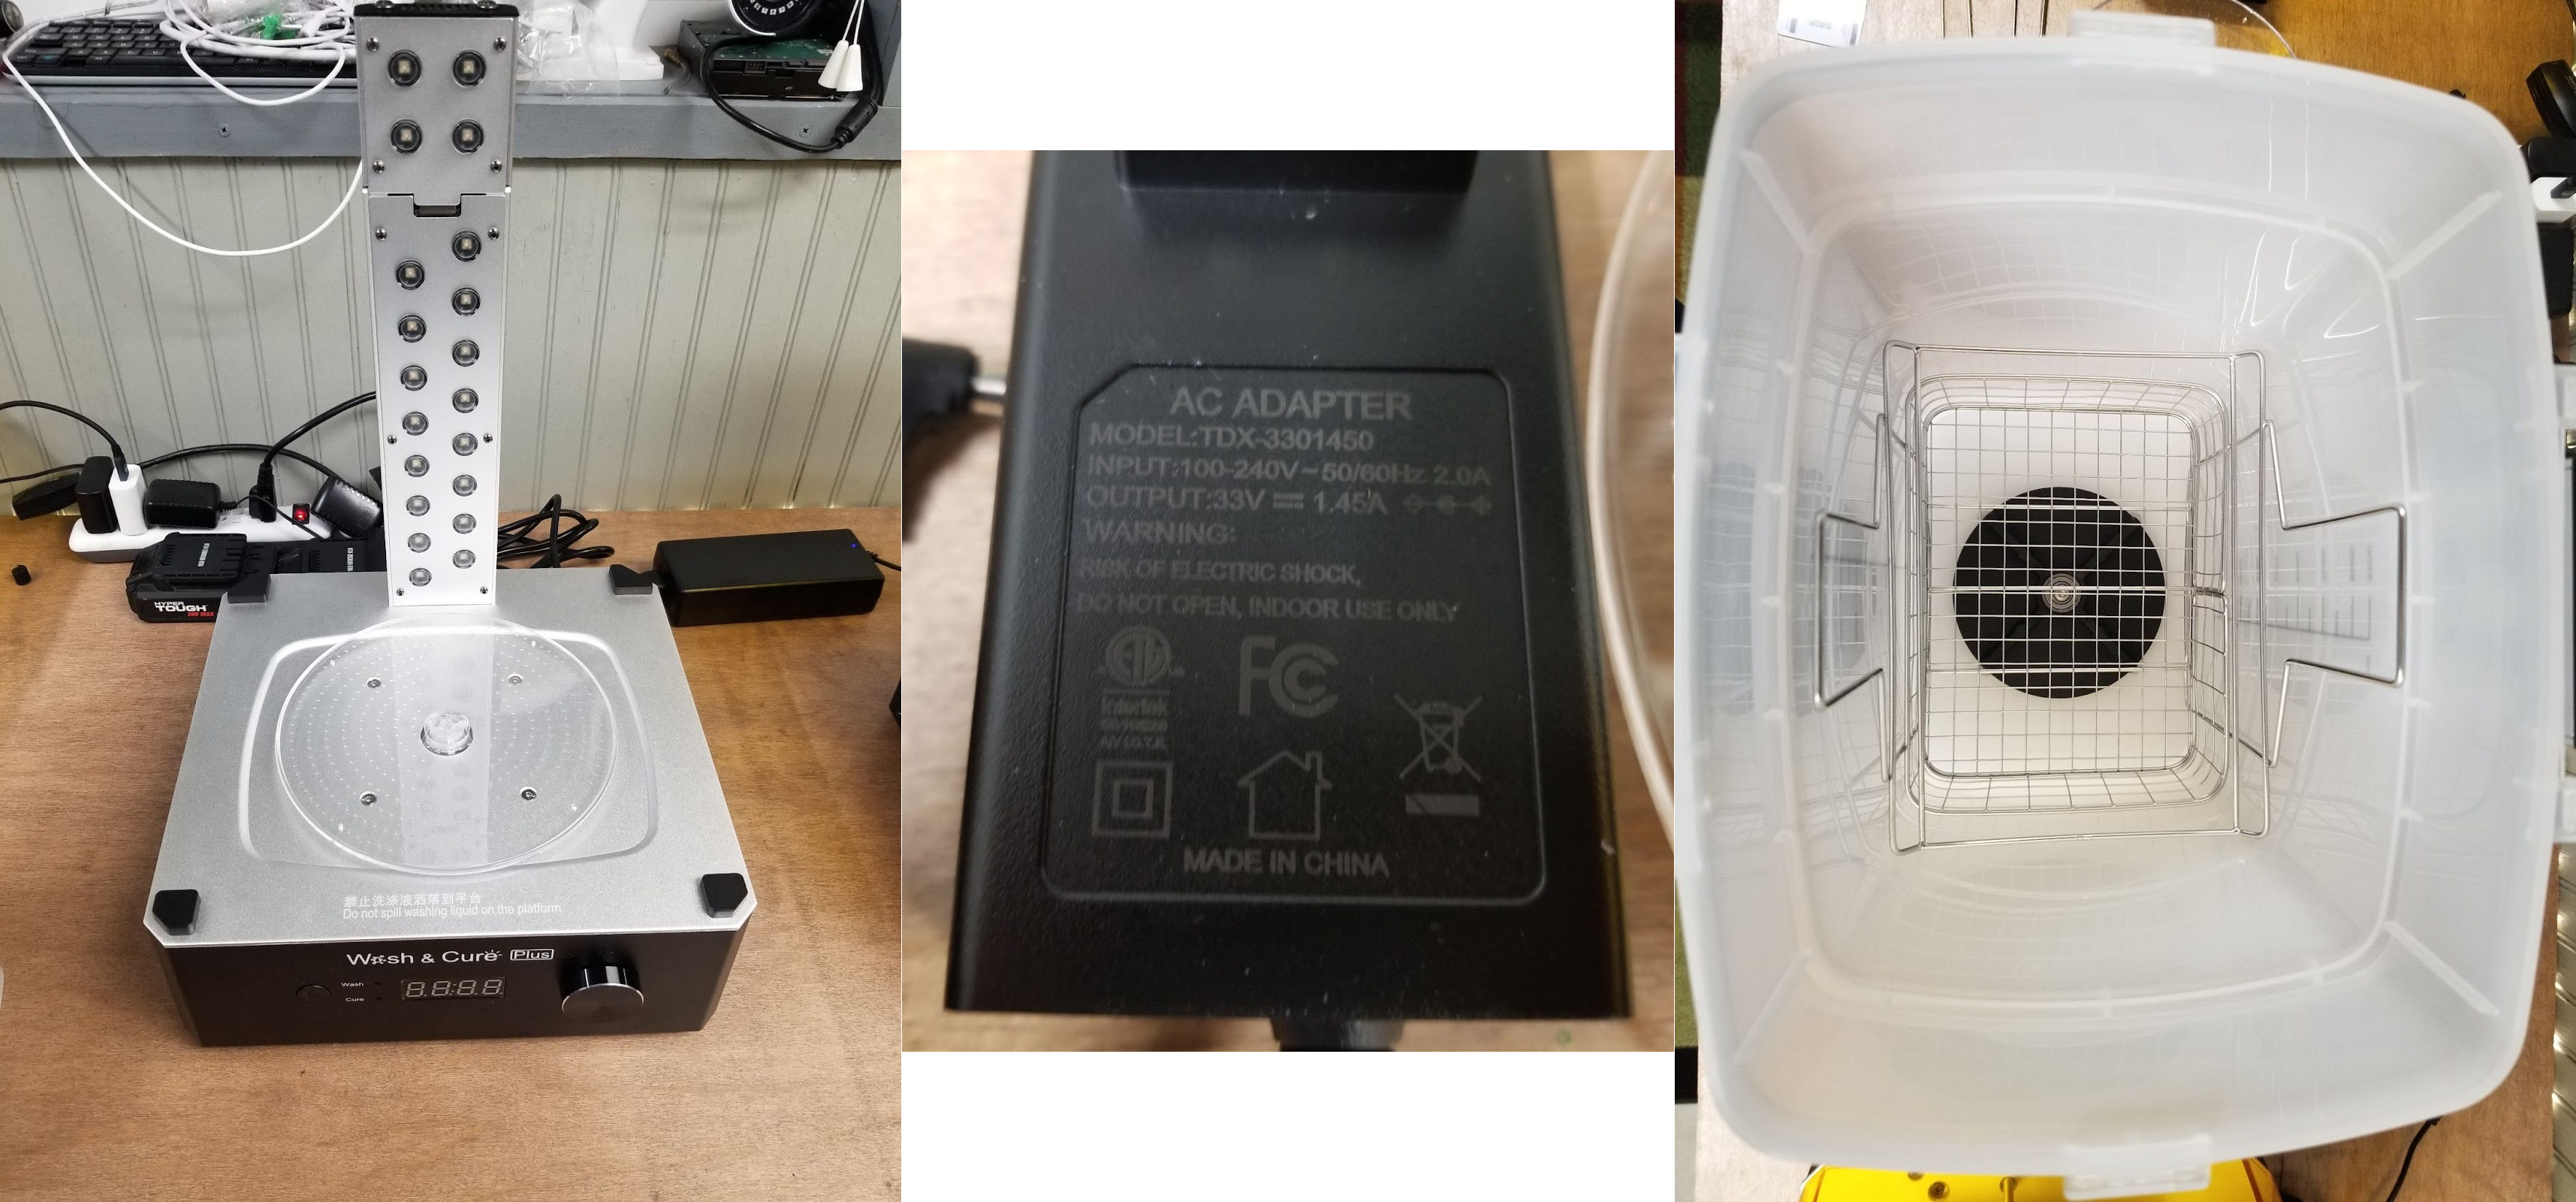
There is not much to this unit. There is a big container with a built-in magnetic stirrer in the bottom along with an array of UV LED’s. I found it immensely useful to be able to place the whole build plate with a model attached in the wash bucket. The model and the build plate both get cleaned at the same time.
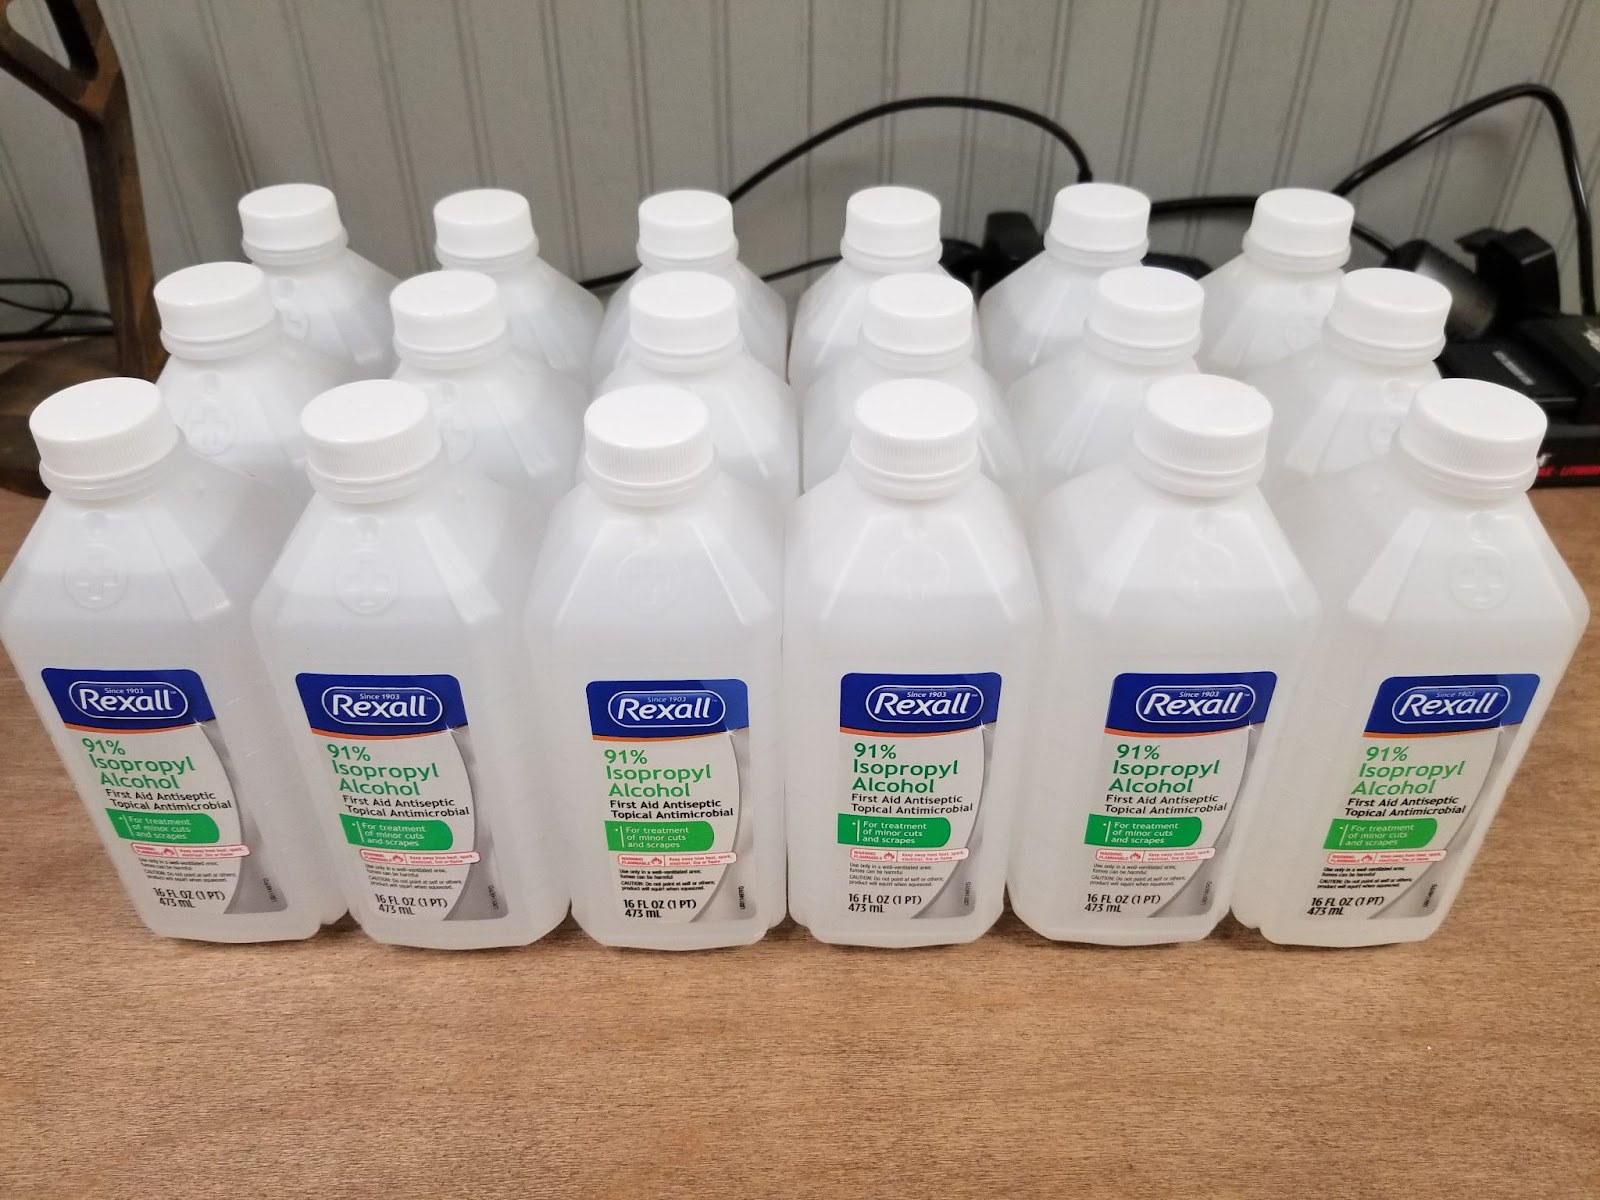 Approx 2.5 gallons (9000 ml) of alcohol is required. It was less expensive to purchase by the small bottle and it is more concentrated. I was only able to find 71% by the gallon at my local Tractor Supply. I am a little nervous about keeping this much alcohol in a tub and wish the tub was a little more air tight. I keep the tub in the cure station for the review with the cover on but may move to my shed when not in use.
First prints
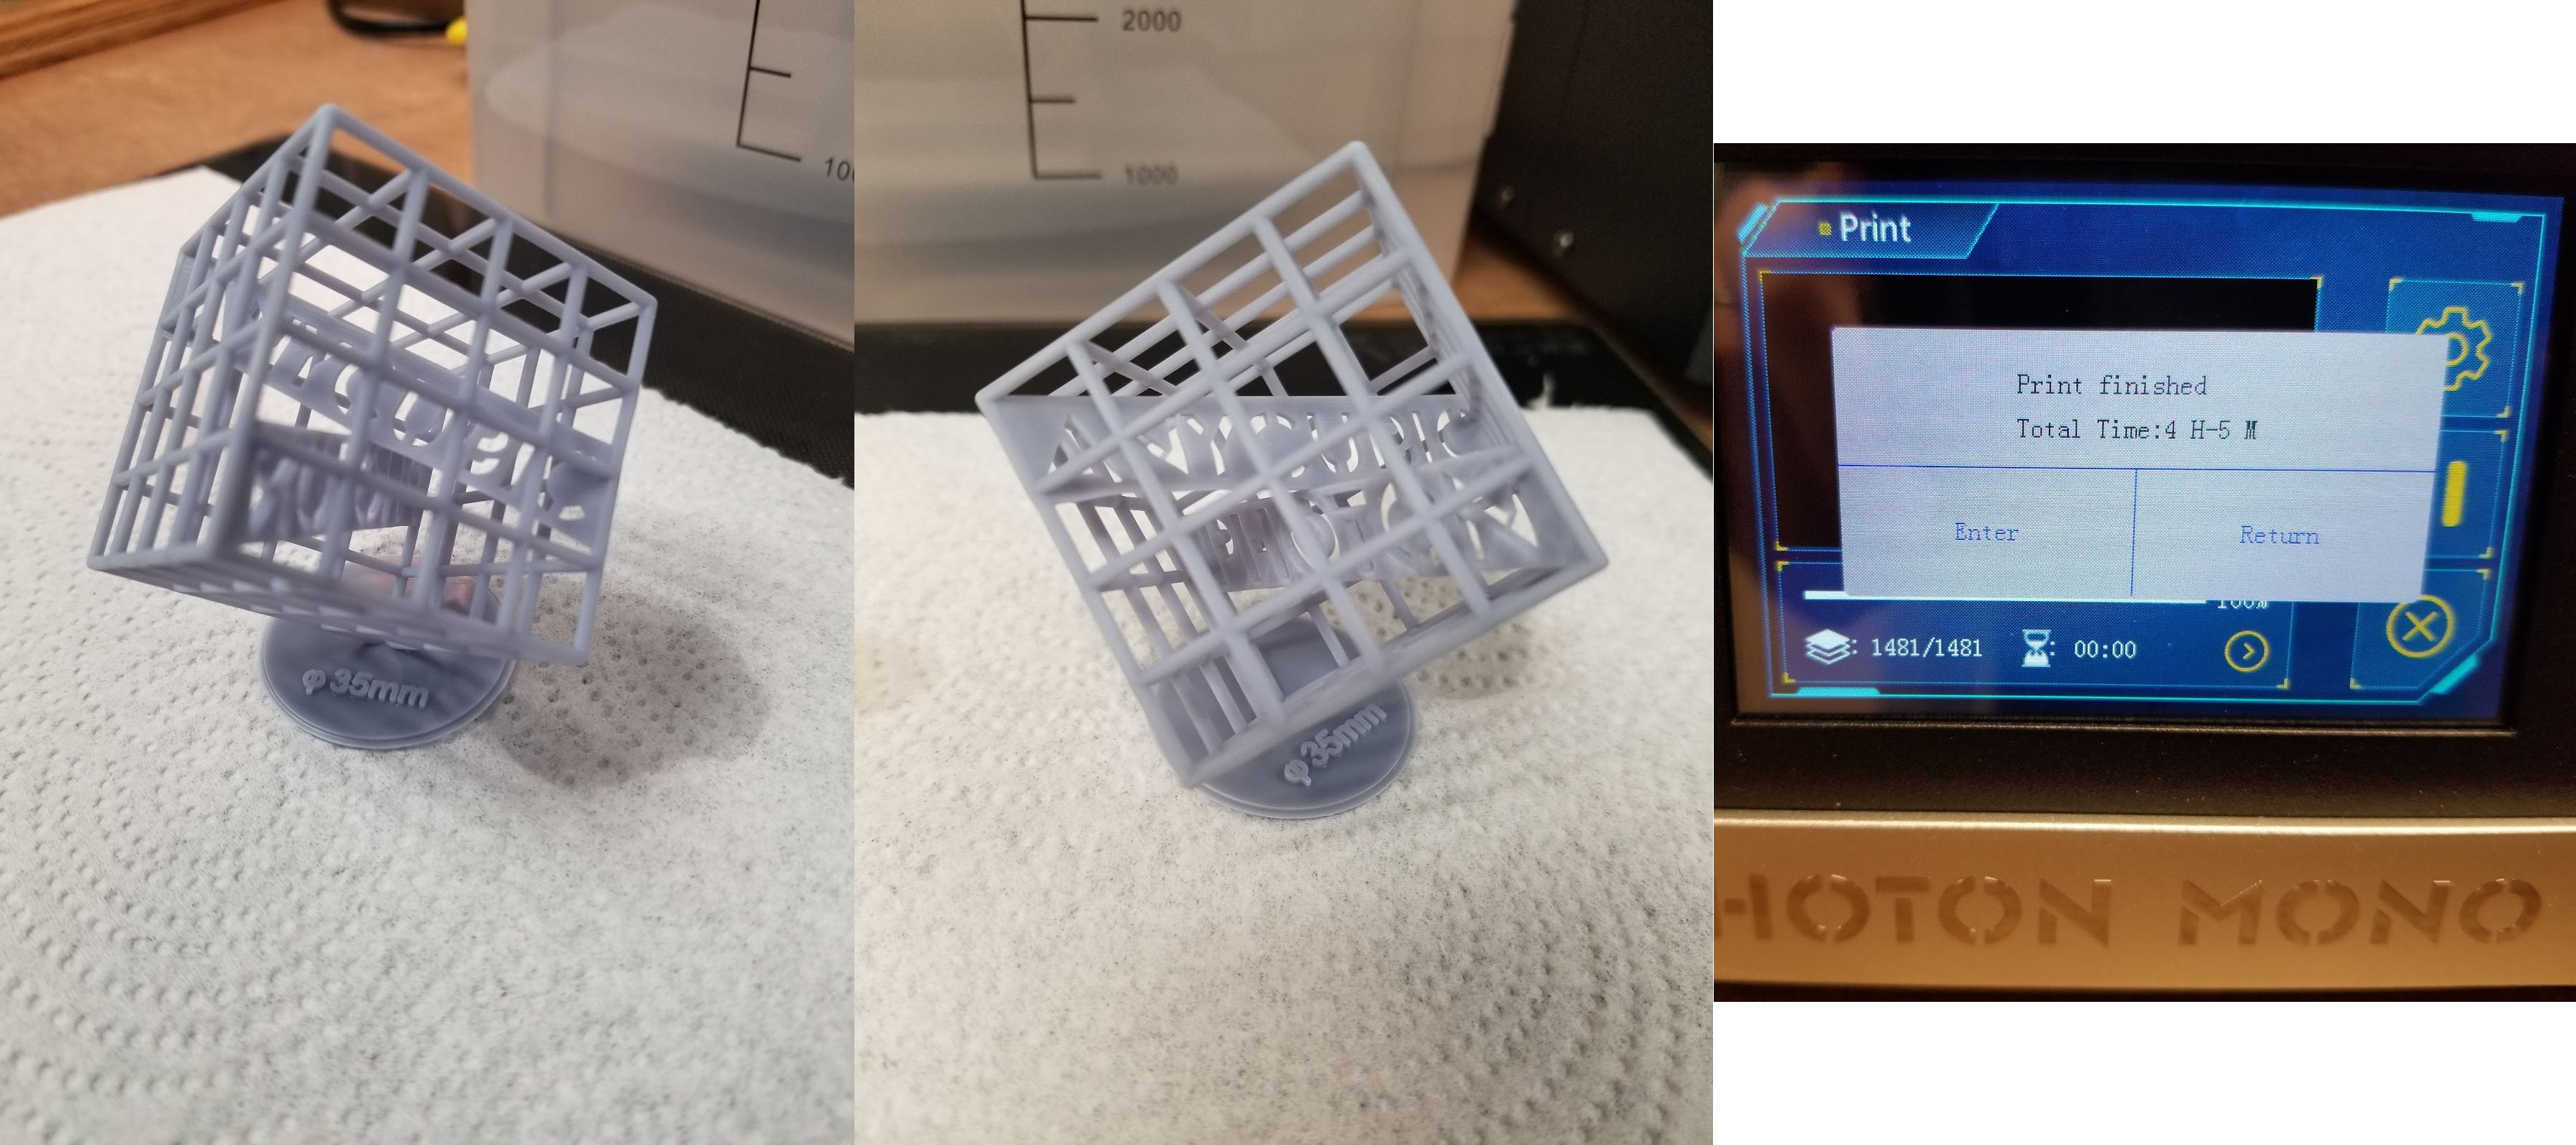 I printed the pre sliced lattice cube on the USB stick and it came out nearly perfect and used the Anycubic grey resin. It still amazes me how well these print.
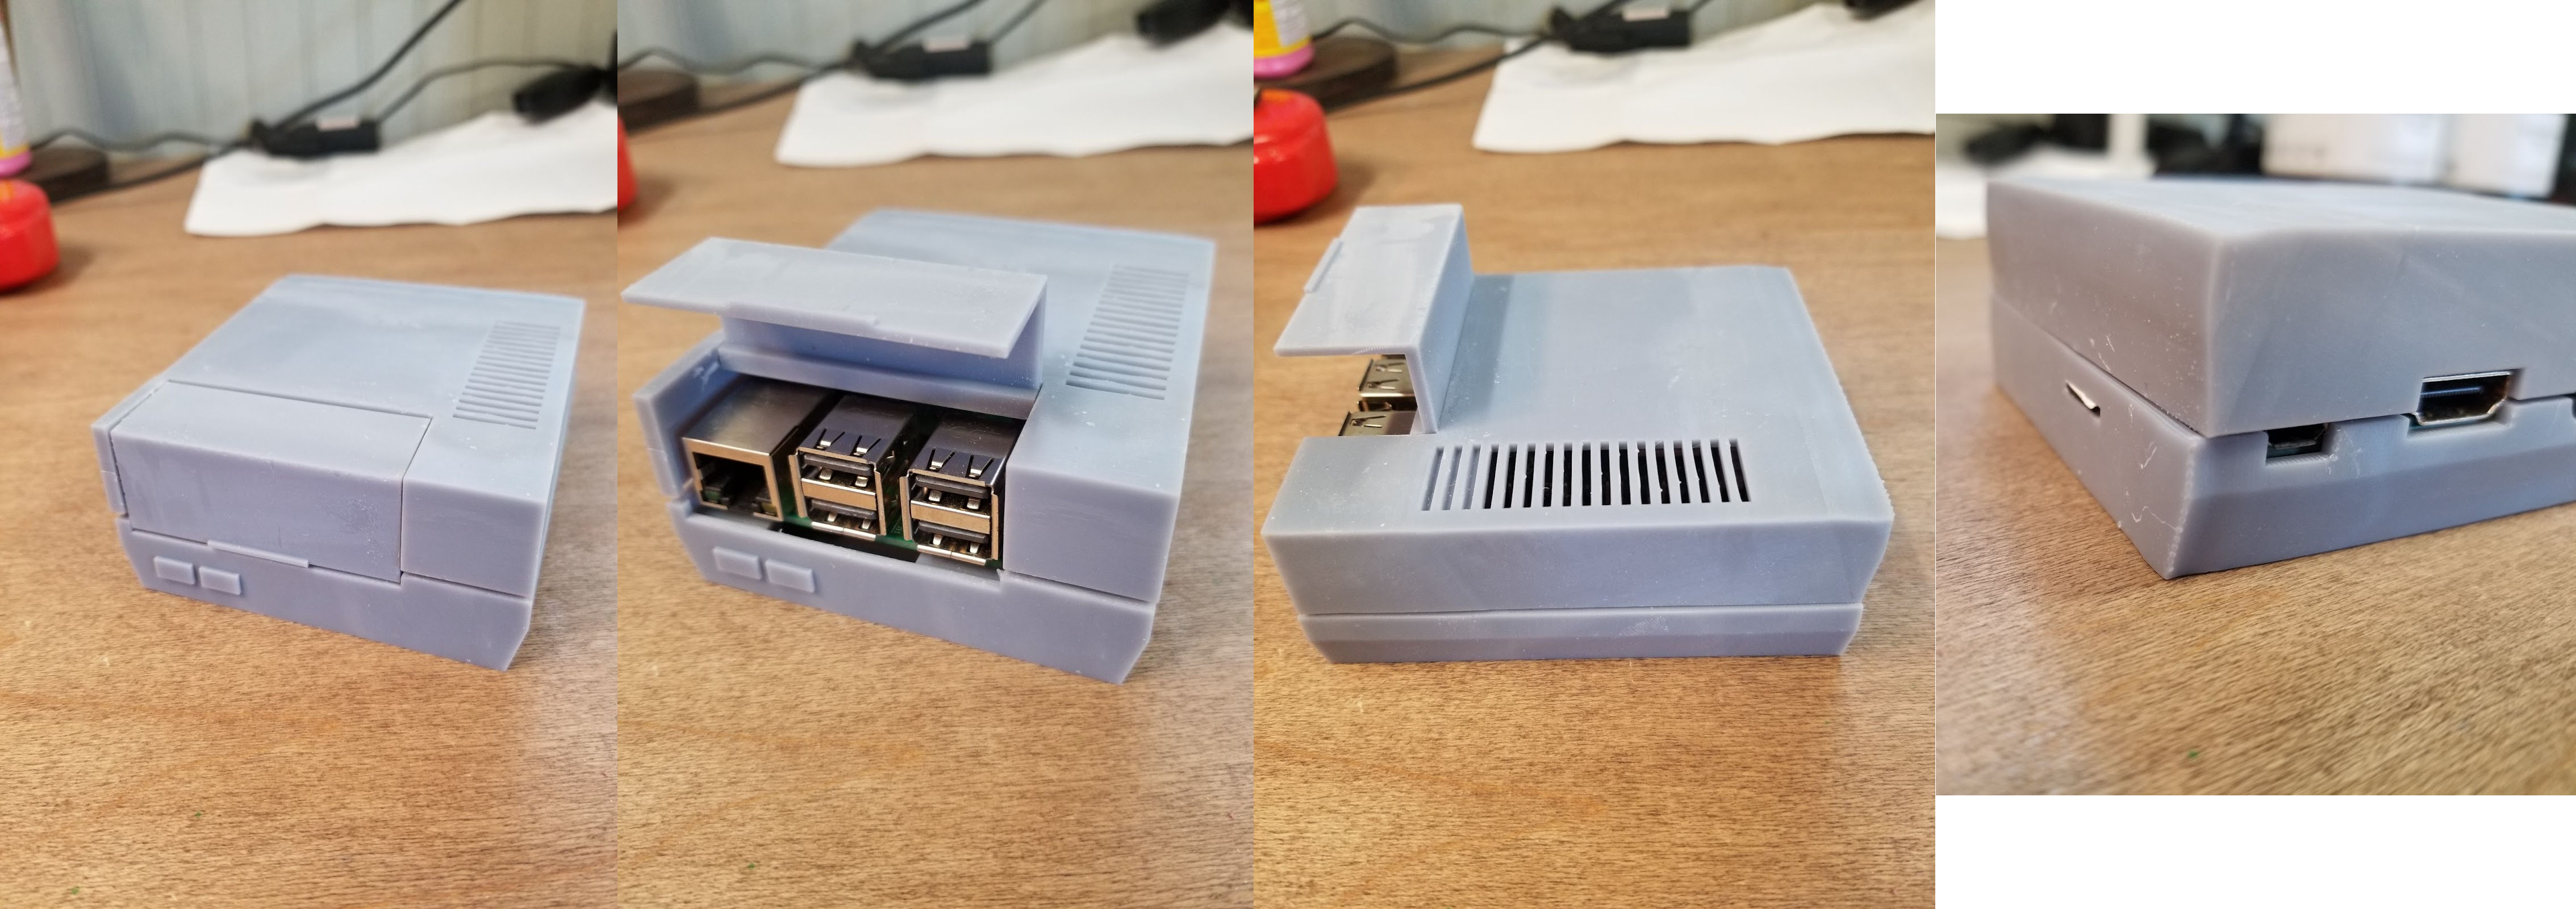
I followed up with a semi functional print. It is a case for a Raspberry pi. A lot has changed in the resin space, so I have to work on my workflow. For this print, I used Prusa Slicer to orient and generate supports. I thought that the support generated by Anycubics software was overkill. It turned out well with the exception of one corner. Not sure if I needed more support or needed to increase my layer time.
Wrap Up
If you have made it this far, thanks for sticking around. This is just the unboxing and first prints and while I am testing, I will be using this printer for functional prints and not nick nacks. I am also going to explore air quality/fumes mitigation, and using resins with different properties in the follow up.
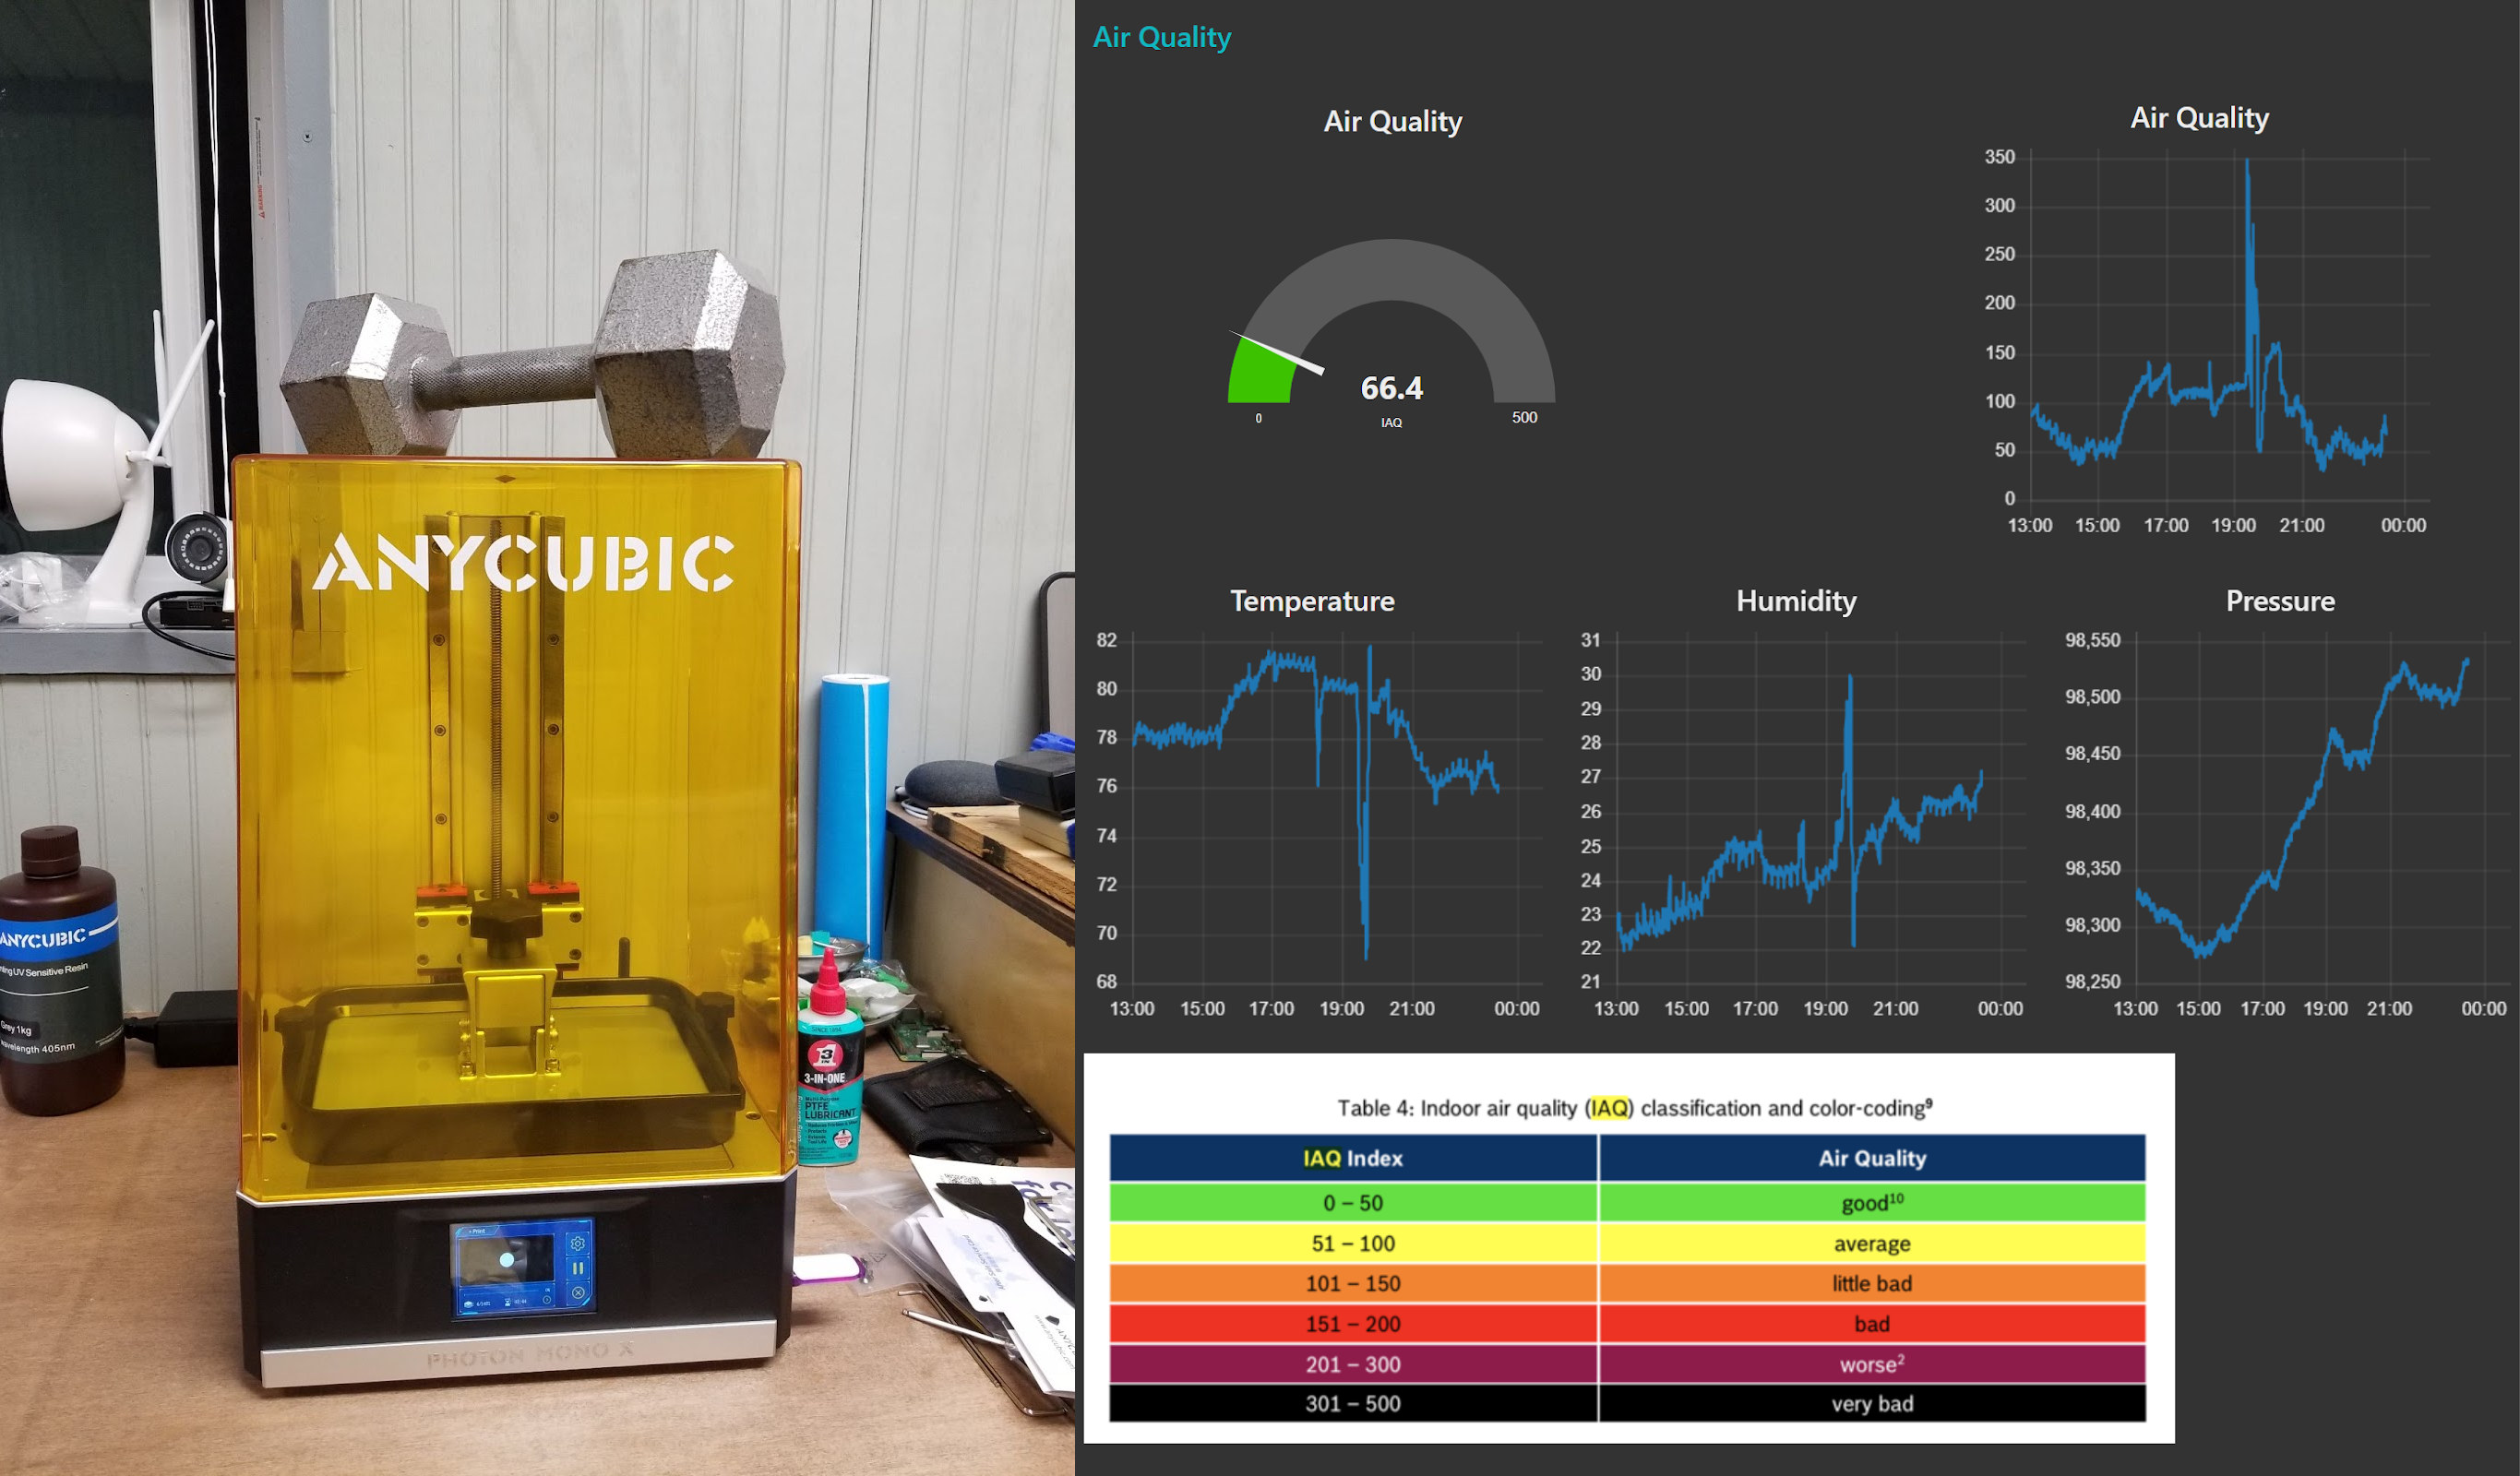
Air quality is a big concern for me. I have to work in this space for my day job. I have one advantage for my office/maker space and that is it is not connected to my house and I don’t have to worry about contaminating it. I have about 100ft2/9m2 of space and it is easy to replace all the air when I open my window and door. For now, I am only going to print at night while not in my office and clear the air in the morning. I tried placing a weight on top to keep the fumes inside but the seal is not good enough. I have a working air quality sensor that I put together with BME680 and ESP8266 and have it send sensor data to my server but need more time to test before I share. It seems to be very sensitive. After setting up and burning in period over I cleaned up my space. The next morning I was reviewing the data and it was saying the air quality was poor which confused me. I couldn’t smell nor did anything the night before. After some sleuthing, the culprit was from the lid of the resin. I pushed the open resin bottle near the sensor while cleaning up and inside the lid was just a little bit of uncured resin. After cleaning the lid properly the sensor settled down.
Resinone was so kind to send a couple of bottles of their resin. They sent over K and F69. Both are not your typical resin and are not as brittle. I have not used the resin yet but am looking forward to testing it out. In conjunction with this, I have a project that I want to do and try to print everything down to screws. I think it will be interesting
If you have any ideas you would like to be explored let me know in the comments and if you have any knowledge about VOC’s and resin. There is very little information on the internet and just about everything I can find is tied to trying to sell an air purifier. The Photon Mono X 3D printer and the optional Wash & Cure Plus machine can be purchased on the Anycubic website (with a Black Friday promotion at this time), or Amazon US.

Karl is a technology enthusiast that contributes reviews of TV boxes, 3D printers, and other gadgets for makers.
Support CNX Software! Donate via cryptocurrencies, become a Patron on Patreon, or purchase goods on Amazon or Aliexpress


