
Low-level debugging can be performed with a JTAG debugger and OpenOCD open-source software, but since not everybody may have a JTAG debugger at home, some have reverted to using the Raspberry Pi as a JTAG debugger, and you’ll find instructions for cabling and installing the software on the Internet.
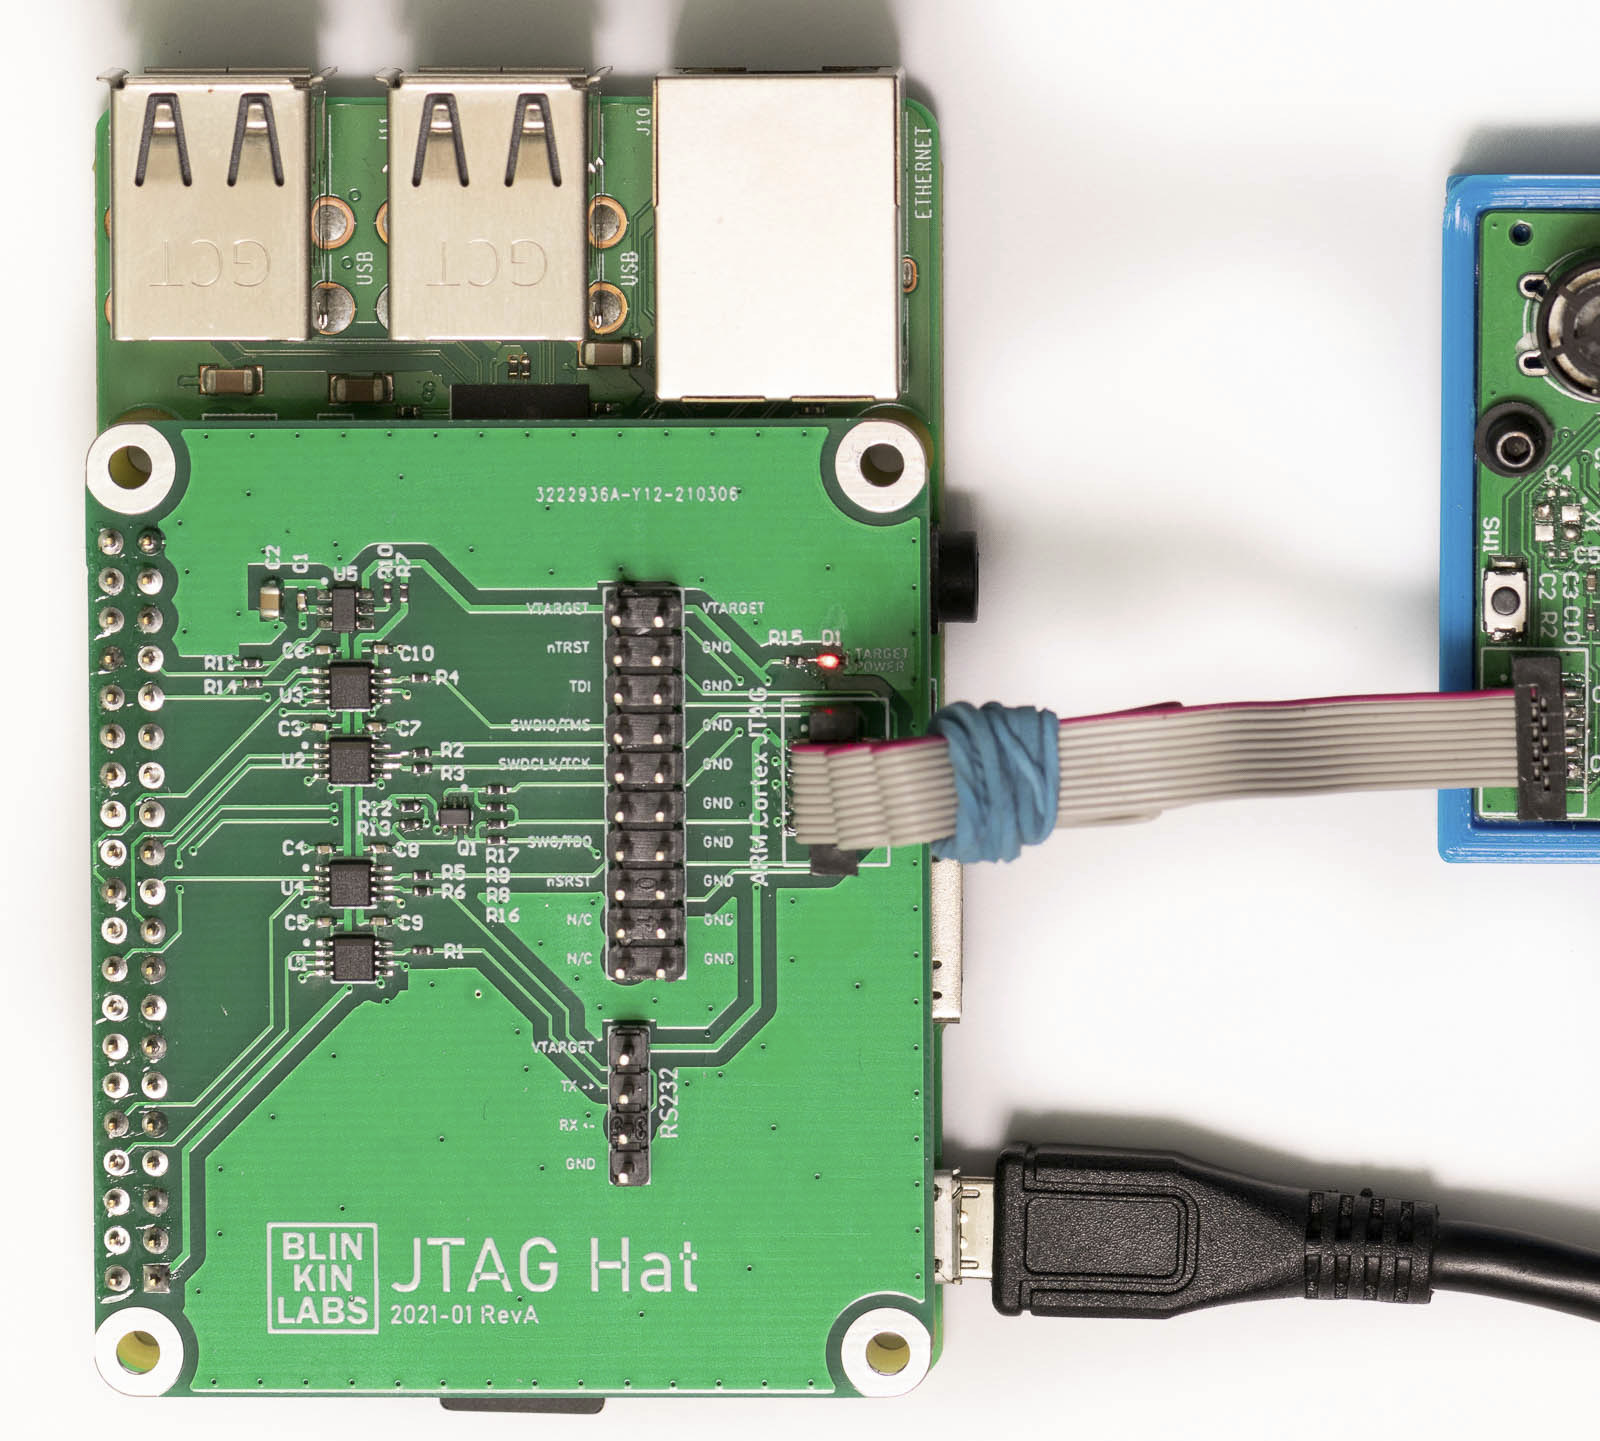
Matt Mets of BlinkinLabs have been using the Raspberry Pi SBC and OpenOCD to debug Arm-based microcontroller boards for a while, but found it to be a pain to find jumper wires and look up the pin-outs manually each time. So he designed a JTAG Hat with properly labeled 20-pin .1″ and 1.27mm Cortex debug connectors to speed up the process.
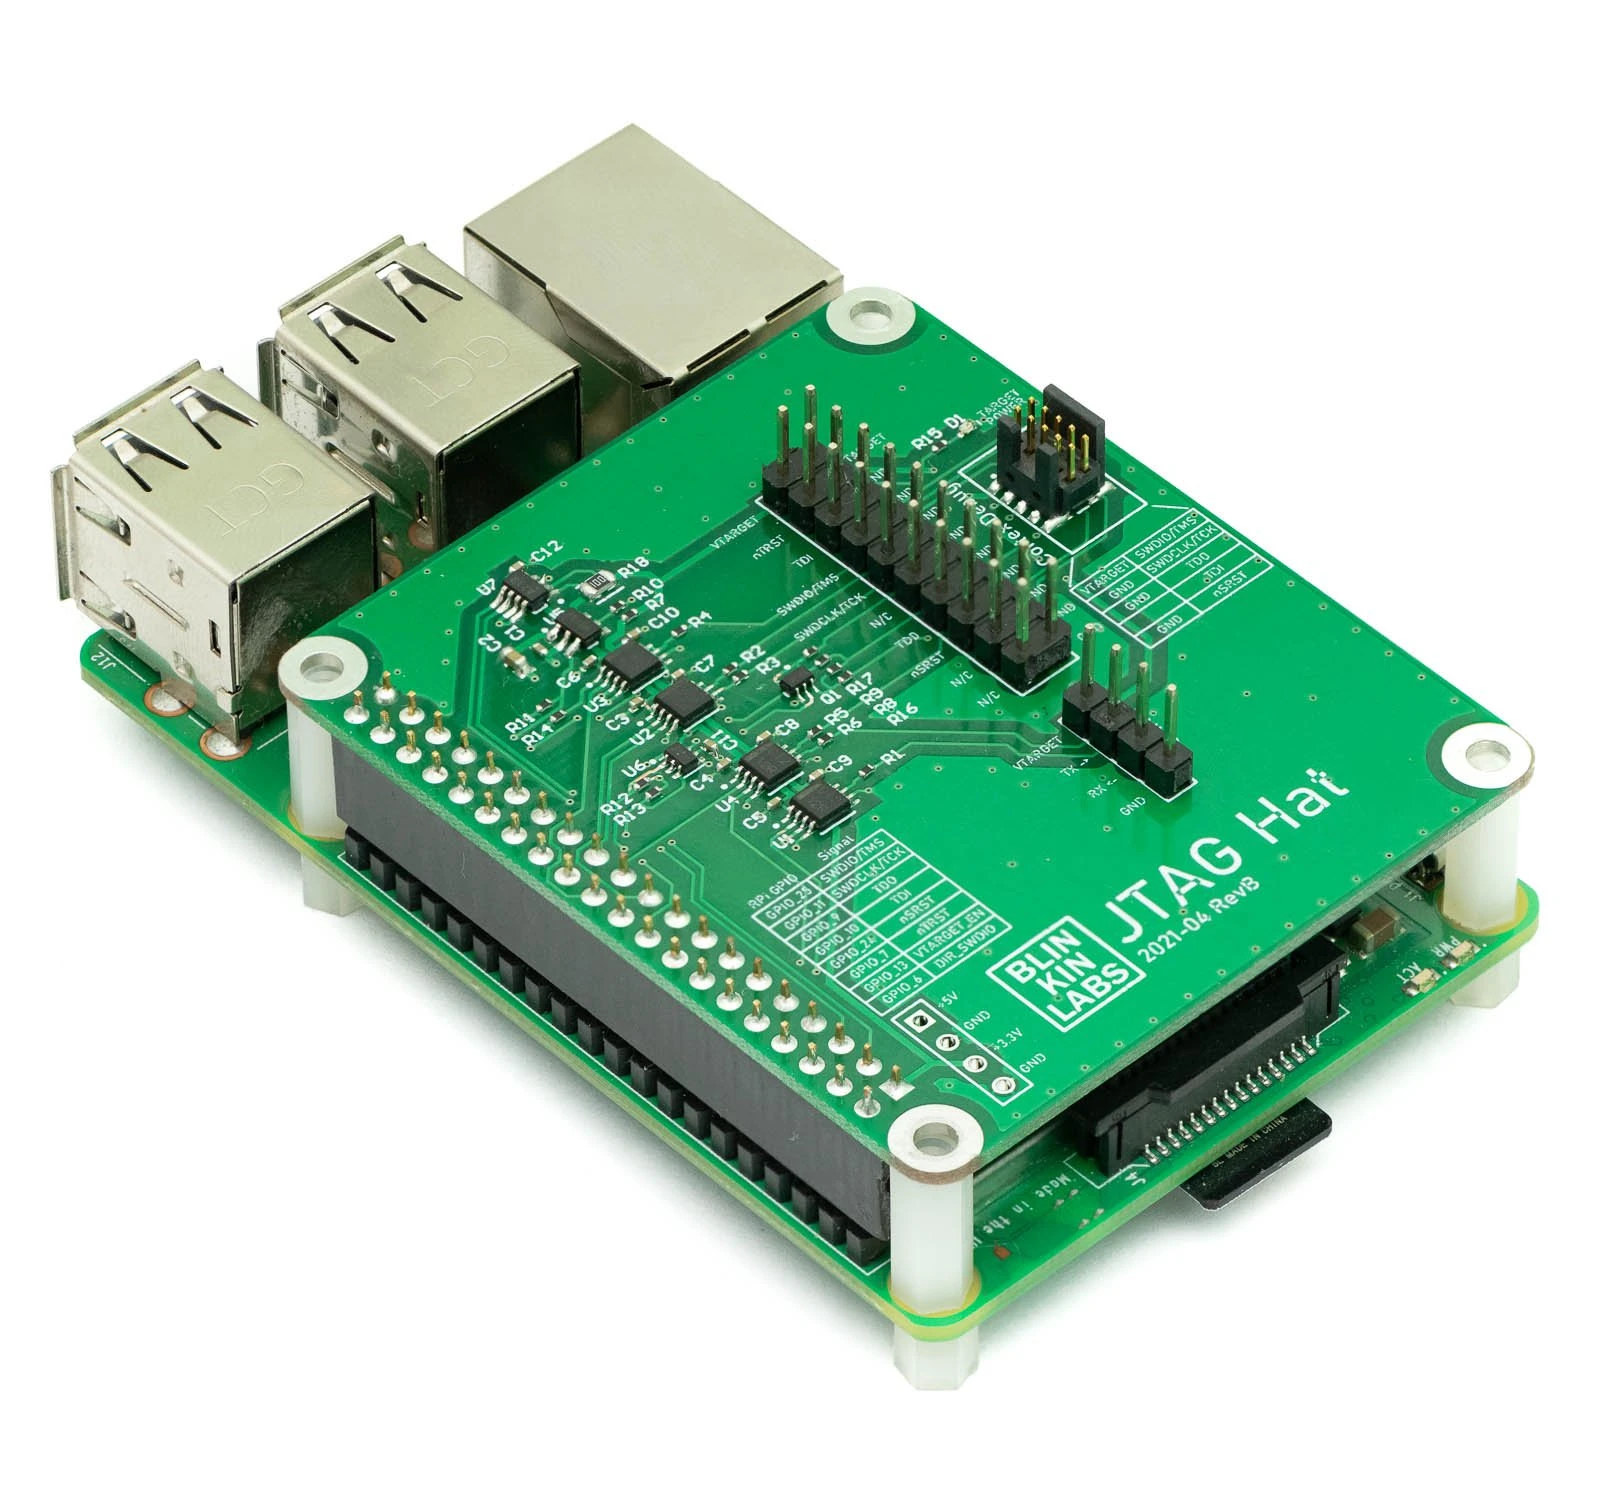
The expansion board also adds level-shifting buffers to interface with targets running at 1.8-5V, transistor-based power reset pins, a power switch for optionally supplying 3.3V to the target, a voltage/current sensor for measuring the target power consumption, and a buffered serial connection for communicating with the target using the Pi.
All that makes the JTAG Hat for Raspberry Pi suitable to support debugging devices with either a JTAG (TCK/TMS/TDI/TDO) or SWD (SWDIO/SWDCLK) programming interface which includes most of STM32, ESP32, ESP8266, etc.. boards. You’ll find the instructions to get started with the JTAG Hat and OpenOCD on Github, where you’ll also download the (PNG) schematics and Altium design files.
JTAG Hat is sold fully assembled and tested for 22 Euros on BlinkinLabs store together with Nylon standoffs and screws to attach the hat to a Rasbperrry Pi.

Jean-Luc started CNX Software in 2010 as a part-time endeavor, before quitting his job as a software engineering manager, and starting to write daily news, and reviews full time later in 2011.
Support CNX Software! Donate via cryptocurrencies, become a Patron on Patreon, or purchase goods on Amazon or Aliexpress


