
Annke CZ400 software setup
There are multiple ways to control the camera, but I went with Annke Vision Android app.
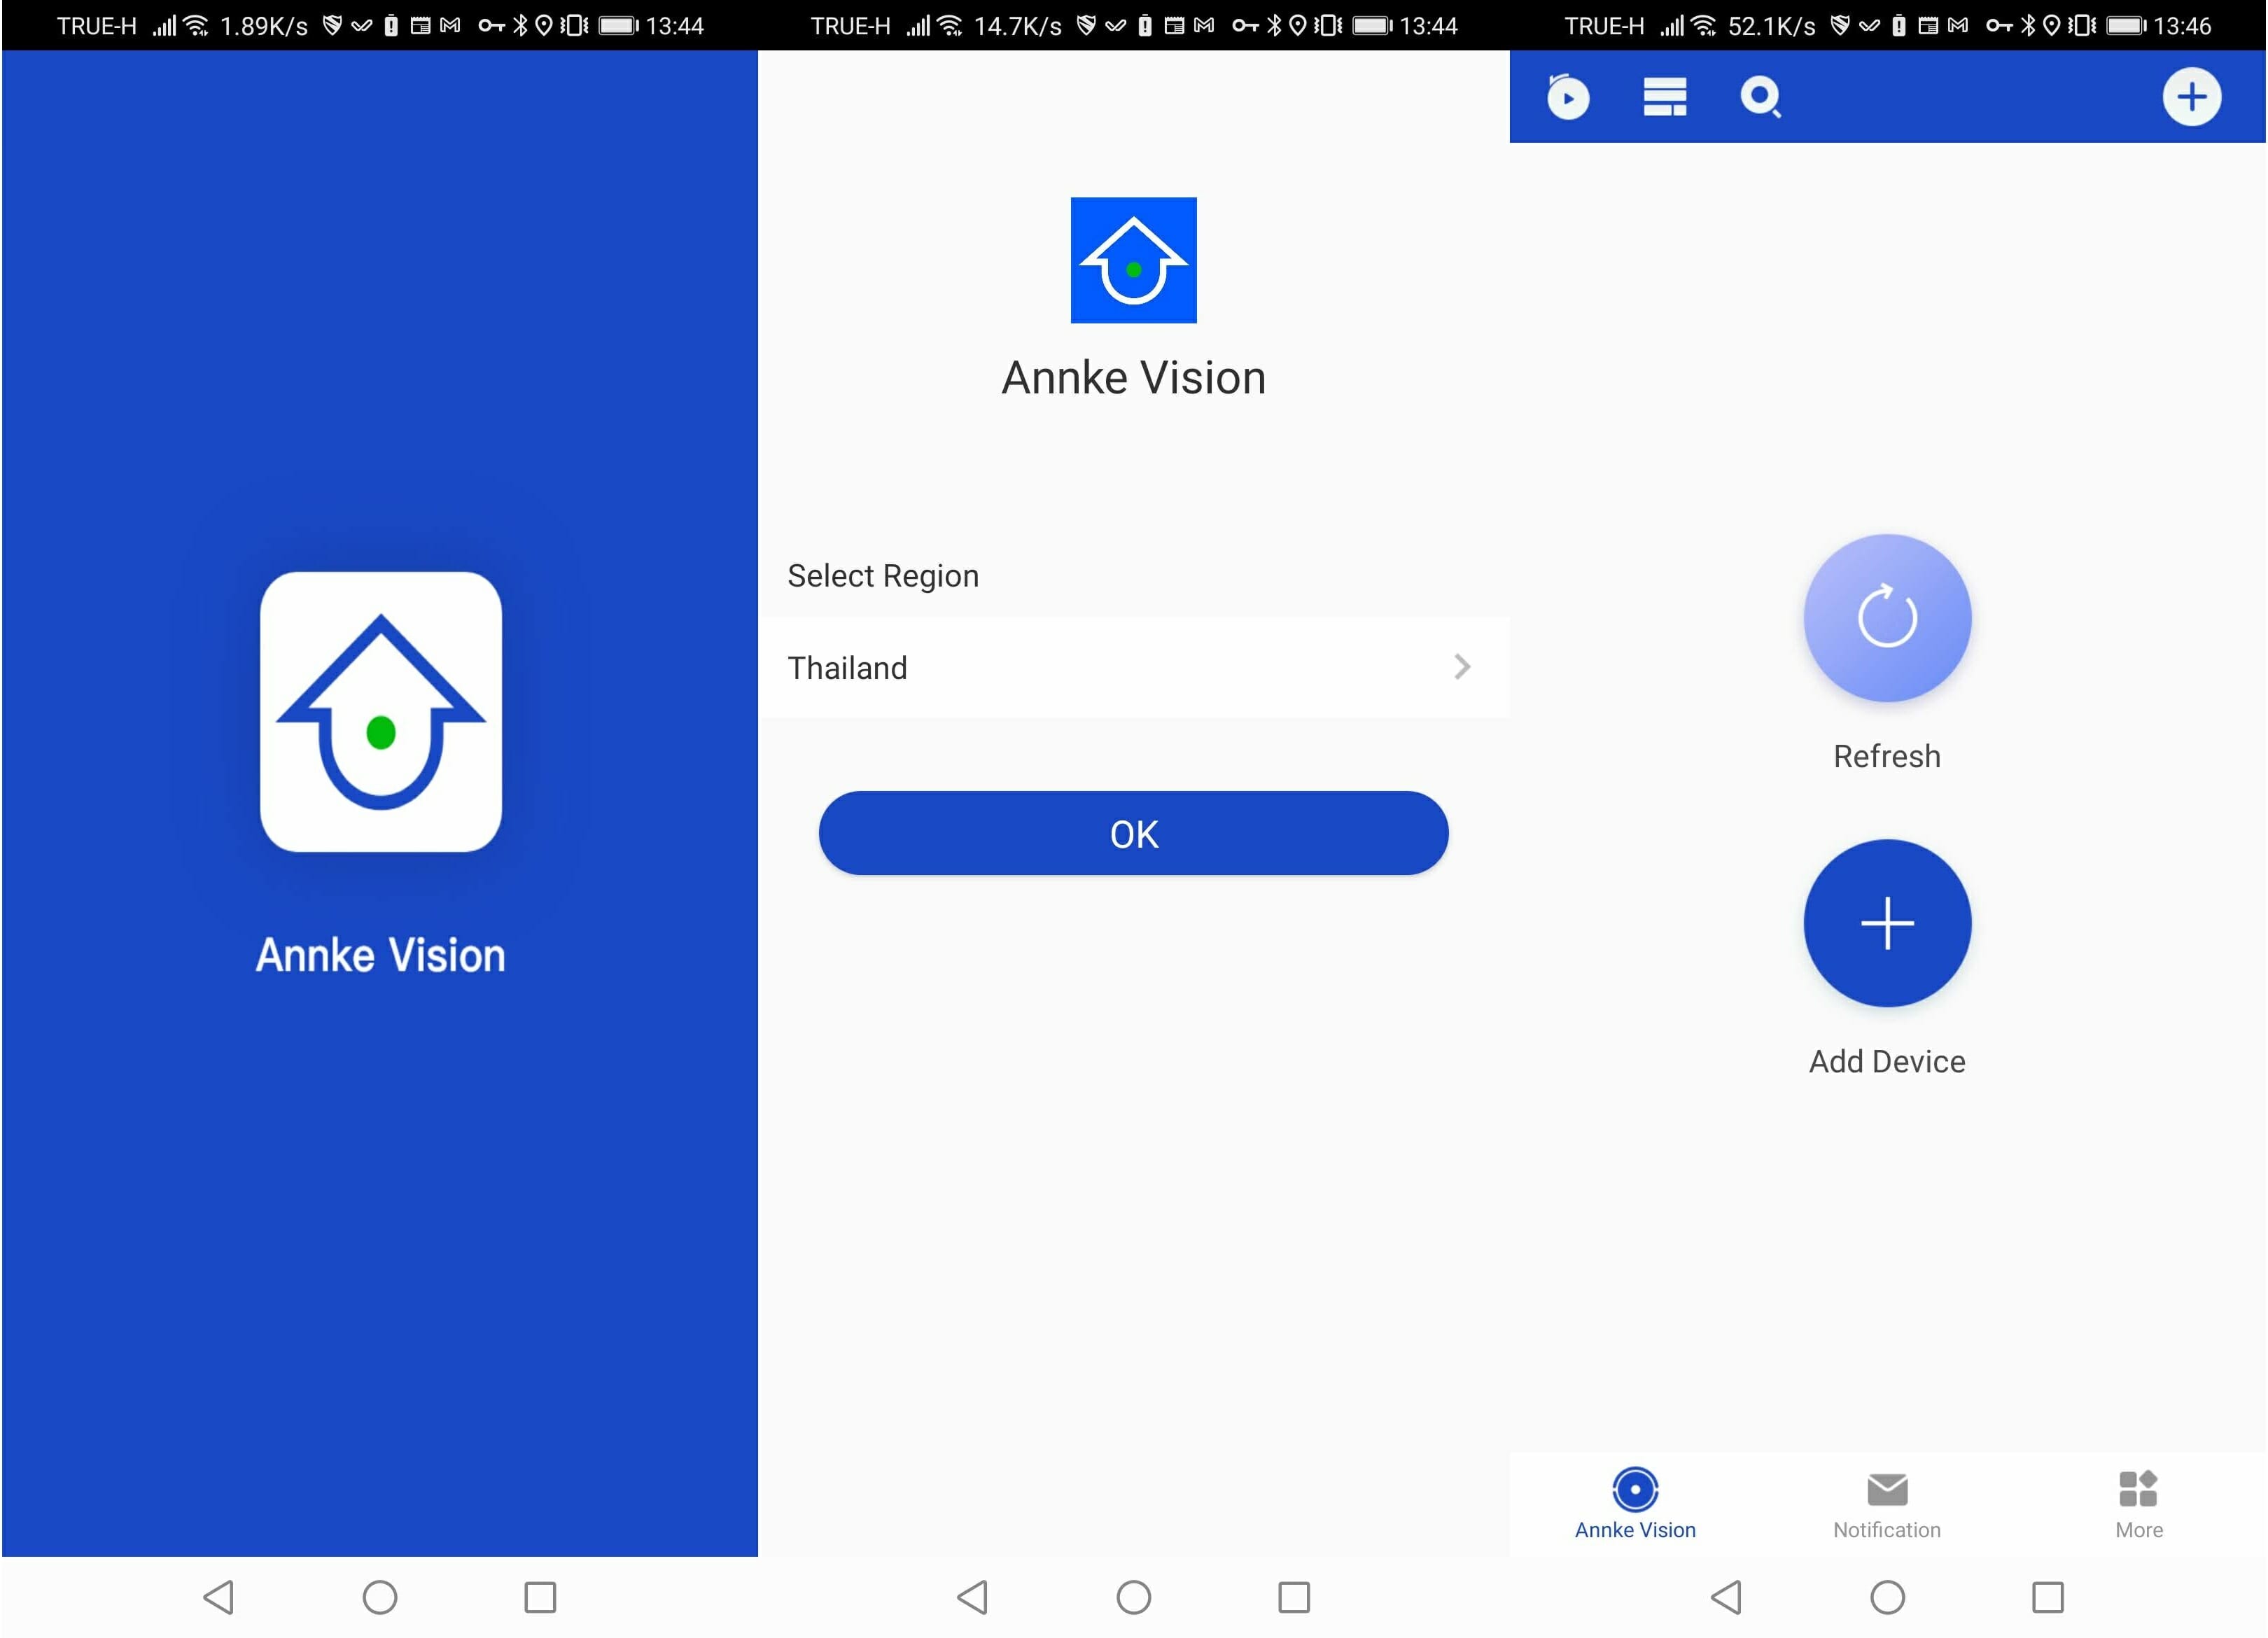
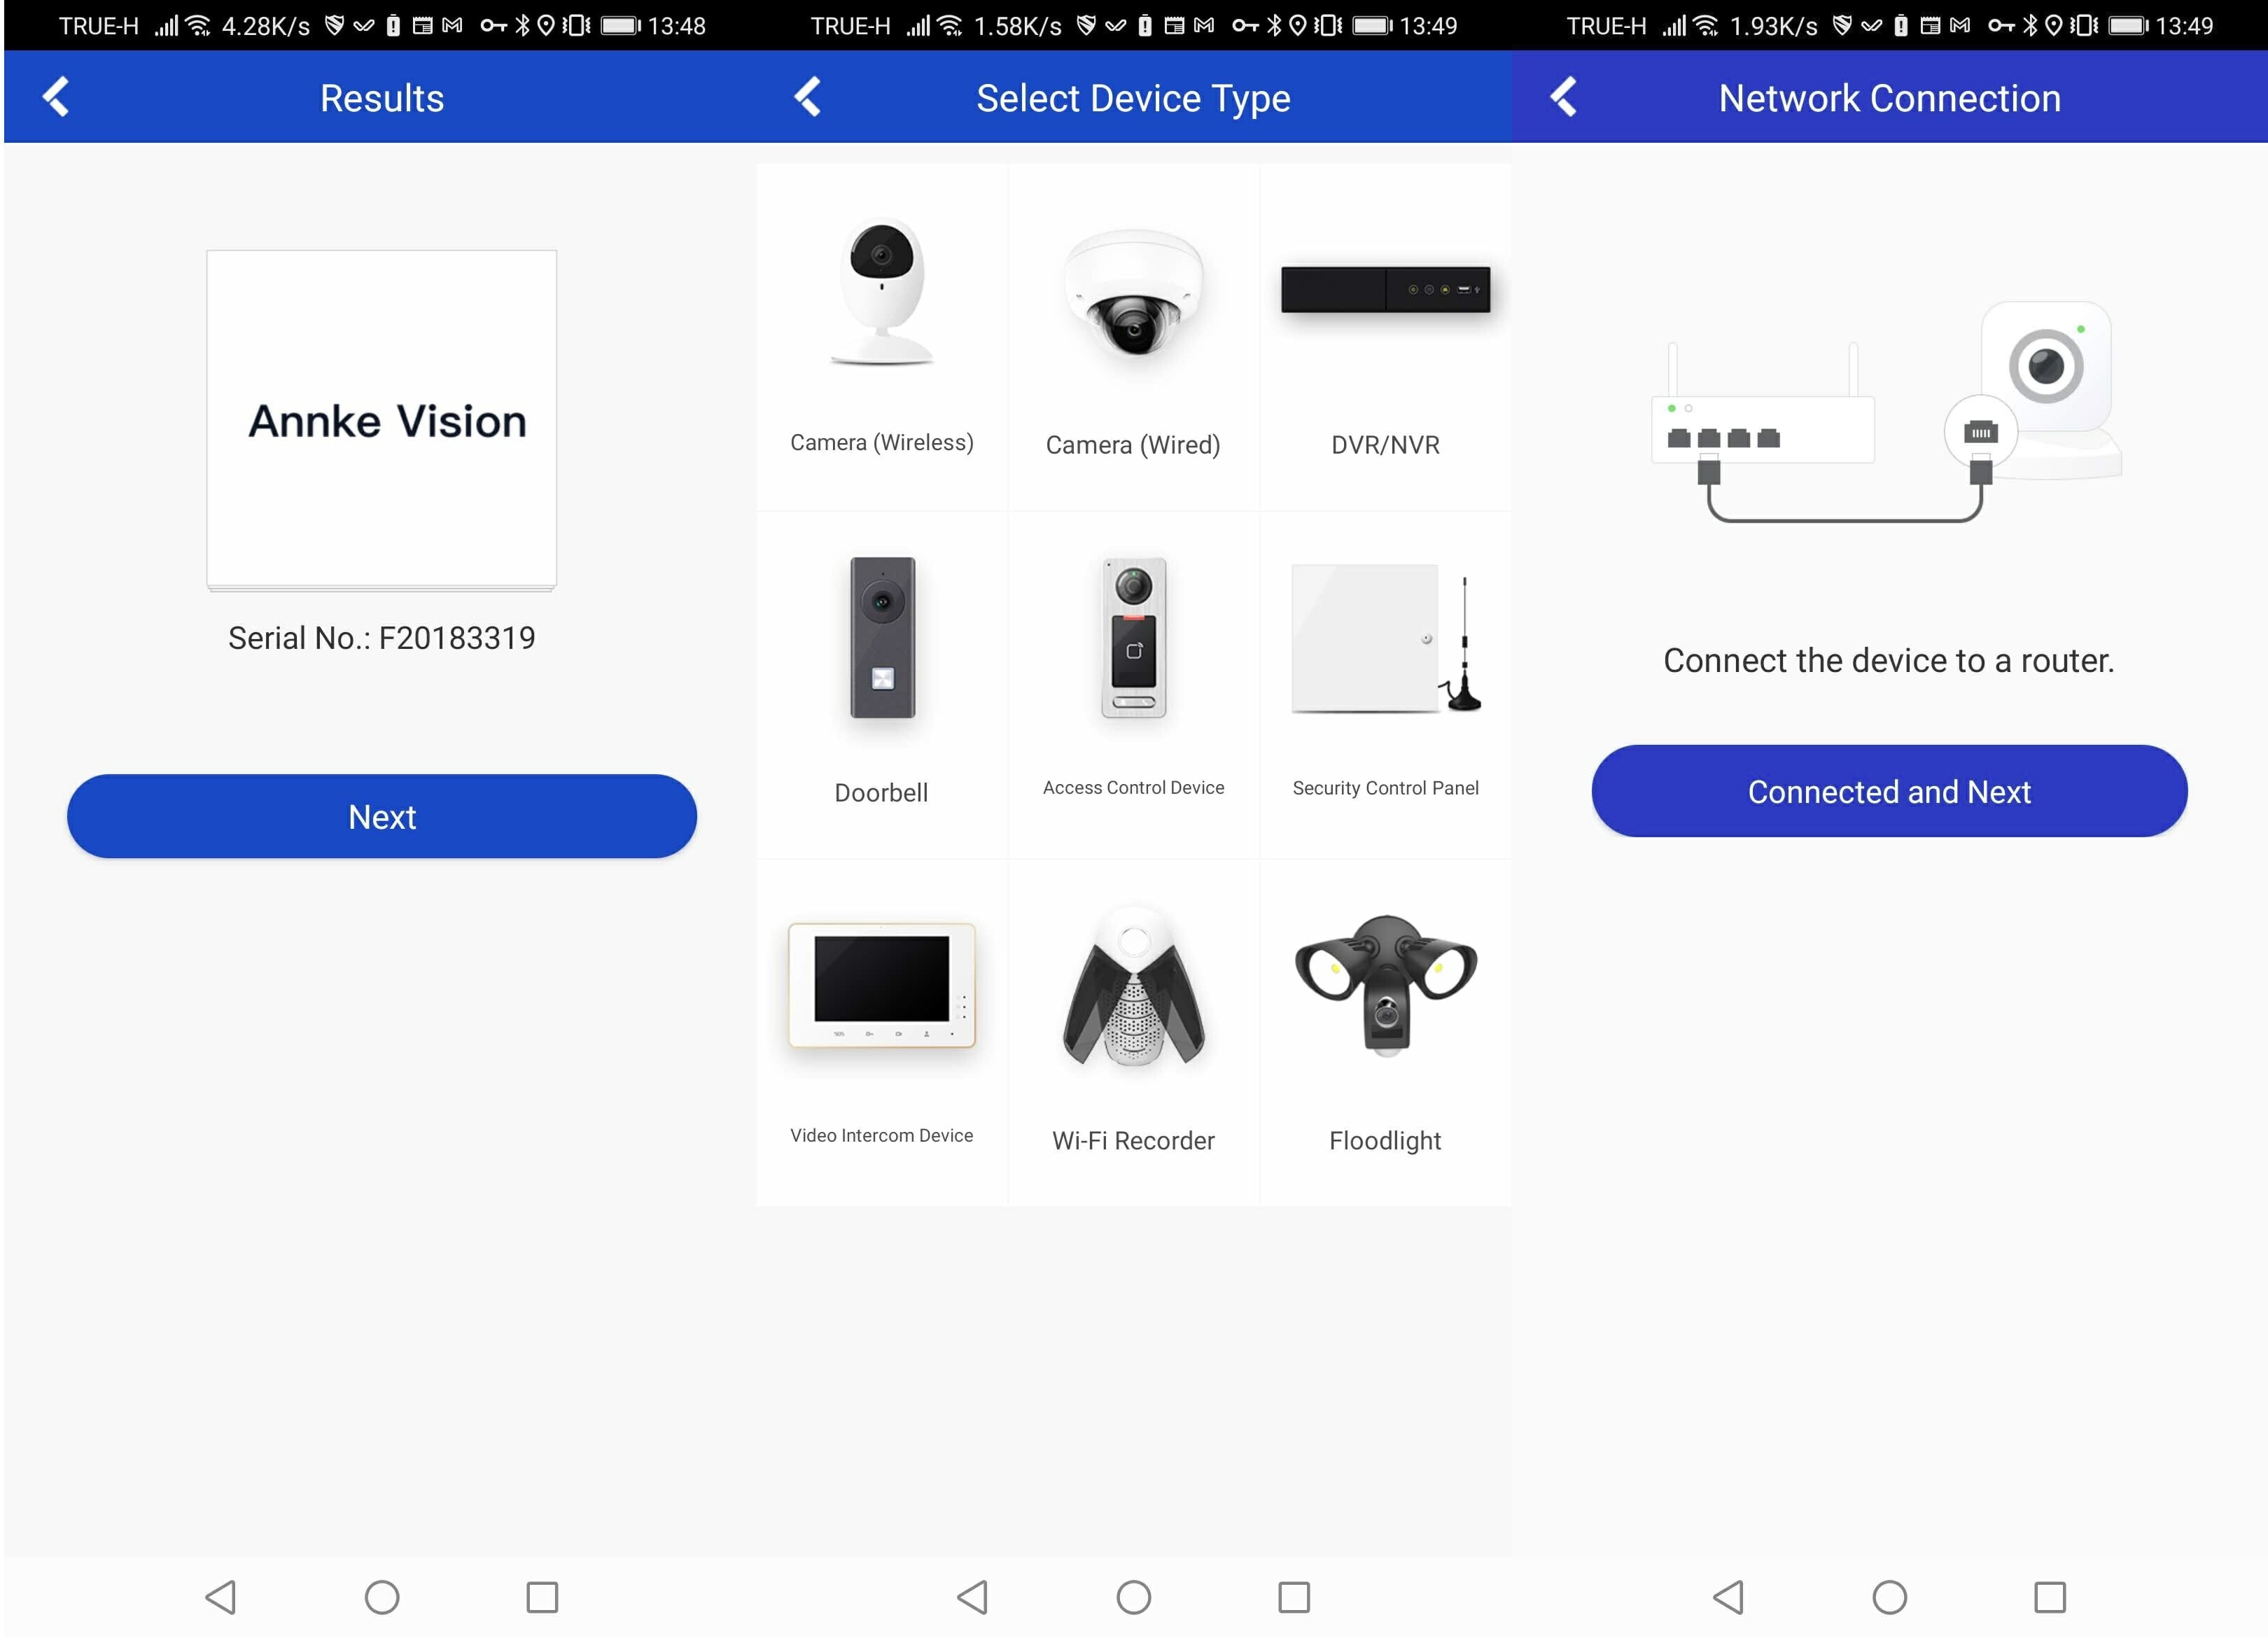
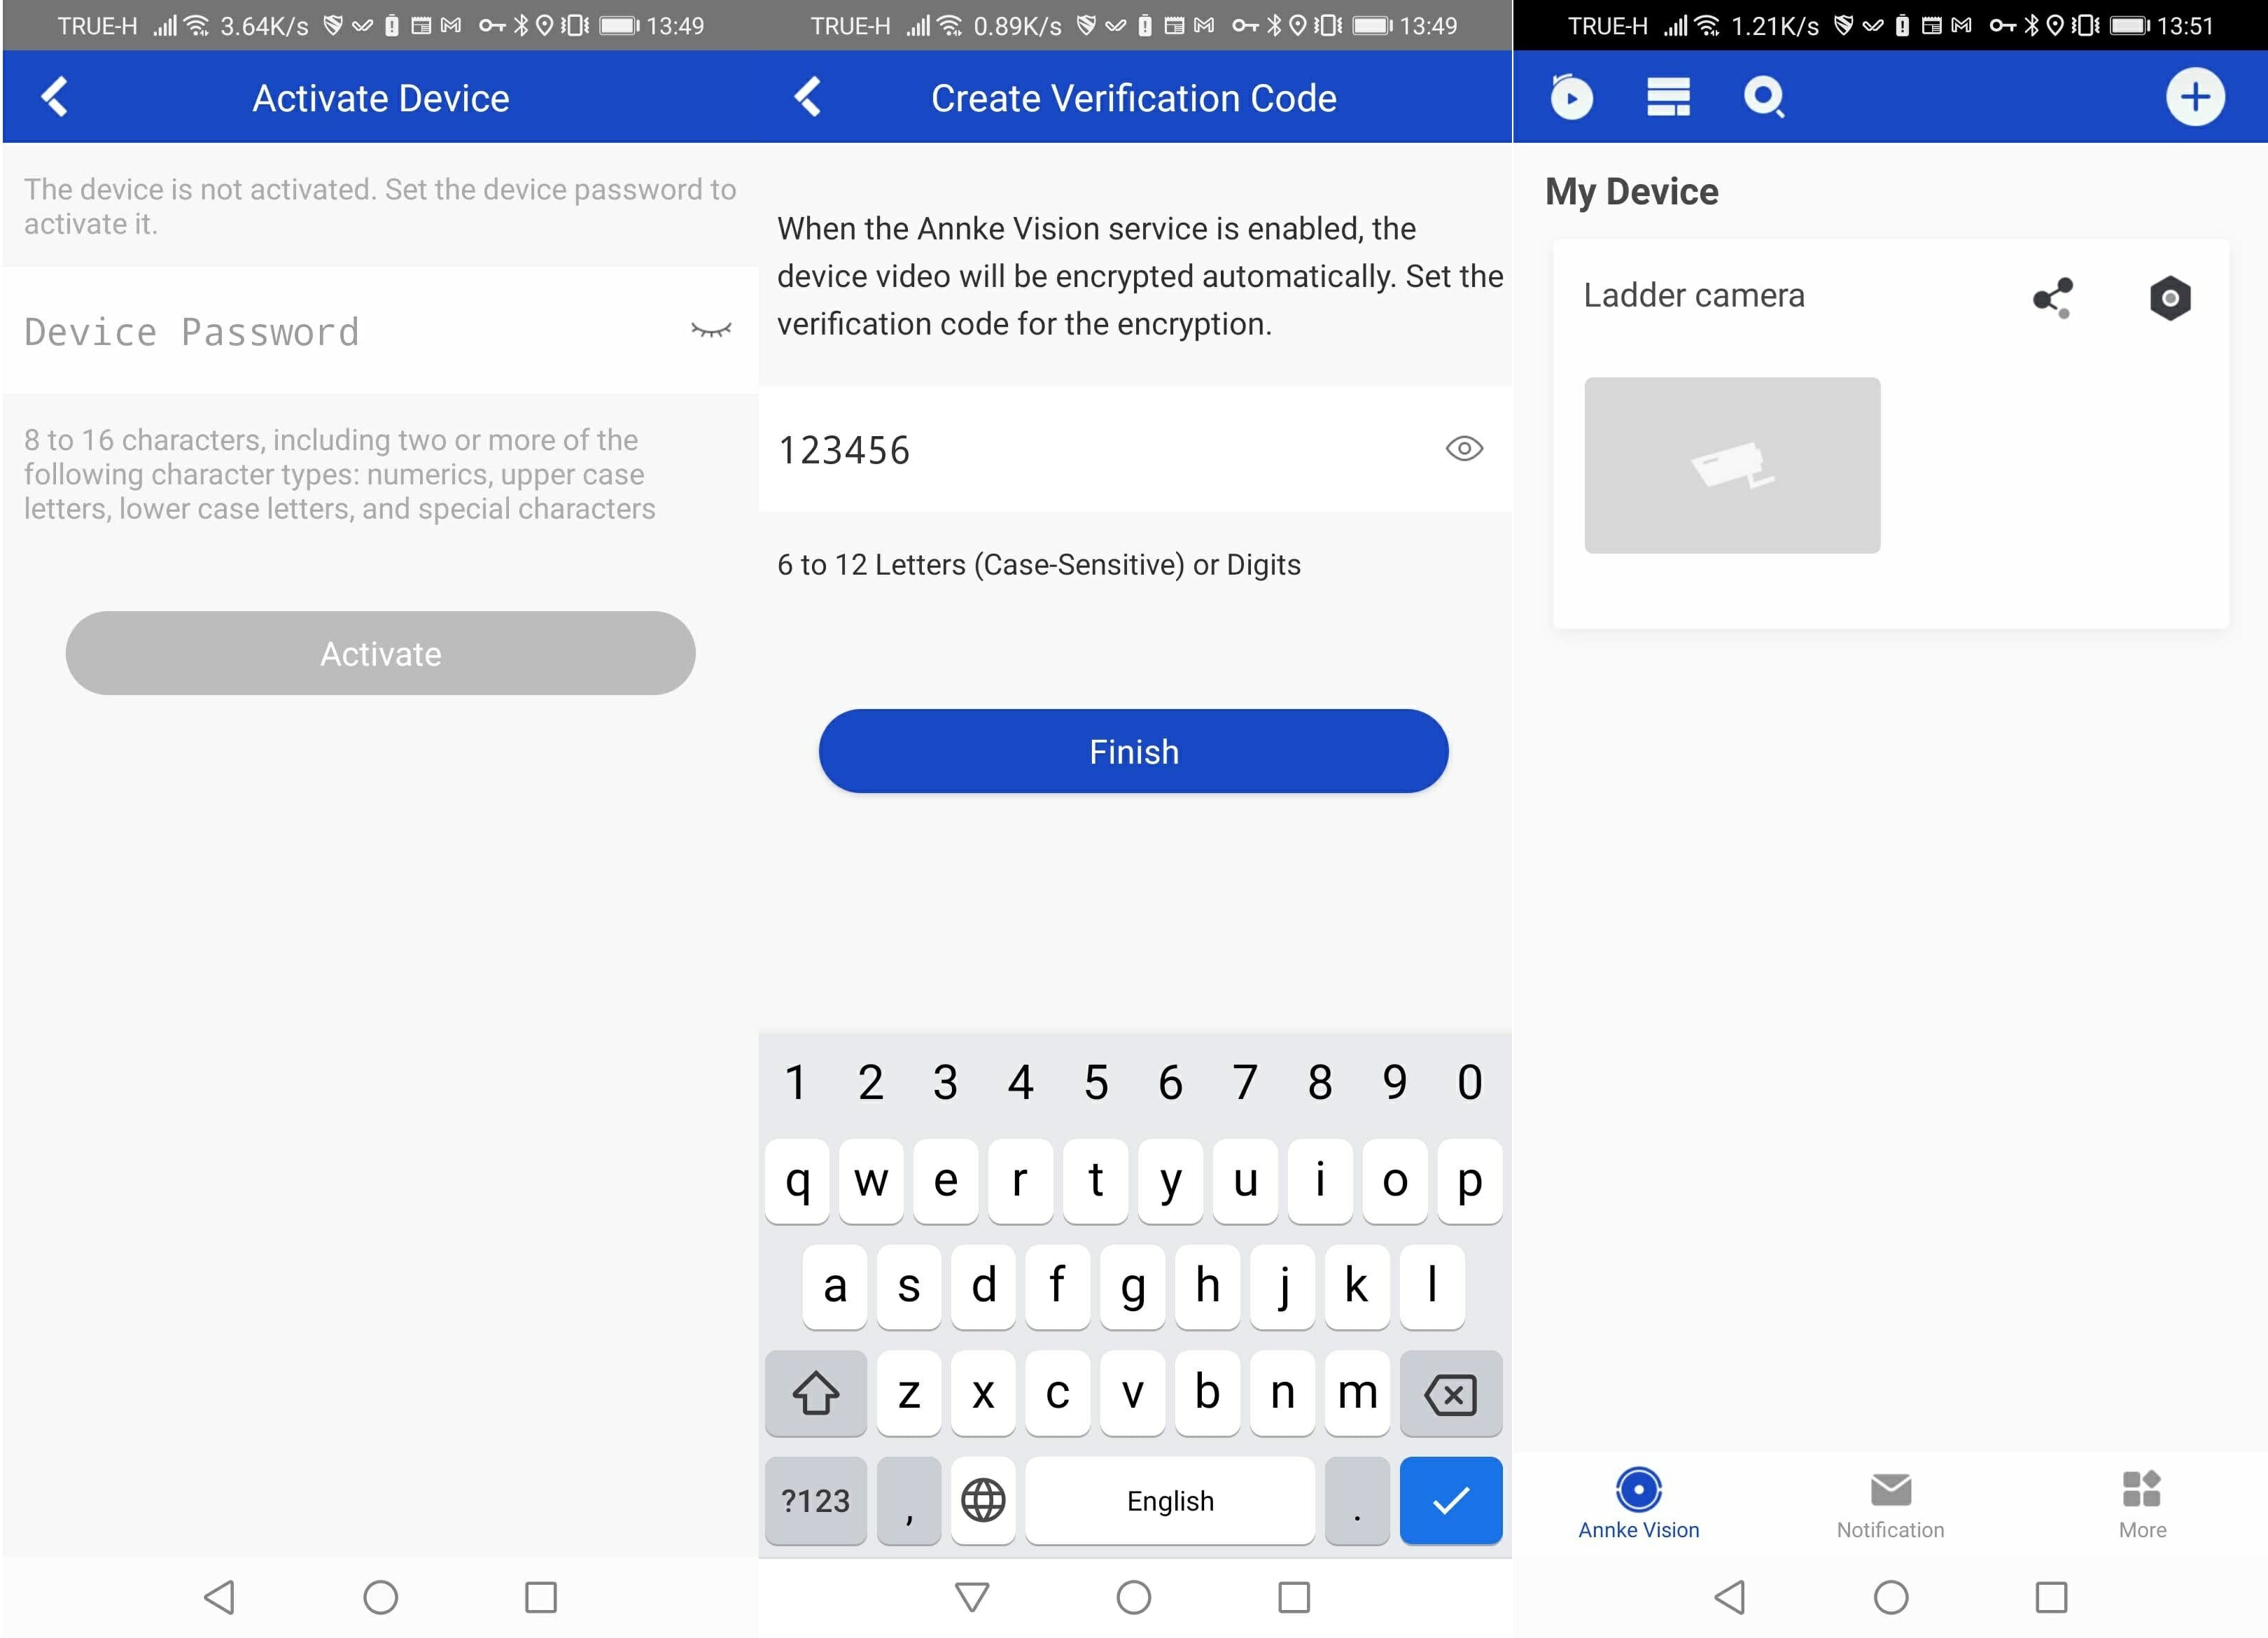
We’ll create two passwords one for the camera, and one to encrypt the video. Note the passwords, as they’ll be needed later. At this point setup is complete.
Standard Features
We can now use CZ400 like any other camera. The first time the camera pointed down, but since it’s a PTZ camera it’s easy enough to orient the camera properly, and even define presets for different views.
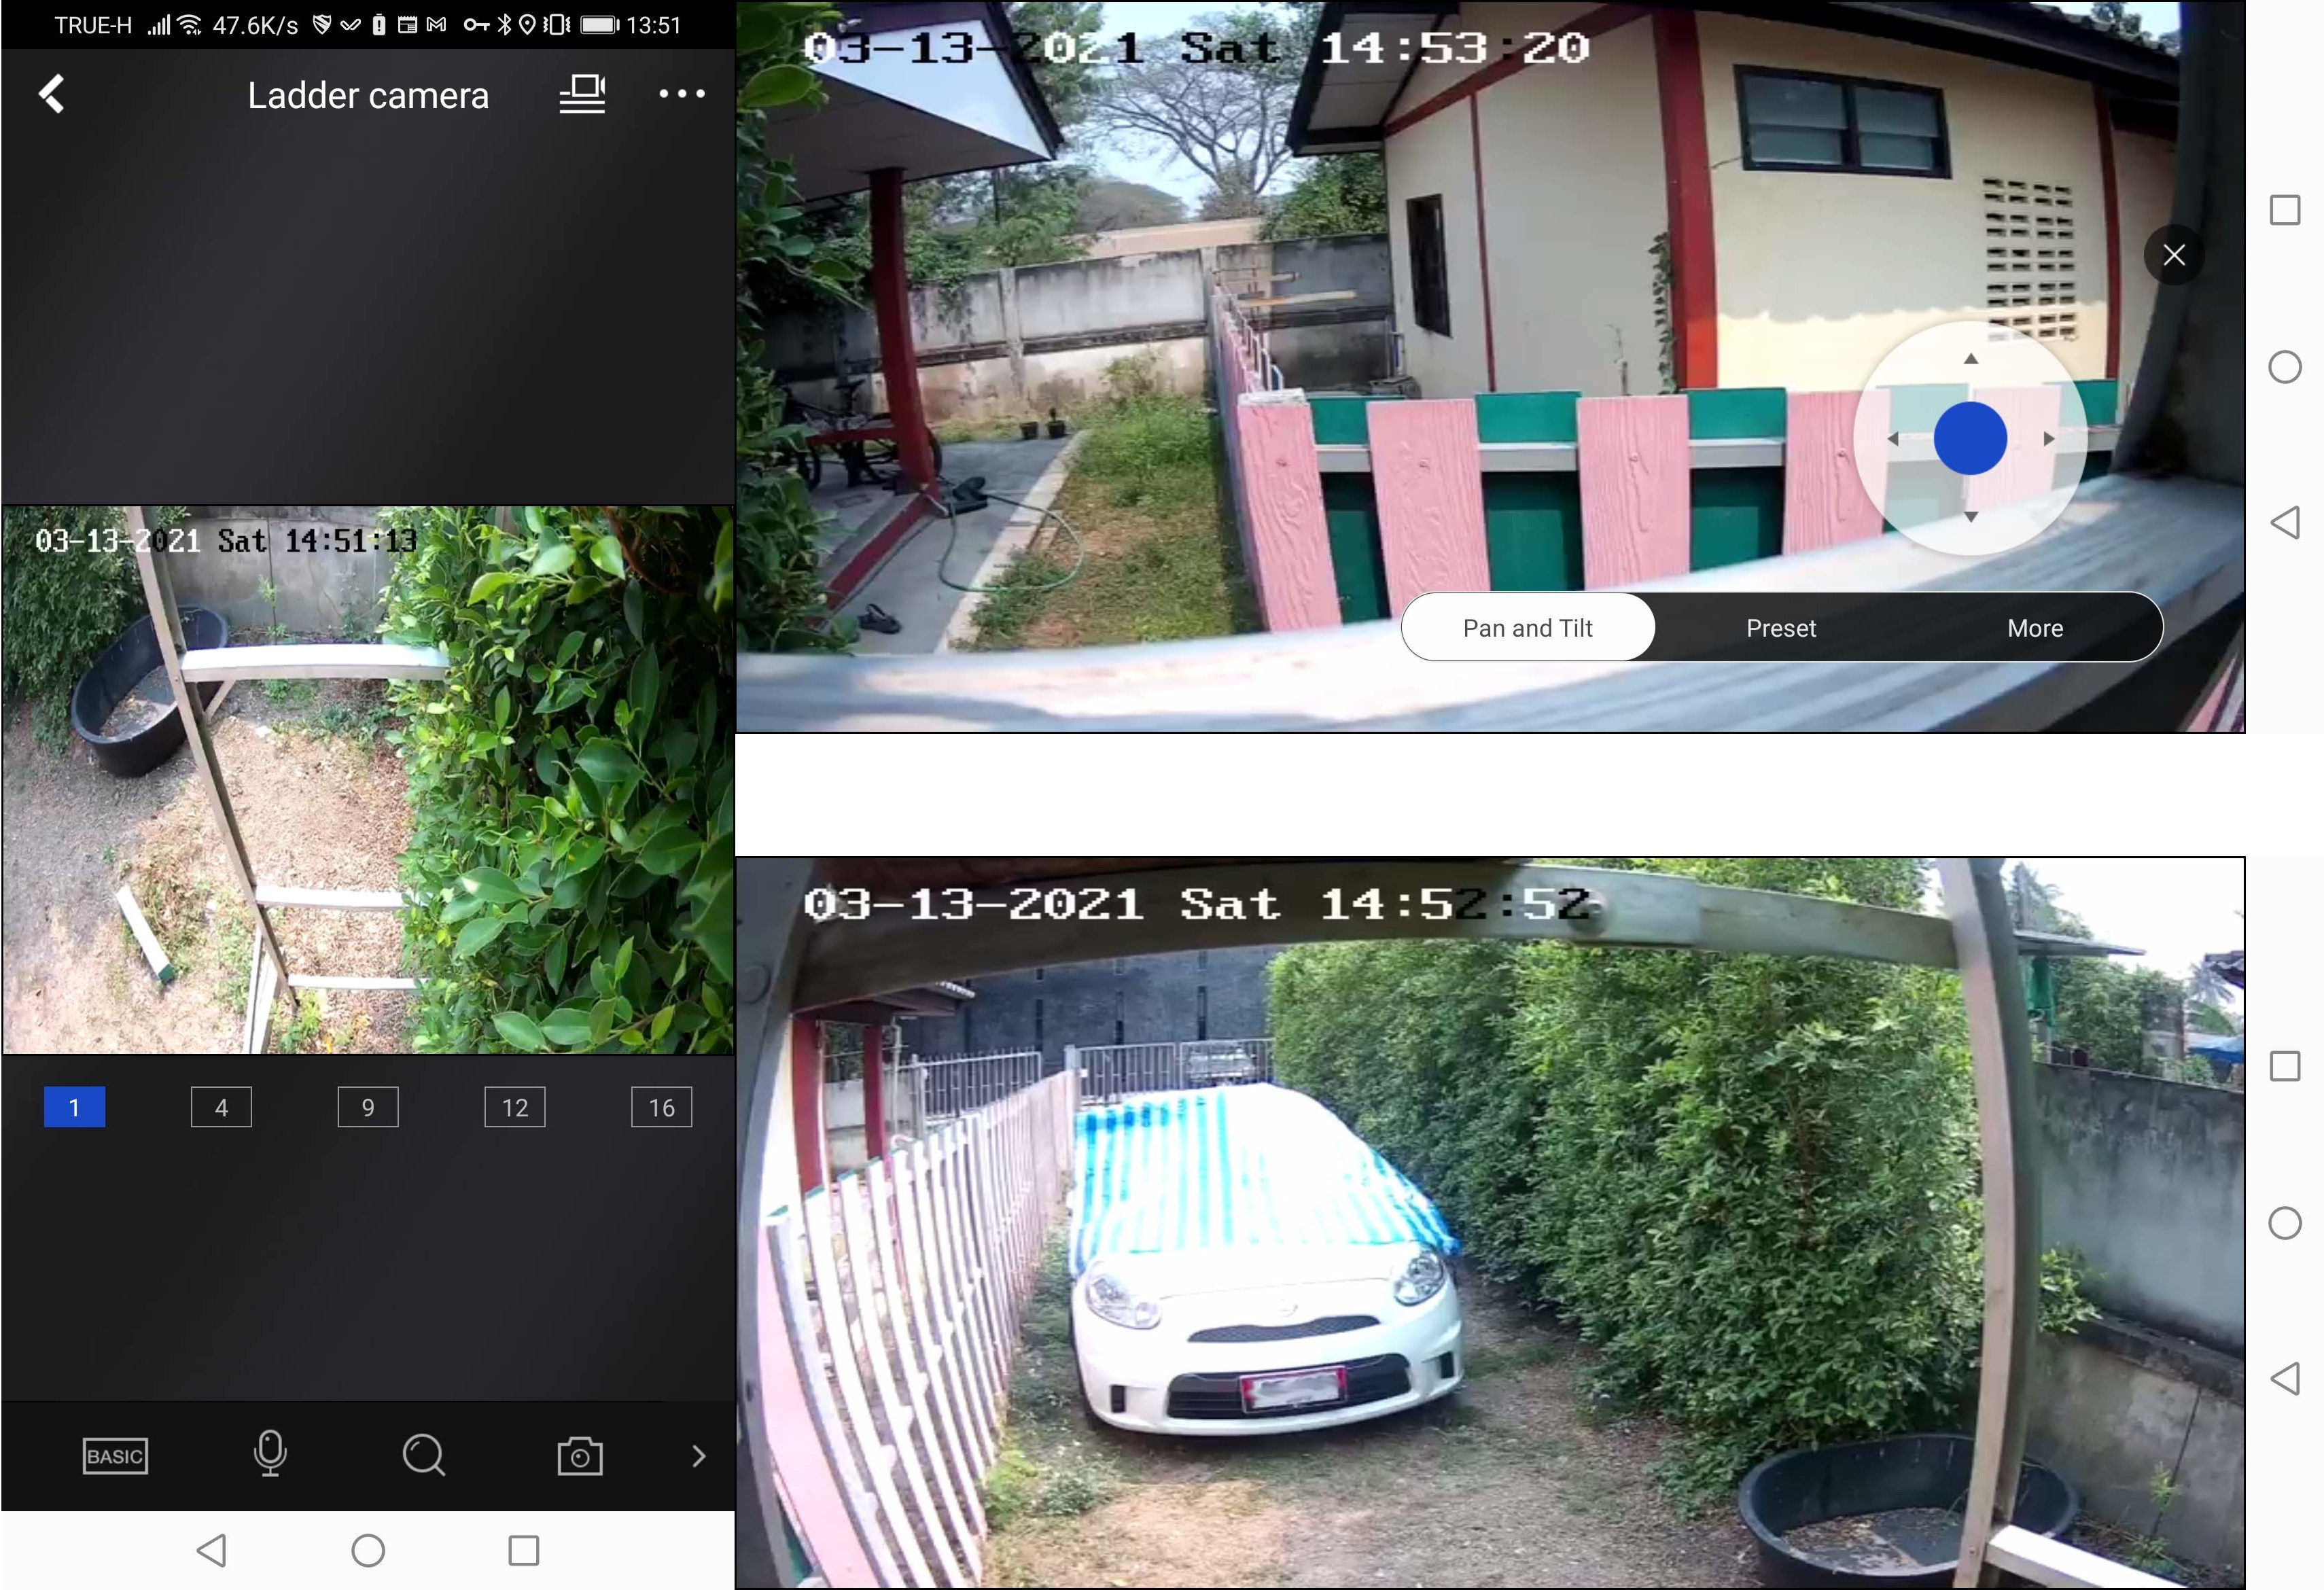
By default, the app uses basic resolution which may look blurry, and once we switch to HD resolution it’s much better.
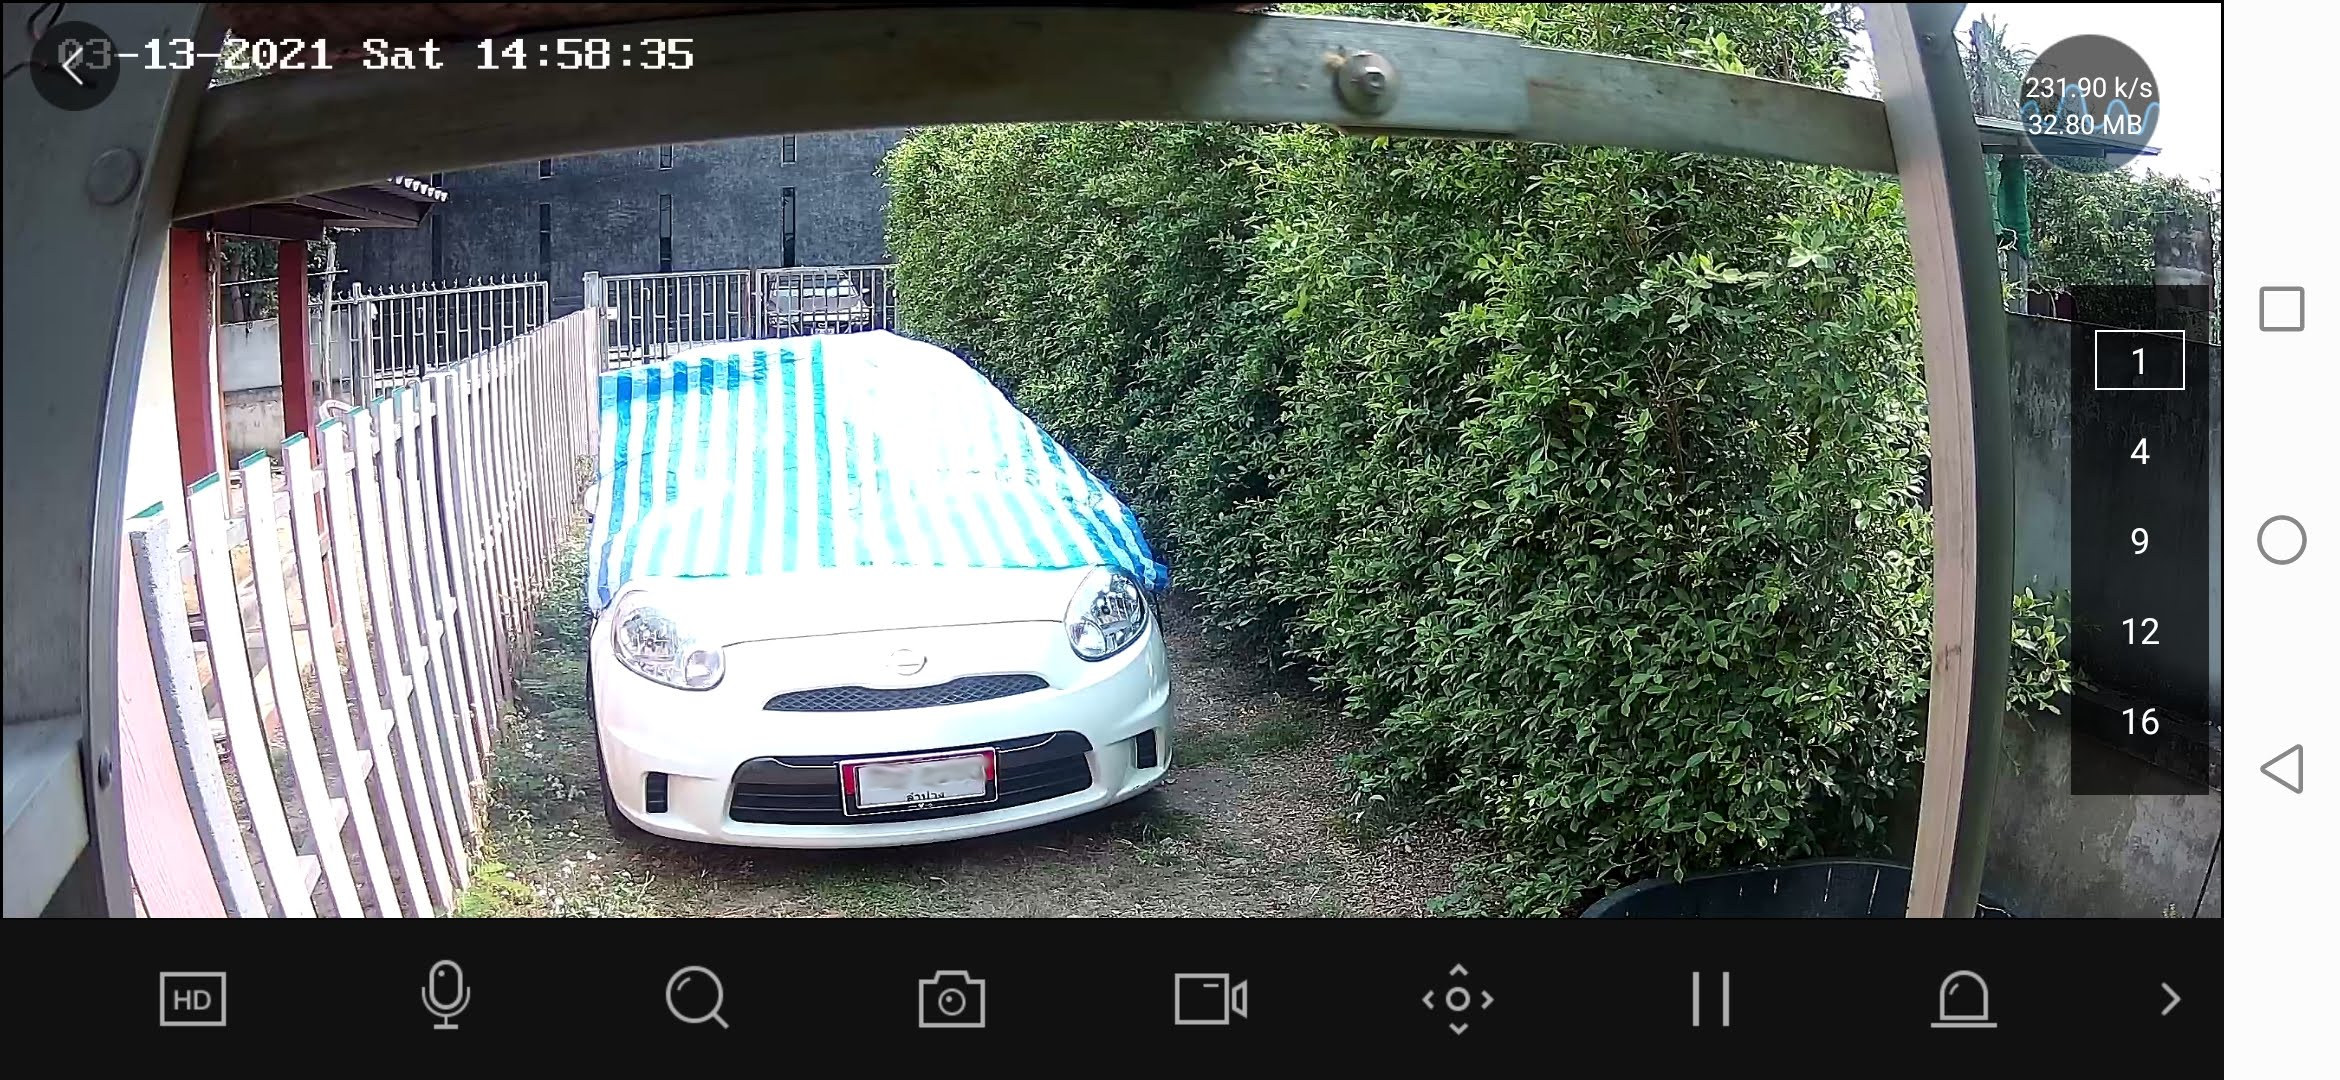
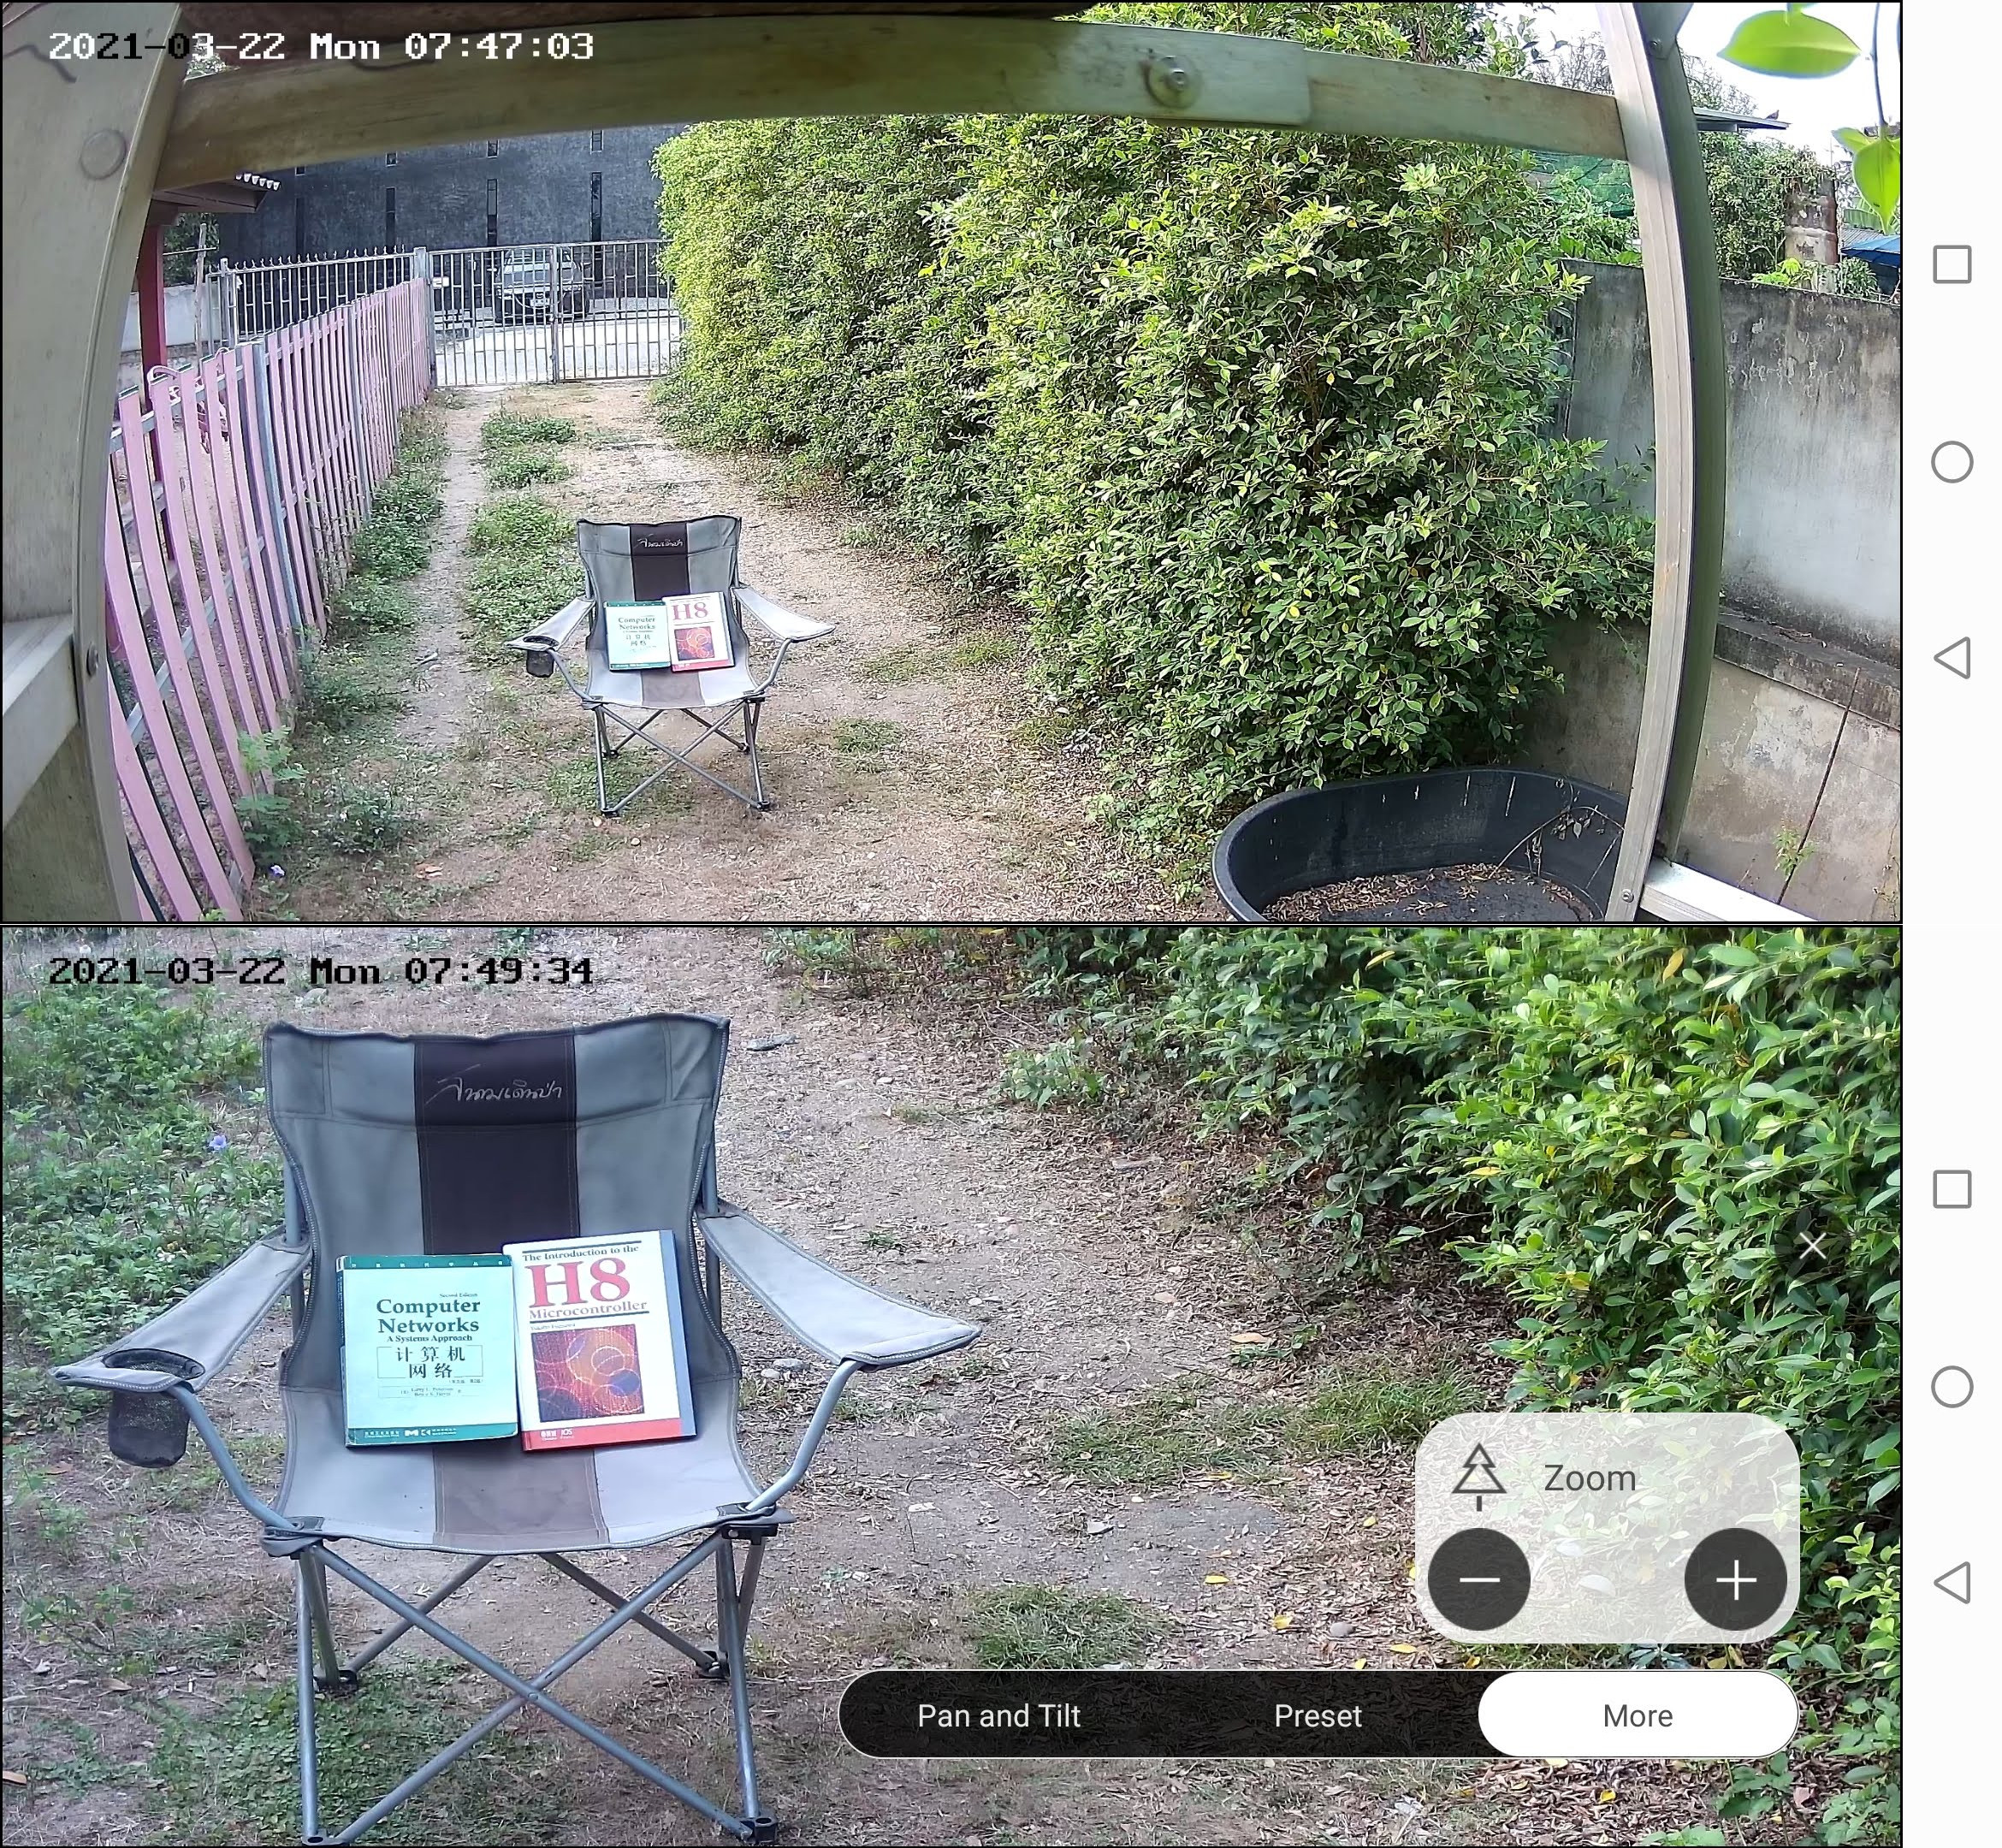
I’ve blurred out the registration number from the registration place, but you can still easily read the province name on the plate, that is provided you can read the Thai language… Two-way audio does not work, as I have not connected a speaker, but audio is recorded in the video capture thanks to the buill-in microphone. There’s also a 4X optical zoom that does its job.
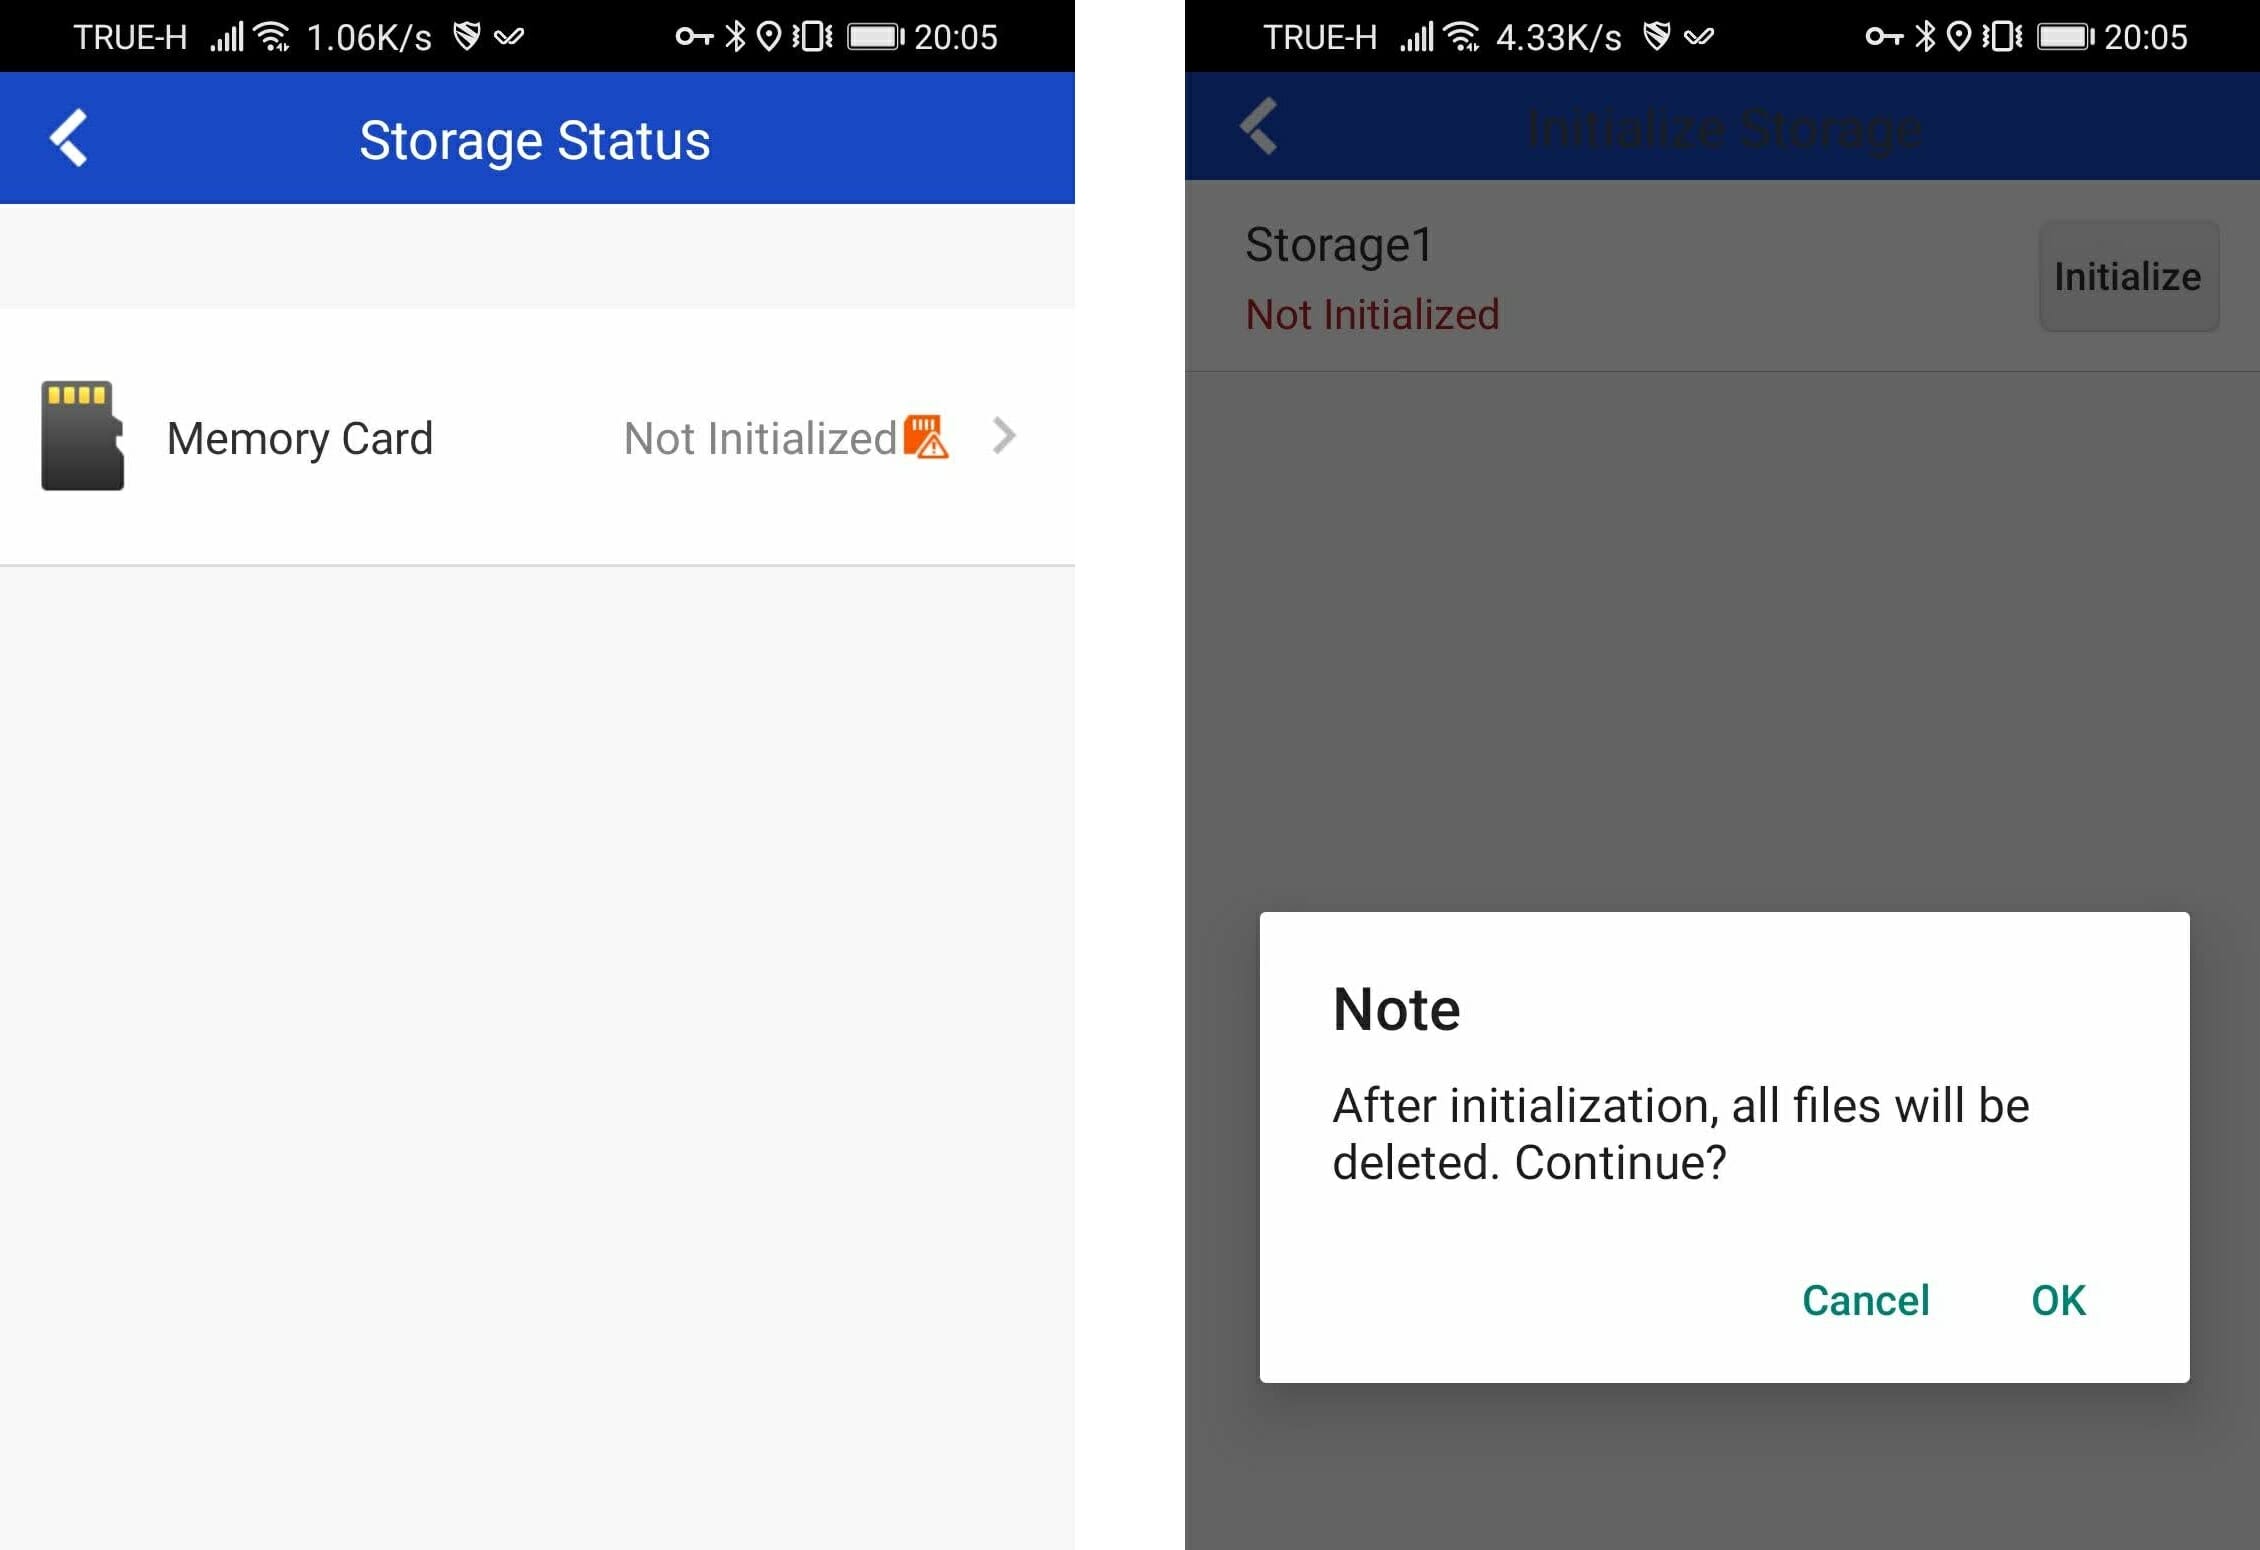
That’s all good, except my MicroSD card was not detected, so it would not record anything, and only live view was possible… So I had to remove the camera from the “ceiling”, disconnect the power and Ethernet, and reopen the camera…
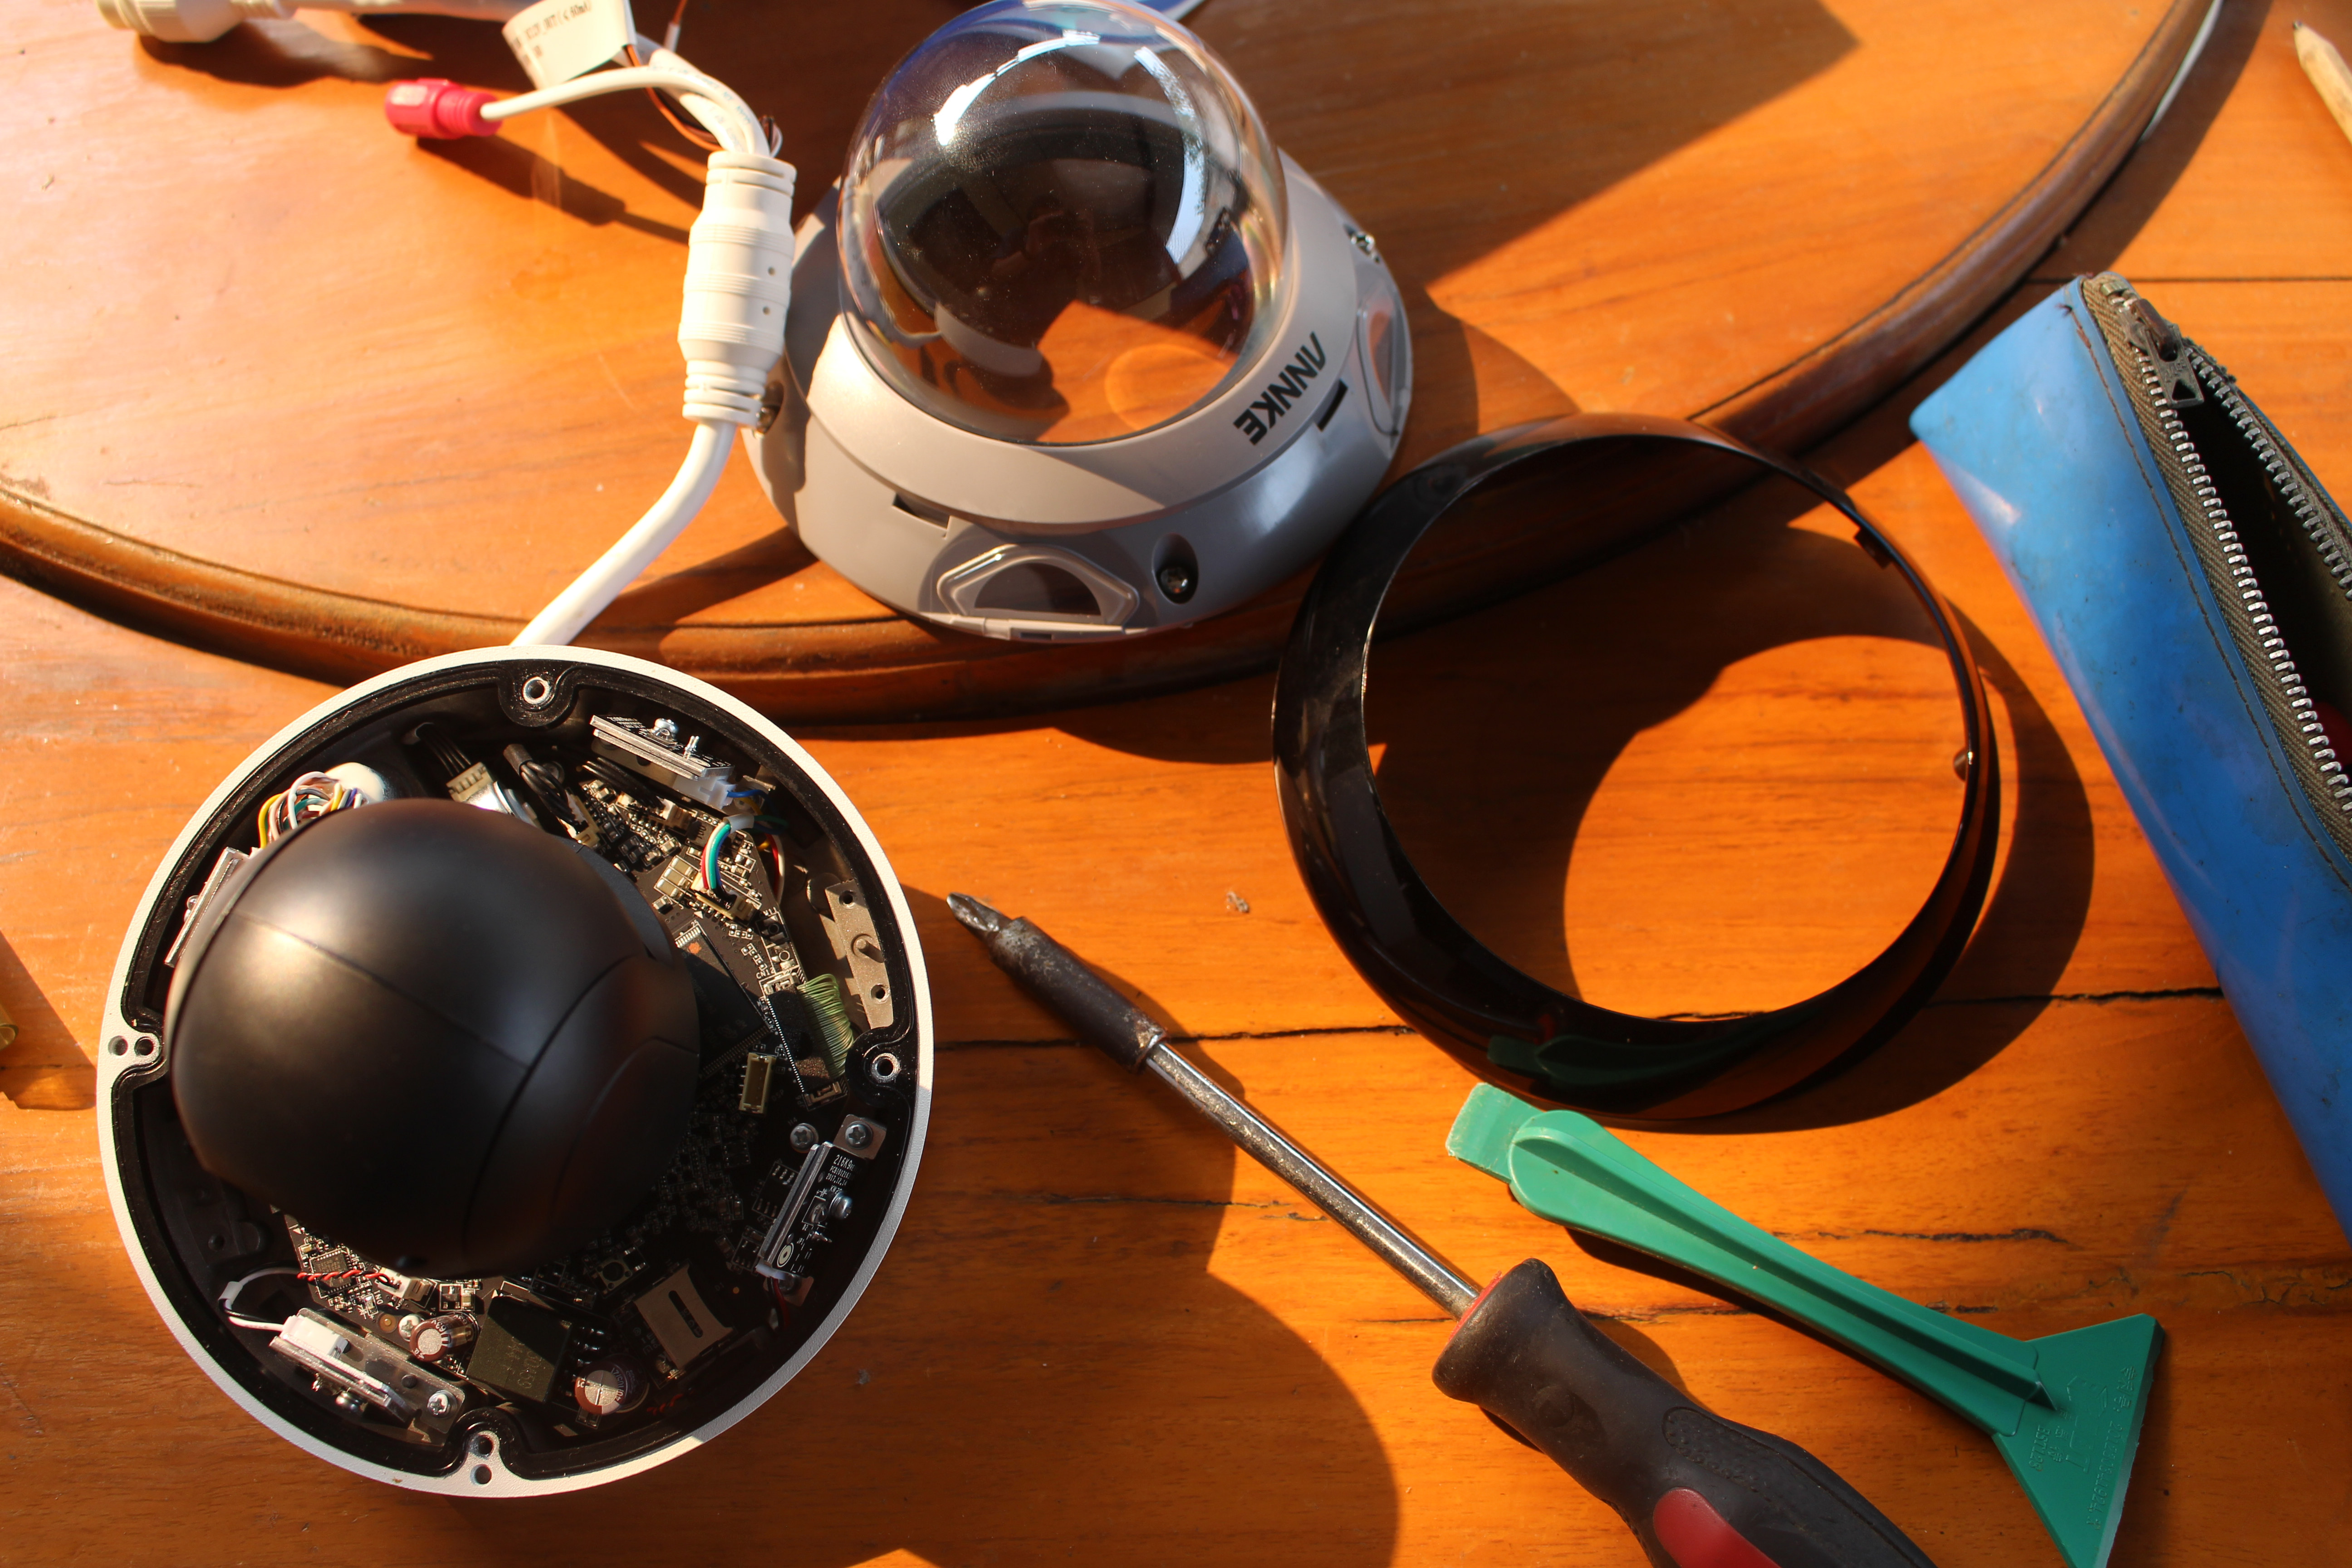
… in order to check out the MicroSD which was indeed formatted with FAT32. But I used it with Pico Maker board, so maybe existing files confused the camera.
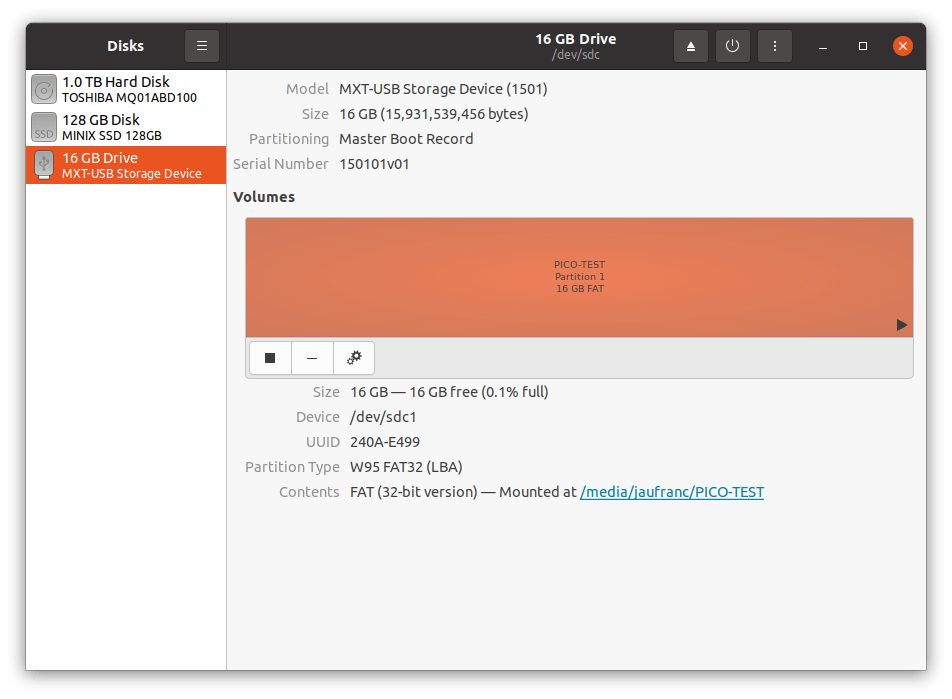
Note that the camera record videos continuously, and the 16GB MicroSD card I used with the camera only stores about 6 hours of video data, so a bigger MicroSD card is needed, or ideally the camera should be connected to an NVR system.
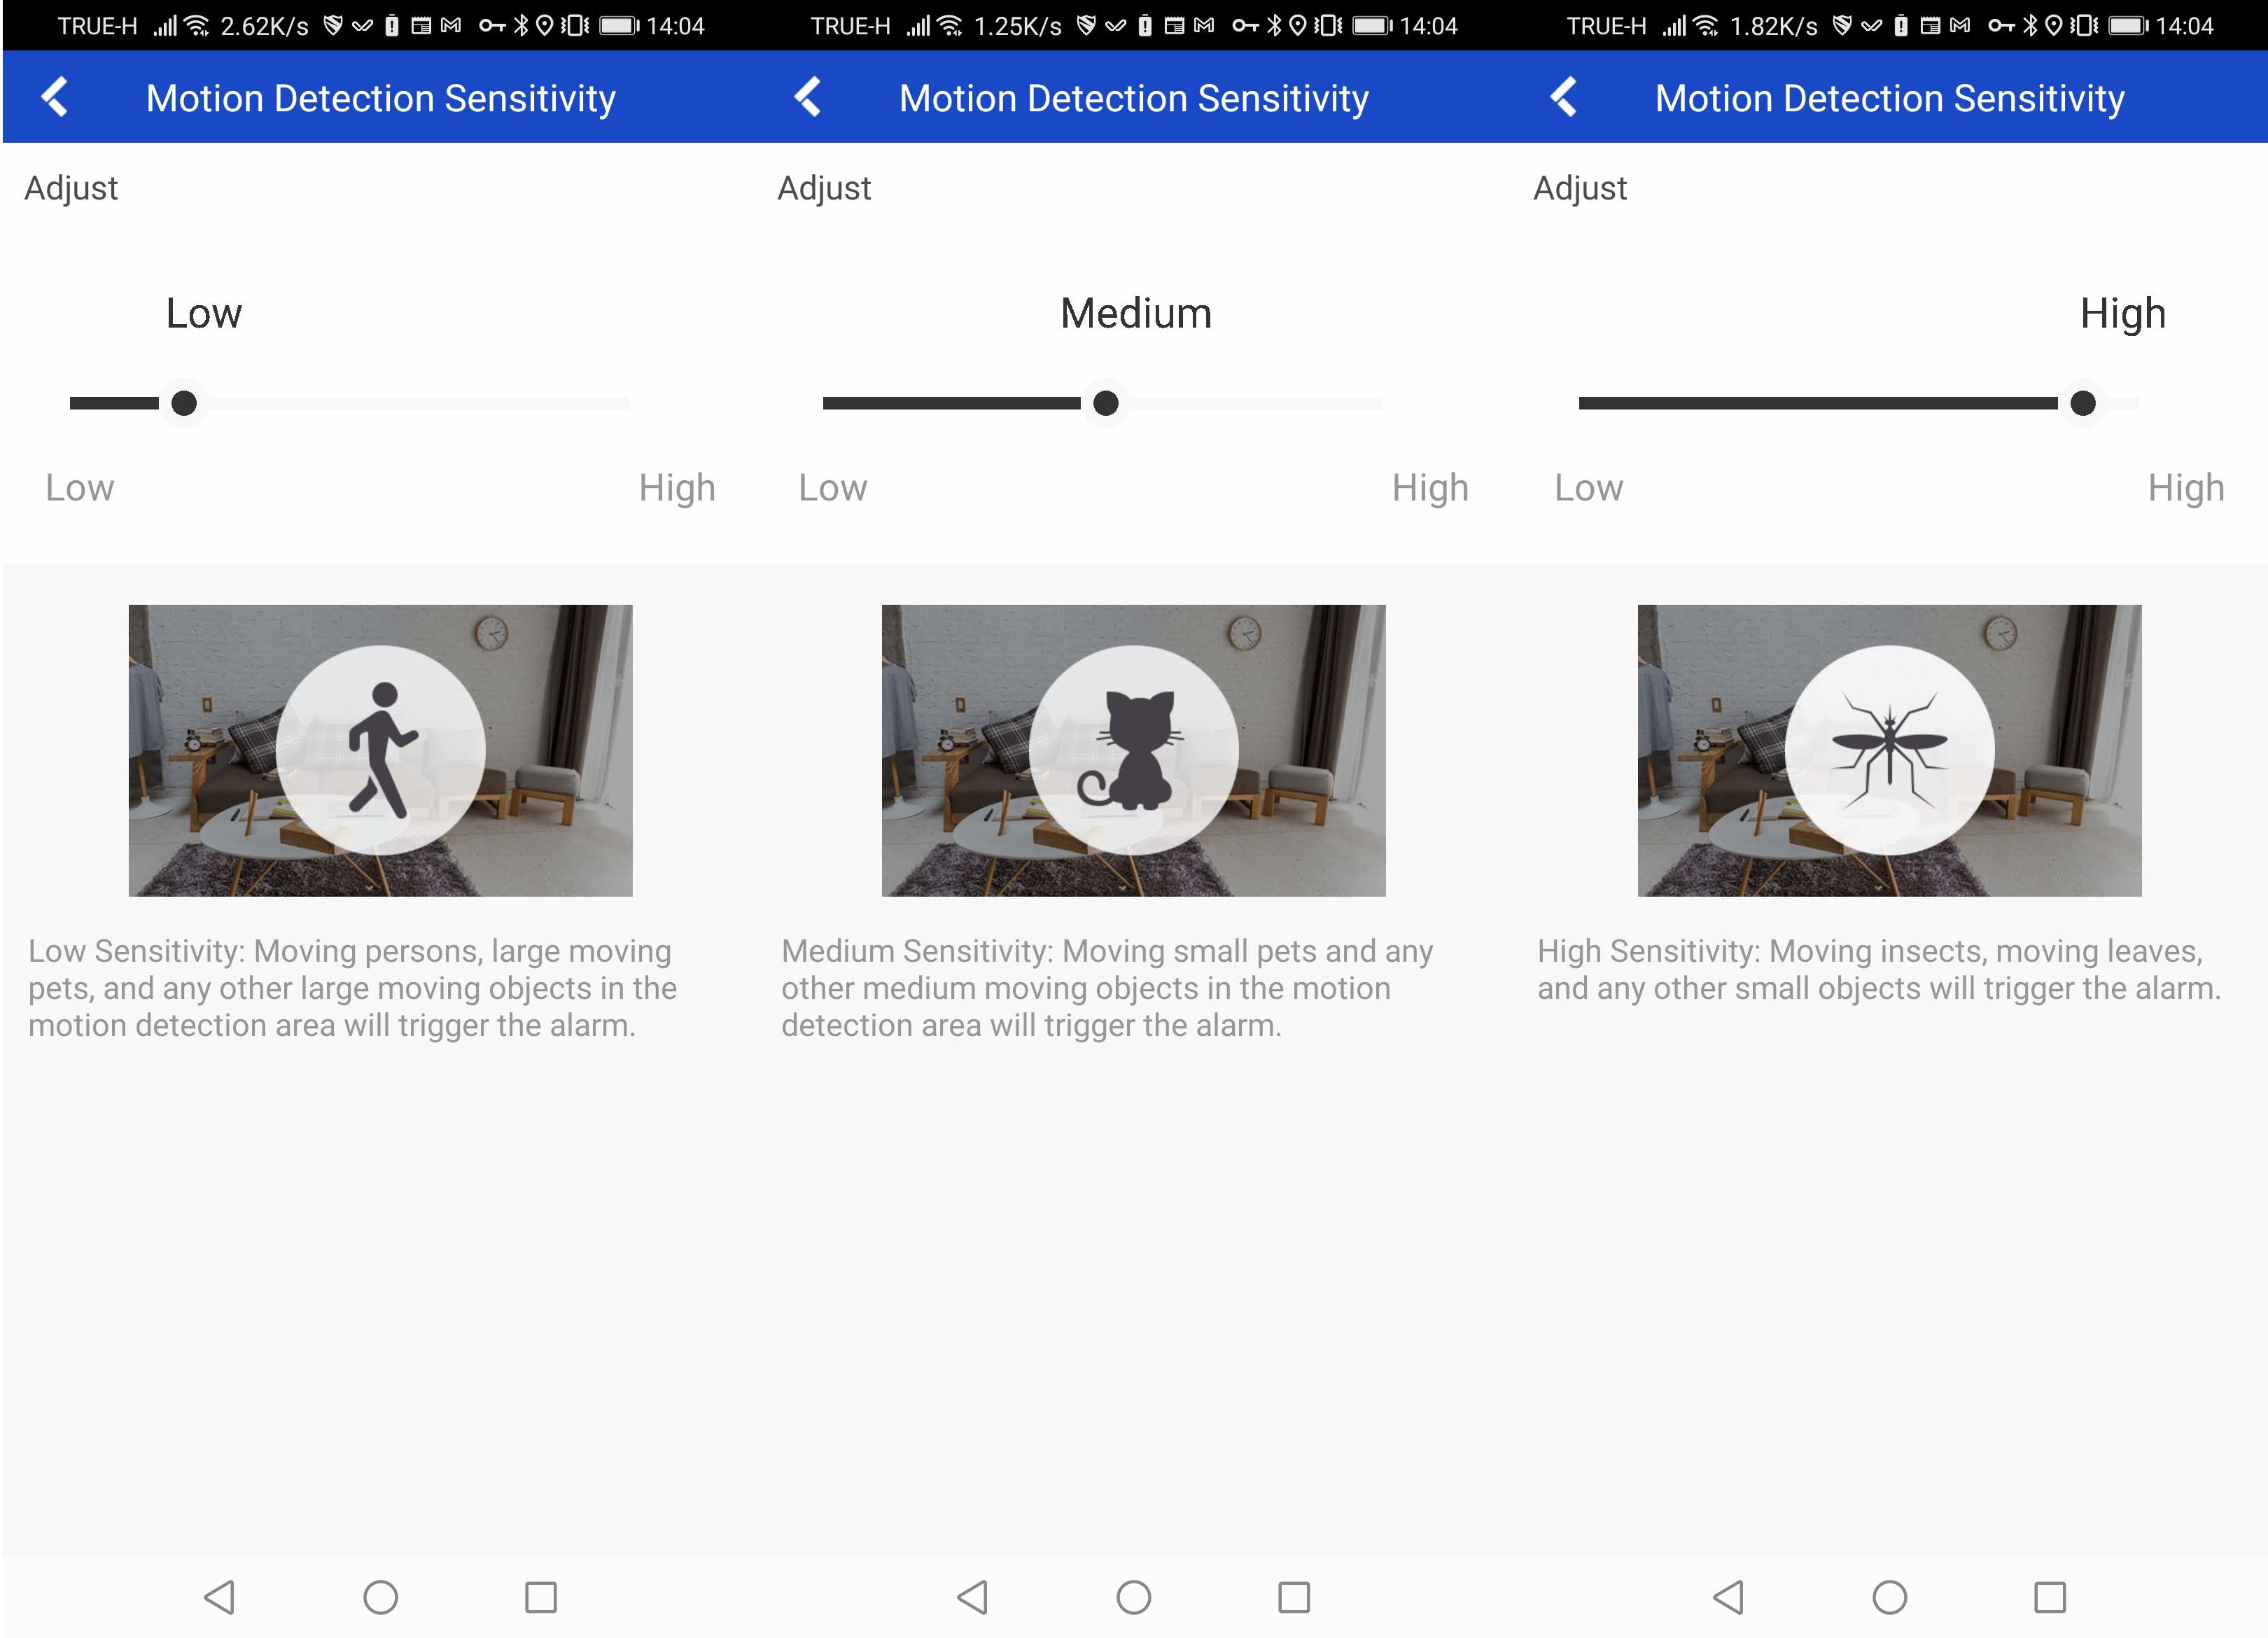
But events are still not detected… So I first changed the motion detection sensitivity
No still no luck, so I asked the company:
My team told me that you need to configure the camera settings on the web interface. It might be a little bit of hassle but it’s essential for cyber security concerns. So that other unauthorized devices will not gain liveview access from the camera.
Please follow it here. https://help.annke.com/hc/en-us/articles/900002445586
That’s a pain because one of the steps is to install SADPTool, a Windows program. So I dug up an old Windows 10 PC stick and installed the program.
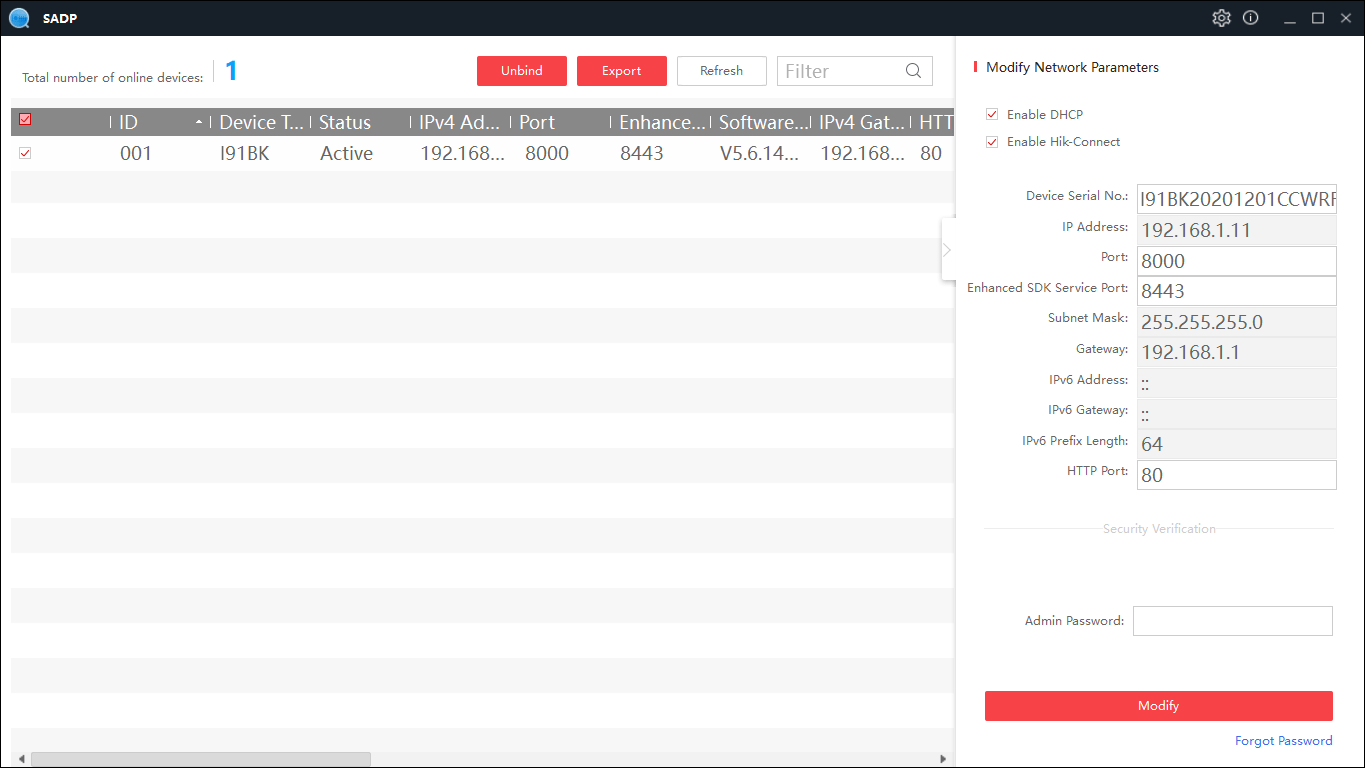
It turns out the camera was already set up just fine in the Android app, and that step is not needed. That also means a Windows computer is not needed, although recommended as we’ll see below…
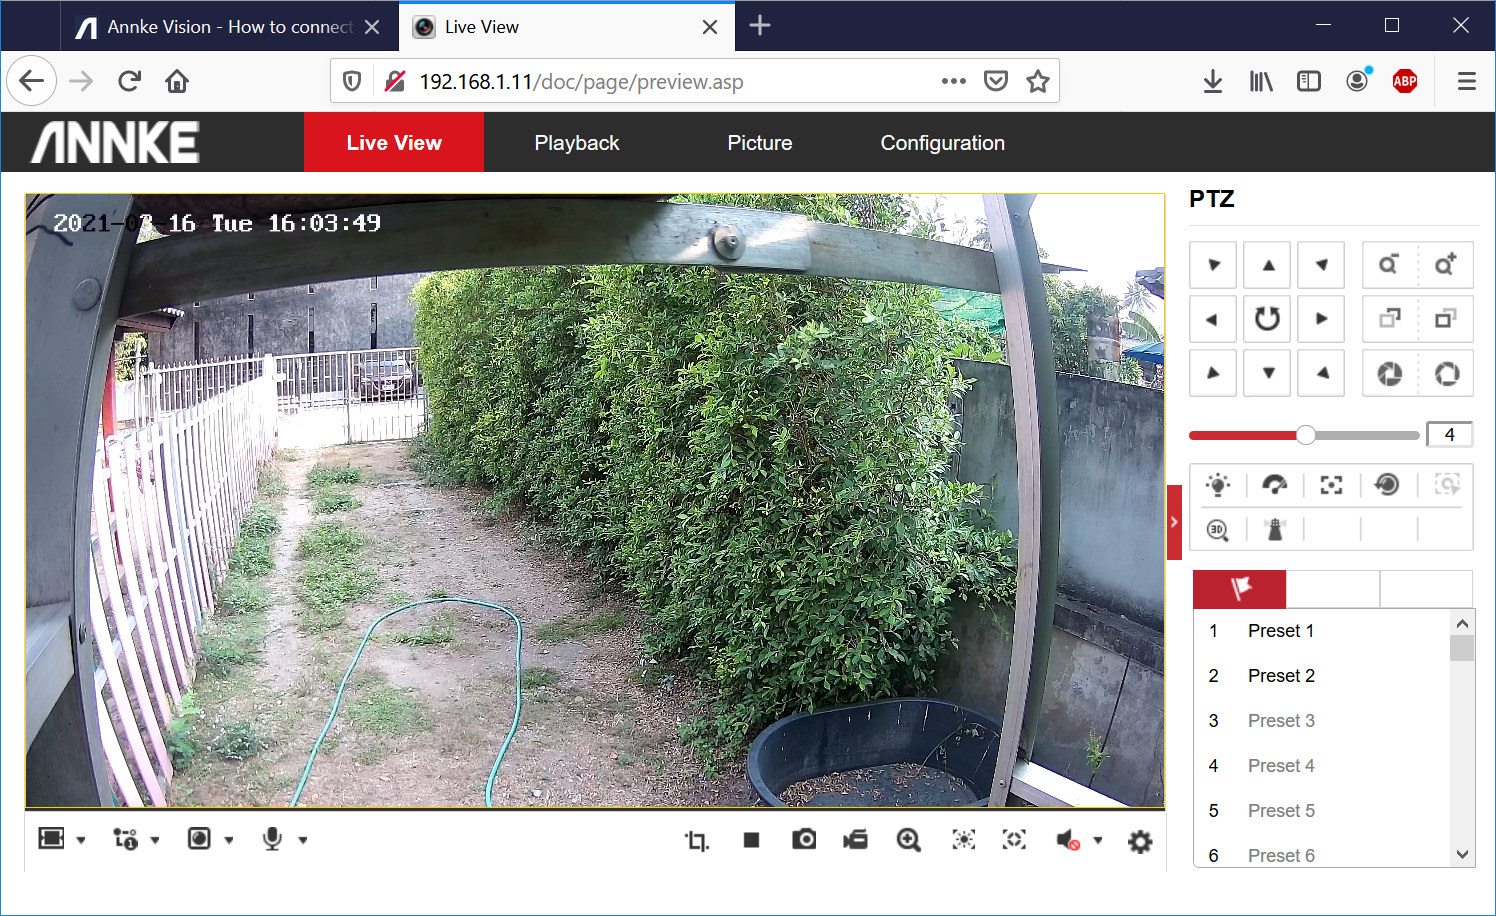
We can now access the web interface from a web browser using the IP address of the camera to configure things like ONVIF support among other things.
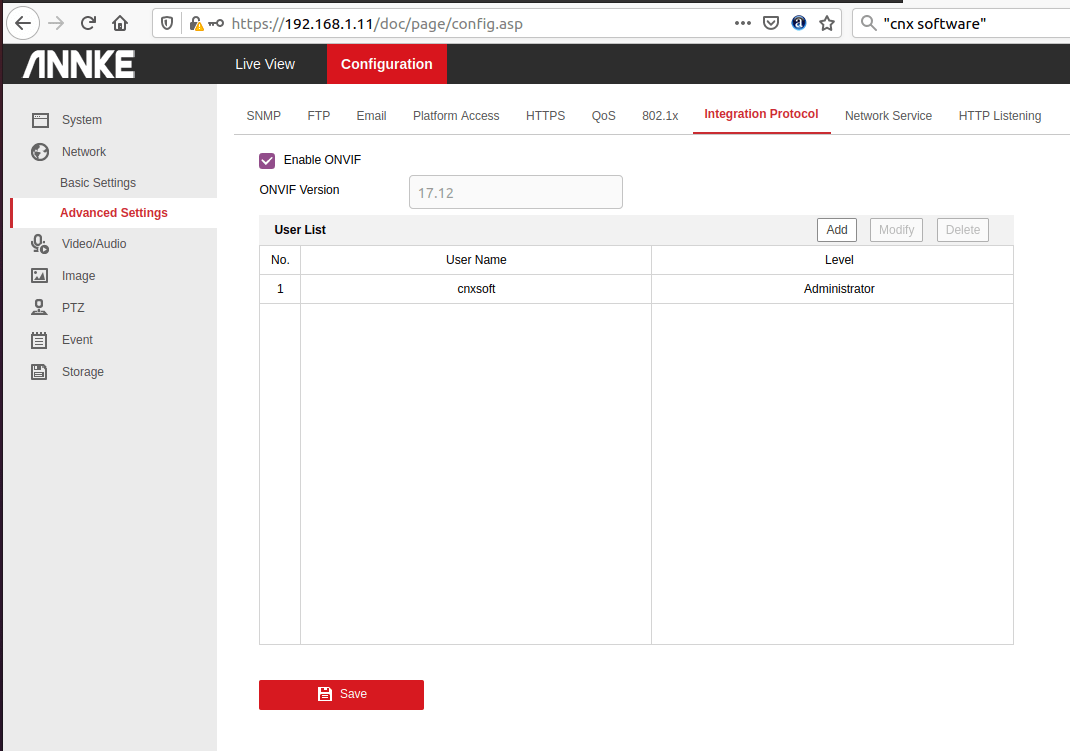
It’s also possible to access the live view from the web interface, but a plugin (exe program) must be installed, and that only works in Windows. The screenshot below shows the live view in Firefox.
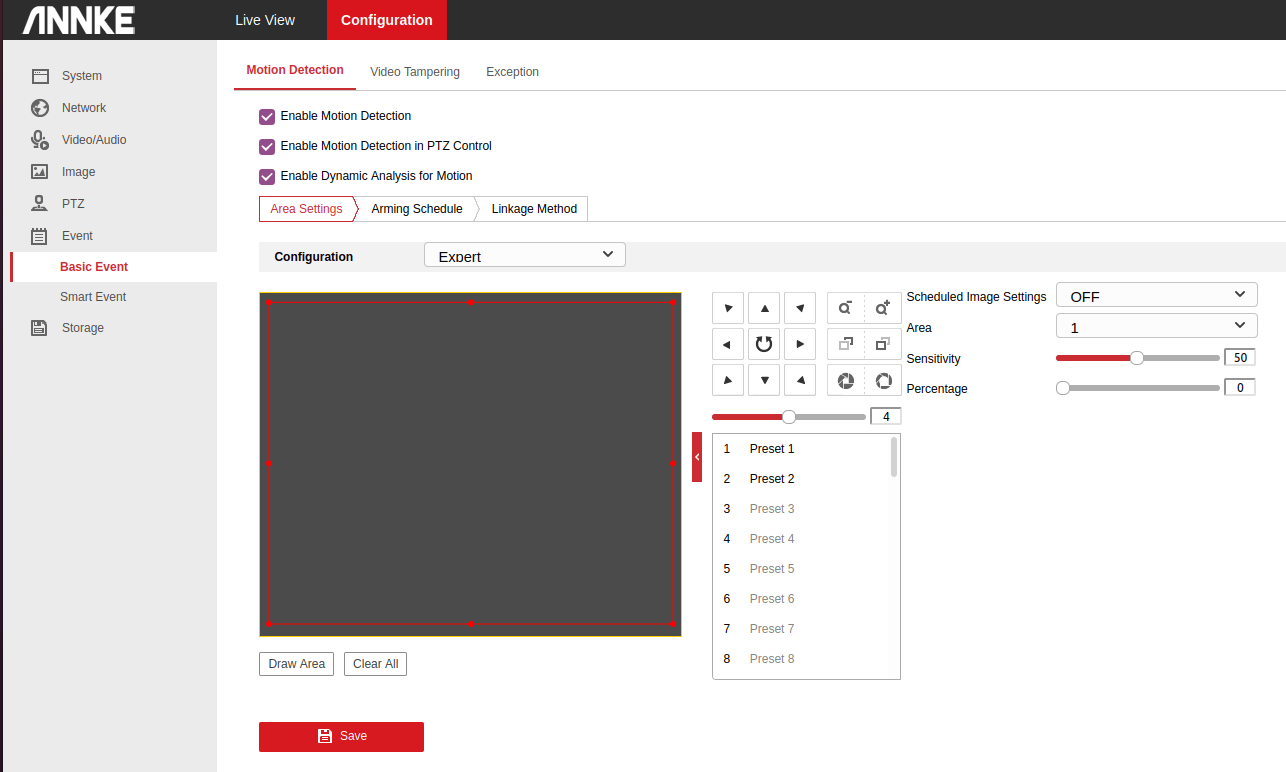
Before we can use motion detection in the Android app it must be configured in Annke web interface, in Event->Basic Event.
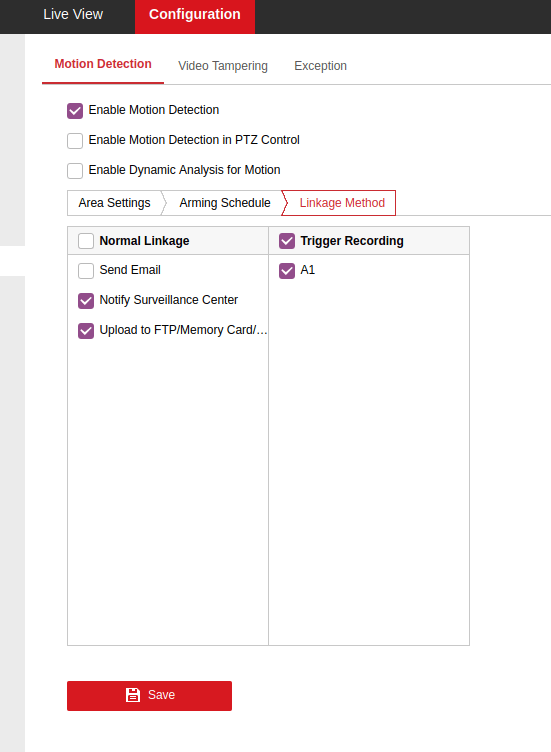
We also need to tap on the Linkage Method tab to at least select “Notify surveillance center” and “upload to FTP/memory card/…” to save the video, and tick A1 in Trigger Recording.
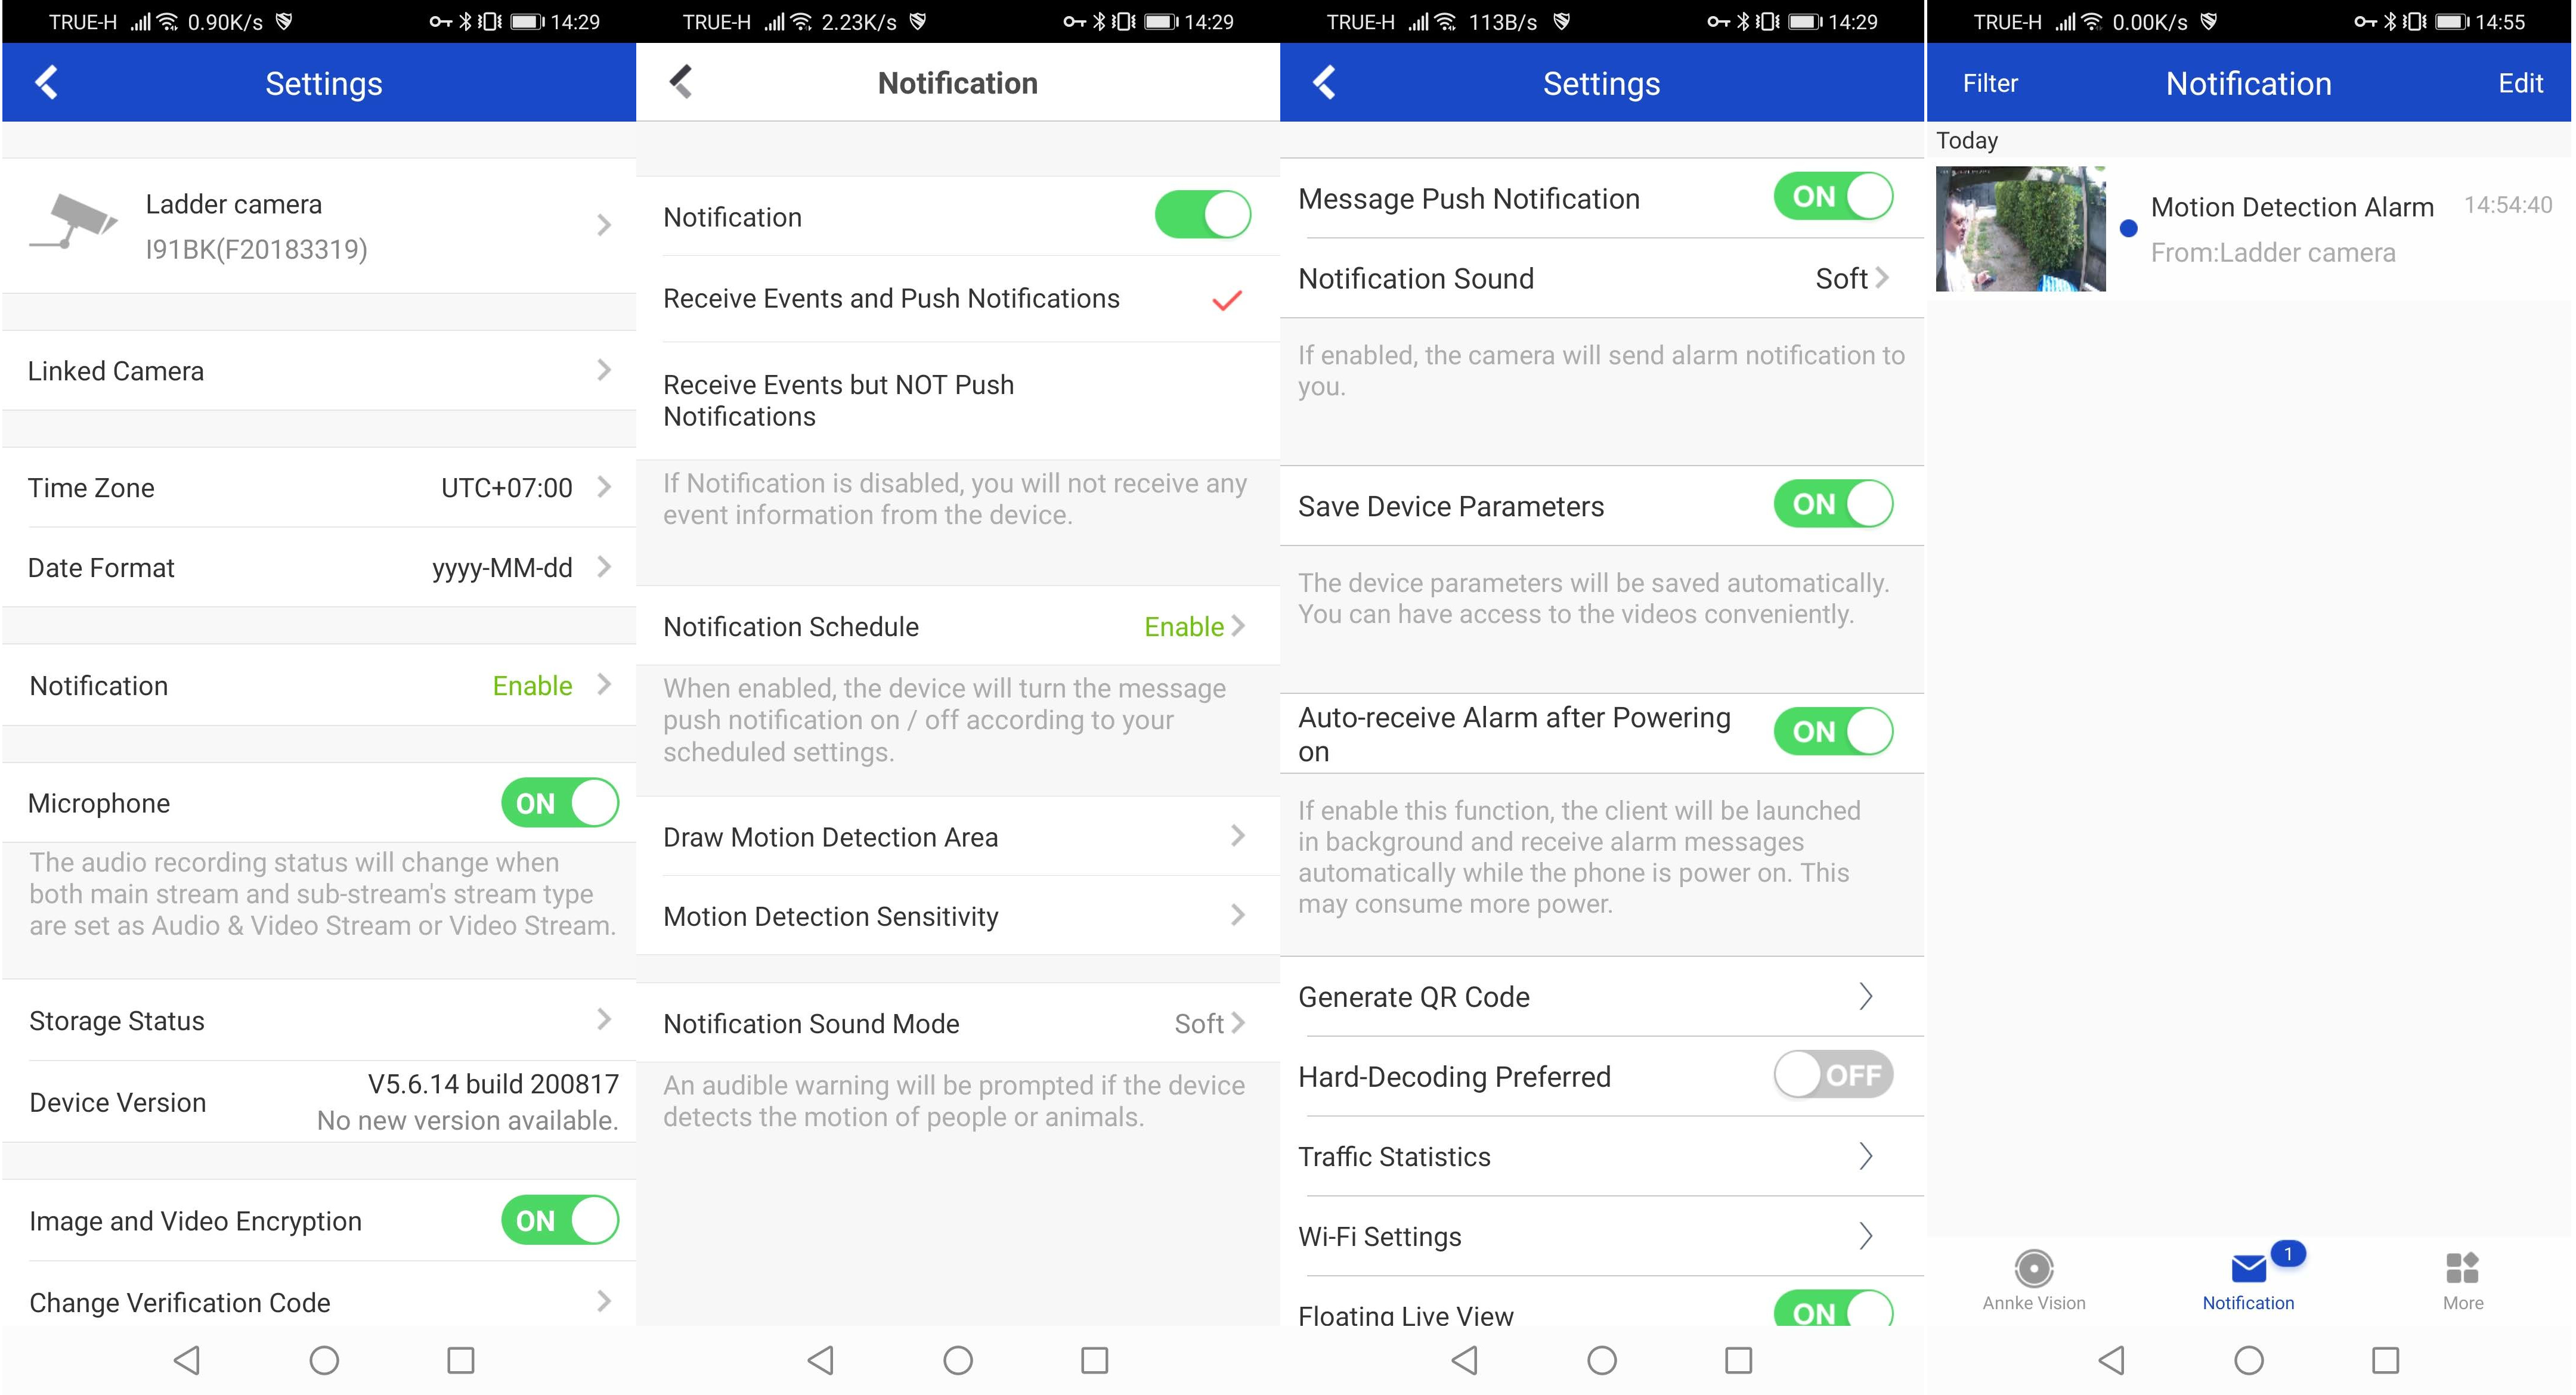
At this point, we can go back to the Android app to enable notifications, push notifications, and set a notification schedule before finally get our first Motion Detection Alarm. That was really a pain to set up…
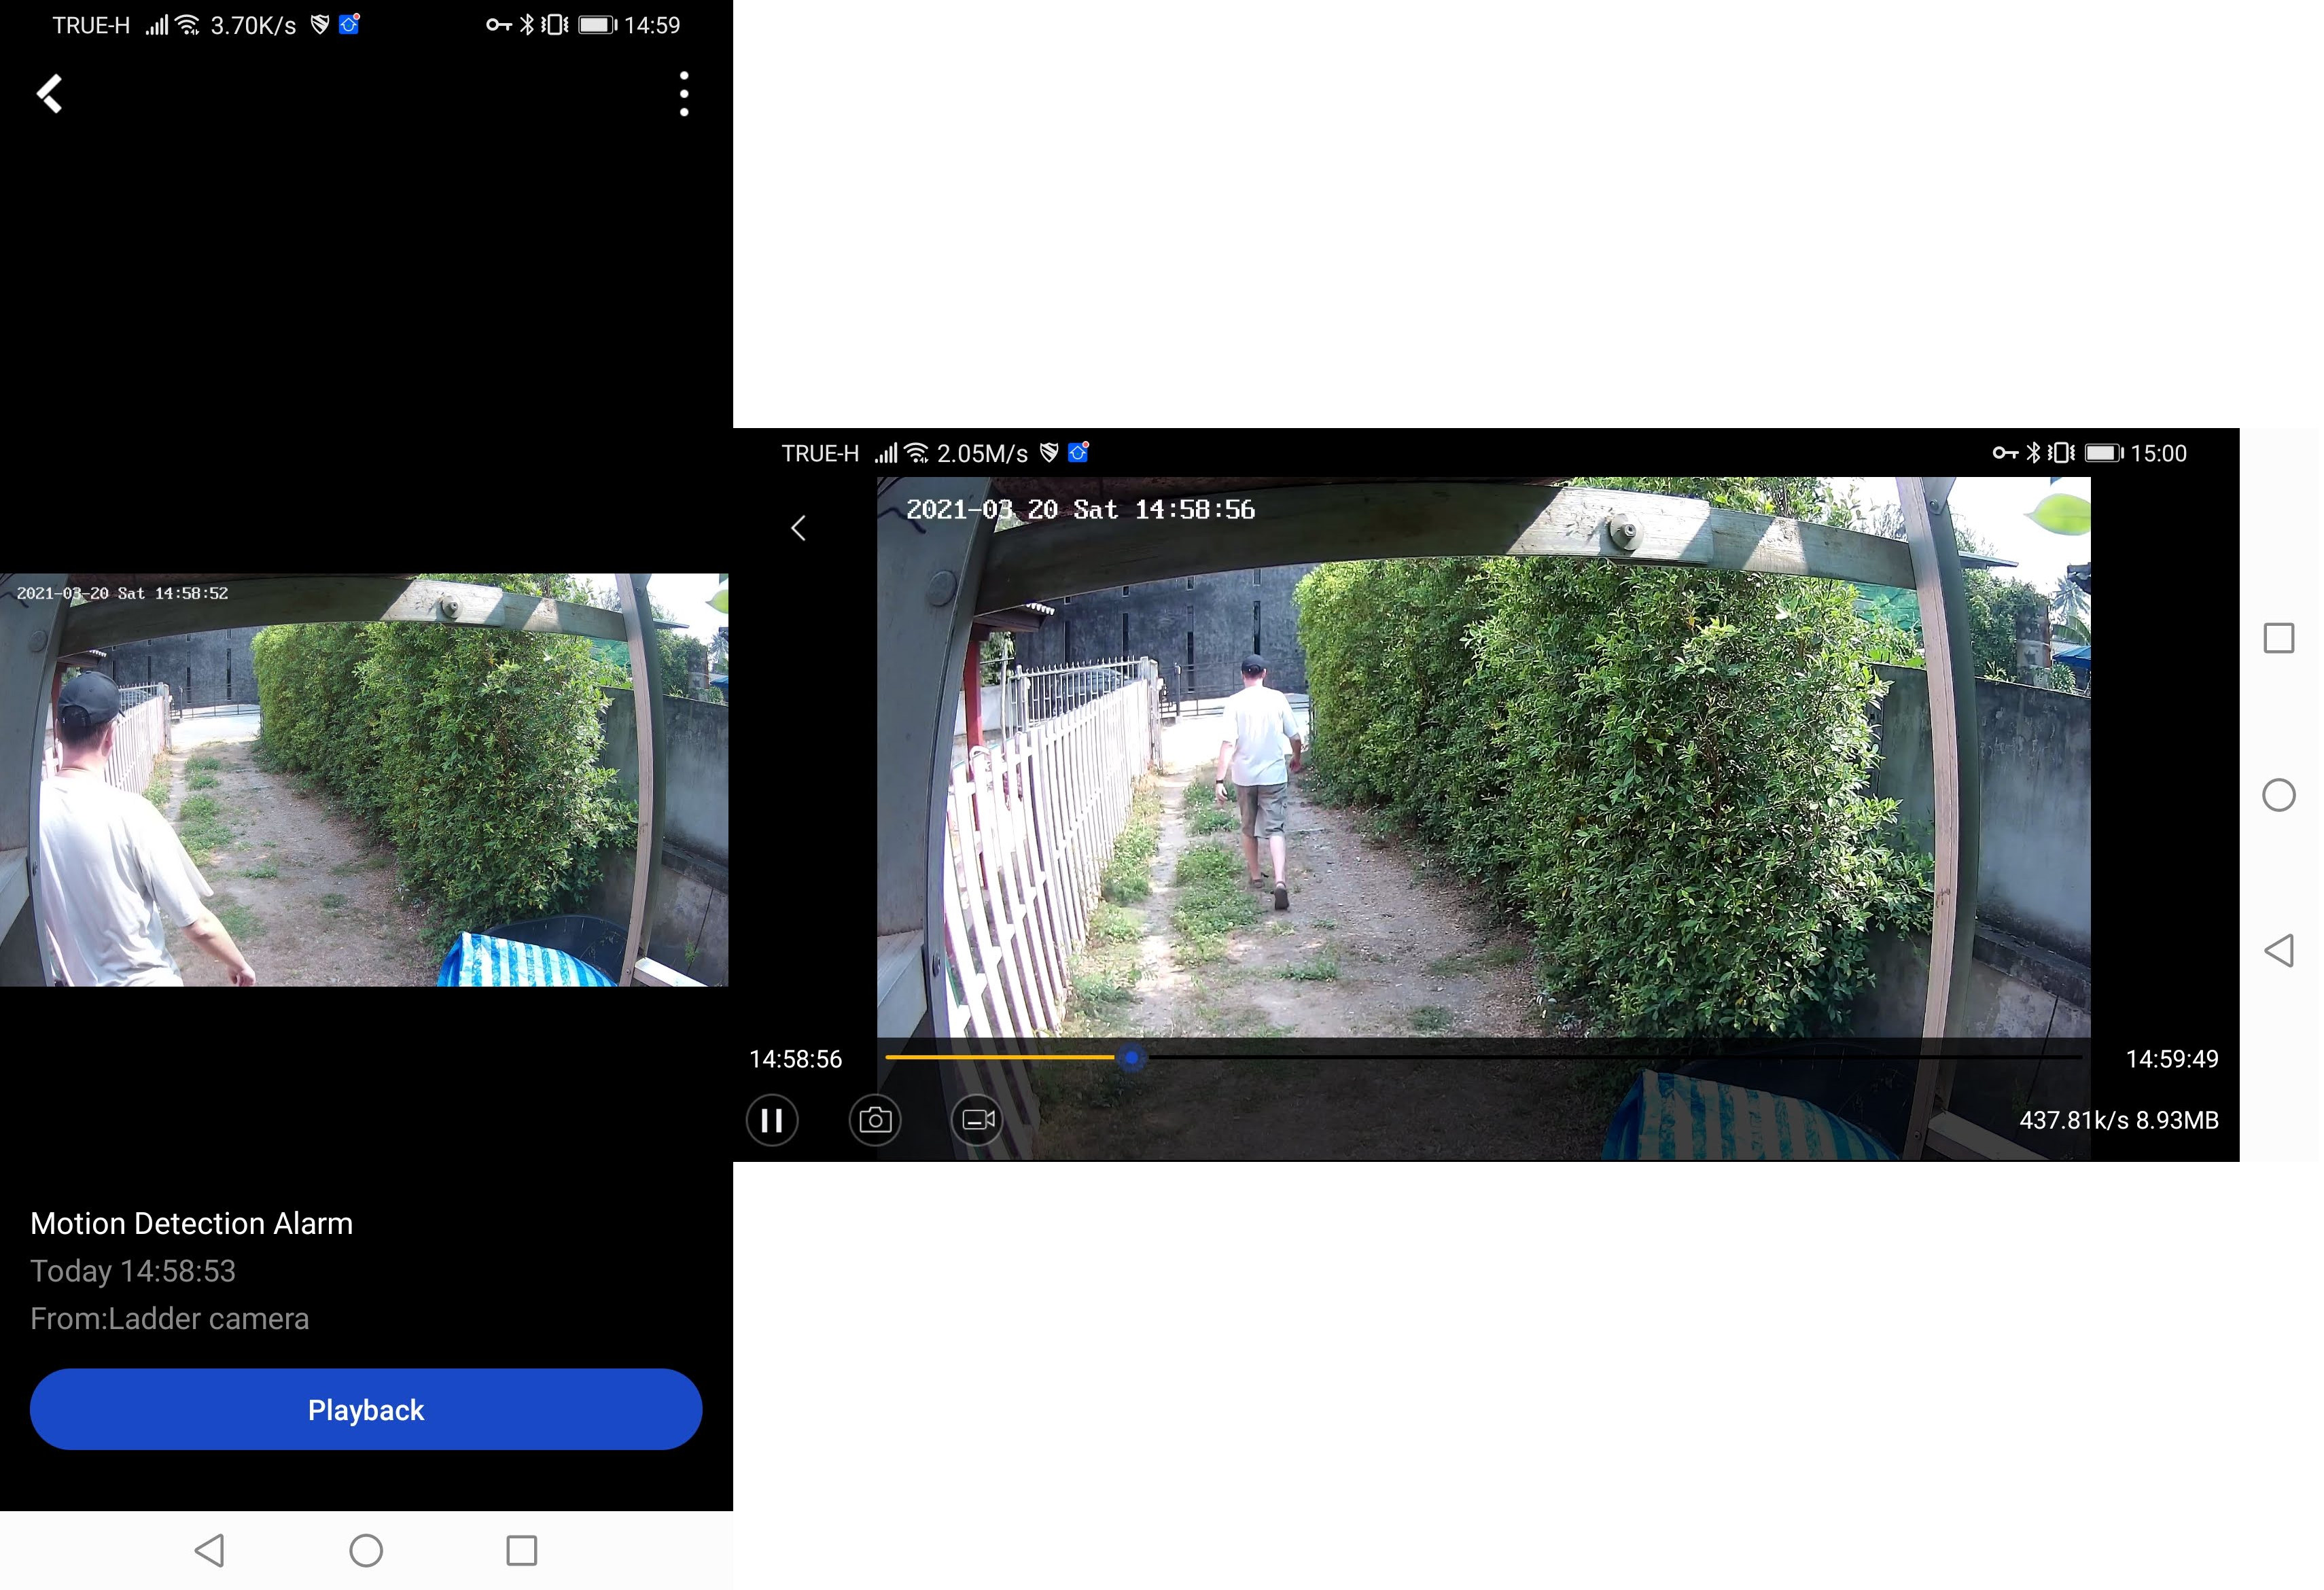
But at least standard motion detection is nowworking, and the camera will keep a one-minute video once motion is detected.

Jean-Luc started CNX Software in 2010 as a part-time endeavor, before quitting his job as a software engineering manager, and starting to write daily news, and reviews full time later in 2011.
Support CNX Software! Donate via cryptocurrencies, become a Patron on Patreon, or purchase goods on Amazon or Aliexpress


