
Karl here. How does the Ender 3 Pro 3D printer stand up in late 2020? The short answer is pretty well. With just a few minor gripes it is a solid printer. According to All3dp the Ender 3 Pro came out in September 2018. Over 2 years ago. It is the successor to the most popular 3D printer: the Ender 3. I usually don’t do any research so I won’t be influenced by other reviewers but I did in this case so I could see what the differences are between the Ender 3 and Pro versions. It has been upgraded to a Meanwell power supply. Better mainboard layout. Wider extrusion for the bed to ride on, which should make the bed more stable. If you have done any research on 3D printers I would say it is impossible not to have heard about the Ender 3. With its low price, print quality, and community support I can see why it is the most popular printer ever.
Boy Scouts
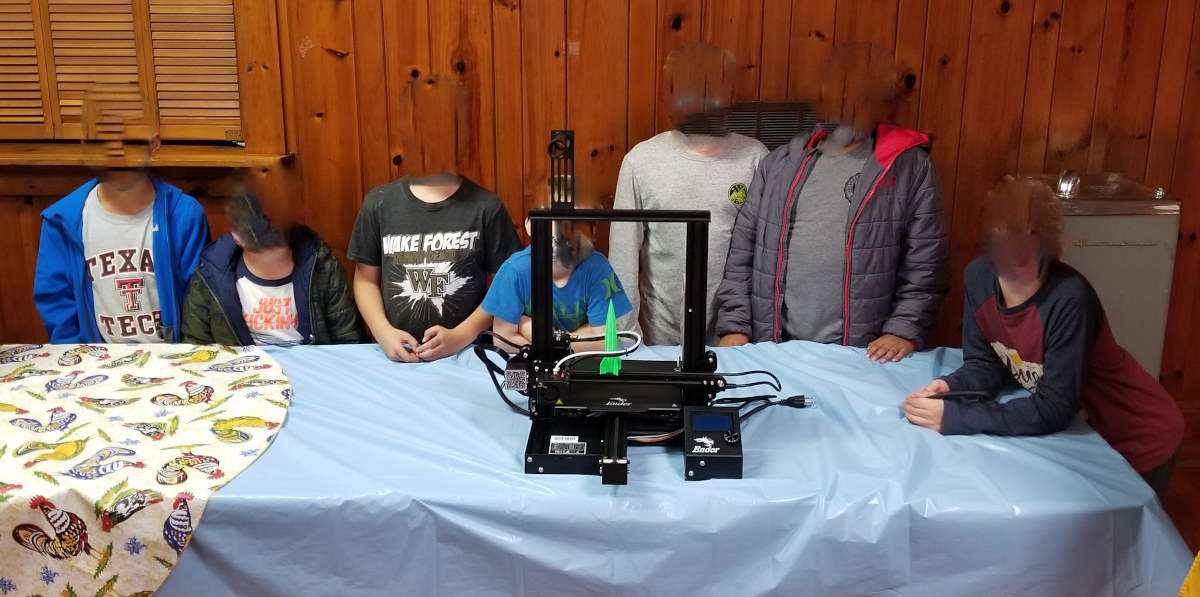
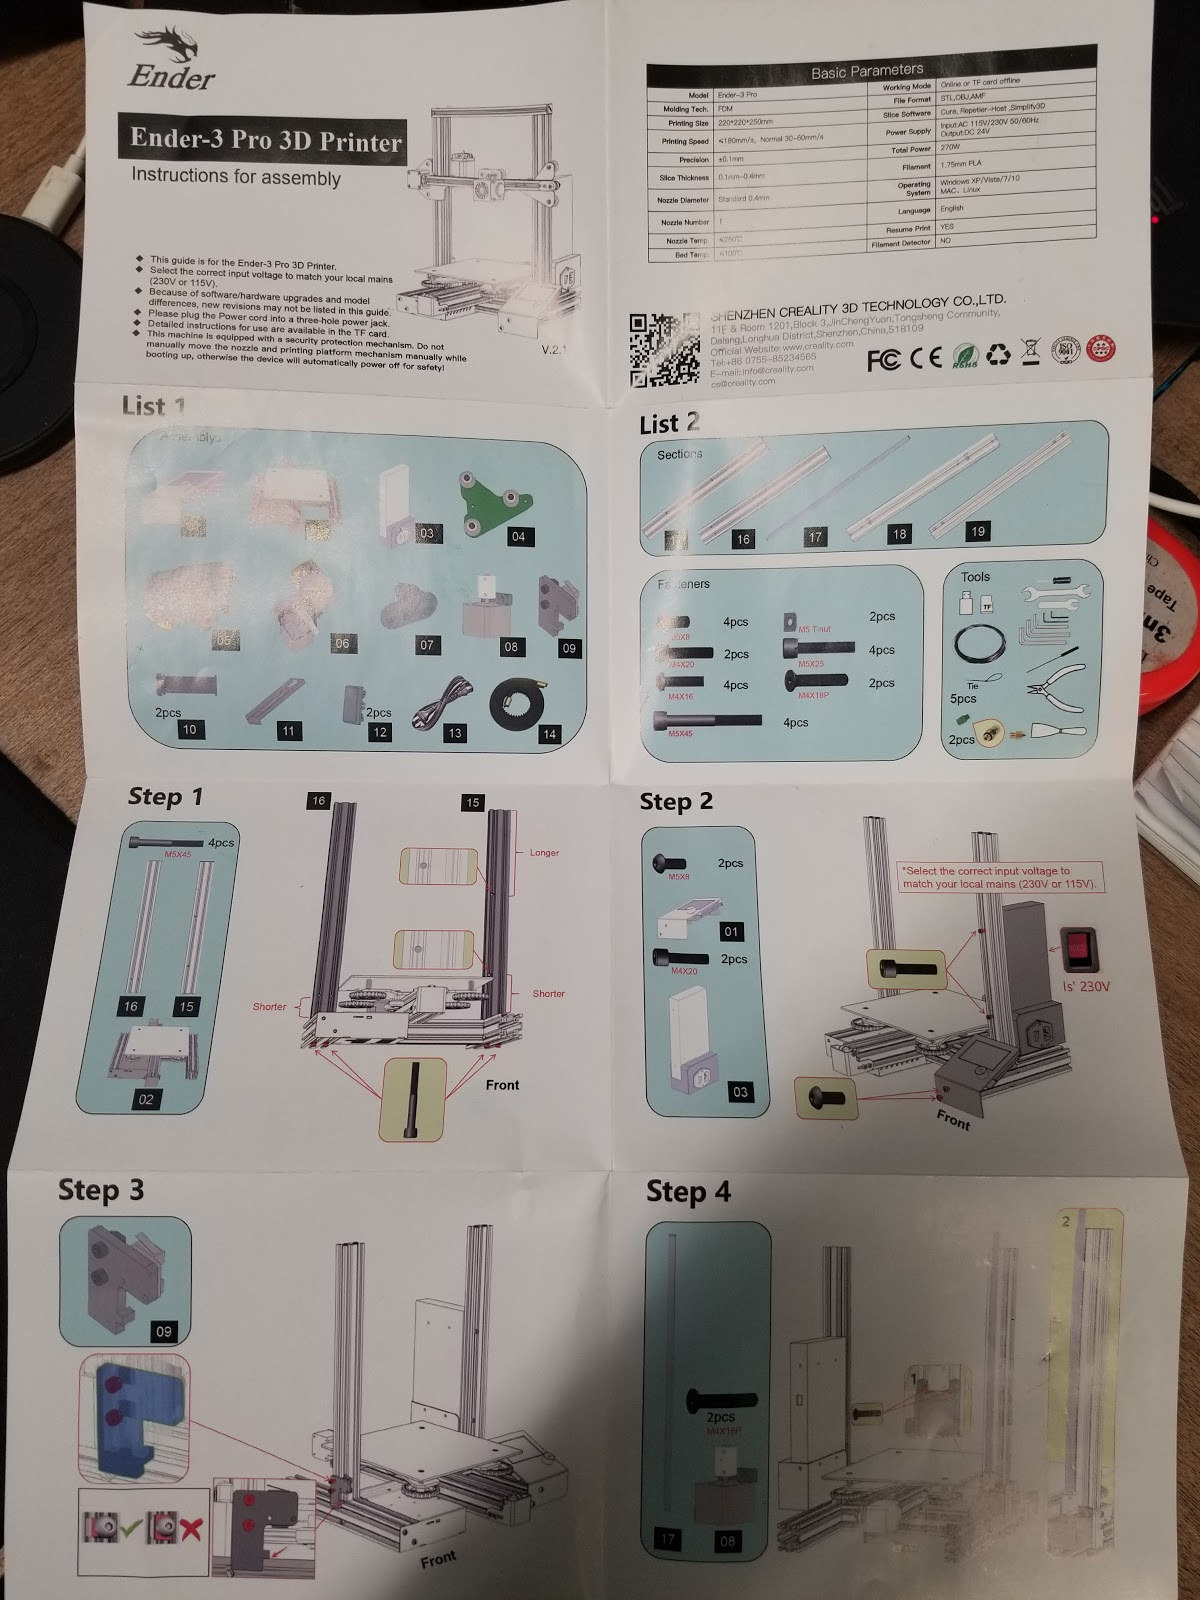
Any opportunity to talk 3D printing is a good one in my book. Kids are pretty amazed by 3D printers so I proposed building this one at our weekly Cub Scout meeting. The ages of the kids range from 5-10 years old. I brought in a fully assembled printer and started a print. It would have been anticlimactic to build a printer and not able to see one in action. We printed a classic rocket in vase mode. I also got one of the scoutmasters to help each scout find something to print from Thingiverse. It was still pretty chaotic. During my research, it was estimated to take about an hour to assemble the Ender 3 Pro. We got it done in about 45 minutes. Not too shabby putting it together with a bunch of kids. 7 kids showed up and each kid was able to do about 2 steps. Even under time pressure and low dexterity children, we got the machine built without a problem. We only did one step incorrectly because we weren’t paying close enough attention. The instructions were very good.
I don’t think they learned very much but it was an experience. When we got to the electrical connections we all gathered together. I explained the cartesian coordinate system and I think one of them got it. I went over the basics of 3D printing and the importance of being careful around these machines.
We were only able to home the printer during the meeting and it went perfect the first time. After I got home all I did was do a once-over to make sure everything was tight. I usually take my time ensuring everything is square but due to time constraints we just got-r-done. For as little as we paid to those kinds of details, I am really shocked how well it prints.
A couple of changes to Ender 3 Pro

Typically Z end-stop placement is not documented. The Ender had an injected molded part that fits in the aluminum extrusion that places it at a predetermined height. This is one of those details that all manufacturers should do. I usually compress the bed springs completely then move the nozzle to the bed and then mount the end-stop where it would trigger the end-stop. After homing, the nozzle should be just above the bed and I would use the knobs to tram the bed. Keeping the springs mostly compressed keeps the bed nice and rigid. Unfortunately, they use weak springs on the Ender 3 Pro and they come completely compressed from the factory. I assume that since they are weak and had been compressed for so long it affected the ability to spring back to the fully extended position. The springs were unable to push the bed enough to get to the nozzle height at the predetermined height. The bed was completely loose. To overcome this I recompressed the springs and modified the endstop mount with the included clippers to shorten the height. I just clipped the little piece of plastic and it dropped the end-stop about 3-4mm. I appreciate the attempt at simplifying this but it wasn’t executed well.
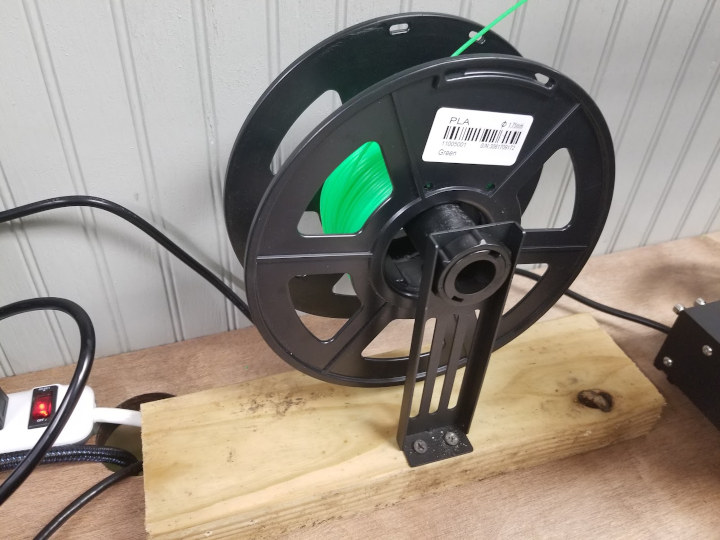
The second change I made was for the filament holder. I tried using it like intended on top of the machine but I was getting bits of filament all over the extruder due to the extreme angle and scraping. I removed it and screwed it into a 2×4. Much smoother filament path and easy solution. I am a big fan of KISS.
First prints
I don’t even print any presliced gcode anymore. It does me no good. I went straight into printing my retraction calibration cube. Now that I have had it in the wild and getting a ton of feedback from the Facebook group I am convinced it works extremely well.
I started a new default Cura profile with my preferred changes and retraction settings identified in the retraction calibration cube. I prefer 1 more perimeter and skirt over a brim and there are a couple more but just personal preferences.
Cura defaults coupled with my retraction calibration tool has made reviewing so much easier. I would spend hours tuning it. Now I spend minutes.
Dang. I can see why it is so popular. It does print really well.
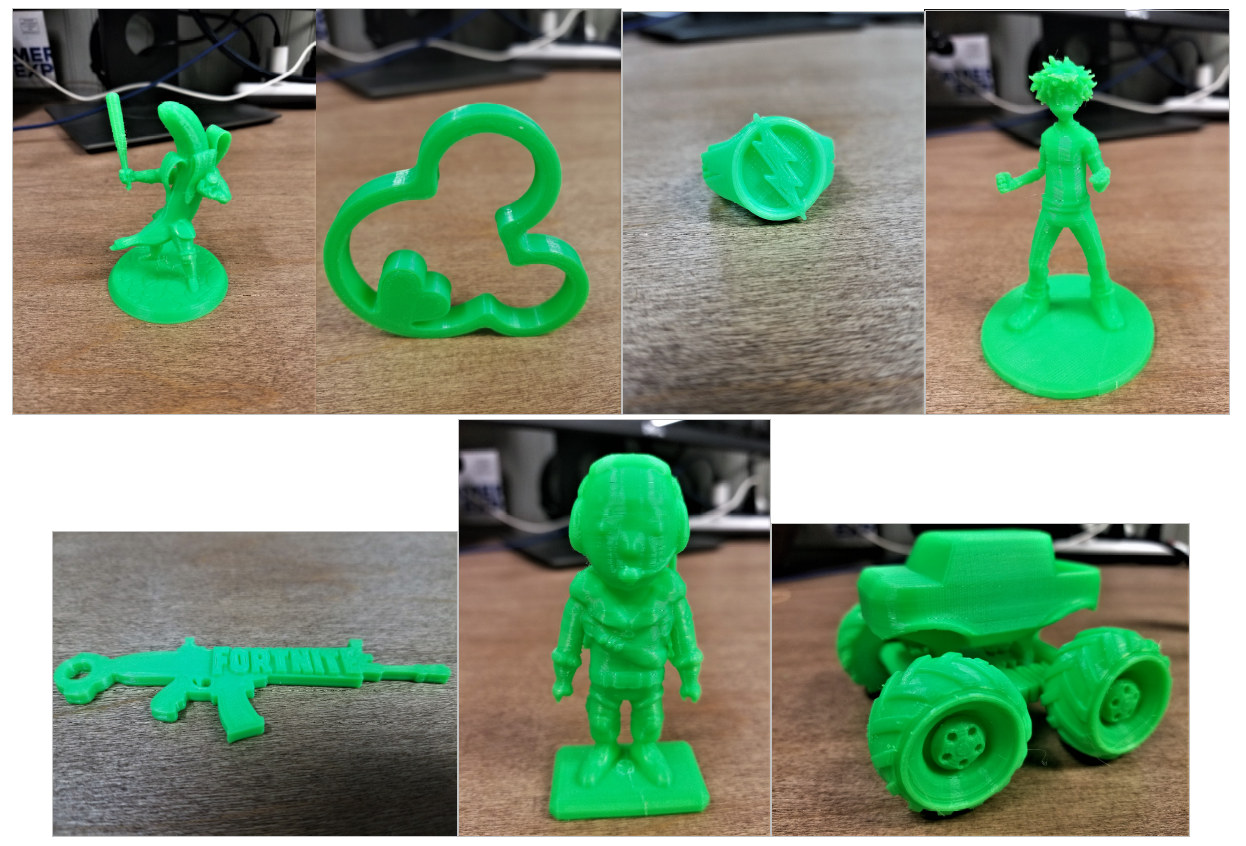
Above are all the things that the kids picked out. Some were quite difficult to print. Thank god for tree supports in Cura. I adjusted colors to accentuate the layer lines.
Initial thoughts
I have never used any type of removable build plate. I am liking it and looking at maybe testing and installing some on my other printers now. I don’t enjoy the stepper motor noises of these cheap drivers but they get the job done. I will probably upgrade the mainboard in the future. There are several board options available that are drop-in replacements. Despite being a printer from 2018 out of the box it prints very well. Additionally, it is less than the cost of the second most popular printer. If you are interested you can pick one up at the Creality store for $200, or just $169.99 with ZBENDER3PUS coupon. Thank you for reading and I will follow up after I have used the printer some more.

Karl is a technology enthusiast that contributes reviews of TV boxes, 3D printers, and other gadgets for makers.
Support CNX Software! Donate via cryptocurrencies, become a Patron on Patreon, or purchase goods on Amazon or Aliexpress


