
Late last year, ITEAD launched Sonoff Micro WiFi USB switch that allows you to turn on and off USB powered devices over WiFi using eWelink app for Android or iOS. It integrates with Amazon Alexas and Google Home, and does the job, but people who like to use the open-source Tasmota firmware will be disappointed to learn it’s not based on ESP8266 processor hence not compatible.
Luckily, there’s another option: Sinilink WiFi USB switch (aka XY-WFUSB) based on ESP8266 WiFi SoC, and supporting up to 20V/5A according to the manufacturer. It is currently sold for under $5 including shipping on Aliexpress.
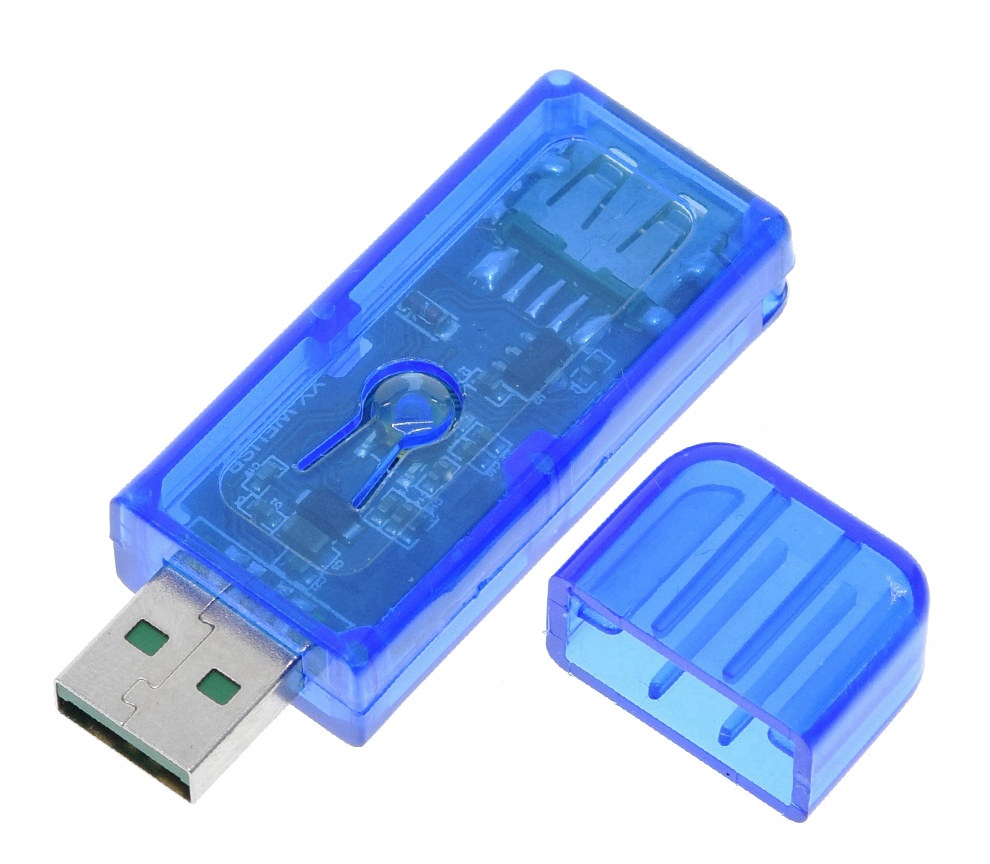
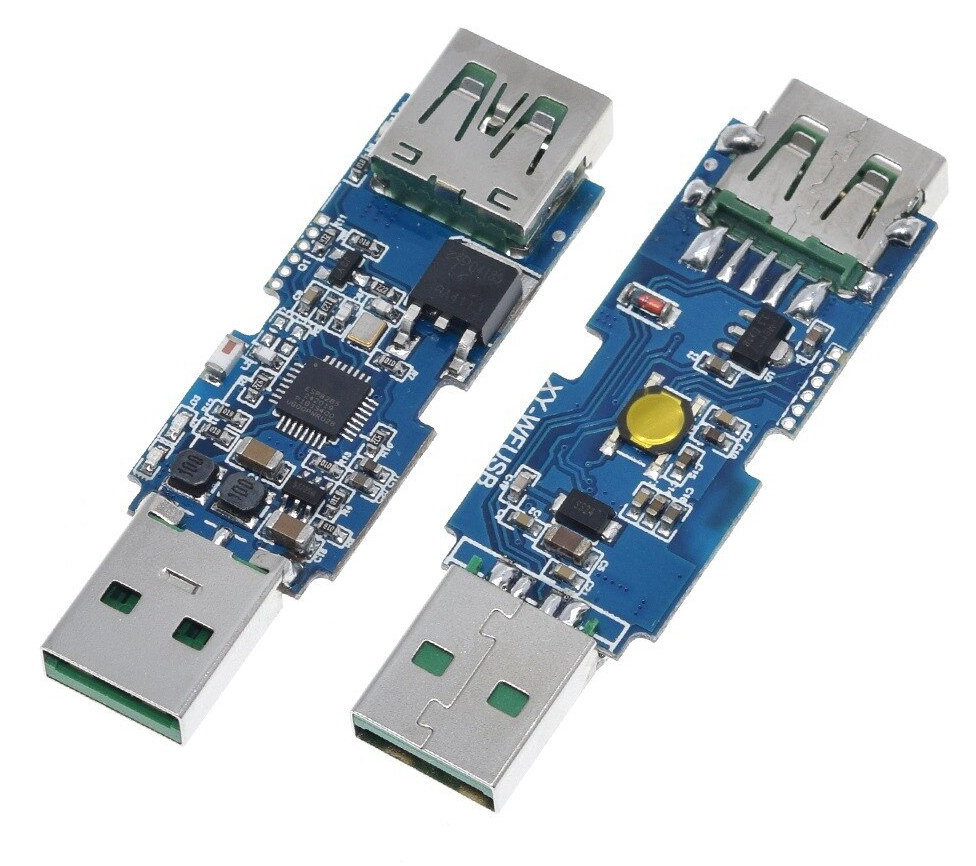
Sinilink XY-WFUSB specifications:
- WiSoC – Espressif ESP8266 processor with 802.11b/g/n WiFi 4
- USB Input – USB type-A female port supporting 3.5V to 20V up to 5A (100 Watts max)
- USB Output – USB type-A male port up to 100W
- Misc
- On/off button – Pressing 5 seconds also change the pairing mode between AP mode and “touch mode”
- LEDs – USB output (red), WiFi (blue), and mode switch (green)
- Dimensions – 64 x 22 x 11 mm
The mobile app for Android / iOS allows you to turn the device on and off, set timers, and schedules. Support for up 20V should allow you to control all types of devices up to 100W.
Pete Scargill bought one, and shared his impressions after trying it out with the stock firmware and mobile app:
The product does not work, the APP store version of the APP keeps showing Chinese dialogs, I downloaded the APK, regardless, the unit will not work. I need a refund as I’ve spent too much time on this already.
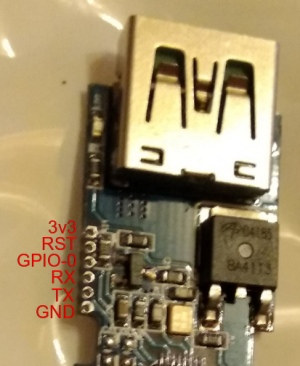
If you want to flash Tasmota to Sinilink switch, the first thing you need to do is to connect a USB debug board to the device following the pinout described on blakadder website.
The 1.27mm pitch for the header does not make it super convenient, and if you don’t want to solder some tiny wires to the board Pete found out that sewing pins from his wife worked just great. Another reader mentioned using pins from 2.54mm headers alternatively on each side (1,3,5 on one side and 2,4 on the other side) also worked. Another option is to use 1.27mm to 2.54mm adapter boards.
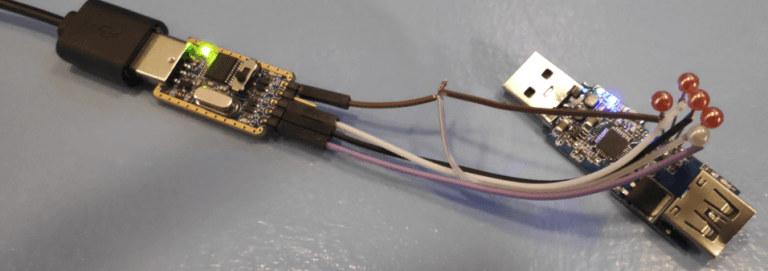
Now you can download the latest version of Tasmota firmware and flash it with esptool, or alternatively via Tasmotizer GUI program.
That’s about it as then you should be able to access the usual Tasmota web interface and turn on and off the switch via the interface. It also works with Amazon Alexa integration as showcased by Pete in the video below.
Thanks to Zoobab for the tip.

Jean-Luc started CNX Software in 2010 as a part-time endeavor, before quitting his job as a software engineering manager, and starting to write daily news, and reviews full time later in 2011.
Support CNX Software! Donate via cryptocurrencies, become a Patron on Patreon, or purchase goods on Amazon or Aliexpress


