
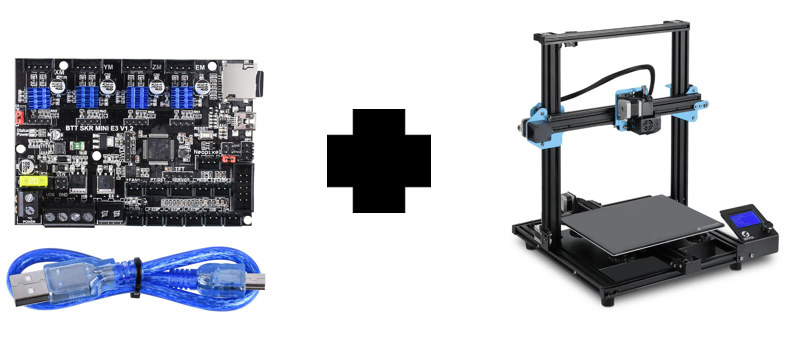
Karl here with a quick upgrade guide. The one complaint I had in the review of the SV01 3D printer was it was loud. Today we are going to look at resolving part of the problem by replacing the Creality board with the BigTreeTech SKR mini E3 V1.2 control board sold on Amazon for around $37. Fan noise at a later date. This board is ideal because the SD card, USB, and screws line up for nearly a perfect replacement. I did not bother hooking up the filament runout sensor. I have never found them particularly useful and always ensure I start with enough filament and bypassed it for the review. The board comes with TMC2209 drivers which significantly reduce the stepper motor noise as well as stop any salmon skin.
SKR Mini E3 Warning
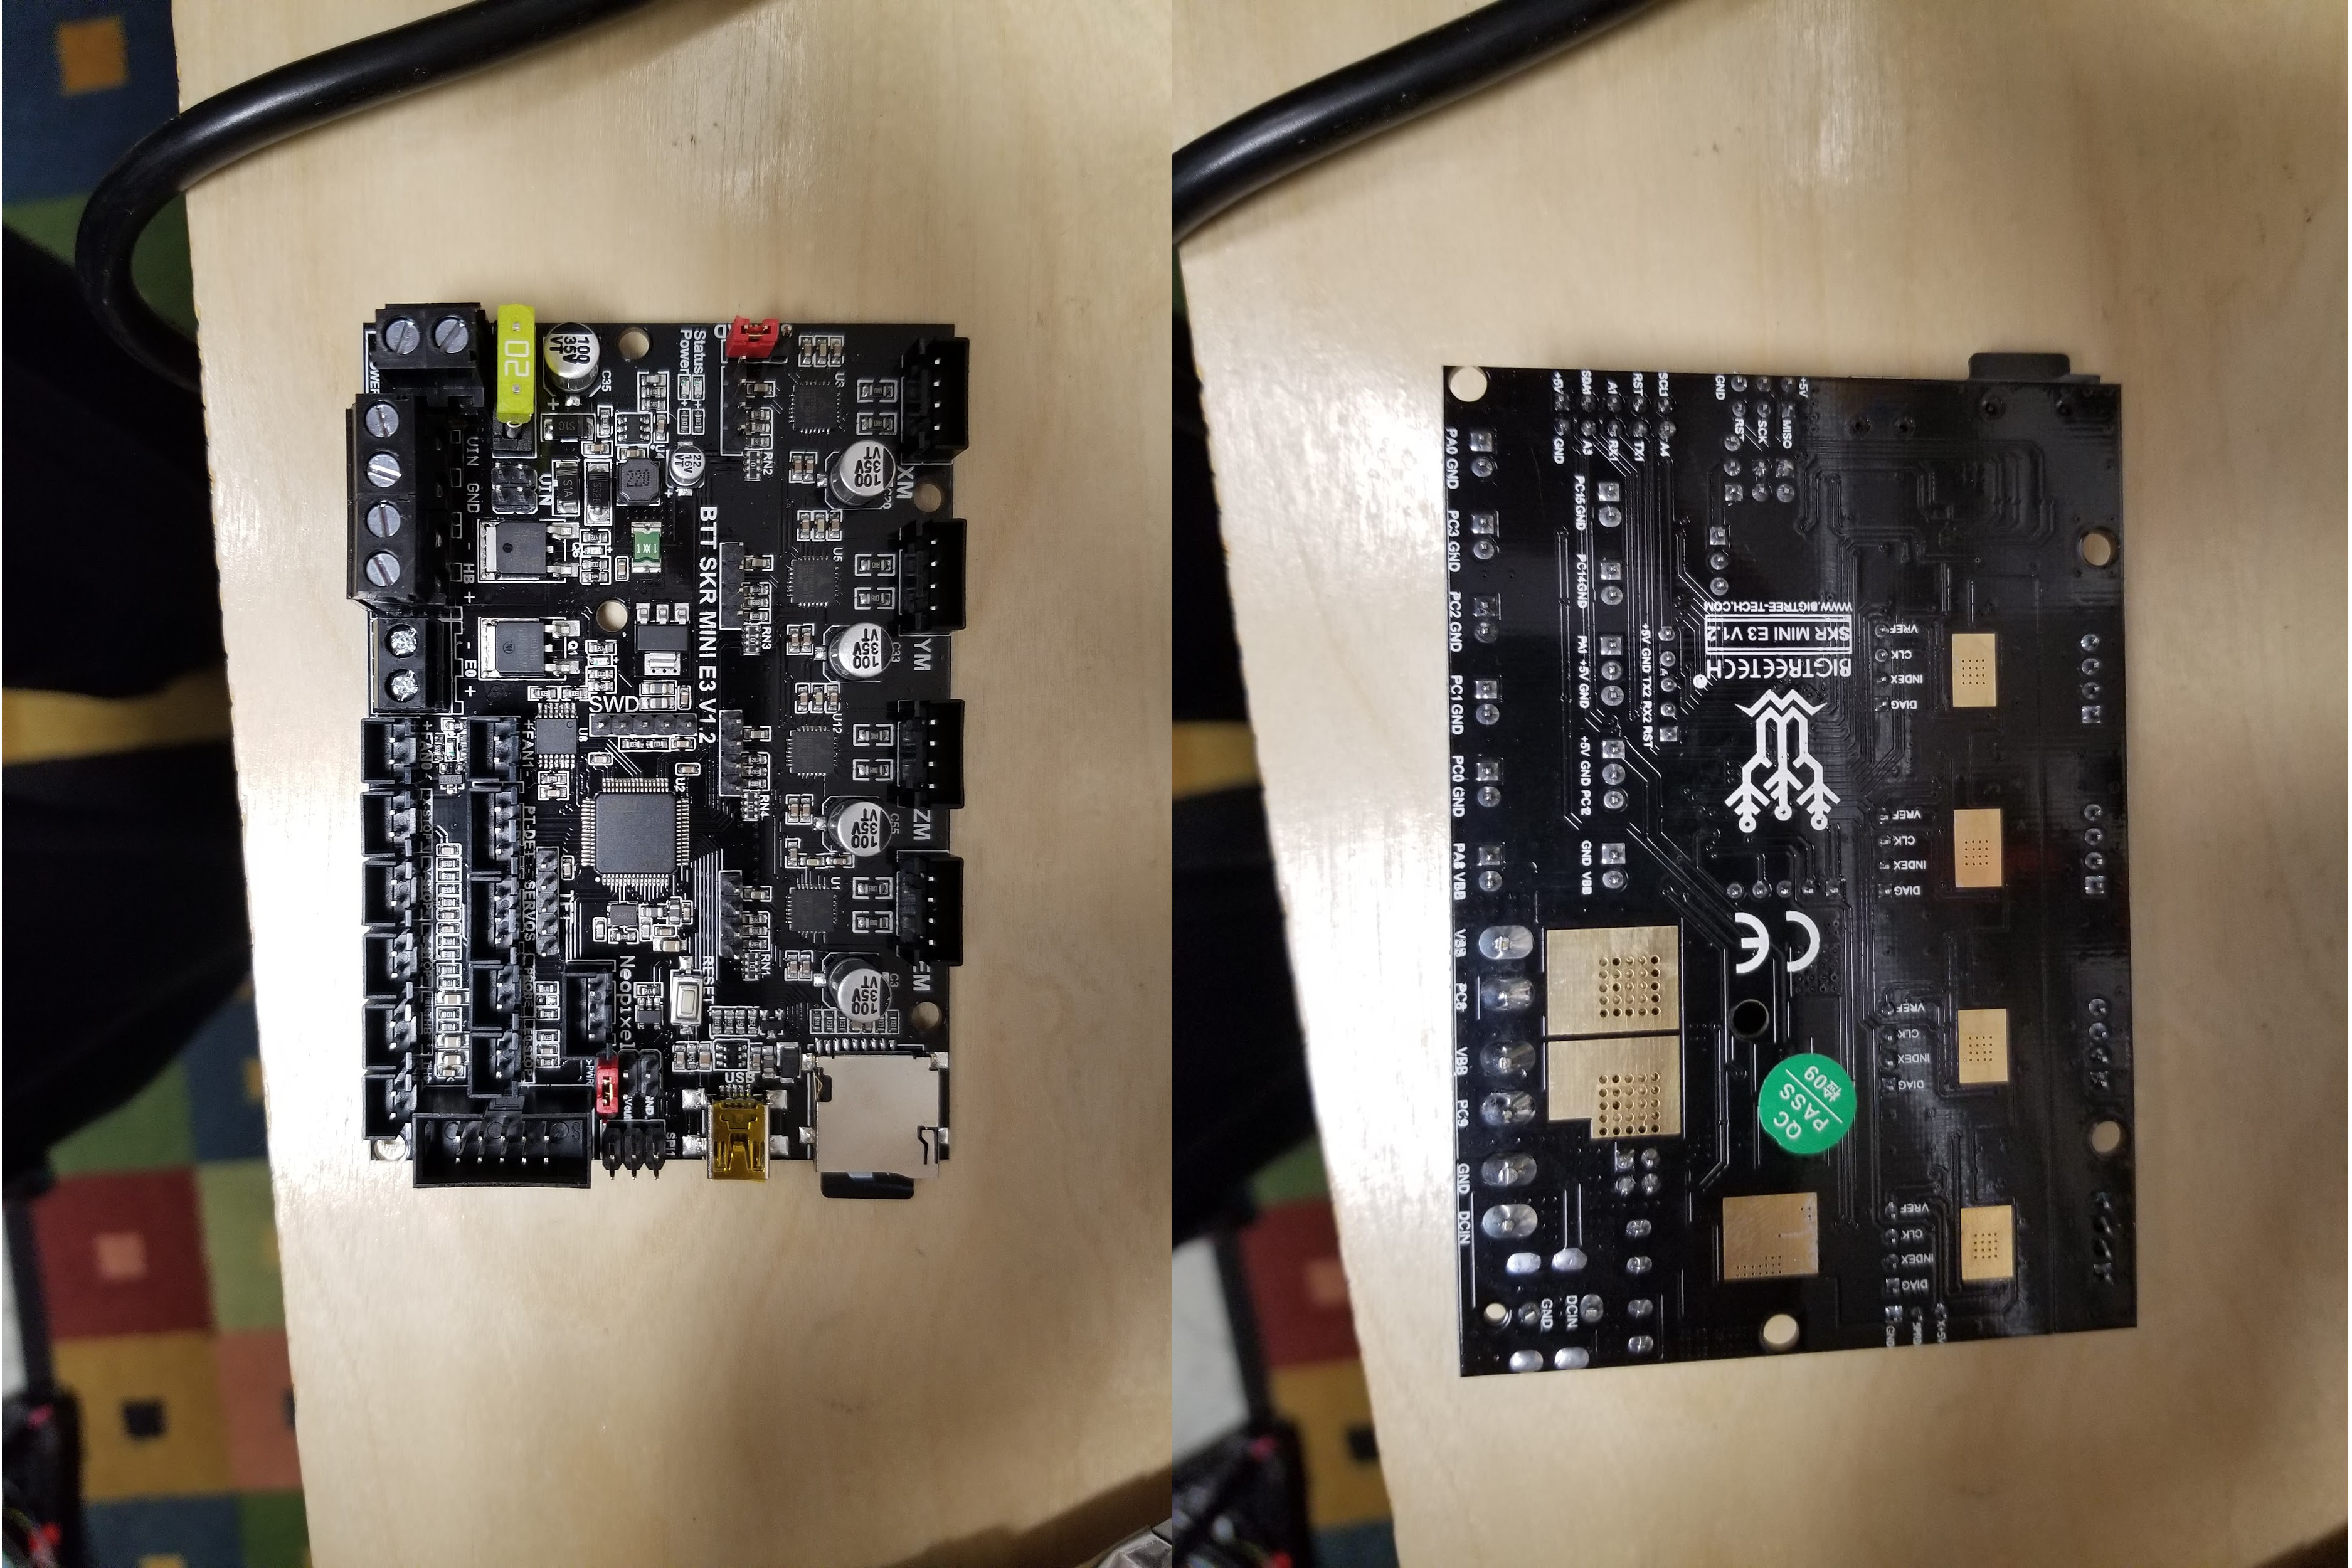
This board is a replacement for the board found on the Ender 3. Below is from the manual. I purchased a clamp meter to test the bed for the SV01. The bed pulls 9.6 amps max or 230W and the Ender 3 bed is rated at 220W. After it reaches temp, it cycles 9.3 amps or 223 Watts on and off. The bed on the SV01 bulls about an extra .5 amp when initially heating up. 5% more…this may be within tolerance. I don’t think that this will be an issue. Do this upgrade at your own risk. I have had no problems. You have been warned. Note that an external MOSFET can resolve this issue completely. All power would route through the MOSFET and only use the Bigtreetech SKR Mini board for control.

Wiring
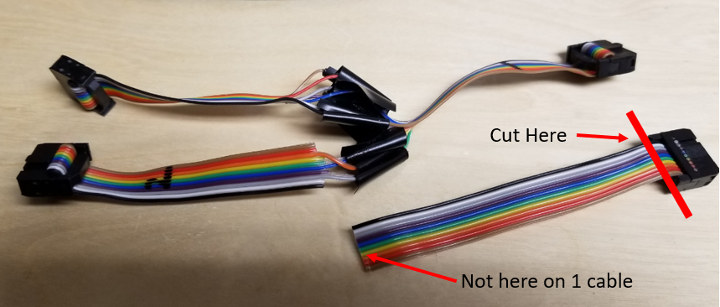
One modification had to be done to wiring. There is only 1 Z output so you must splice the 2 connections down to 1 in parallel.
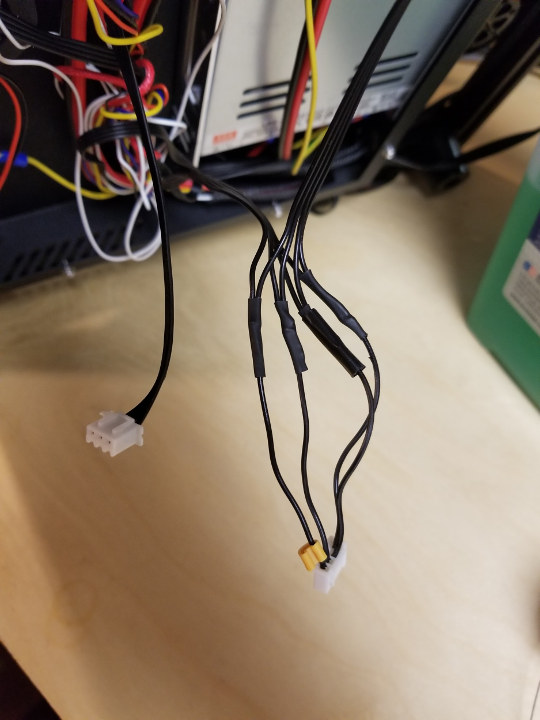
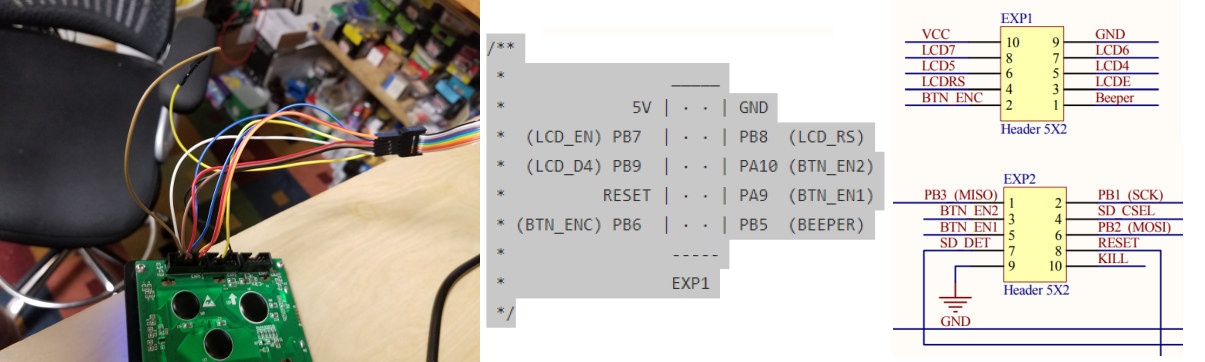
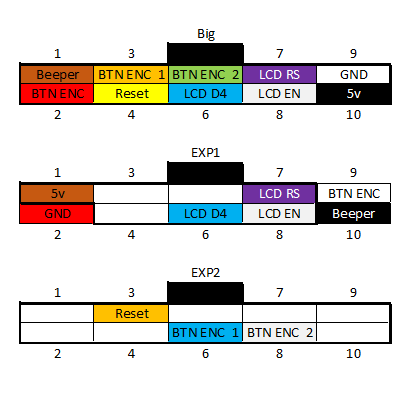
All the below connect is not necessary. The screen has an exp3 connection on it with the correct pinout for the SKR mini E3. Take the connection from the E3 on the screen to the 10 pin connector on the board. No splicing necessary.

Connections

All the rest of the connections just plug in. I didn’t even bother tracing the thermistors or fans and plugged them in. I started heating the hotend and if the wrong temp rises, swap. If the fans are backward just swap. I didn’t connect the fan that keeps the board itself cool and just left the plate that covers the bottom of the printer off for easy access. You can directly connect this fan to the power supply if needed.
Marlin
I used Marlin from Bigtreetech’s GitHub page and forked it here. You can download directly from my fork. If you are OK without a filament runout sensor, download the firmware.bin and place it on the SD card and boot up the printer. It will load the firmware that is on the SD card. There are many guides to compile and flash the firmware and won’t go in-depth here. I would imagine the maintainers of Marlin will take these changes for the board soon if they haven’t already.
Conclusion
I am very pleased with the upgrade to SKR Mini E3 board. Now the only thing that is too loud is the fan on the power supply. Fan noise doesn’t bother me as much as noisy steppers so I may leave it. I think it is because it is a constant sound versus one that goes up and down.

Karl is a technology enthusiast that contributes reviews of TV boxes, 3D printers, and other gadgets for makers.
Support CNX Software! Donate via cryptocurrencies, become a Patron on Patreon, or purchase goods on Amazon or Aliexpress


