
FriendlyELEC introduced NanoPC-T4 RK3399 SBC (Single Board Computer) last May for $129. The board comes with a Rockchip RK3399 hexa-core processor, 4GB RAM, 16GB eMMC flash, dual-band WiFi module and an M.2 socket with NVME (PCIe) SSD support.
The company has now sent me the device with accessories for review / evaluation. In this post, I’ll check out all items received, and show how to assemble all components.
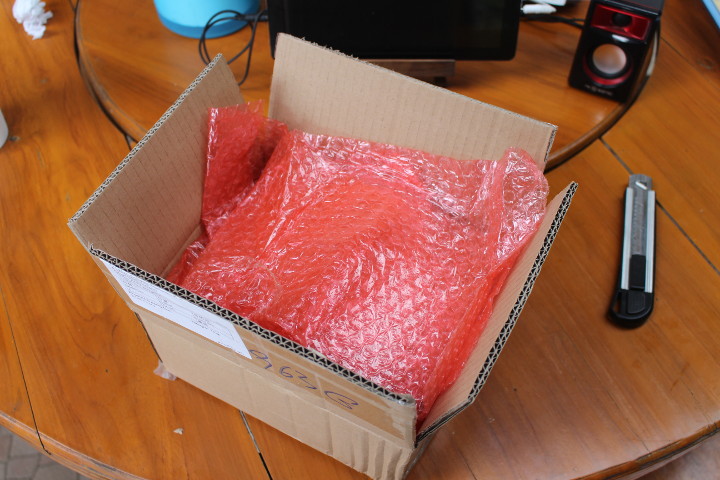
NanoPC-T4 Board Kit Unboxing
Let’s getting started, and open the package…
I received two identical kits with two NanoPC-T4 boards, acrylic enclosure with spacers, screws and nuts, 12V/2A power supply, heatsink, and an RC-100 IR remote control.
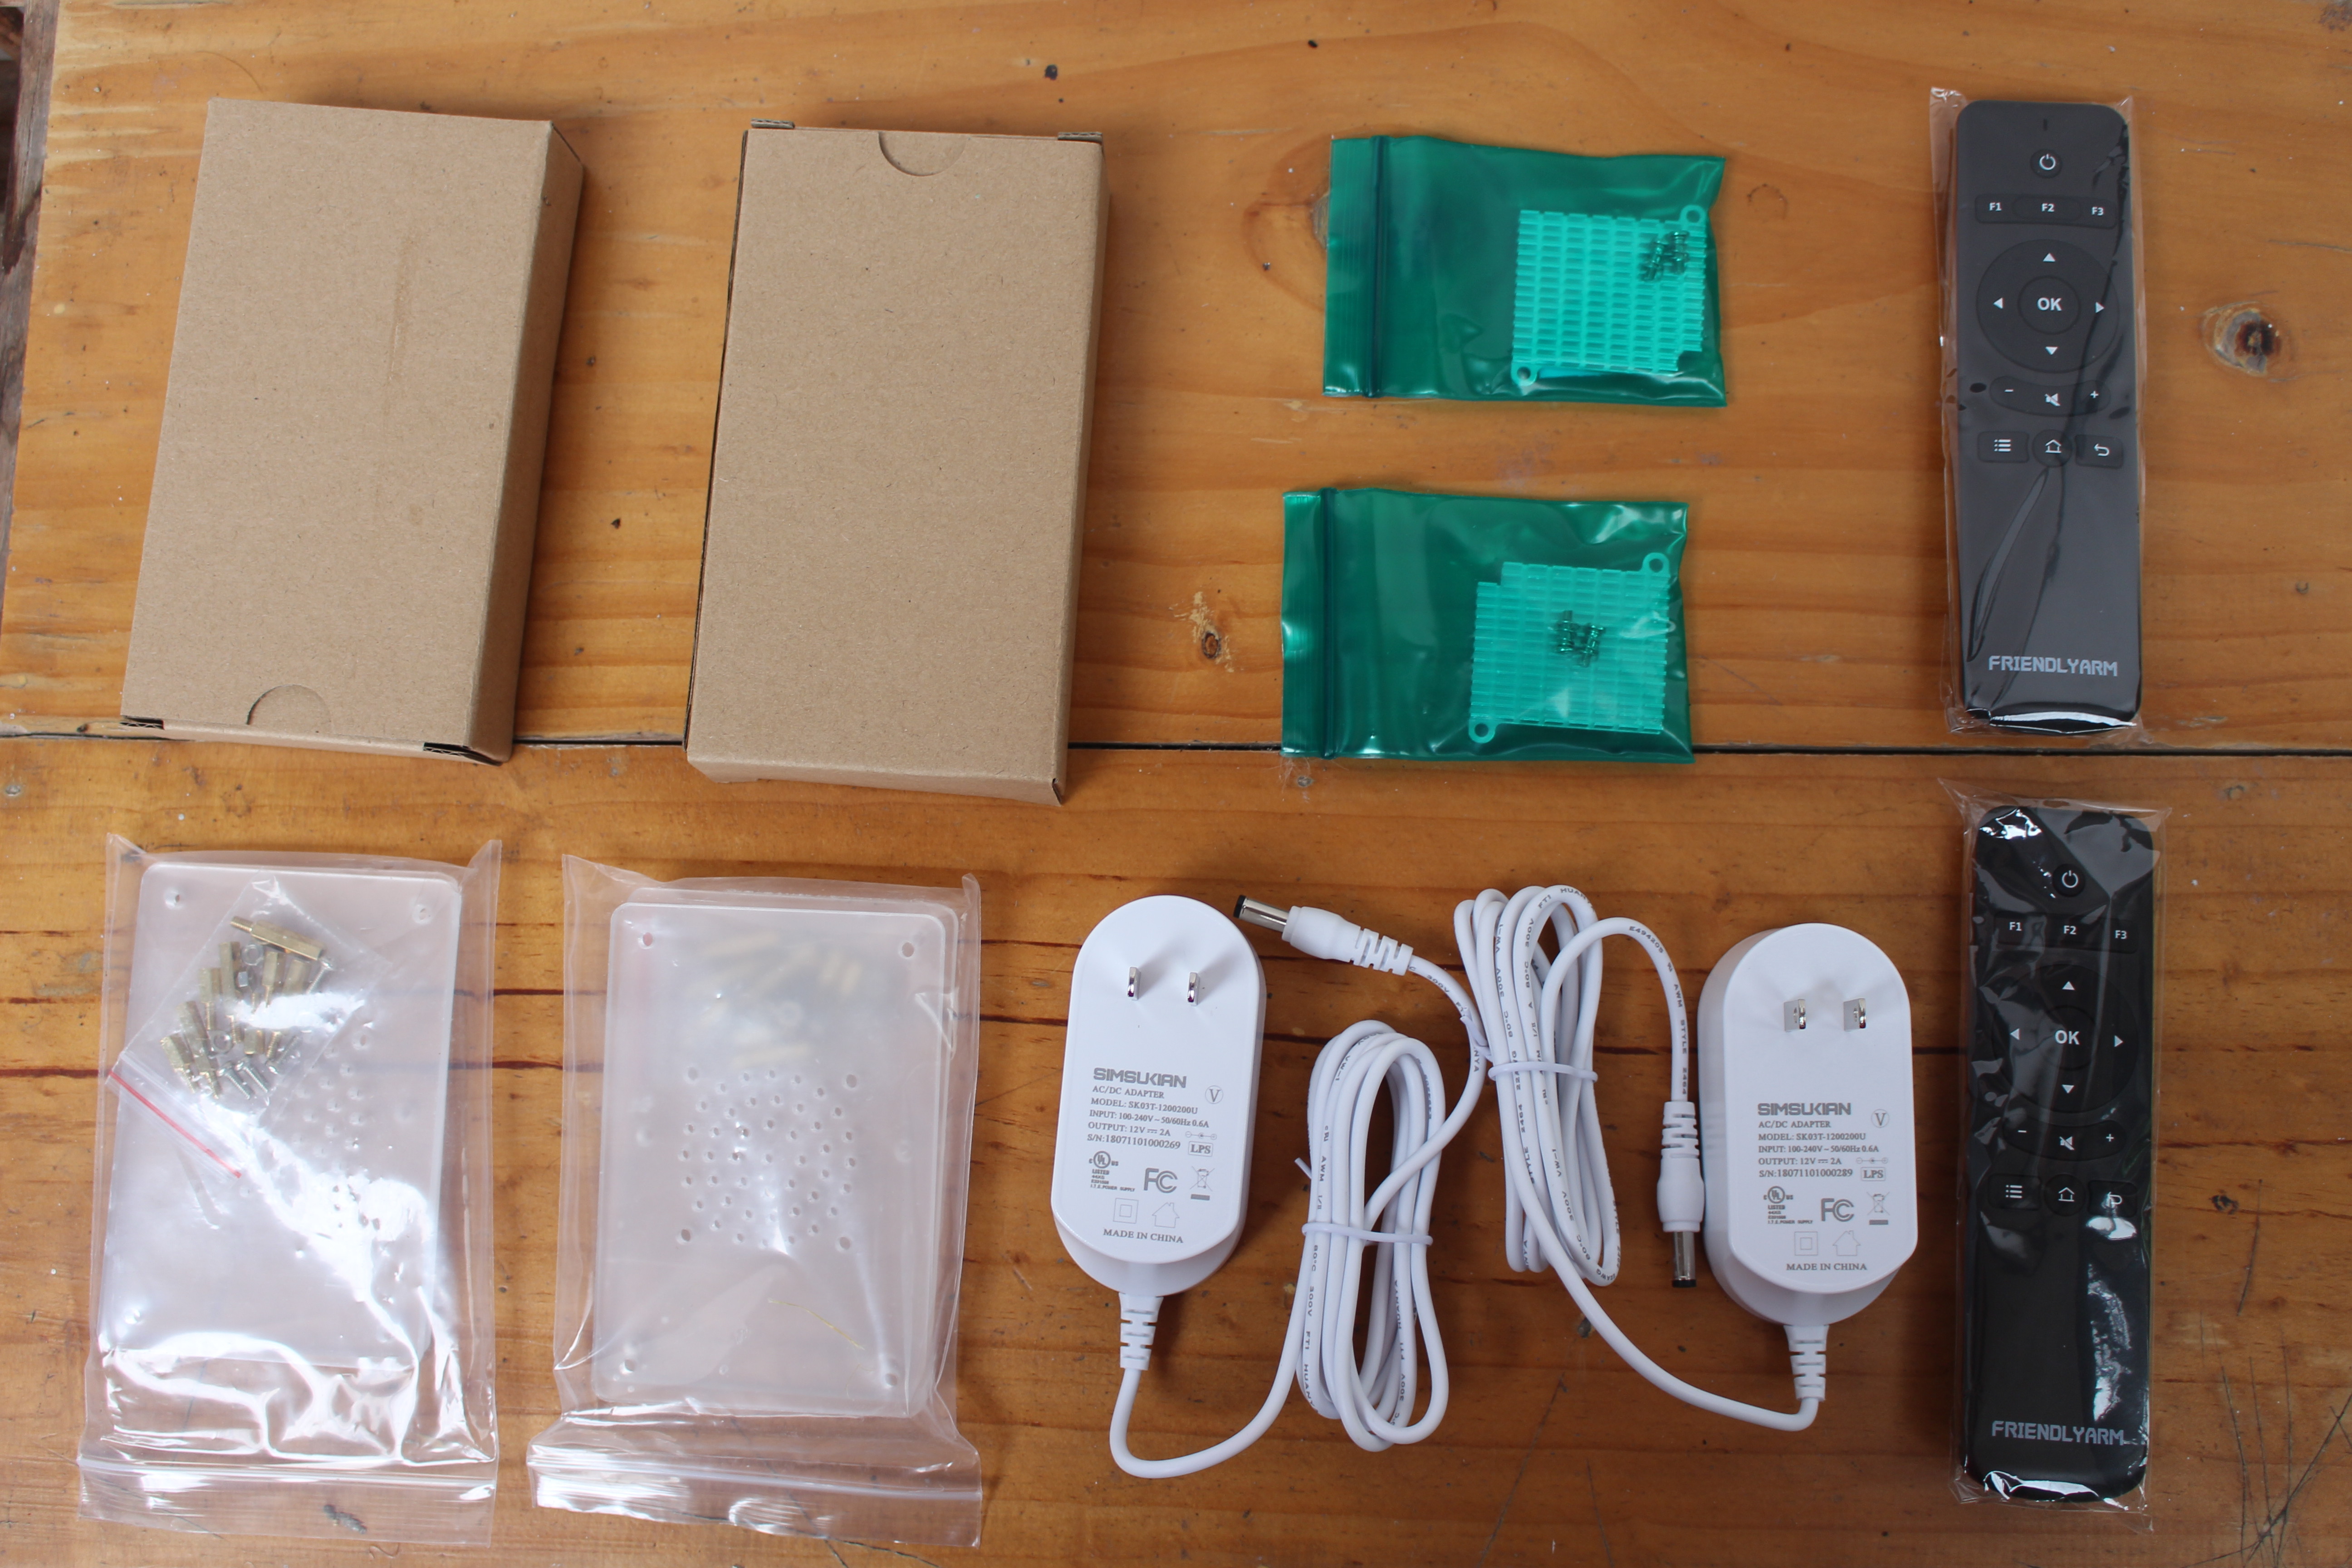
In theory, I also expected two WiFi antennas per kit since that’s part fo the kit in their website, but I did not see any. The remote control is an optional item.
[Update:
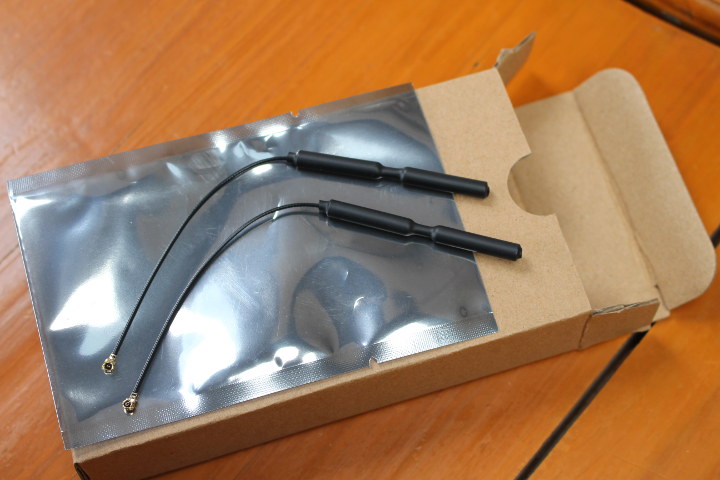
Ooops. I found the antennas inside the package for NanoPC-T4 board.]
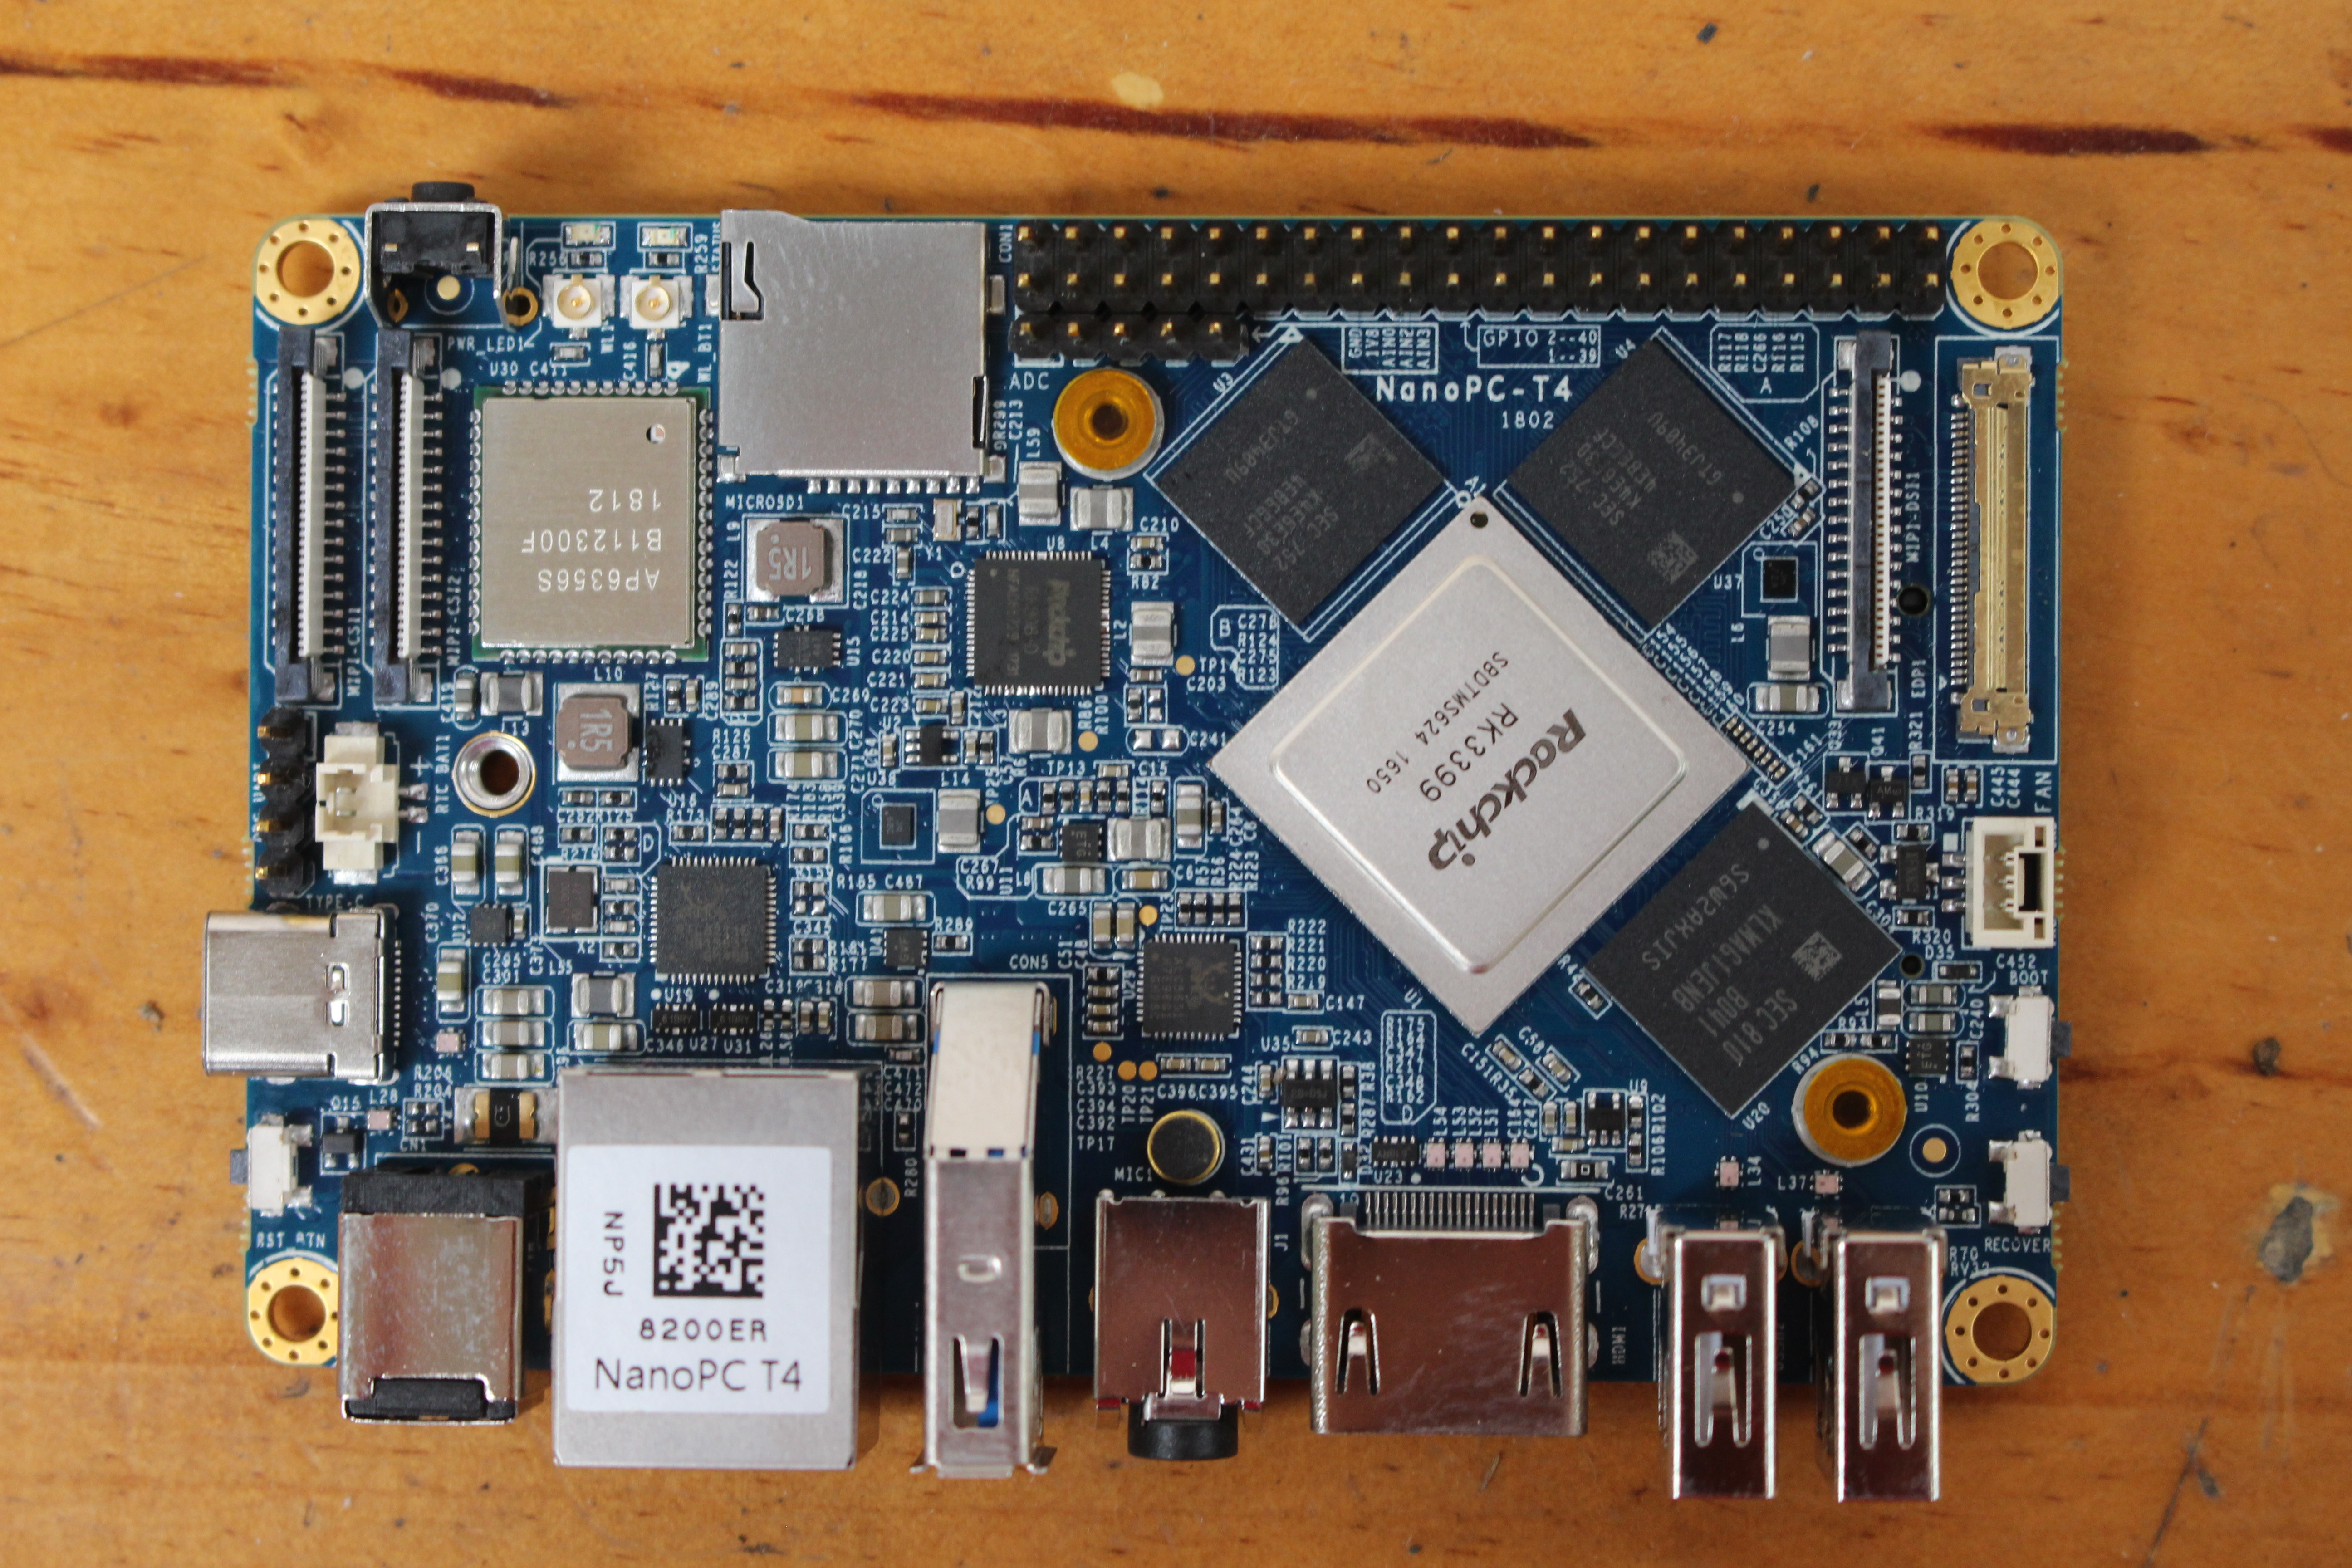
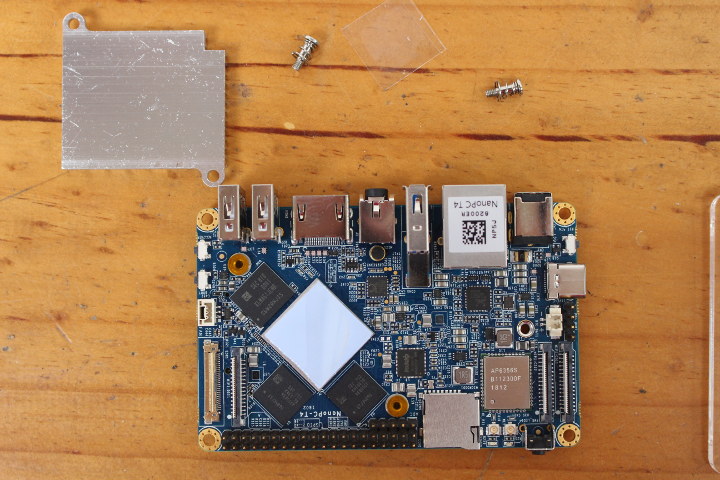
I’ve already gone through all specifications in the announcement post, but let’s go through some of the main components and ports on the top of the board. Beside Rockchip RK3399, we’ve got Samsung eMMC flash (16GB) and RAM (2x 2GB), Realtek chips for Gigabit Ethernet and AV, a Rockchip PMIC, and Ampak AP6356S 802.11ac WiFi + Bluetooth module. We also have two MIPI CSI connectors on the left, and eDP 1.3 and MIPI DSI connectors on the right for a total of up to 4 displays when we consider the HDMI 2.0 port, and USB type C port with DisplayPort 1.2 alternate mode.

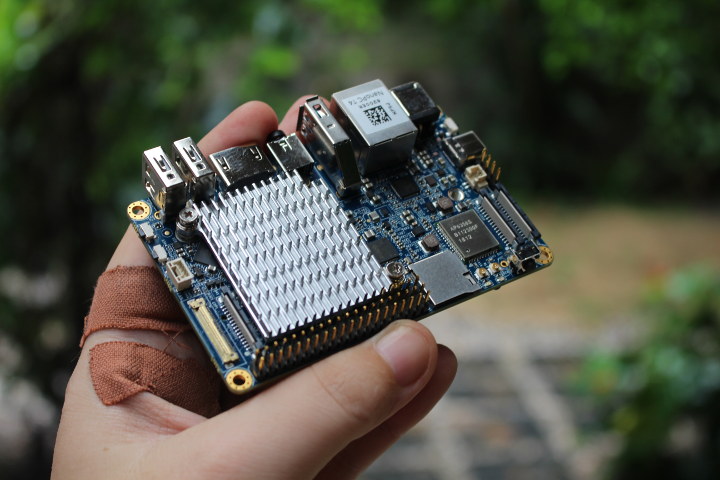
The other side of the board has plenty of passive components, as well a the M.2 socket for 2280 (80mm) cards. The M.2 socket expose the PCIe interface so you can connect an NVMe M.2 card, or other PCIe add-on cards for SATA, WiFi, Gigabit/10-Gbps Ethernet. What should not work is connecting an M.2 SATA SSD.
 It did not stop me from trying through, and it mechanically fits, but it should not work since there’s no PCIe to SATA chip on the board.
NanoPC-T4 Kit Assembly
Assembly should be pretty straightforward, but there are still a few potential mistake to make. Starting with the heatsink kit, peel off one side of the purple thermal pad, and place it on top of RK3399 SoC, before peeling the other side.
 Now you should notice two mounting hole, with golden/orange stickers. Remove the sticker, align the heatsink with the holes, and fasten the “spring screws” to keep the heatsink firmly in place.
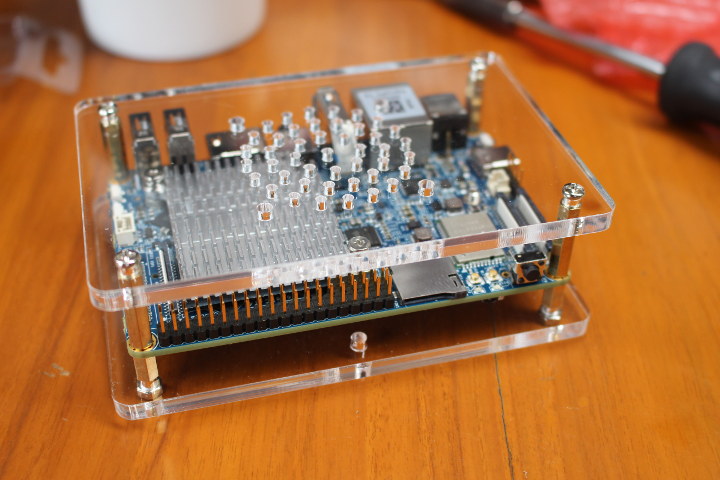
Moving on to the acrylic enclosure.
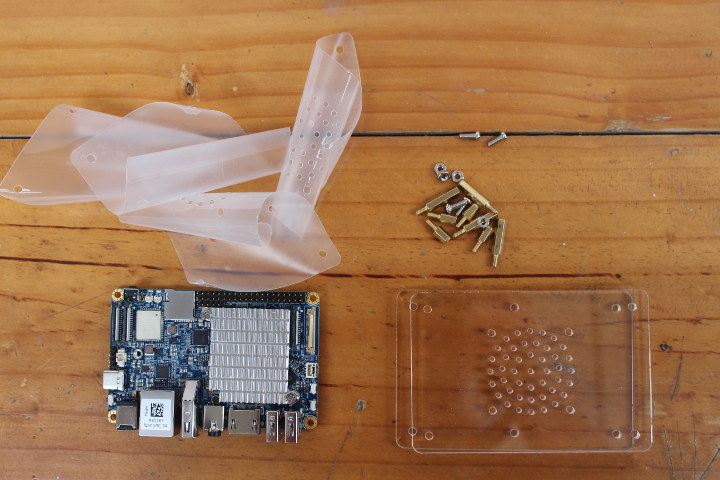
You may first want to peel off the protective sheets from the two sides of each plate. Then starting with the bottom plate fasten the short spacers with nuts, and screw the longer spacers on top.
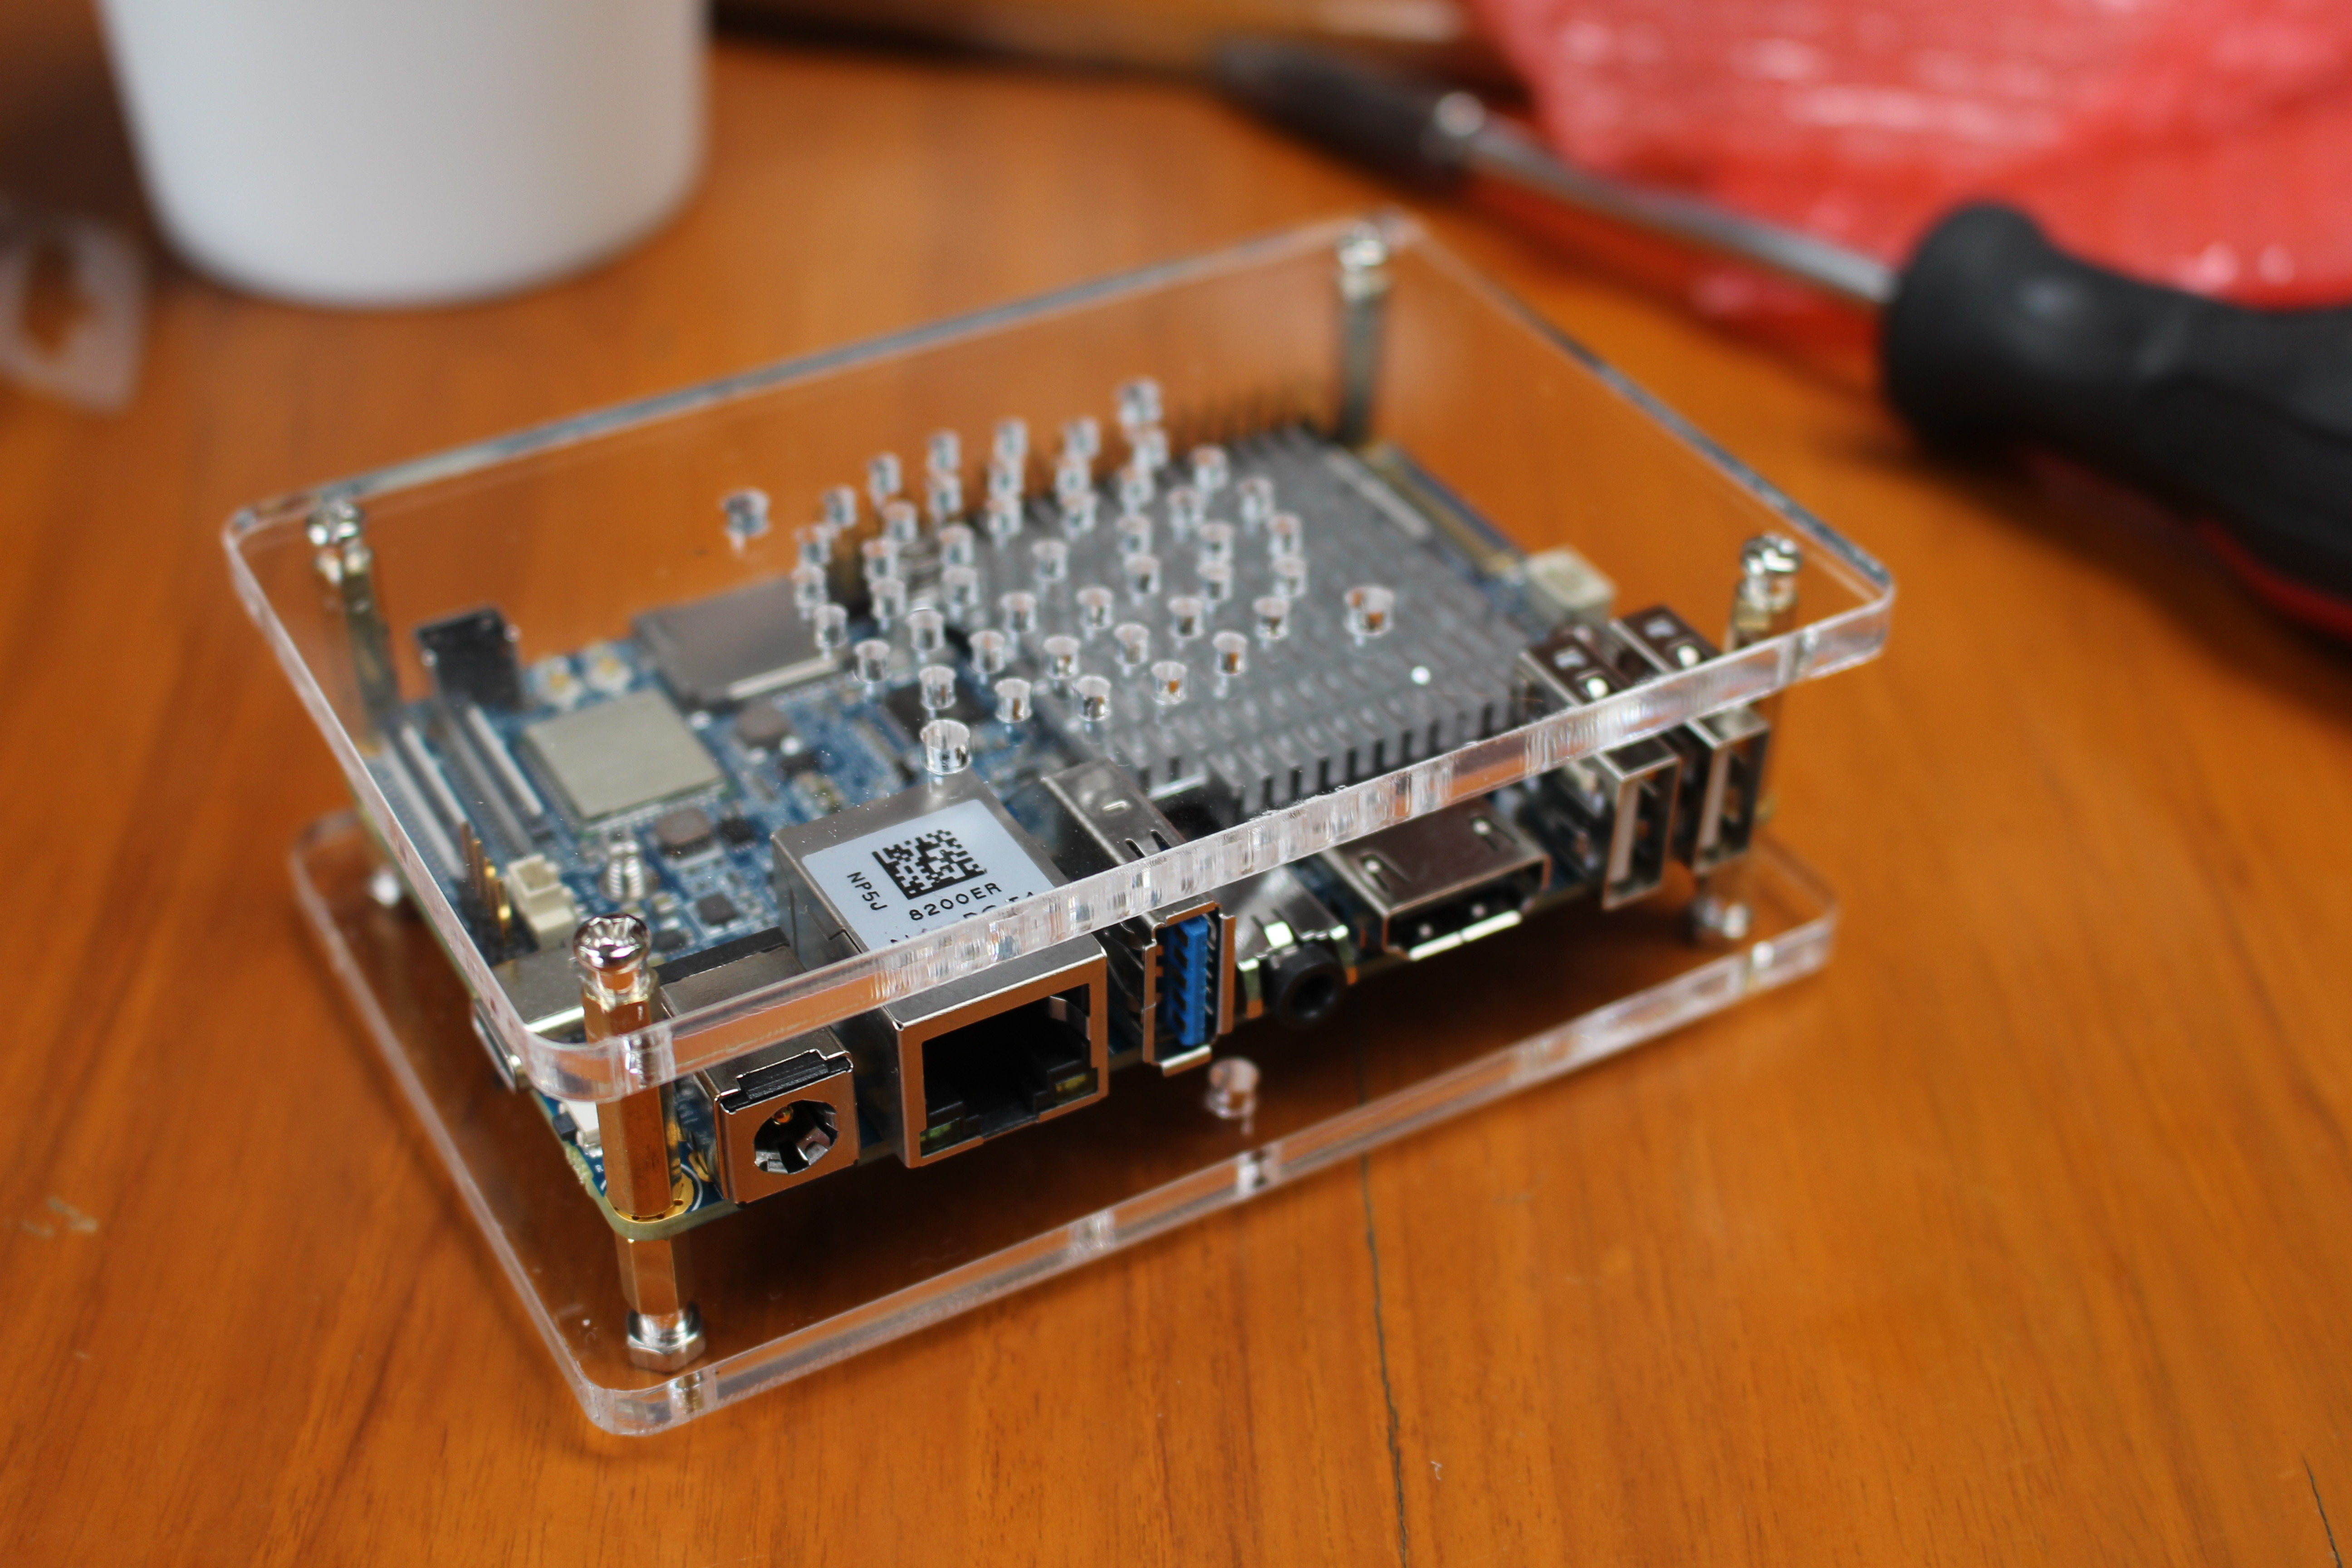
Now place the top cover with the ventilation holes on top, and complete the assembly by fastening the four screws. All done.
The next step will be to get started with the instructions in the Wiki, using either Android 7.1.2, FriendlyCore based on Ubuntu Core + Qt 5.10, or Lubuntu desktop with X Window.
If you’re interested in NanoPC-T4, you can purchase this kit for $129 plus shipping. The remote control is an option that adds $2.90.

Jean-Luc started CNX Software in 2010 as a part-time endeavor, before quitting his job as a software engineering manager, and starting to write daily news, and reviews full time later in 2011.
Support CNX Software! Donate via cryptocurrencies, become a Patron on Patreon, or purchase goods on Amazon or Aliexpress


