ANAVI Light pHAT is an expansion board best suited for Raspberry Pi Zero (W/WH) boards, but also working with any other Raspberry Pi boards with a 40-pin header, that can control a 12V RGB LED strip and sensors. The project’s crowdfunding has just been successfully completed on CrowdSupply with 82 pledges, but you can still pre-order the board or kits for $25 and up.
The developer – Leon ANAVI – had sent me a starter kit a little while ago, and this week-end I had time to test the basic functionalities of the board.
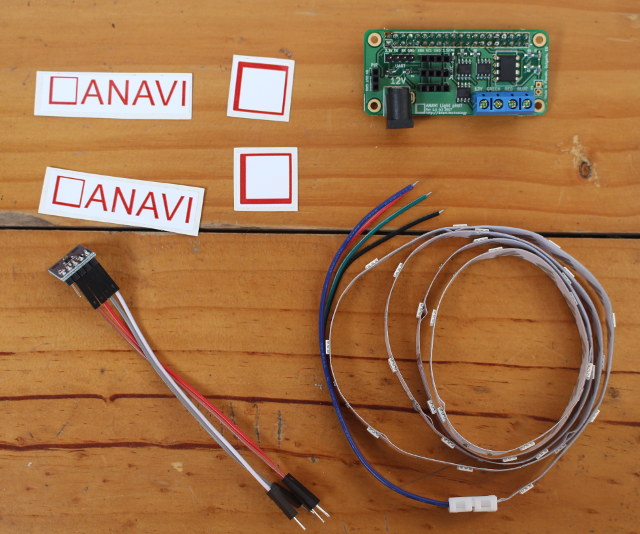
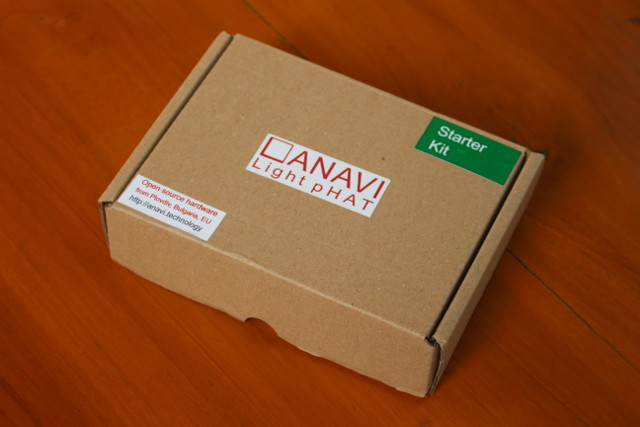 The package includes the pHAT board itself, a one meter RGB LED strip, an I2C sensor, and some stickers.
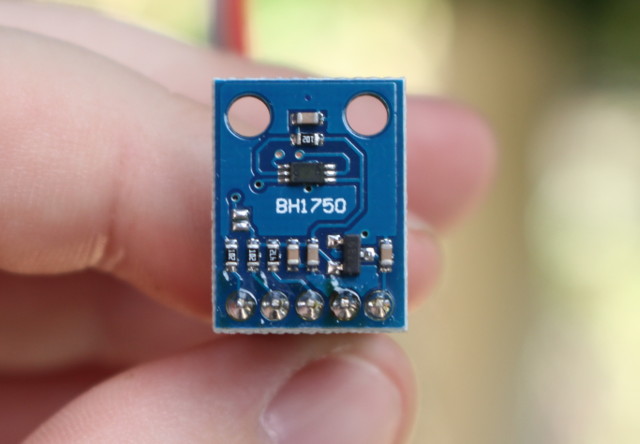
The sensor is based on BH1750 ambient light intensity sensor.
 The light pHAT boards include a 4-pin 12V/RGB blue terminal, EEPROM, three I2C connecter, a 3.3V UART connector to access the serial console for debugging / running commands, and a 3-pin PIR sensor header on the left.
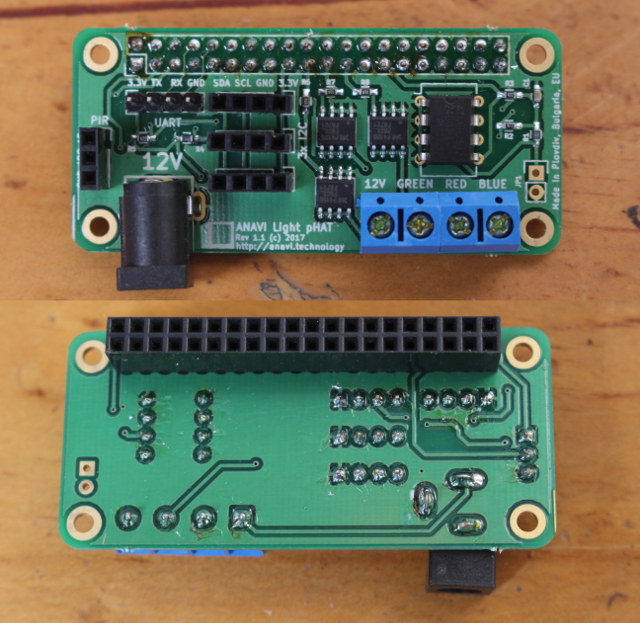
The board requires a 12V power source, and the bottom side only comes with a 40-pin female header to connect it to your chosen Raspberry Pi boards.
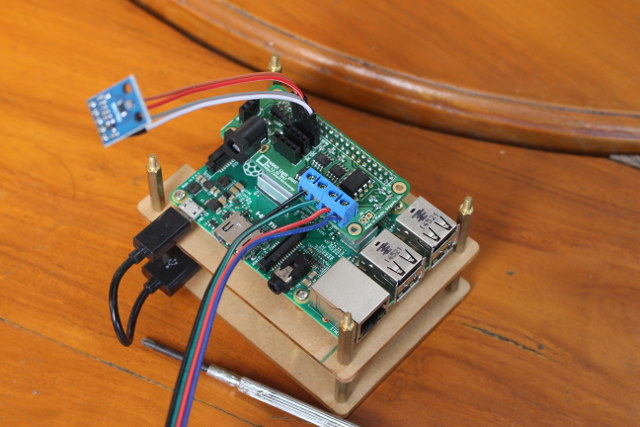
I decided to go with Raspberry Pi 2 board since I already had installed Raspbian 8 (Jessie), and I had used it for ANAVI Infrared pHAT. Installed is very easy, no soldering required:
- Insert the board into the 40-pin RPi header
- Insert the RGB LED strip wire into the blue terminal, and tighten with a precision screw drive
- Optionally add any I2C sensor or PIR sensor you wish to use in the corresponding I2C/PIR sensor header
- Place the RGB LED strip in a “strategic” position
I’m a little late for this, but I wrapped it around Santa Claus’ hat.

We can now switch to software installation for which I followed the instructions on Github. We’ll need Raspbian, and considering the Raspberry Pi foundation had released Debian 9 for RPi since last time I played with the board, I first opted to upgrade from Debian 8 to Debian 9, but after finding it took a very long, I downloaded and installed Raspbian Stretch Lite instead, wiping out my SD card for a fresh start.
Note that Raspbian now disables SSH by default, so for a headless setup not using the serial connection, you’d need to enable SSH by placing a file named ‘ssh’, without any extension, onto the boot partition of the SD card. (e.g. /boot/ssh). I did that an I could connect over ssh after connecting Ethernet.
Now that we are connected to the Raspberry Pi board via SSH/Terminal/HDMI, we can upgrade the system to the latest version, and install the required packages:
|
1 2 3 |
sudo apt update sudo apt upgrade --fix-missing sudo apt install -y git i2c-tools vim git-core python-dev python-rpi.gpio pigpio |
The packages list is a little different from the one in the wiki because by default, Raspbian Lite lacks some packages such as pigpio, which needs to be installed manually. Once it is done let’s run raspi-config:
|
1 |
sudo raspi-config |
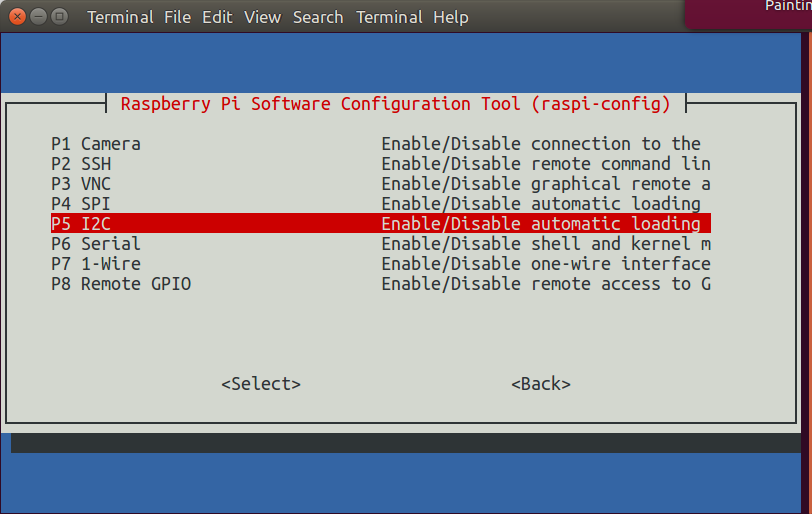 and go to Interfacing Options to enable I2C (P5) and optionally Serial (P6) if you need to access the board through a serial terminal.
We can now load pigpio daemon, and turn on the red lights:
|
1 2 |
sudo pigpiod pigs p 9 255 |
turning off red lights, turn on blue light:
|
1 2 |
pigs p 9 0 pigs p 10 255 |
and turn off blue lights, turn on green lights:
|
1 2 |
pigs p 10 0 pigs p 11 255 |
All working good for me, so we can confirm the hardware is working. But you’ll likely want to write your own program to control the LED strip, and to help you out Leon wrote a demo program randomly updating the lights colors.
The program needs WiringPi, so let’s retrieve the code and build it:
|
1 2 3 4 |
cd ~ git clone git://git.drogon.net/wiringPi cd wiringPi ./build |
We can now get the sample app written in C language to control the strip with PWM:
|
1 2 3 4 5 |
cd ~ git clone https://github.com/AnaviTechnology/anavi-examples.git cd ~/anavi-examples/anavi-light-phat/light-demo make ./demo |
Watch a 2-minute demo with the board showing the basic commands above, and demo program.
The demo only controls the RGB LED strip, but none of the sensors. So first let’s see if we can find the light sensor:
|
1 2 3 4 5 6 7 8 9 10 |
sudo i2cdetect -y 1 0 1 2 3 4 5 6 7 8 9 a b c d e f 00: -- -- -- -- -- -- -- -- -- -- -- -- -- 10: -- -- -- -- -- -- -- -- -- -- -- -- -- -- -- -- 20: -- -- -- 23 -- -- -- -- -- -- -- -- -- -- -- -- 30: -- -- -- -- -- -- -- -- -- -- -- -- -- -- -- -- 40: -- -- -- -- -- -- -- -- -- -- -- -- -- -- -- -- 50: -- -- -- -- -- -- -- -- -- -- -- -- -- -- -- -- 60: -- -- -- -- -- -- -- -- -- -- -- -- -- -- -- -- 70: -- -- -- -- -- -- -- -- |
I2C address 0x23 is found. Now we can build the sample app also written in C language:
|
1 2 |
cd ~/anavi-examples/sensors/BH1750/c/ make |
Results with room light off:
|
1 2 3 |
./BH1750 BH1750 Sensor Module Light: 50 Lux |
Results with room light on:
|
1 2 3 |
./BH1750 BH1750 Sensor Module Light: 117 Lux |
Results with sensor covered with hand:
|
1 2 3 |
./BH1750 BH1750 Sensor Module Light: 0 Lux |
The source code for the function to get the luminance value is very short, and easy to understand:
|
1 2 3 4 5 6 7 8 9 10 11 12 13 14 15 16 |
#include <wiringPi.h> #include <wiringPiI2C.h> #include "BH1750.h" int getLux(int fd) { wiringPiI2CWrite(fd,0x10); delay(LUXDELAY); int word = wiringPiI2CReadReg16(fd, 0x00); if (-1 == word) { return -1; } int lux=((word & 0xff00)>>8) | ((word & 0x00ff)<<8); return lux; } |
So for example it would be simple to modify the RGB LED demo code to only start the LED strip when the lux value is less than a given value. That’s all for this getting started guide, and it went fairly smoothly in my case just following instructions on Github.
If you want to go further, Leon added Home Assistant support using Hassbian distribution, and is working on instructions to integrate IKEA GRÖNÖ table lamp with ANAVI Light pHat (Stretch goal).

Jean-Luc started CNX Software in 2010 as a part-time endeavor, before quitting his job as a software engineering manager, and starting to write daily news, and reviews full time later in 2011.
Support CNX Software! Donate via cryptocurrencies, become a Patron on Patreon, or purchase goods on Amazon or Aliexpress


