Karl here with final part of Tevo Tarantula dual extruder 3D printer review. The kit that was sent by Gearbest has a large bed, auto leveling, dual extrusion, and flex extruder of which I only found the flex extruder appealing to me. I have had this printer for a while now. It was relatively easy to setup, but near the end of the build it did not cover every aspect. There are lots of videos and a big Facebook group if you run into any troubles. Overall it is a good printer, but some of the features I initially thought I would like turned out to not be very useful.
Auto leveling
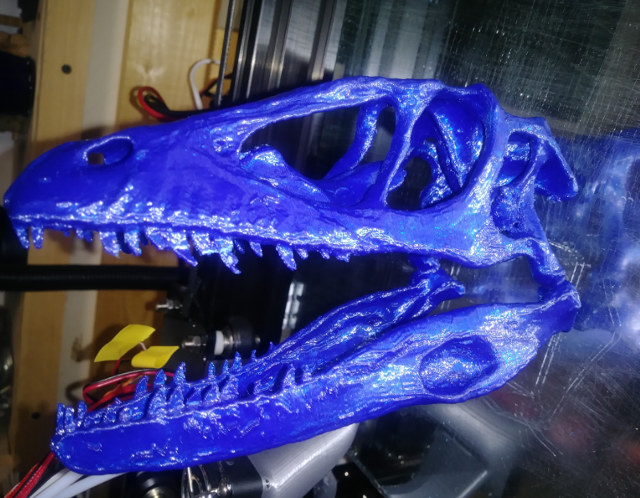
I tried my hardest to get this to work even going as far as to upgrade the firmware, but because they had a printed bracket on it, it drooped on my first high temp ABS print. I removed it immediately because it made me angry. It was not worth the hassle to me. Leveling by hand is done infrequently and can be done very quickly. I installed a piece of glass on my bed and it makes it even easier because you can see the space between the nozzle and the glass. I saw a post a while back where someone sanded their mirror with sandpaper, and they no longer needed glue, and it works well. I only had to use glue on the dinosaur head below with all the thin supports. I tried my best to get auto leveling working but IMHO, it is not worth the extra money.
Dual Extrusion
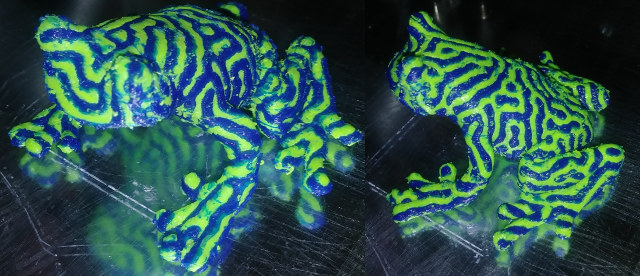
In theory, it looks good but is a terrible pain with 2 separate nozzles. 3D printing is not the easiest as it is but now with 2 nozzles side by side, printing with dual extruder is difficult. I was able to print the 2 color tree frog after multiple attempts. And tried a couple other things from Thingiverse. In my mind now, if I want to have 2 colors I will just paint the piece. I purchased soluble HIPS but never got around to printing with it. I ordered in a rush, and thought it was water soluble but it is soluble in Limonene and I am in no hurry to buy. Limonene is pretty expensive and nasty sounding stuff. Not impressed with dual extrusion right now, and another unneeded upgrade.
Flex Extruder
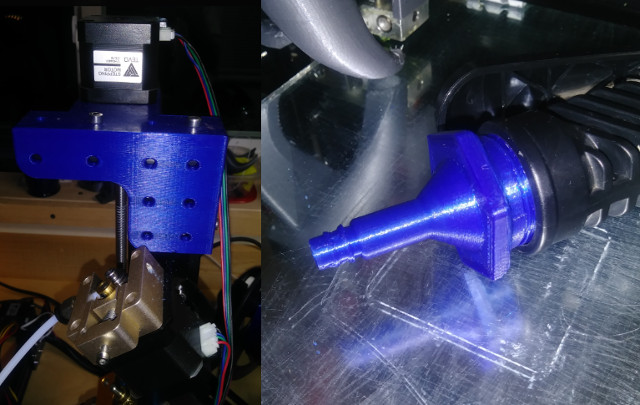
Now for the flex extruder. It was the only upgrade that I found useful. I purchased some flexible PLA and tested with the stock extruder. It jammed every time. After upgrading, I went on to print flexible filament with no issues. Flexible filament is more expensive so I only printed 2 things with it. (one of my kids stole the benchy so I don’t have a picture of it. It printed fine with the exception of the stack on top broke off. This upgrade is worth it, and works if you are wanting to print flexible filament.
Fusion 360
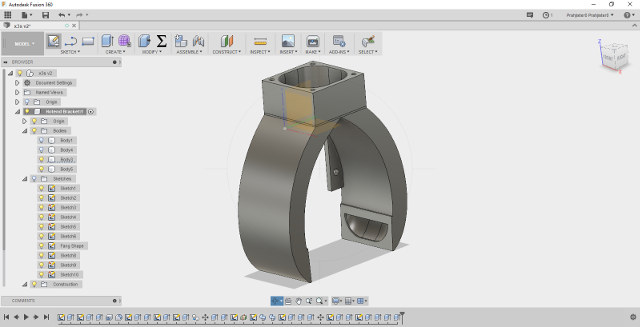
This is not really part of the review, but I wanted to share how satisfying it is to make things in AutoDesk Fusion 360. I am currently designing some useful parts for another printer from scratch, instead of mixing models together and some car parts. It is extremely powerful and definitely worth learning. Tinkercad is good for basic stuff, and I will continue to use it, but for more elaborate parts Fusion 360 is the way to go. The parametric modeling and timeline feature blows my mind. If you need to make a change roll back the timeline make the change then all the subsequent tools update magically. There are a ton of videos on YouTube if you are interested. I settled on Lars Christensen to learn basics. It is fun printing, but designing an object from ground up is just fantastic, and goes hand in hand with 3D printing.
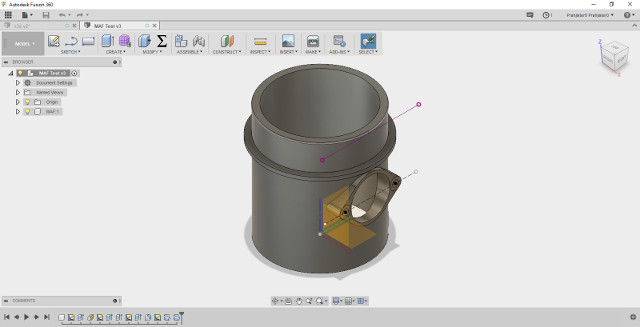
More 3D Print Samples
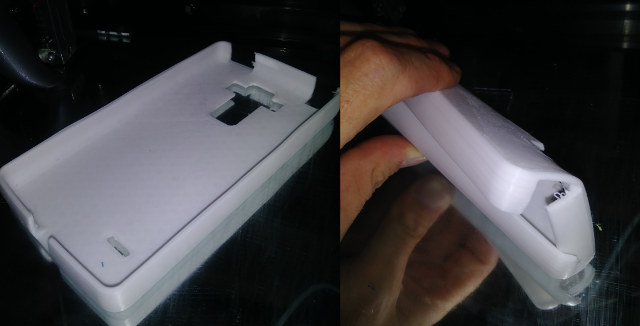
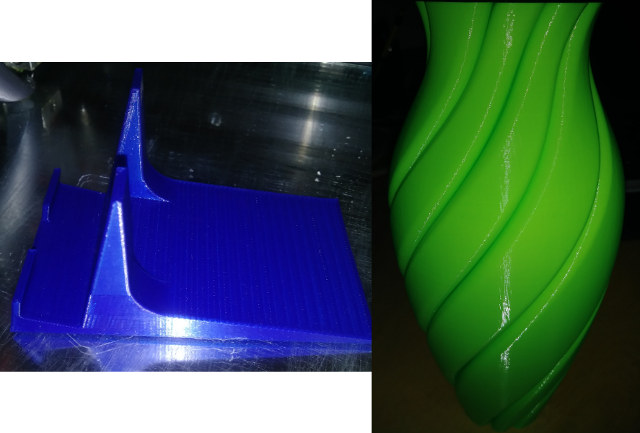
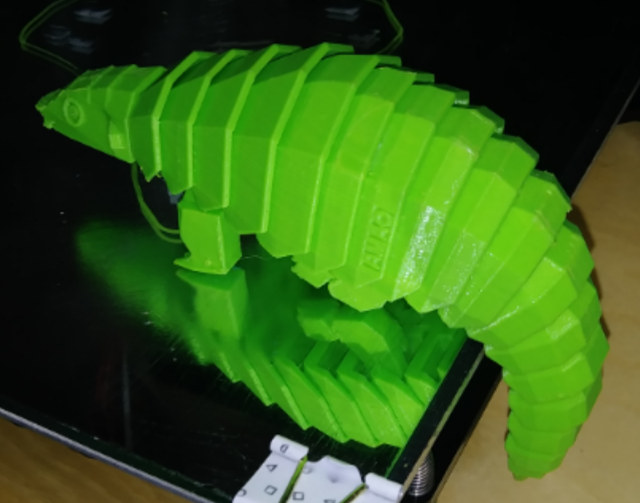
All the prints below were printed with ZYLtech filament with the exception of the flexible filament. If you are in the US definitely check them out. I picked up 3 rolls for $30 + shipping with a coupon code I got in one of the Facebook groups. I also signed up for the newsletter, and they send out coupon codes periodically. At the time of this writing you can get free shipping if you spend $75 or more.
 Summary
For regular printing, it prints very well and easy to print with. Heats up fast. There is a big community behind this printer so there are many mods/upgrades, but it prints pretty well out of the box. There are a lot of solid parts with the kit. The board is really good and well documented making it easy to upgrade firmware. All the acrylic parts can be printed to sturdy the frame up if you desire. I did break my Z bracket, but was able to glue it back long enough to print replacement. If I was in the market I would get the base model (~$240 – Coupon TE3DIT may lower the price), or the next step up with the larger bed (~$255). The model I reviewed with the complete options (large bed, dual extruder for bi-color prints, and auto-leveling) costs $418.59 includding worldwide shipping, but the if you use TEVODUAL coupon, the price will go down to $349.99.
Karl is a technology enthusiast that contributes reviews of TV boxes, 3D printers, and other gadgets for makers.
Support CNX Software! Donate via cryptocurrencies, become a Patron on Patreon, or purchase goods on Amazon or Aliexpress


