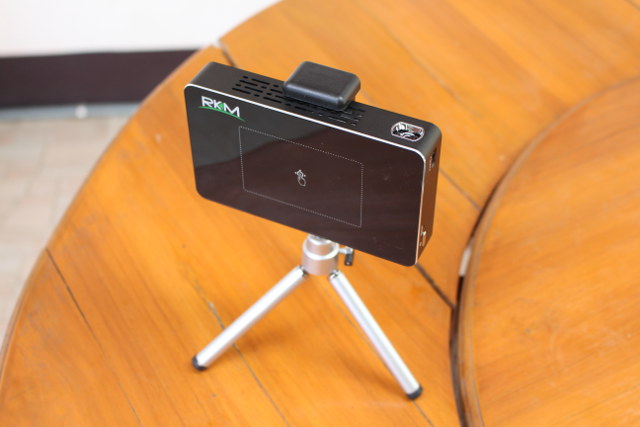
Rikomagic R1 Android mini projector runs Android 4.4 on Rockchip RK3128 quad core processor, and the company sent me a sample for review, so today I’ll first do an unboxing, and partial teardown, before testing the projector in more details in the second part of the review.
Rikomagic R1 Projector Unboxing
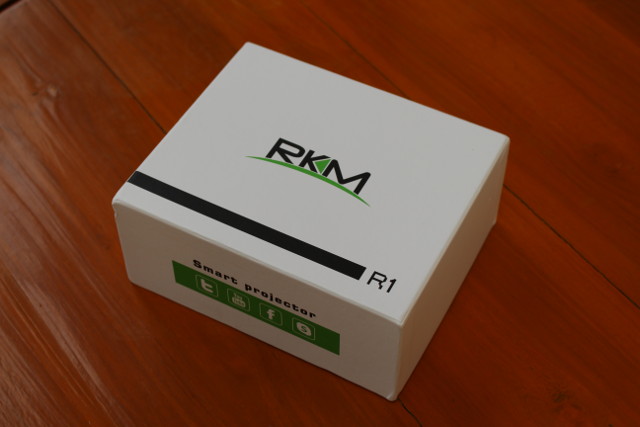
The projector comes with a white package marked RKM R1.
 The bottom of the package indicated its unsurprisingly based on Texas Instruments DLP technology with a LED light, and is equipped with a touch panel and a battery.
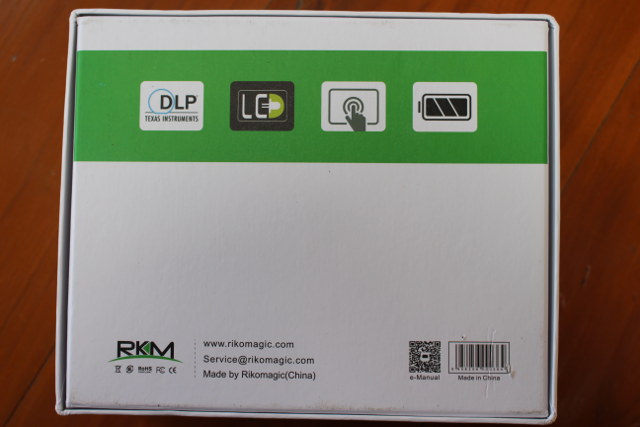
More importantly, there’s a QR code that links to R1 Setup Guide, which for once will be useful, as this device has some unique features.

The projector ships with a 5V/2.5A power supply, an IR remote control, a HDMI cable, a tripod, and an adapter to make the interface between the projector box and the tripod.

The top of the device has a touch area, the front comes with the projector and plenty of ventilation holes. One of the sides features opening for speakers, and the other the power button, a reset pinhole likely use for firmware recovery, and a wheel to manually adjust focus. The rear panel includes a micro SD slot, the IR receiver window, a 3.5mm headphone jack, HDMI input, two USB ports, and the power jack.
The tripod and adapter feels a little flimsy, but it does the job. It’s easy to assemble, and to adjust to your needs.
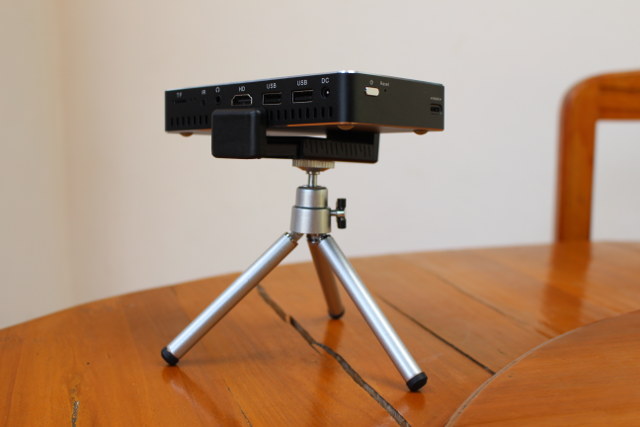
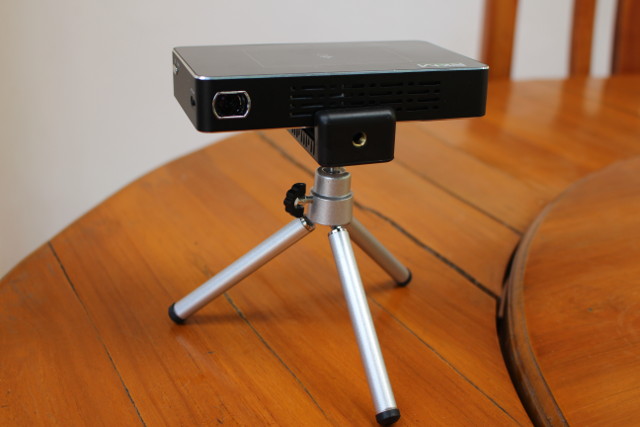 There are two locations to screw the tripod to the adapter, and it’s also possible to mount the projector on the tripod to project the image on the ceiling.
Rikomagic R1 Projector Teardown
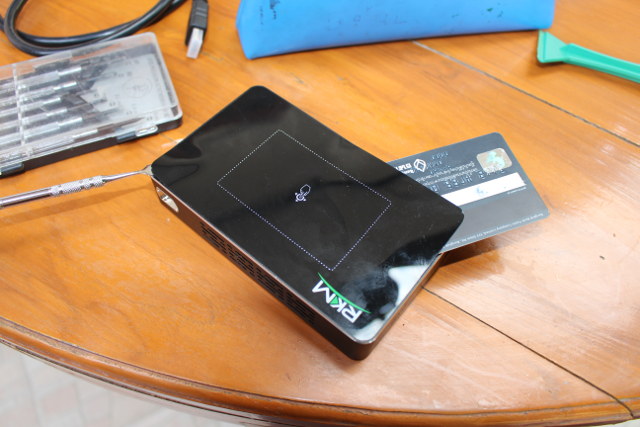
RKM R1 is the second Android projector I review, and with the first one I miserably failed to teardown Doogee P1, so I was quite motivated to succeed with R1 projector. The problem is that it was not easy. There are four rubber pad on the bottom of the case, but no screws underneath. I eventually figured out I had to take the top cover using a sharp to lift it up at at least two of the corners, and work my way under the cover with an old credit card to peel it off.
At this stage, we can see the touch panel board is called JSX-TP15 and comes with two chips: Elan Micro EM78F611 USB Flash MCU, and eKTF2135EAW which should be a Touch Sensor IC from Elan. We can also see the projector comes with a fan to cool the projector.
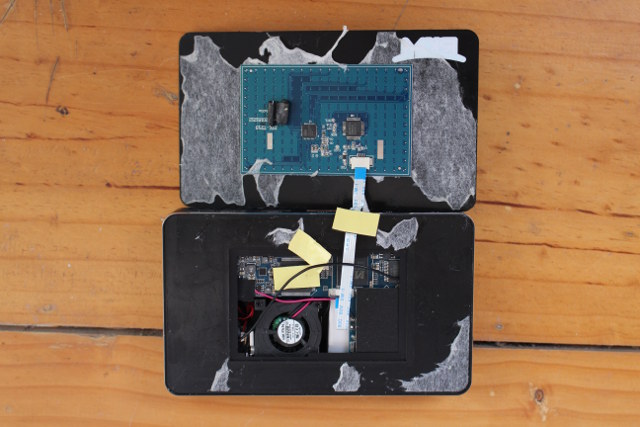
The next step is to cover the second cover. First I tried to do that on the corners but just damaged the box a bit doing so. So finally, I just pulled the cover with my hand using the rectangle area in the middle.
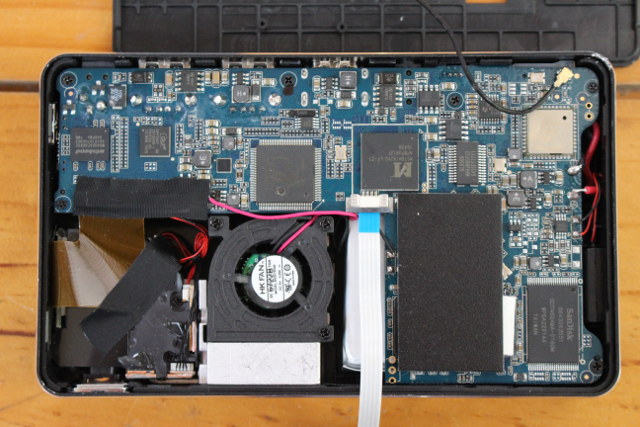
We’ve got the project on the bottom left, right on the left of the fan. The Rockchip processor and memory (1GB) are covered by some sort of black heatsink, so we still have plenty to ICs to checkout starting with Ampak AP6330 module for 802.11 b/g/n WiFi and Bluetooth 4.0 LE connectivity. Sandisk SDTNSGAMA-016GM NAND flash gives us 16Gbit (2GB) storage a far cry from the 32GB flash promised, but more on that latter. Other ICs include GL850G USB hub, Texas Instruments DRV632 audio stereo line driver, MSTAR MST6M182VG-LF-Z1 “video processing IC”, Terawins T113AI visual processor with 24-bits TTL, single/dual LVDS, serial RGB output… and for the projector part: DLP DPP2607 DLP PICO processor combined with Winbond W948D6FBHX5E 256 Mbit SDRAM. So it appears that both T113A and the MSTAR IC are used to convert the video signal from the Rockchip processor to make it compatible with the DLP chip.
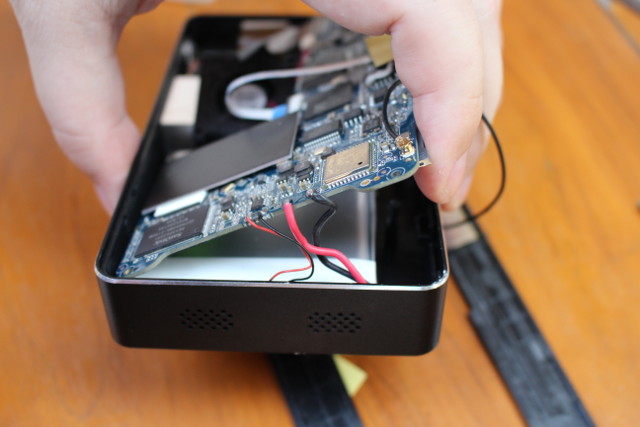
I loosened 6 screws to try to take out of the board completely, but the battery is firmly attached to the case, and it was also require disconnecting the DLP projector part, so I did not go further, especially there’s only one noticeable IC on the other side of the board: another Sandisk SDTNSGAMA-016GM NAND flash.
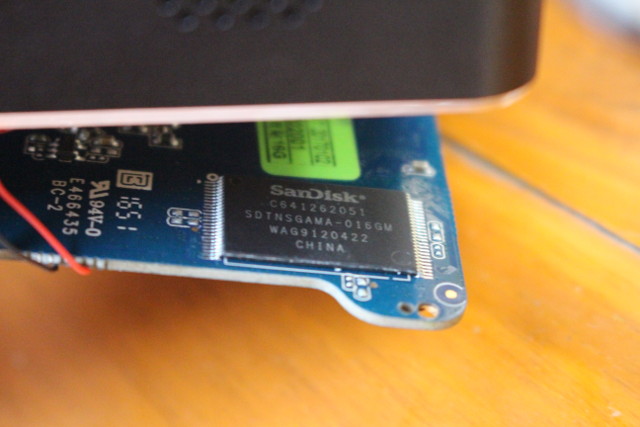
This brings to total storage to 32 Gbit, meaning there’s just 4GB storage, not 32GB as previously advertised. [Update: Android shows two partitions: one 1.91 GB, one 25.5 GB, so it seems the info on Internet about the NAND flash having 16Gbit capacity is wrong, and it’s 16GB, with a total of 32 GB (Gigabyte) as advertised]
Since time I was not entirely confident I could put everything together without issue, but finally it works fine.
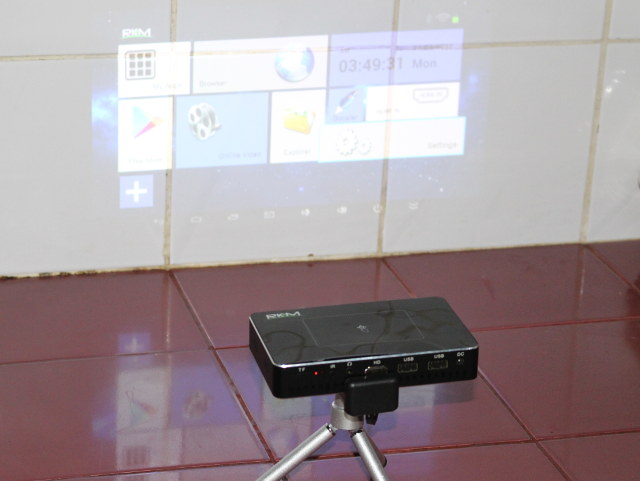
Brightness is not that strong so you’ll need a failry dark room to use. I quickly use the touch panel on the top, and it’s just fantastic, no need to connect a mouse or install an Android app like I had to do with Doogee P1. But we’ll find out a bit more about the details in the second part of the review.
I’d like to thank Rikomagic for sending a review sample. Resellers can inquire the company to purchase in quantities via the product page, while individuals can purchase the projector for around $246 shipped with DHL on Aliexpress.
Continue reading Rikomagic RKM R1 Mini Projector Review – Part 2: Android Firmware, Kodi, Touchpad, and HDMI Input

Jean-Luc started CNX Software in 2010 as a part-time endeavor, before quitting his job as a software engineering manager, and starting to write daily news, and reviews full time later in 2011.
Support CNX Software! Donate via cryptocurrencies, become a Patron on Patreon, or purchase goods on Amazon or Aliexpress


