
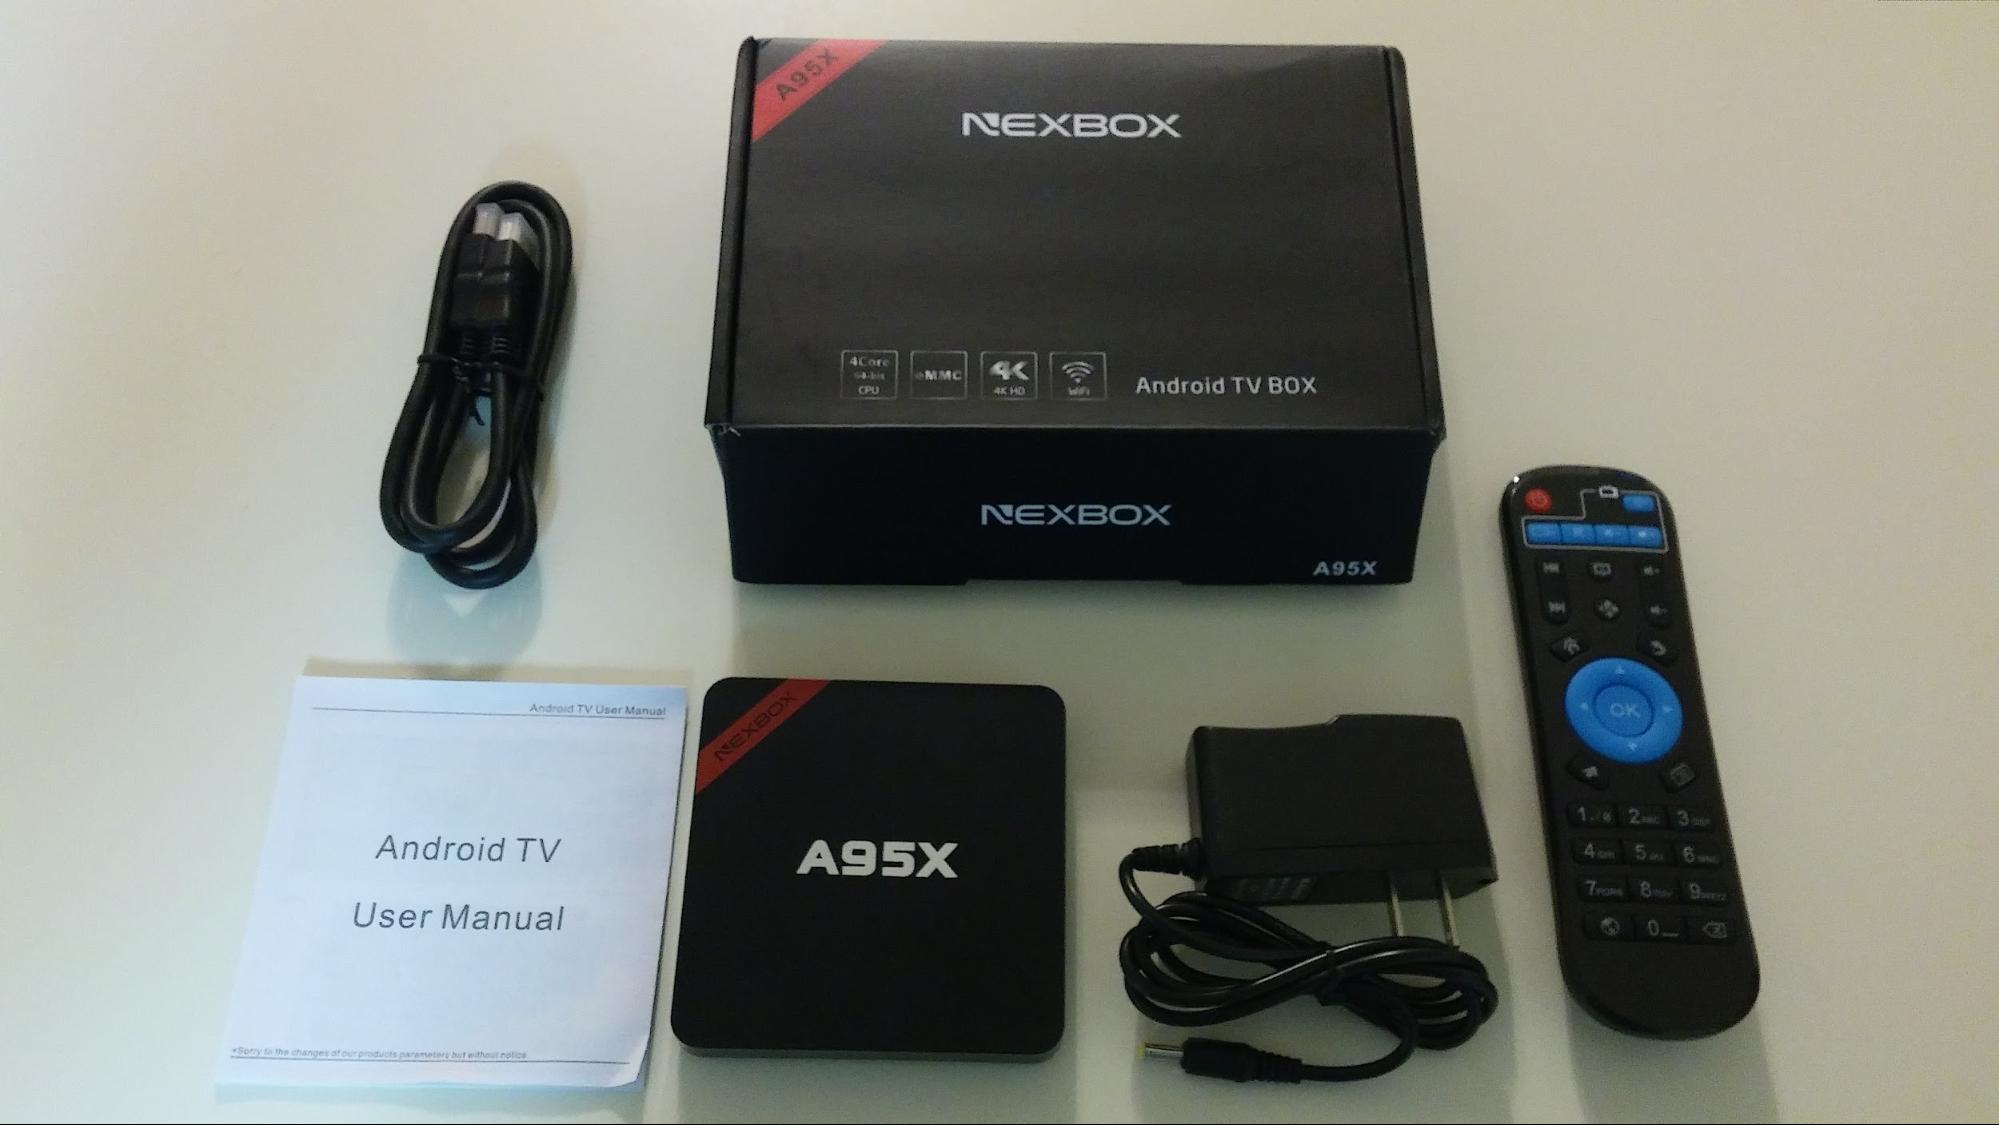
CNXSoft: Bear in mind that there are multiple versions of Nexbox A95X. Yesterday, I published the review of Nexbox A95X with Android 6.0, with the model based on Amlogic S905X processor. In this article, Karl had a look at Nexbox A95X with Amlogic S905 processor, which he purchased a couple of months ago, but since he was not happy with the Android 5.1 firmware, he decided to customize it.
Karl here with a review of the Nexbox A95X S905 box. This took a while to even start. I received the box about 2 months ago and I dived right in and broke it. I didn’t have factory firmware, and wasn’t cautious enough and bricked it. I found some firmware that worked but it didn’t work very well for me. Email’s to Nexbox directly didn’t help and I was stuck with a bricked box… I later found someone who had factory firmware and was kind enough to share and I was back in business. But I still didn’t like it, as it felt sluggish when doing anything else besides Kodi and missing notifications and navigation bar.

Quest to find better firmware
There is a dirty little secret with these boxes and it is a little unfair to the manufacturers who do make good software but you can just about flash any firmware on any matching processor box. The biggest thing is to match the WiFi chip. They will sometimes brick hard and to restore requires shorting pins on the NAND flash. It is pins 29 and 30 on this one (TBC). Short the pins while connect to PC, and apply power and you are able to flash new firmware. I never had to do it on this one. The A95X has an RTL8189ETV WiFi chip as can be seen in the picture above. So I did some searching for “S905 RTL8189 Firmware” and I found some, but they were not any better. If WiFi doesn’t matter and you have Ethernet you will have better luck or can use a USB to Ethernet adapter if the firmware supports it.
Review Turned into a How To
I wasn’t happy with anything (I know….I am needy). So what do we do? Go and try a manufacturer’s who put out good software regardless of WiFi and Ethernet. I had used Tronsmart’s S905 firmware on another box and it is pretty good. So I started there and flashed it and the box booted but without WiFi, nor Ethernet, and I assume no remote control either (I don’t typically use the remote and test with Logitech K400R). So I tried to use this firmware as ROM to port from, and now the time consuming part starts…
Setup
Before we begin I will put out the typical disclaimer that you assume all risk and don’t blame me. If you don’t want to have to do this buy a box from a good manufacturer. Several stand out… search for reviews in CNX Software, or other forums.
I do all my work in Windows, so no Linux is necessary but just recently upgraded to Windows 10 and with bash opens up some additional possibilities I have yet to explore. I did try mounting an img but it doesn’t support it yet.
Below is the main software that I use. If you know any other alternatives please leave a comment. Especially Beyond Compare only 30 day evaluation. It is not too expensive and I use it for other things. Install all the programs below with defaults and it should work except the Customization Tool. Install it to someplace other than Program Files. It will save button presses when needing elevated privileges.
- Windows 10 64-bit
- Java JDK 8 64
- Amlogic Customization Tool V2.0.8 (install somewhere other than Program Files) – Mirrors: Link 1; Link 2
- Amlogic USB Burning Tool V2.0.7.2
- Beyond Compare (30 day Evaluation)
- Notepad++
- HXD Hexeditor
- GIMP
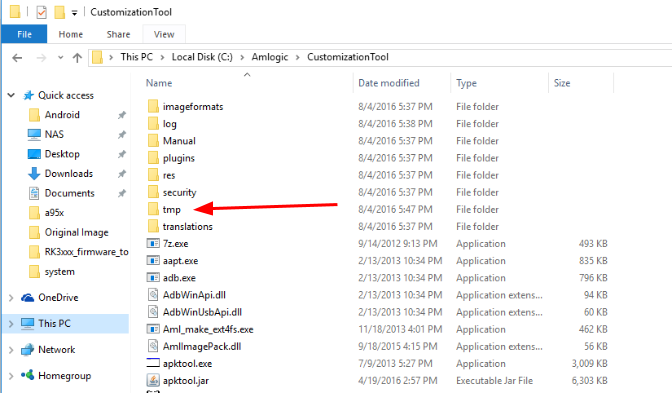
Customization Tool
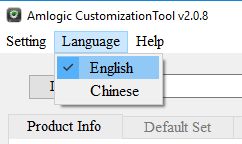
I will be going to go over the basics of this tool. When you first load the tool it will be in Chinese. The 2nd menu Item in the top will set it to English, and it will remember it the rest of the time.
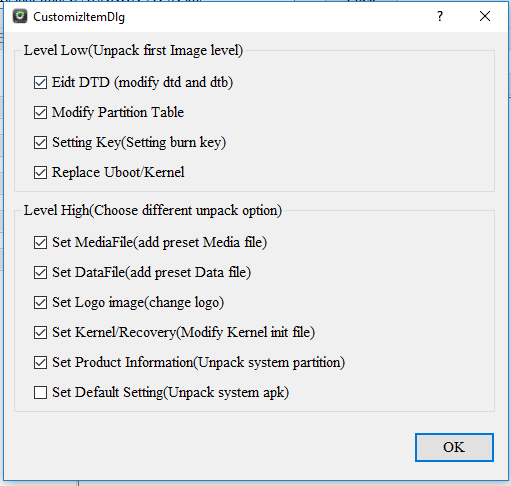
The first step is to unpack the img files. Press the load button, and you will be prompted to what you want to unpack. I check them all at this point except the bottom one. There is an issue right now with the tool with the last one. Then choose the img we are porting to. This will take a while. 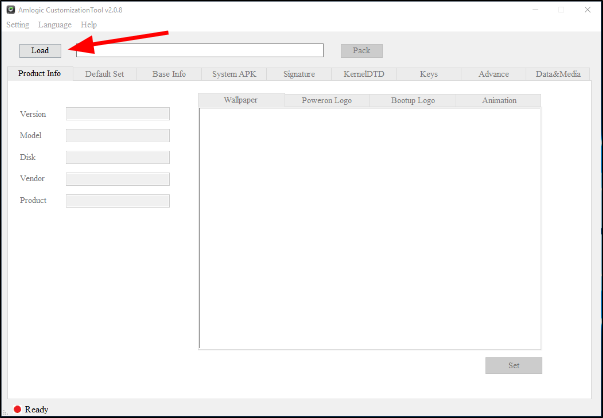
Once the img is unpacked navigate to where you installed the customization tool and rename the tmp directory to Tronsmart.
Now repeat the process again with the Nexbox Stock img. Don’t close the Customization Tool until we are done.
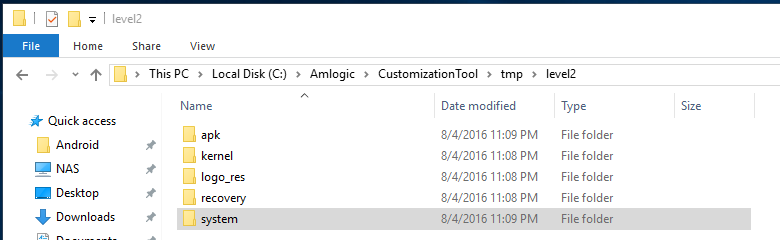
Now we have 2 img’s fully unpacked and in each directory we have 2 folders: Level 1 and Level 2. Level 1 has all the individual partitions and we won’t be doing anything in there today. Level 2 has the different partitions broken out so we can manipulate them. We will only have to go into system to do this port.
Now in the Nexbox firmware, delete app, fonts, framework, media, priv-app in the system directory, and copy them over from Tronsmart.
At this point go back to the Customization Tool Press the Pack button and save it somewhere. If I was doing this the first time I would flash and do some testing to see if it booted, Wifi, remote etc. This also gets you to a good spot to go back to so in case something goes bad you don’t have to do the whole thing over again. As you are exploring it is good to do this often to save some headache and time.
Beware once you pack an img, as you must close the customization tool down and unpack the last one you packed. There is a bug if you pack make a change test then pack again without restarting and reopening. All the img’s after that first pack won’t be able to be unpacked by the tool.
Final Tweaks
Here is our chance to remove all the bloat and clean the img up. When I clean an img I take a picture of the app drawer with my phone and remove any unwanted apps from the app directory or priv-app directory. Be aware there is also a pre-install directory that won’t install anything. I removed everything to tidy up. I did try to fix quickly but didn’t spend much time on it.
I also replaced the Tronsmart boot animation with a different one. It is in the media directory.
Extra’s
You can also modify boot img and logos with this tool. I use gimp to modify logos. First I would navigate to the logo folder in the level 2 directory. The largest file bootup is a bmp file. Rename to bootup.bmp, right click on it go to properties and note the dimensions and bit depth. In this case it is a 32bit 1280×720 bmp img. Find whatever picture or logo…your imagination is the limit but you have to make sure your dimension and bit depth are exact. In gimp you export to bmp and choose 32 bit…if done correctly your file will be the exact same size as the original. Rename bootup and delete the original. When done you can pack and enjoy your new logo. I believe the tool itself will import but I like to do it by hand. The only thing I use the tool for is to unpack and pack the img.
Troubleshooting
So we haven’t touched a couple tools so far. That is a good thing. But if we did run into some trouble Beyond compare can drastically reduce the time to find. With this tool you can compare all the files from the stock rom, and the rom you are porting to. If I ran into troubles with booting start with comparing kernel in level 2. Maybe in one of the rc files a reference something differently. This can lead to many hours lost. I have lost many and not succeeded. Be prepared to do lots of reading and research. I included HXD and Notepad++ if you had to modify a file. In the Windows notepad it doesn’t recognize Linux carriage returns.
If you’d just like to install the custom image on your NEXBOX A95X (Amlogic S905 only) TV box, here’s the custom firmware link.

Karl is a technology enthusiast that contributes reviews of TV boxes, 3D printers, and other gadgets for makers.
Support CNX Software! Donate via cryptocurrencies, become a Patron on Patreon, or purchase goods on Amazon or Aliexpress


