
Xibo is an open source digital signage using a client / server architecture, and in the past I wrote a tutorial showing how to use it, and ran Xibo Python client on ARM Linux TV box, but with software handling only so rendering scrolling text was not very smooth at all, and video decoding was not really possible. But now I have Star Cloud PCG02U Intel TV stick which costs just $70 shipped with Ubuntu 14.04, and that I have upgraded to Ubuntu 16.04, and I thought that would be a great low cost Xibo Linux client which should have pretty good performance. I started by installing Xibo server, only to find out that the cross-platform Python client had been phased out, with now only Windows and Android clients available.
So I canceled my plan. I still had some challenges installing Xibo server on Ubuntu 16.04, so I’ll report my experience as it may be useful to others. There will be two sections: 1. Downgrading PHP 7.0 to PHP 5.6 in Ubuntu 16.04 and 2. Installing Xibo CMS in Ubuntu 16.04.
Downgrading PHP 7.0 to PHP 5.6 in Ubuntu 16.04
Ubuntu 16.04 ships with PHP 7.0, and while it provides much better performance over previous version, the massive changes mean that some software packages are not compatible, and that includes Xibo that requires the “mysql” php module, which has been removed from PHP 7.0. So that means I had to install PHP 5.6 instead, which is not officially supported, but can be installed through a ppa.
|
1 2 |
sudo add-apt-repository ppa:ondrej/php sudo apt update |
Remove all php 7.0 packages:
|
1 |
sudo apt purge php7* |
Install php 5.6, apache2 and mysql, and required php modules for Xibo:
|
1 |
sudo apt install apache2 mysql-server php5.6 php5.6-fpm php5.6-mysql php5.6-gd php5.6-soap php5.6-mcrypt php5.6-curl php5.6-zip php5.6-xml libapache2-mod-php5.6 |
Usually, this is enough, but Apache2 will not enable php 5.6 automatically, so you need to run three more commands to enable some modules, and restart apache2:
|
1 2 3 |
sudo a2enmod proxy_fcgi sudo a2enmod php5.6 sudo service apache2 restart |
You should now be able to create phpinfo.php file in /var/www/html, and confirm PHP 5.6 is running.
Installing Xibo 1.7.7 CMS in Ubuntu 16.04
The rest of the installation is actually standard. Download XIBO CMS, extract,. and setup the directory permissions for the CMS and media library.
|
1 2 3 4 5 6 7 |
wget https://github.com/xibosignage/xibo-cms/archive/1.7.7.tar.gz sudo tar xvf 1.7.7.tar.gz -C /var/www/html cd /var/www/html sudo mv xibo-cms-1.7.7/ xibo sudo chown www-data.www-data -R xibo sudo mkdir /xibo-library sudo chown www-data.www-data -R /xibo-library |
You’ll also want to modify 2 lines in /etc/php/5.6/fpm/php.ini to allow for longer execution time and larger files:
|
1 2 3 |
max_execution_time = 120 ... post_max_size = 128M |
Now go to your browser to access http://localhost/xibo or http://<IP_address>/xibo to complete the installation.
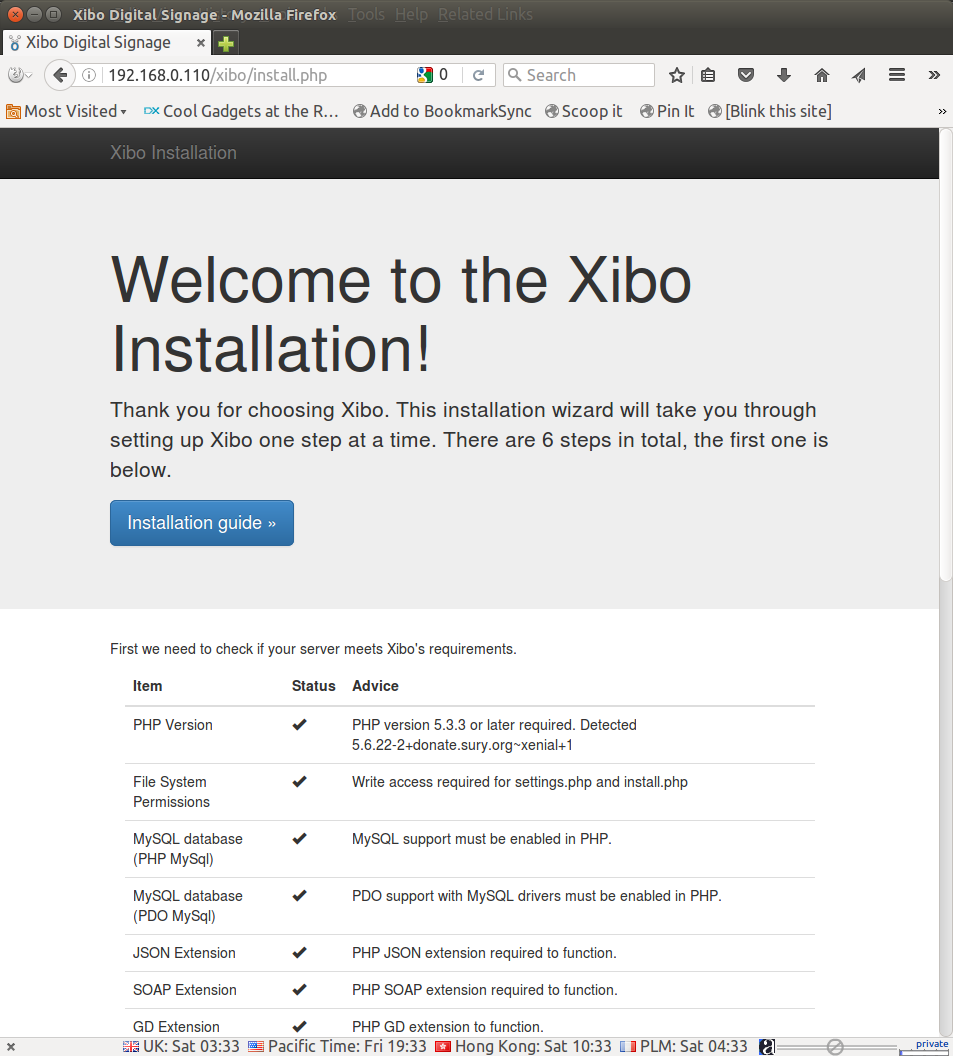
The first step will check all requirements, and if that’s OK, you can click next. if not you are likely missing some PHP modules, but the instructions above should have installed all what’s needed already. The rest of the installation is pretty straightforward, but if you have issues you can check out Xibo CMS instructions.
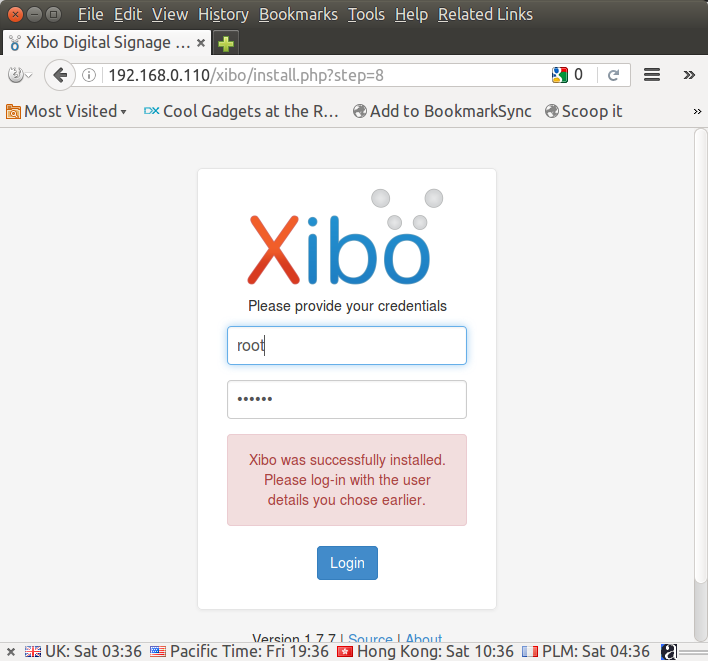 Now you can login to create a layout and schedule to played by one or more Windows or Android clients.

Jean-Luc started CNX Software in 2010 as a part-time endeavor, before quitting his job as a software engineering manager, and starting to write daily news, and reviews full time later in 2011.
Support CNX Software! Donate via cryptocurrencies, become a Patron on Patreon, or purchase goods on Amazon or Aliexpress


