
GeekBox is both an Android TV box based on Rockchip RK3368 octa-core processor, and a Linux development kit thanks to the CPU module inside the device, a baseboard and various accessories. The company has sent me a review sample, as well as the accessories currently available. So today, I’ll have a look at the box, and show how to connect everything together.
GeekBox TV Box Unboxing
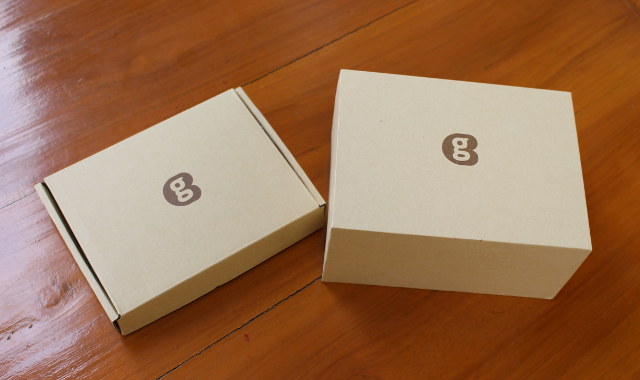
I’ve received two carton boxes via DHL, one with GeekBox itself, and the other with some accessories.
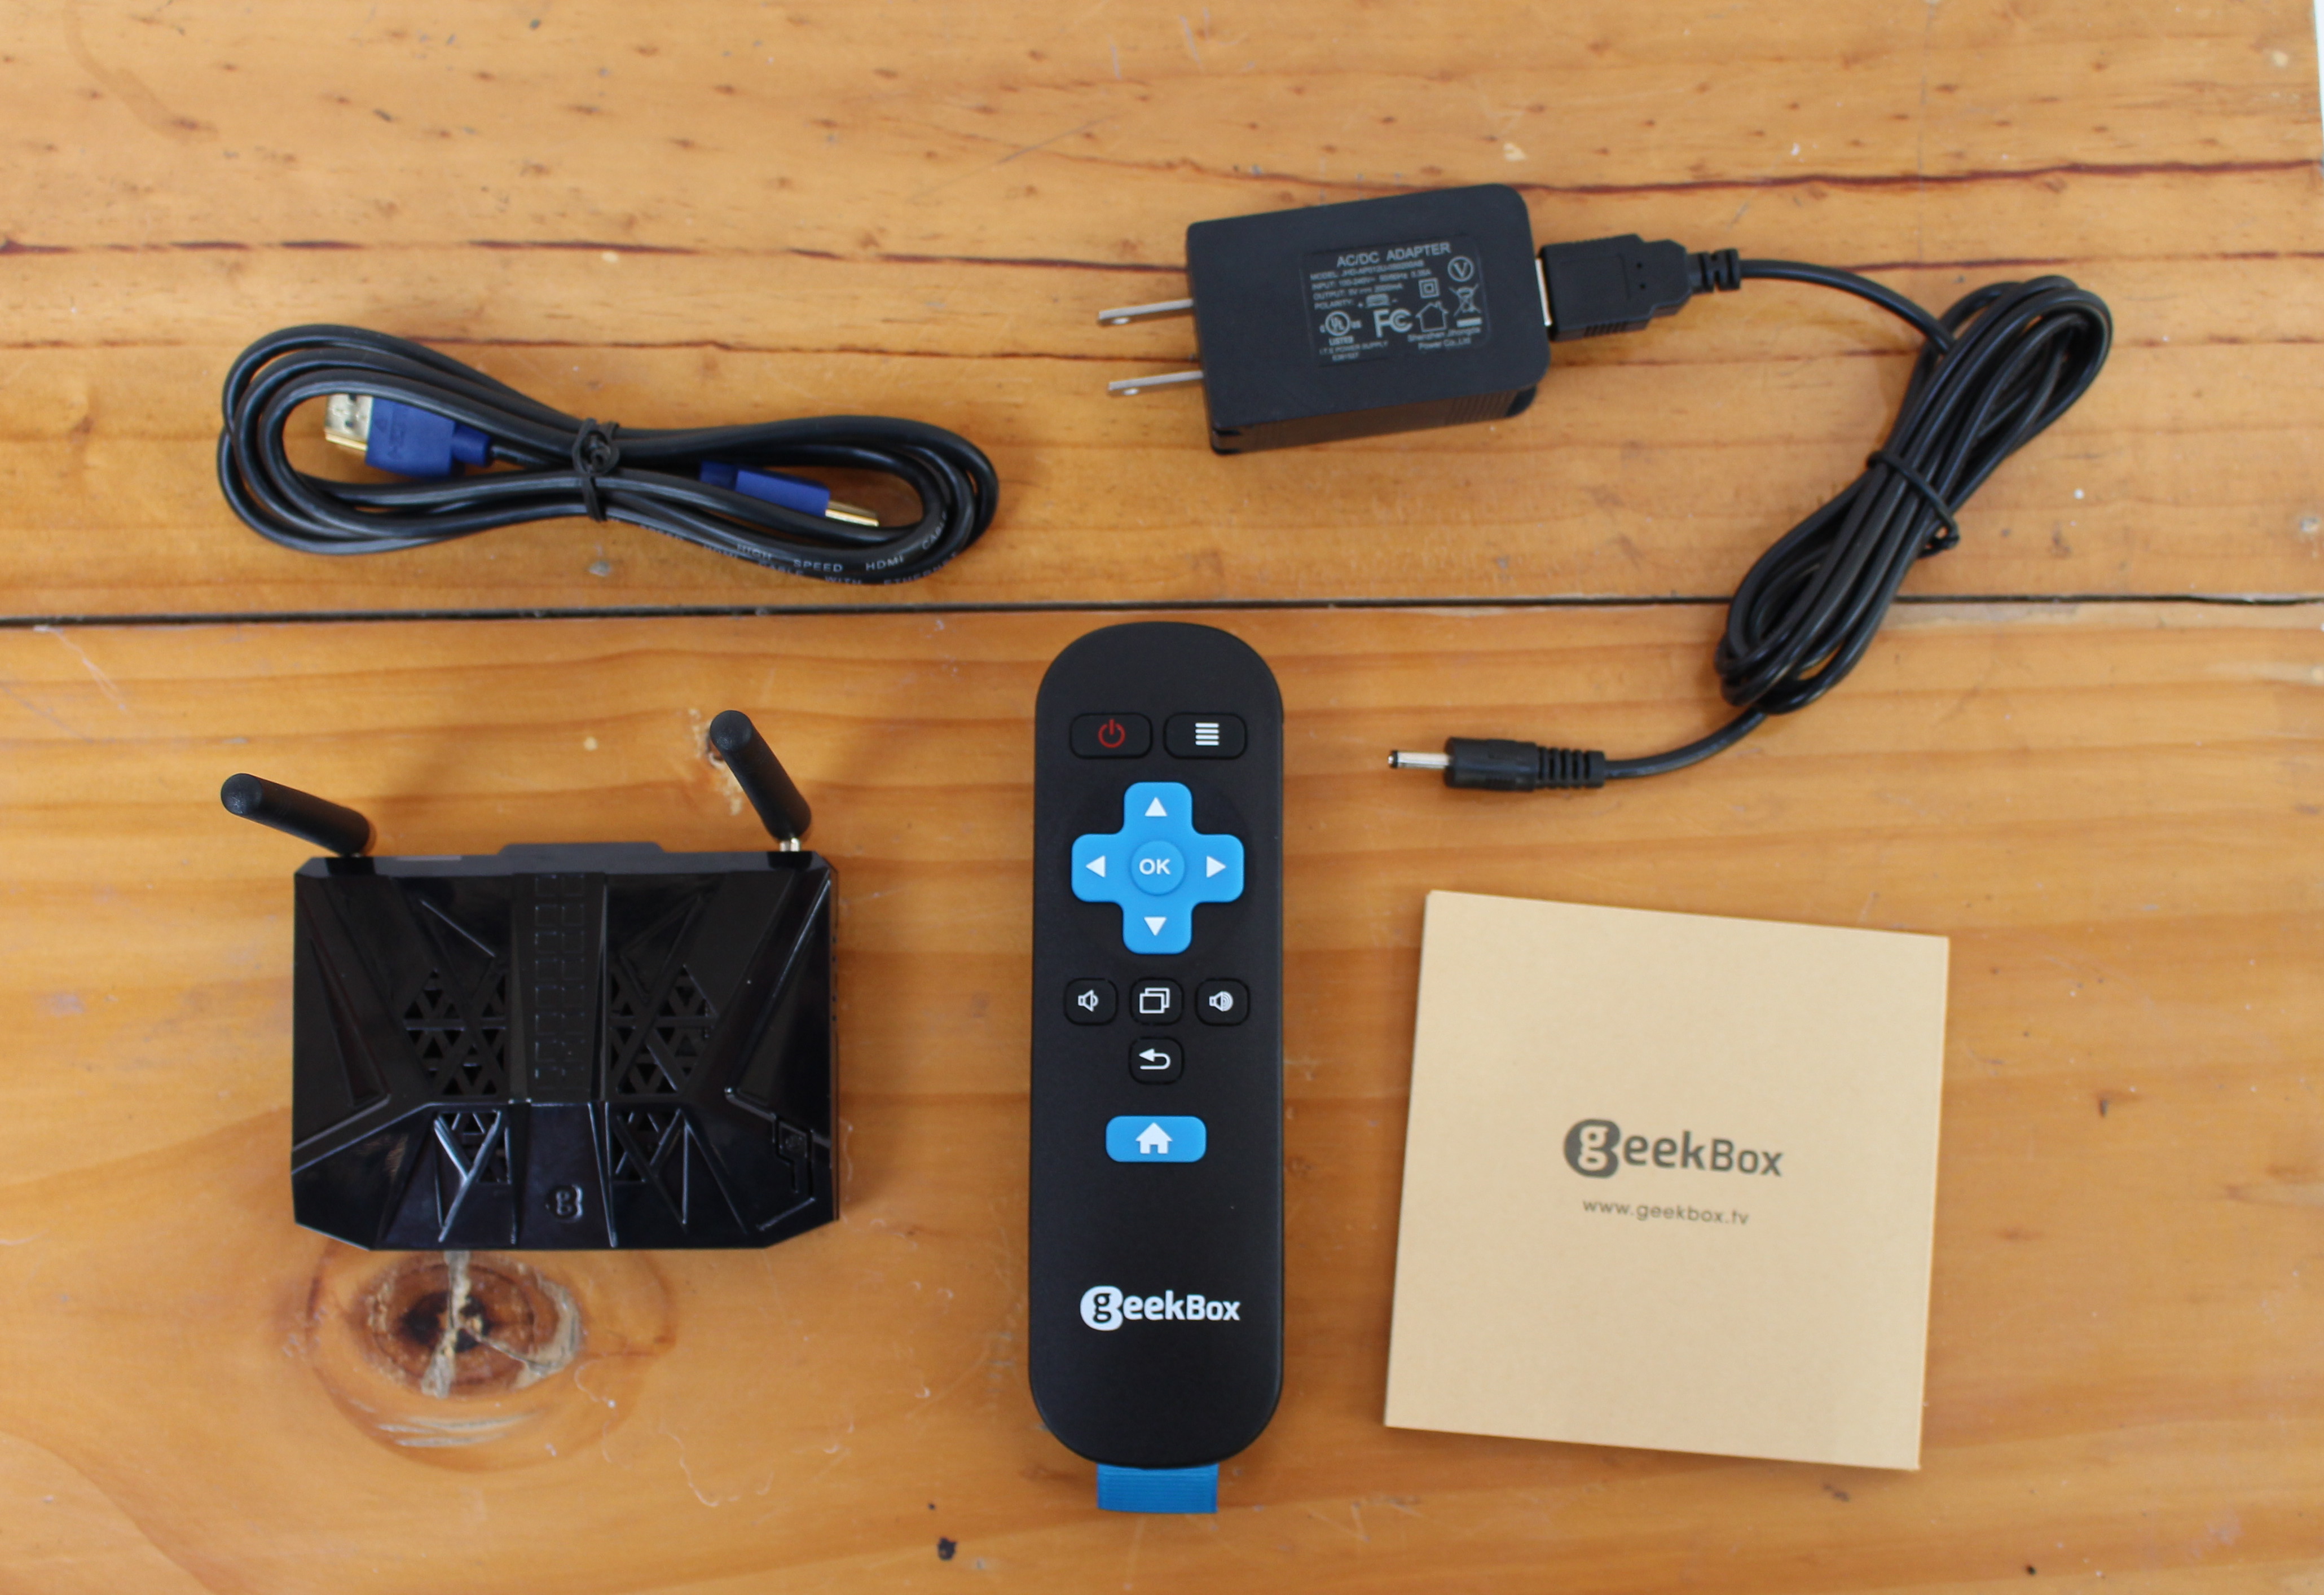
 You could use GeeBox has a TV box, and forget about its development attributes, as the device comes with the usual accessories include a case, an HDMI cable, an infrared remote control, and a 5V/2A power supply.
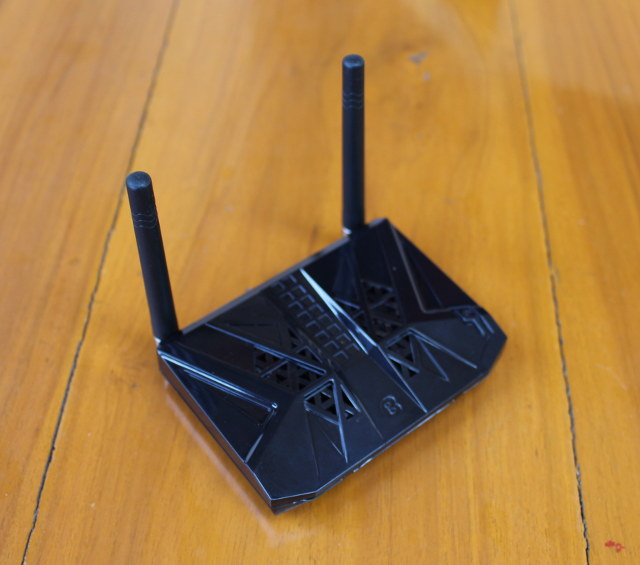
I was really surprised by how small it was compared to other 64-bit ARM TV boxes recently launched on the market, and looks very much like a small router with its two antennas.
When you look the user’s manual, you quickly realized the GeekBox is targeting… Geeks, as it shows the actual board and description of the external and internal interfaces and ports.

You’ll get all of this if you buy the GeekBox, but you may want to add Landingship baseboard and some add-on boards to your purchase to have some more fun.
LandingShip and Geekbox’ Add-ons
Some GeekBuying sent me the second box with a Landingship carrier board (aka baseboard) with four spacers and nuts, and two black screws for 2.5″ SATA drives, as well as a CR2032 battery, a cooling fan, and a USB to TTL debug board with 3 wires for GND, Tx and Rx.
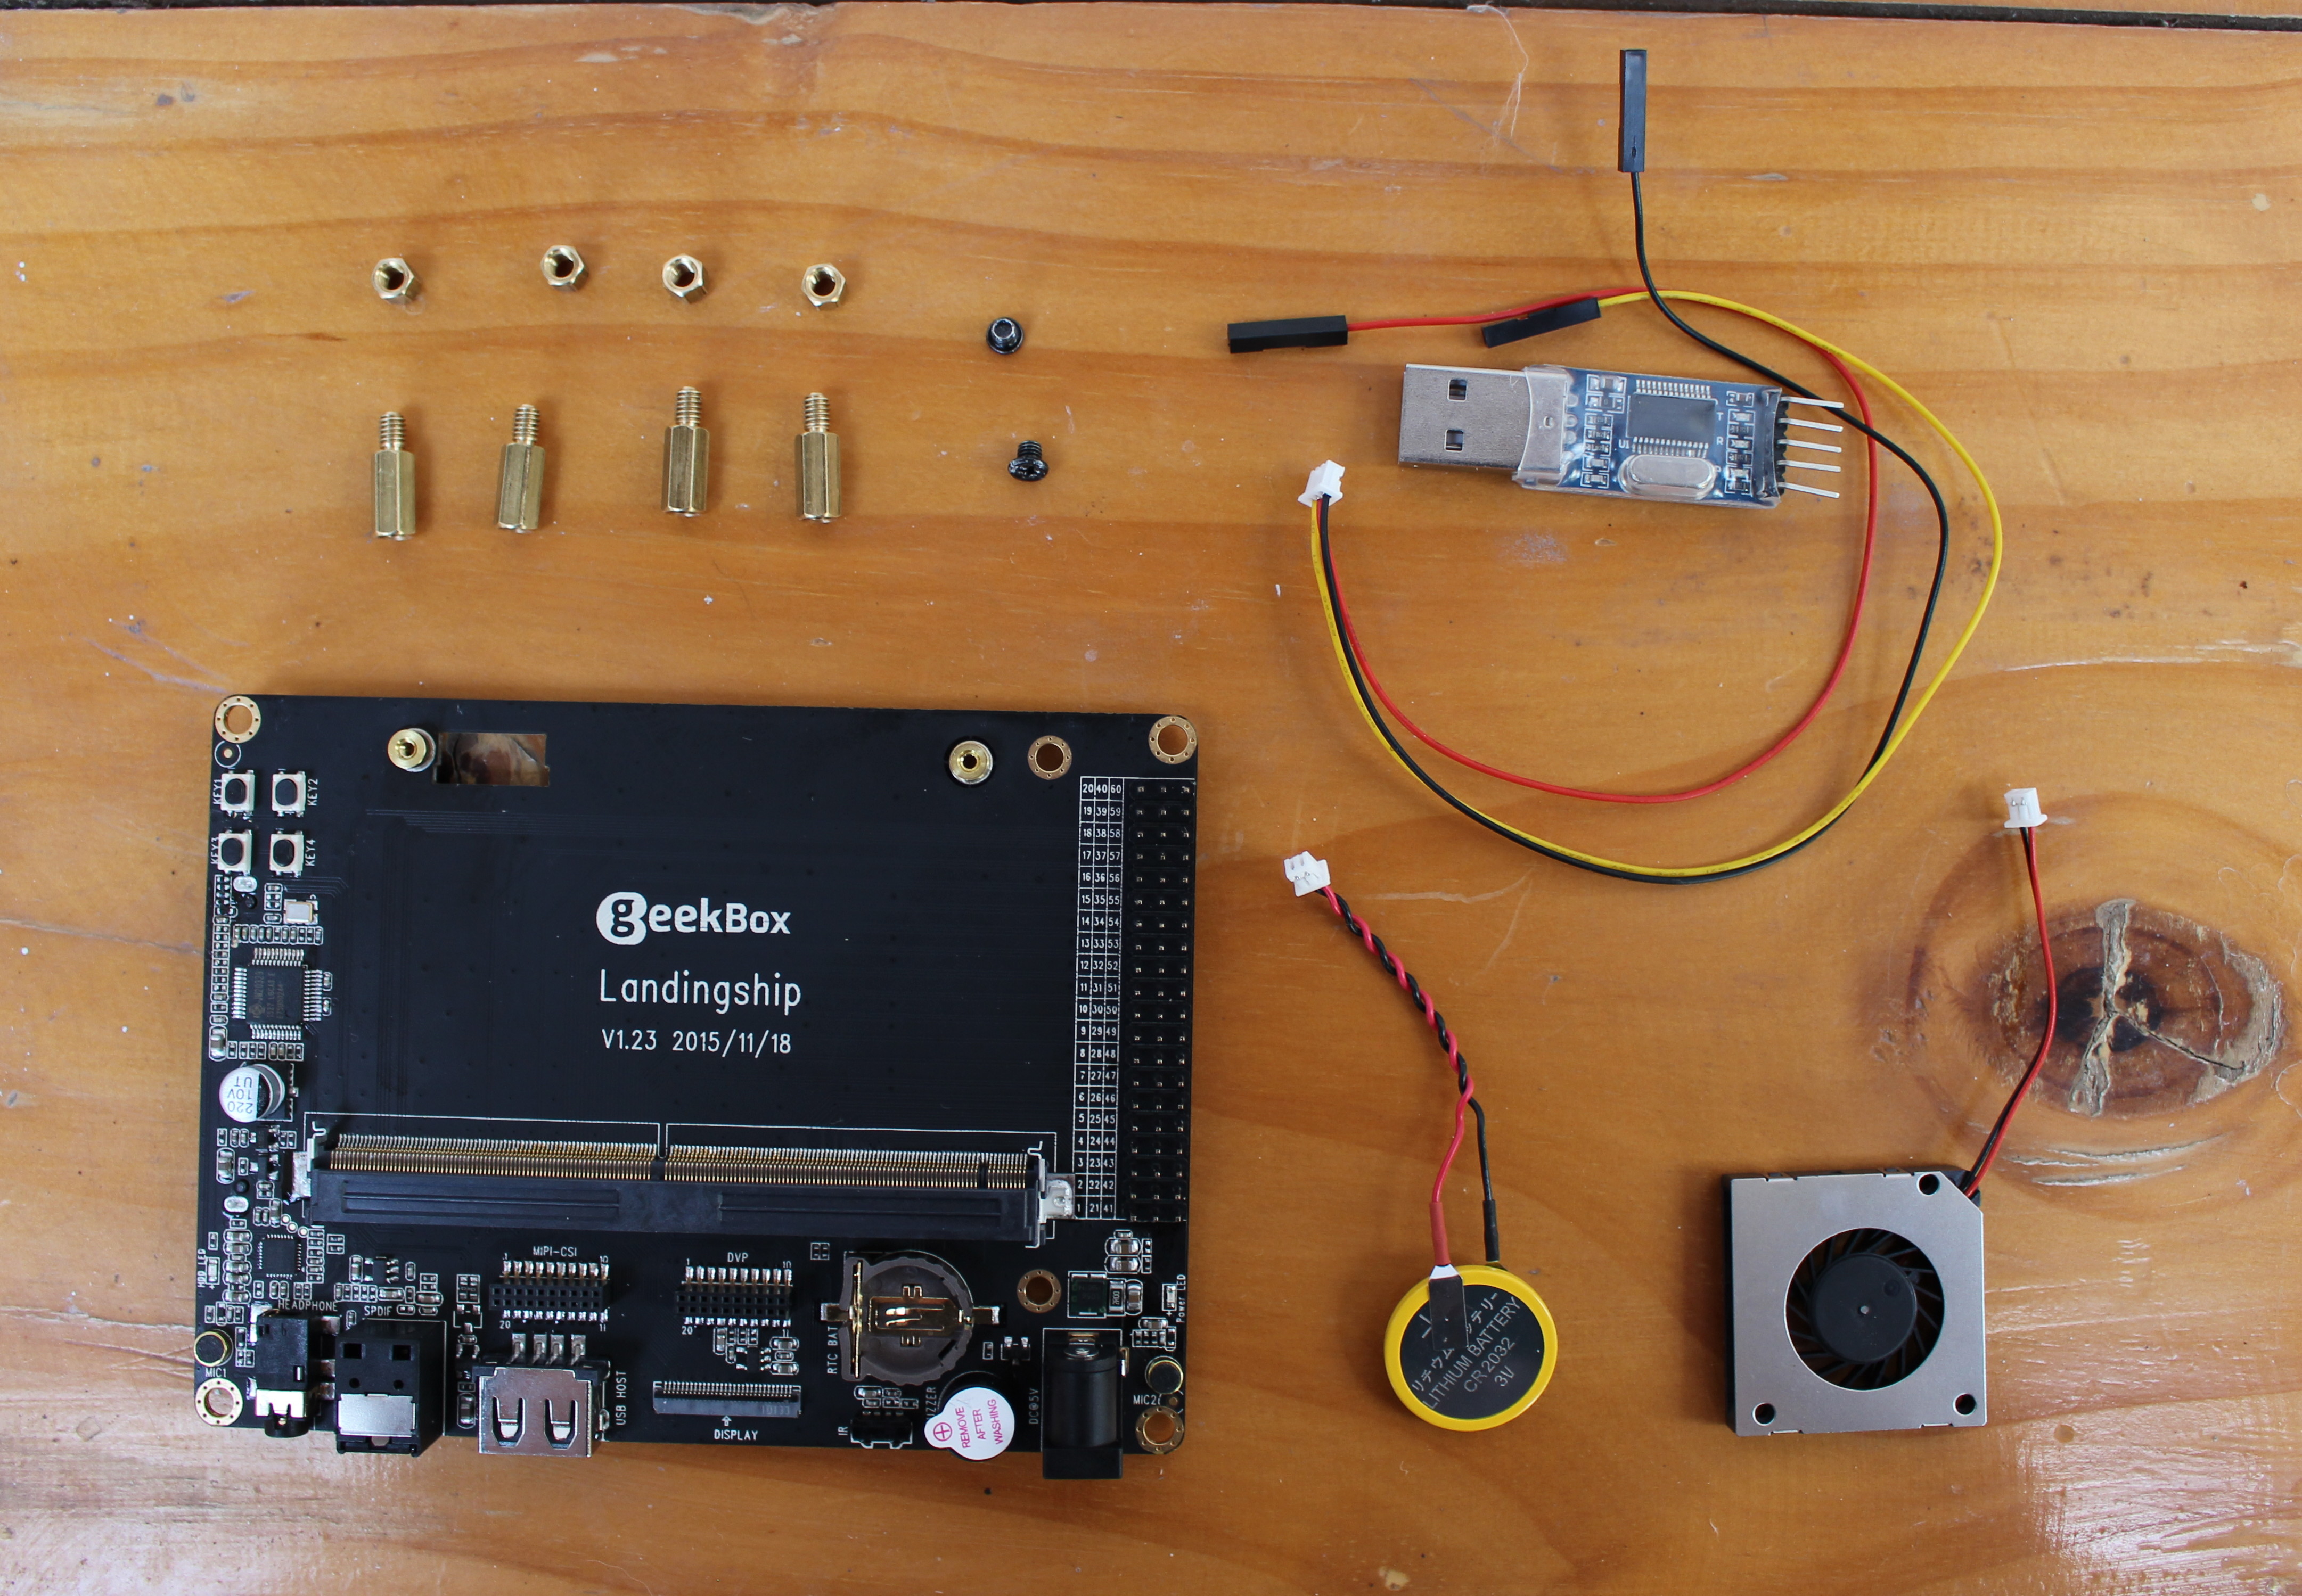
The Landingship feature a large MXM3 connector for GeekBox module, a 3x 20-pin expansion header, as well as MIPI-CSI, DVP, and Display headers. All ports are on the back with a 3.5mm audio jack, optical S/PDIF, USb port, IR receiver, and a power jack.
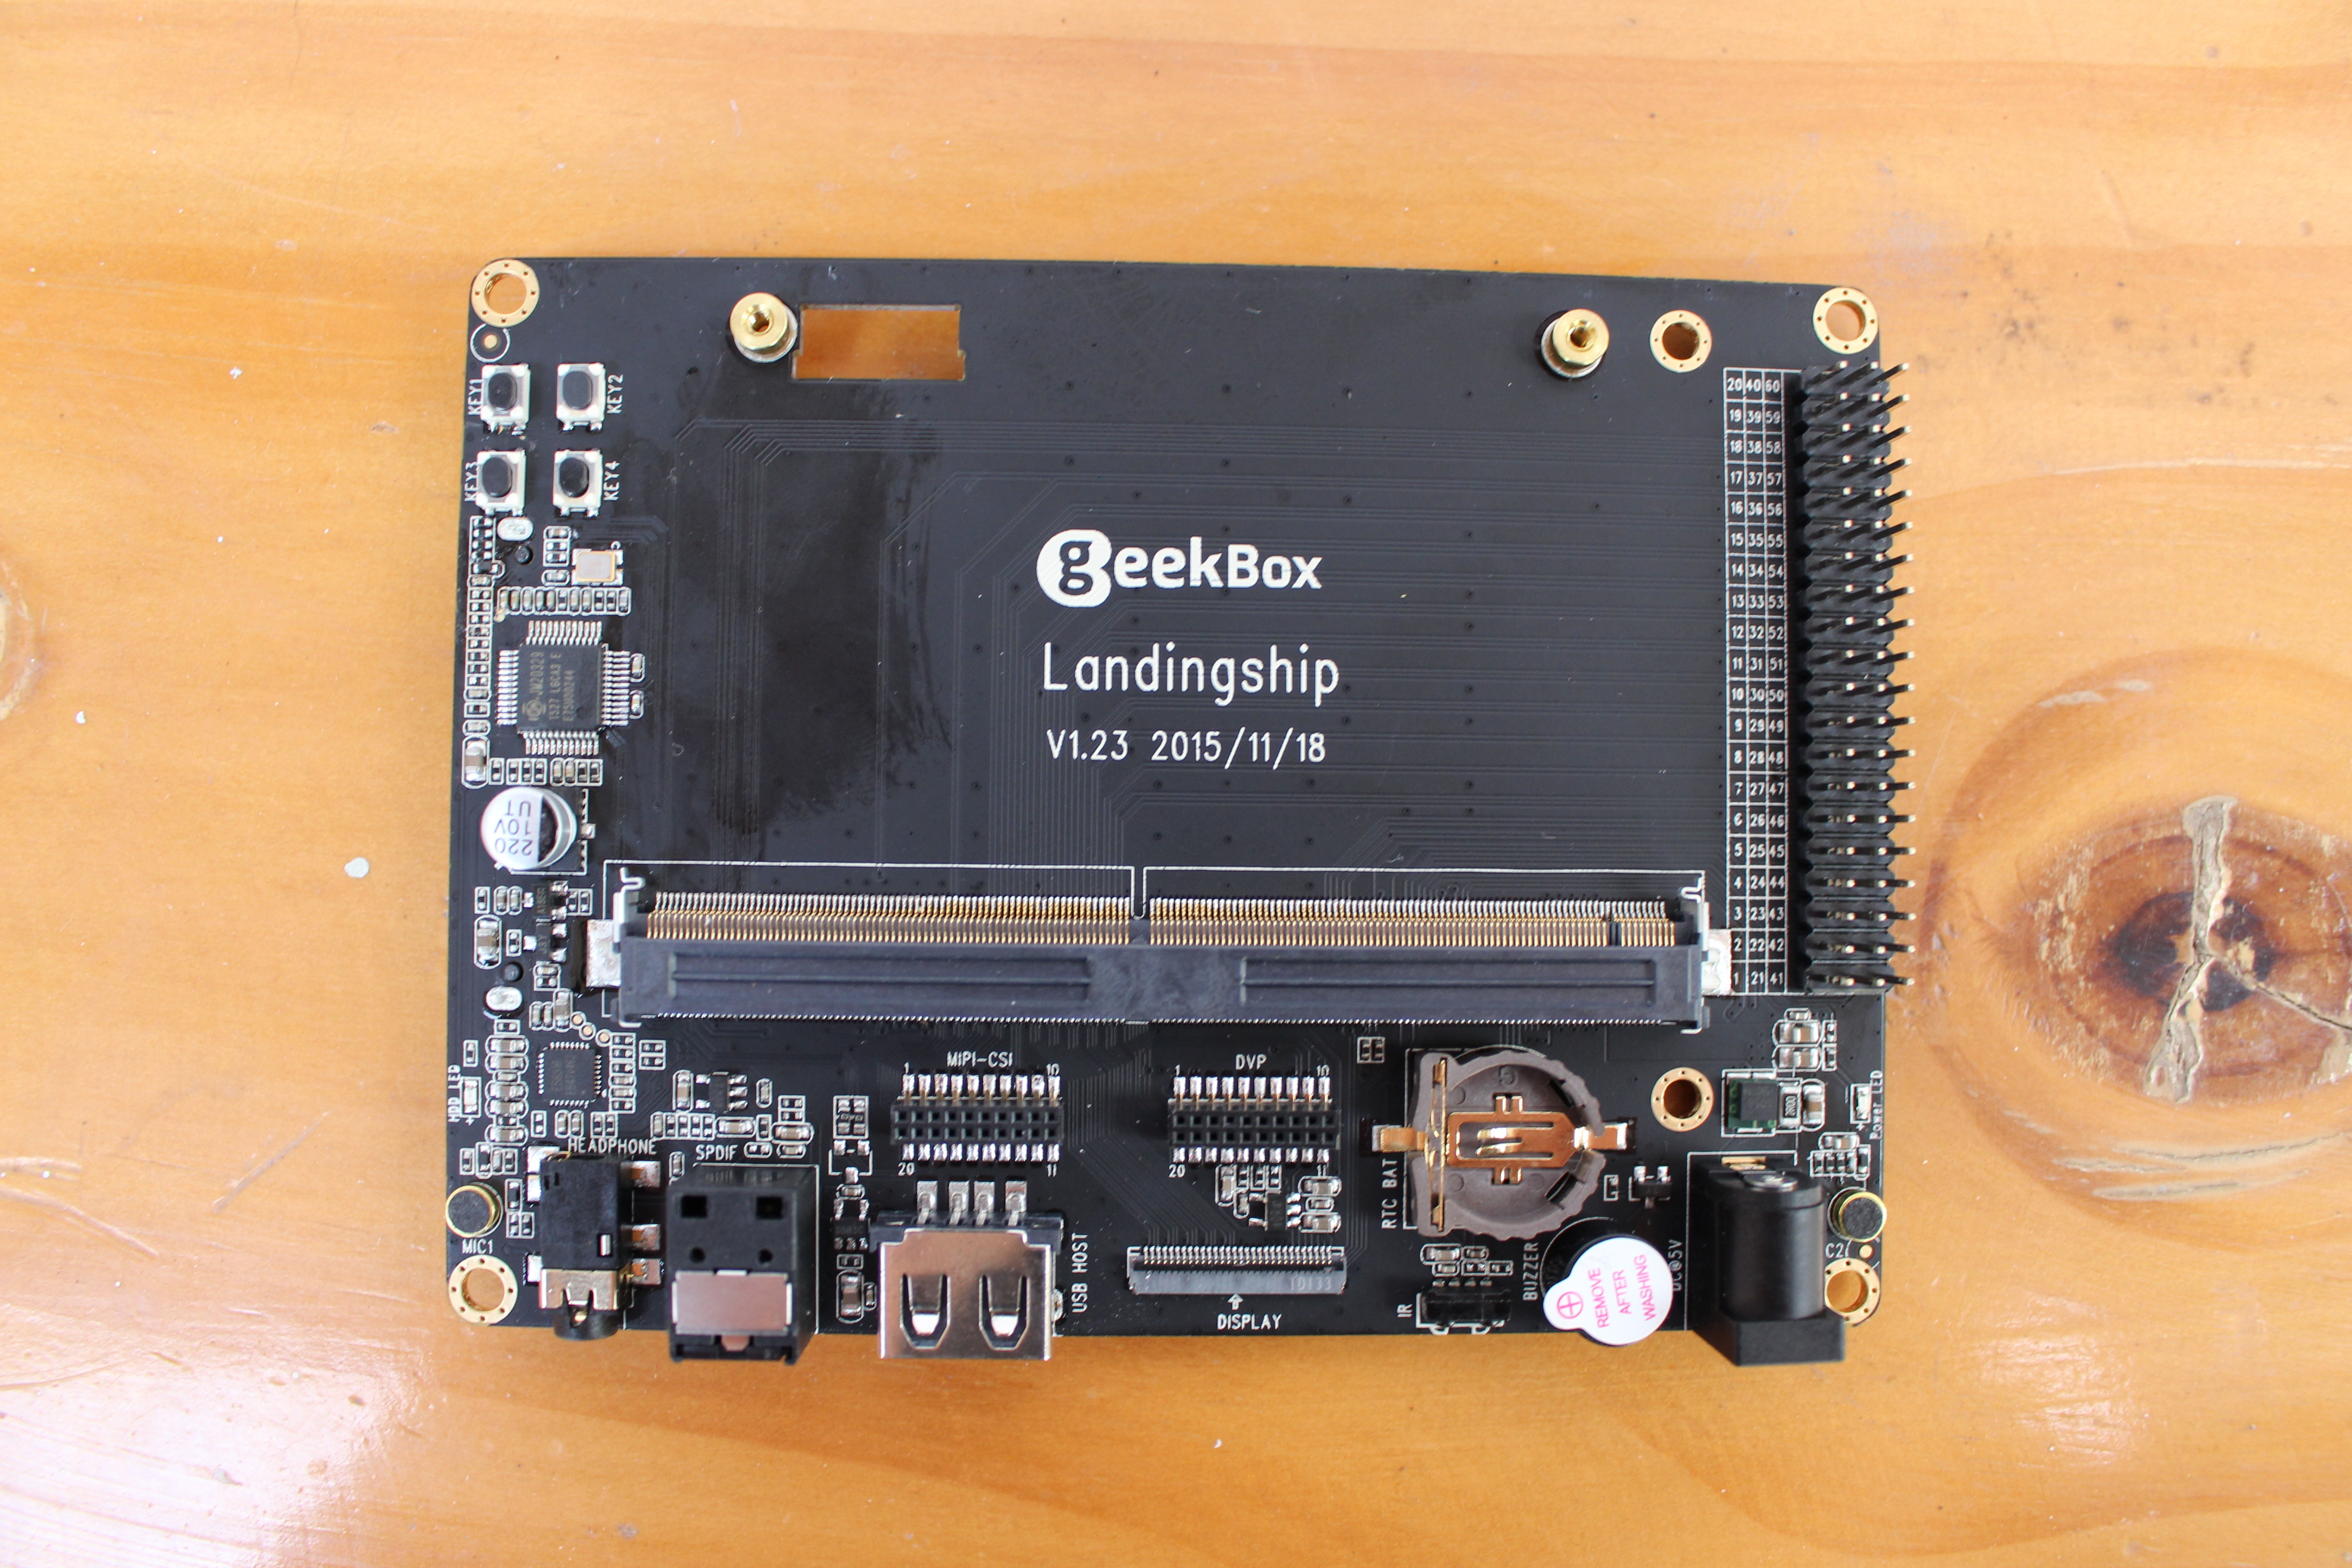
We’ll also find a buzzer, two microphone on each side of the battery, 4 user buttons, and a battery slot for RTC on the top of the board. There are only two noticeable chips on the board: JM20329 USB to SATA bridge, and ESS318 audio codec.
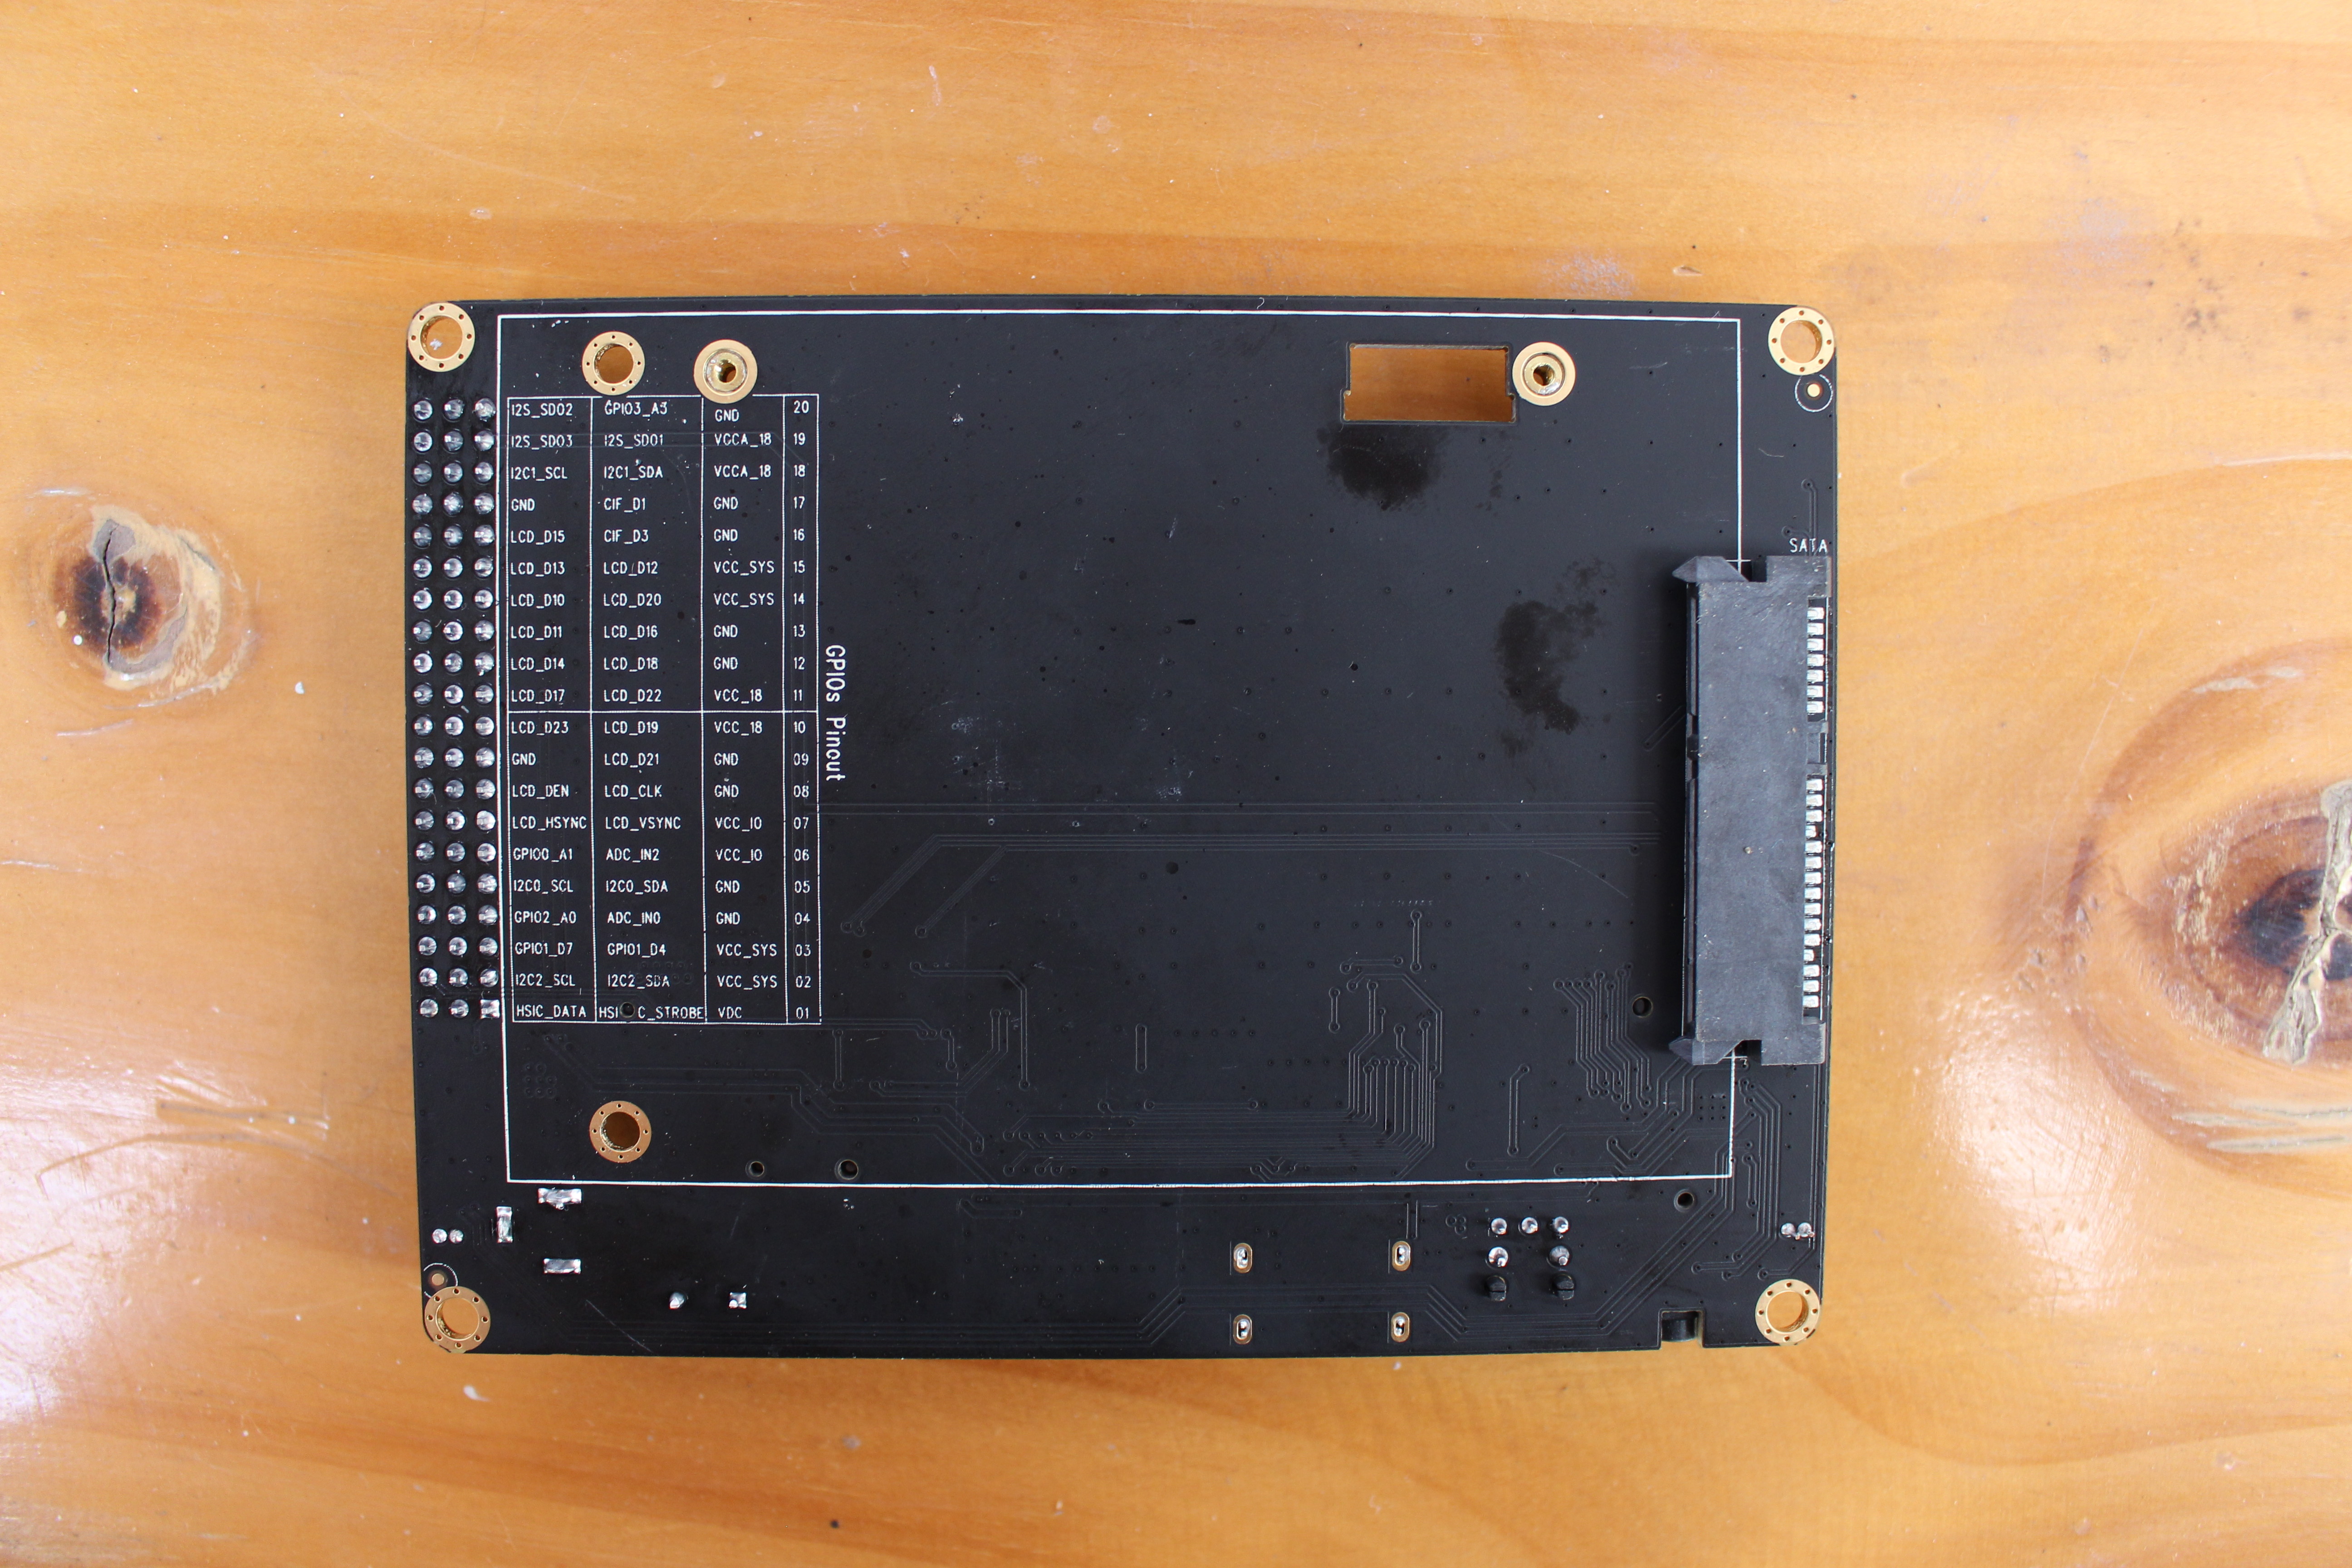
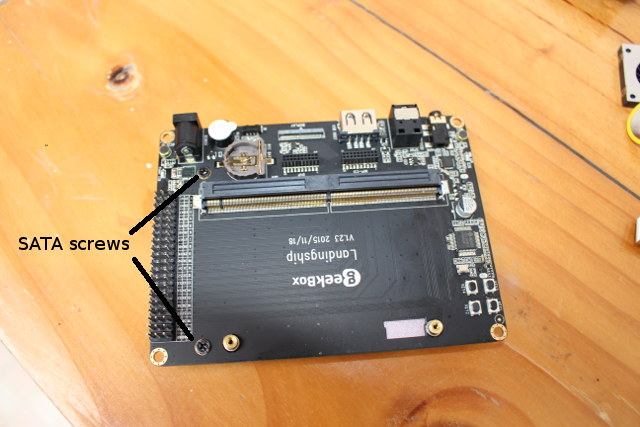
On the back of the board, we’ll find the GPIO header pin description, as well as the SATA connector for 2.5″ SSD or hard drive.
GeekBox Teardown
Before we can play with the development board, we need to open GeekBox to take out the board by pulling out the two WiFi antennas, and loosen two screws that hold the board/module to the plastic case.
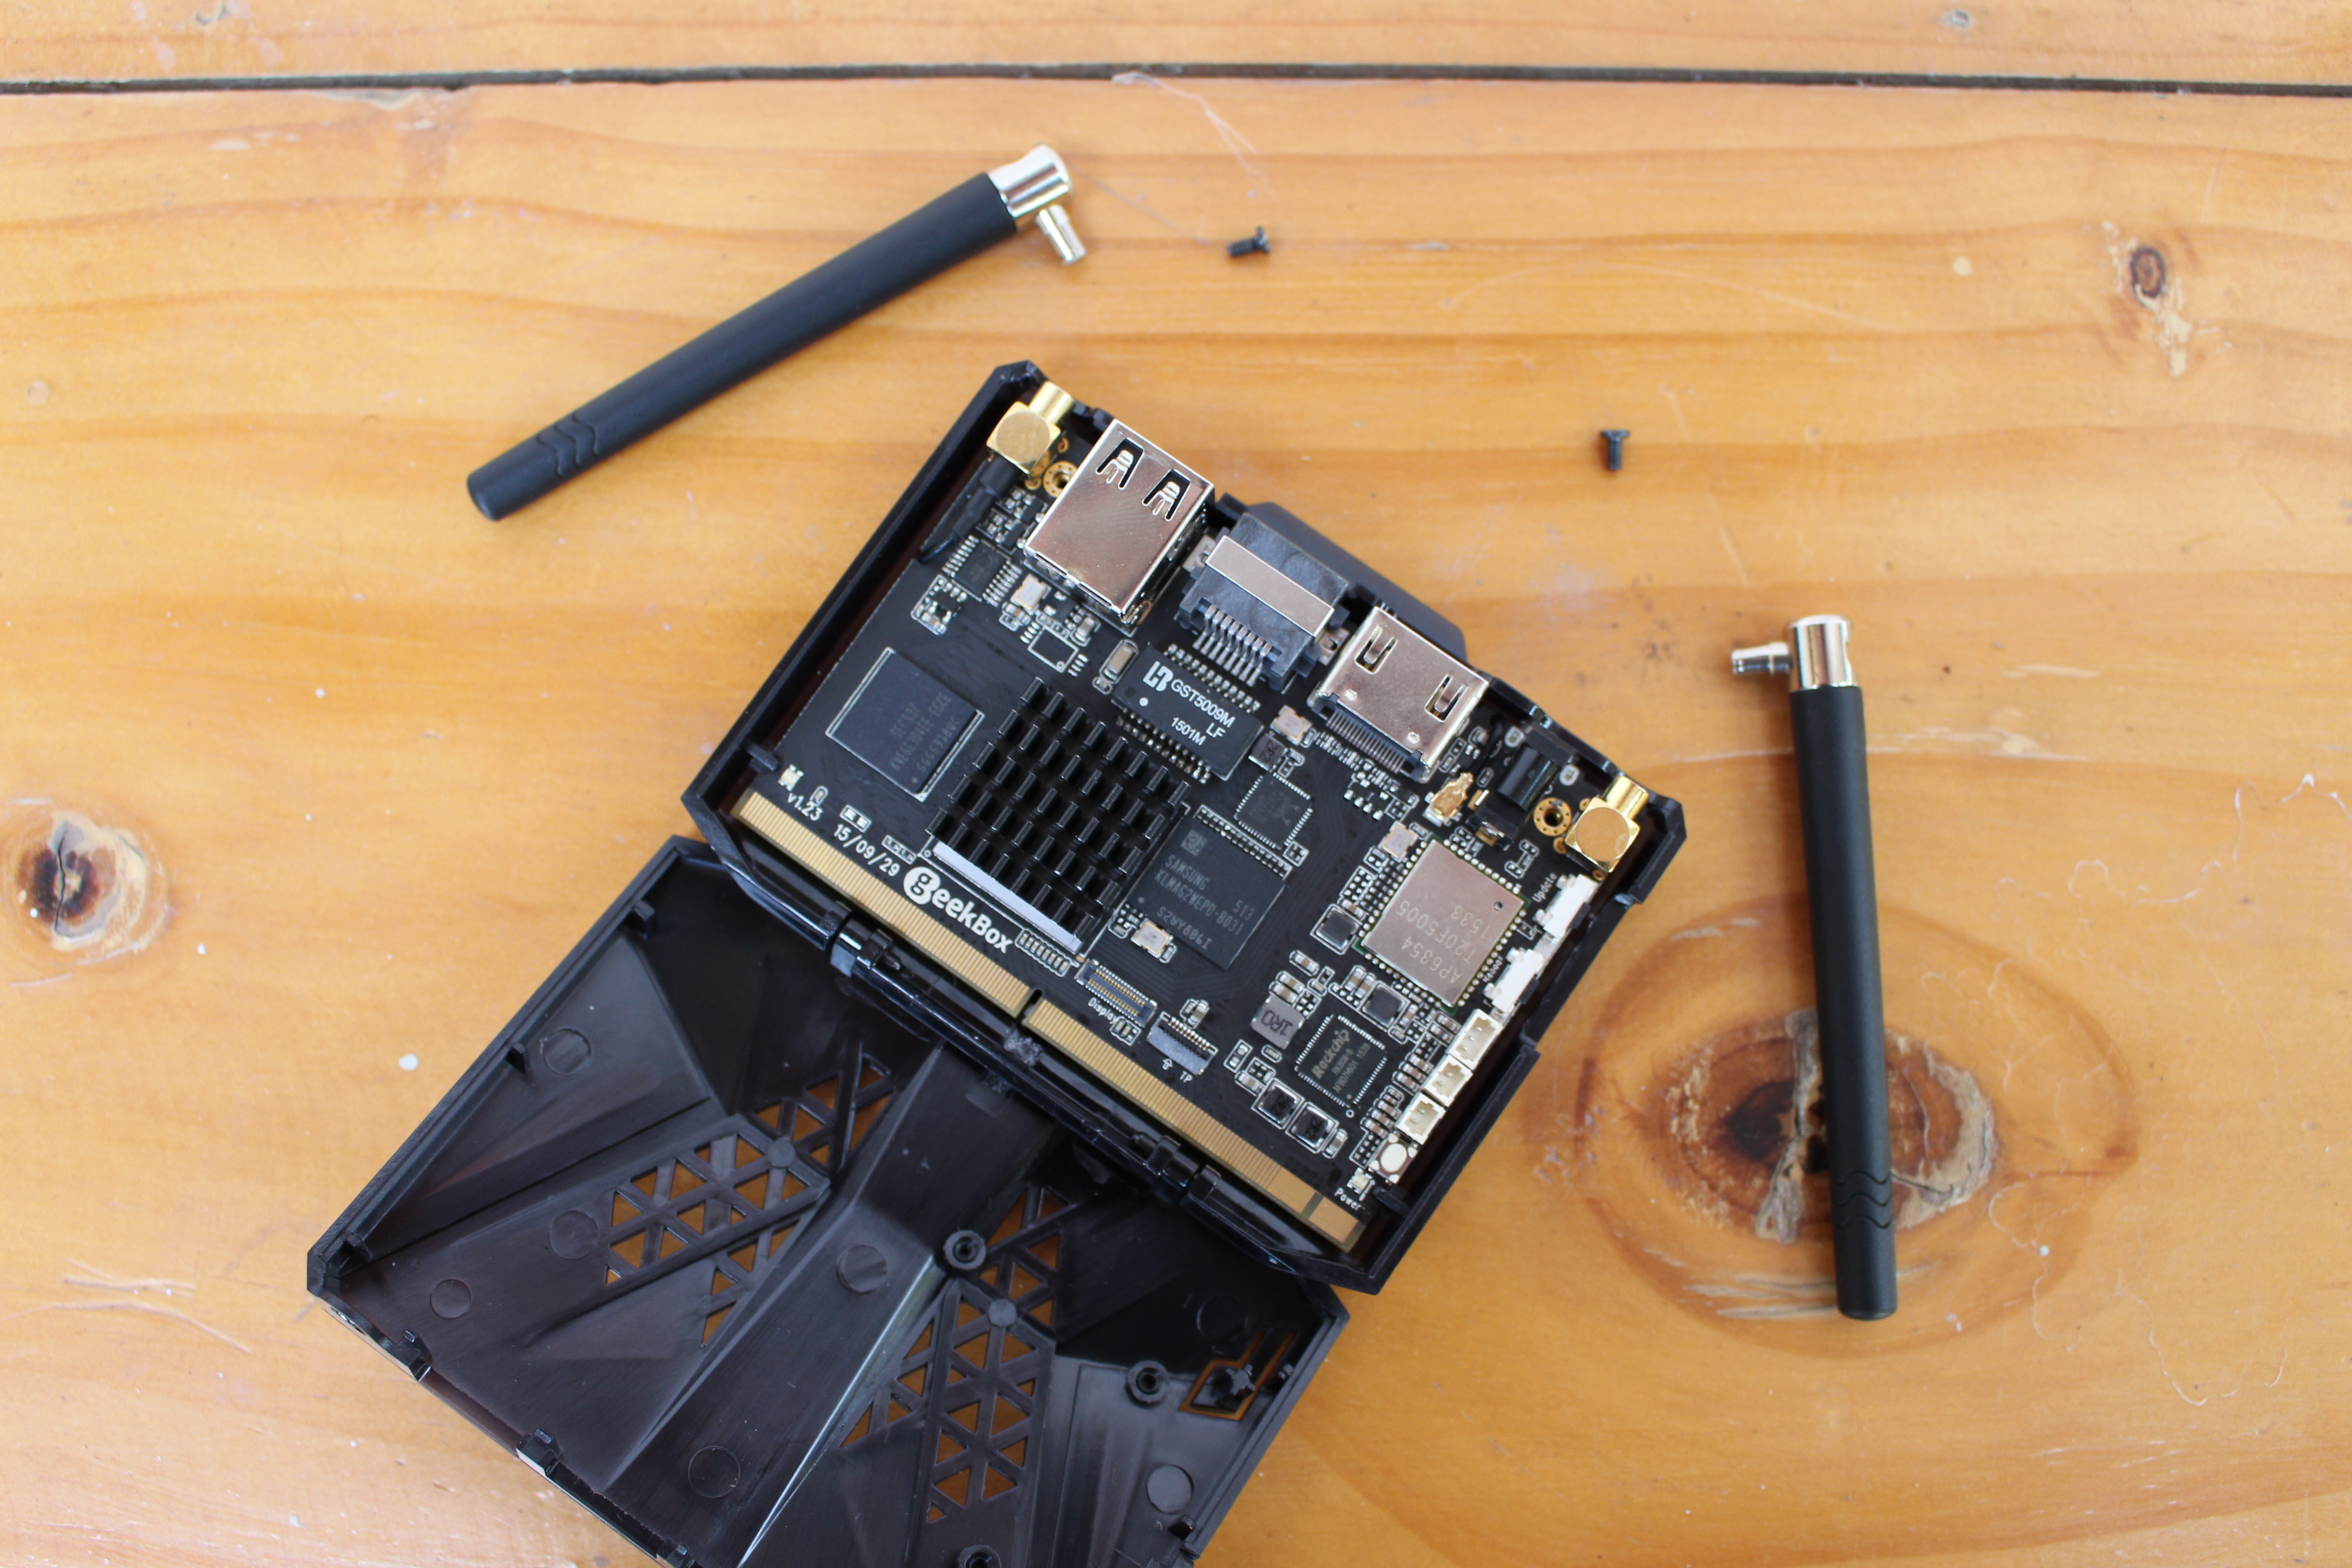
We can now have a clear look at GeekBox system-on-module with two USB 2.0 host ports, Gigabit Ethernet, HDMI 2.0 port, and the 5V power jack. Rockchip RK3368 SoC is covered by a small heatsink, and coupled with Samsung KLMAG2WEPD-B031 eMMC 5.0 flash with 16GB capacity and 150/12MB read and write sequential speed, as well as Samsung K4E6E304EE-EGCE LPDDR3 chip (2GB RAM).

Gigabit Ethernet is handled by the ubiquitous Realtek RTL8211F transceiver and GST5009M magnetics, while Ampak AP6354 wireless module takes care of 802.11ac WiFi up to 867 Mbps and Bluetooth 4.1 connectivity, and so both wired and wireless networking performance should really be good. Rockchip RK808 PMIC takes care of power management. There are also some connectors and headers on the board for display and touchscreen, RTC battery, and UART console as well as button for power, reset and firmware update.

There’s no much to see on the other side of the board except the micro USB OTG port, and the micro SD card.
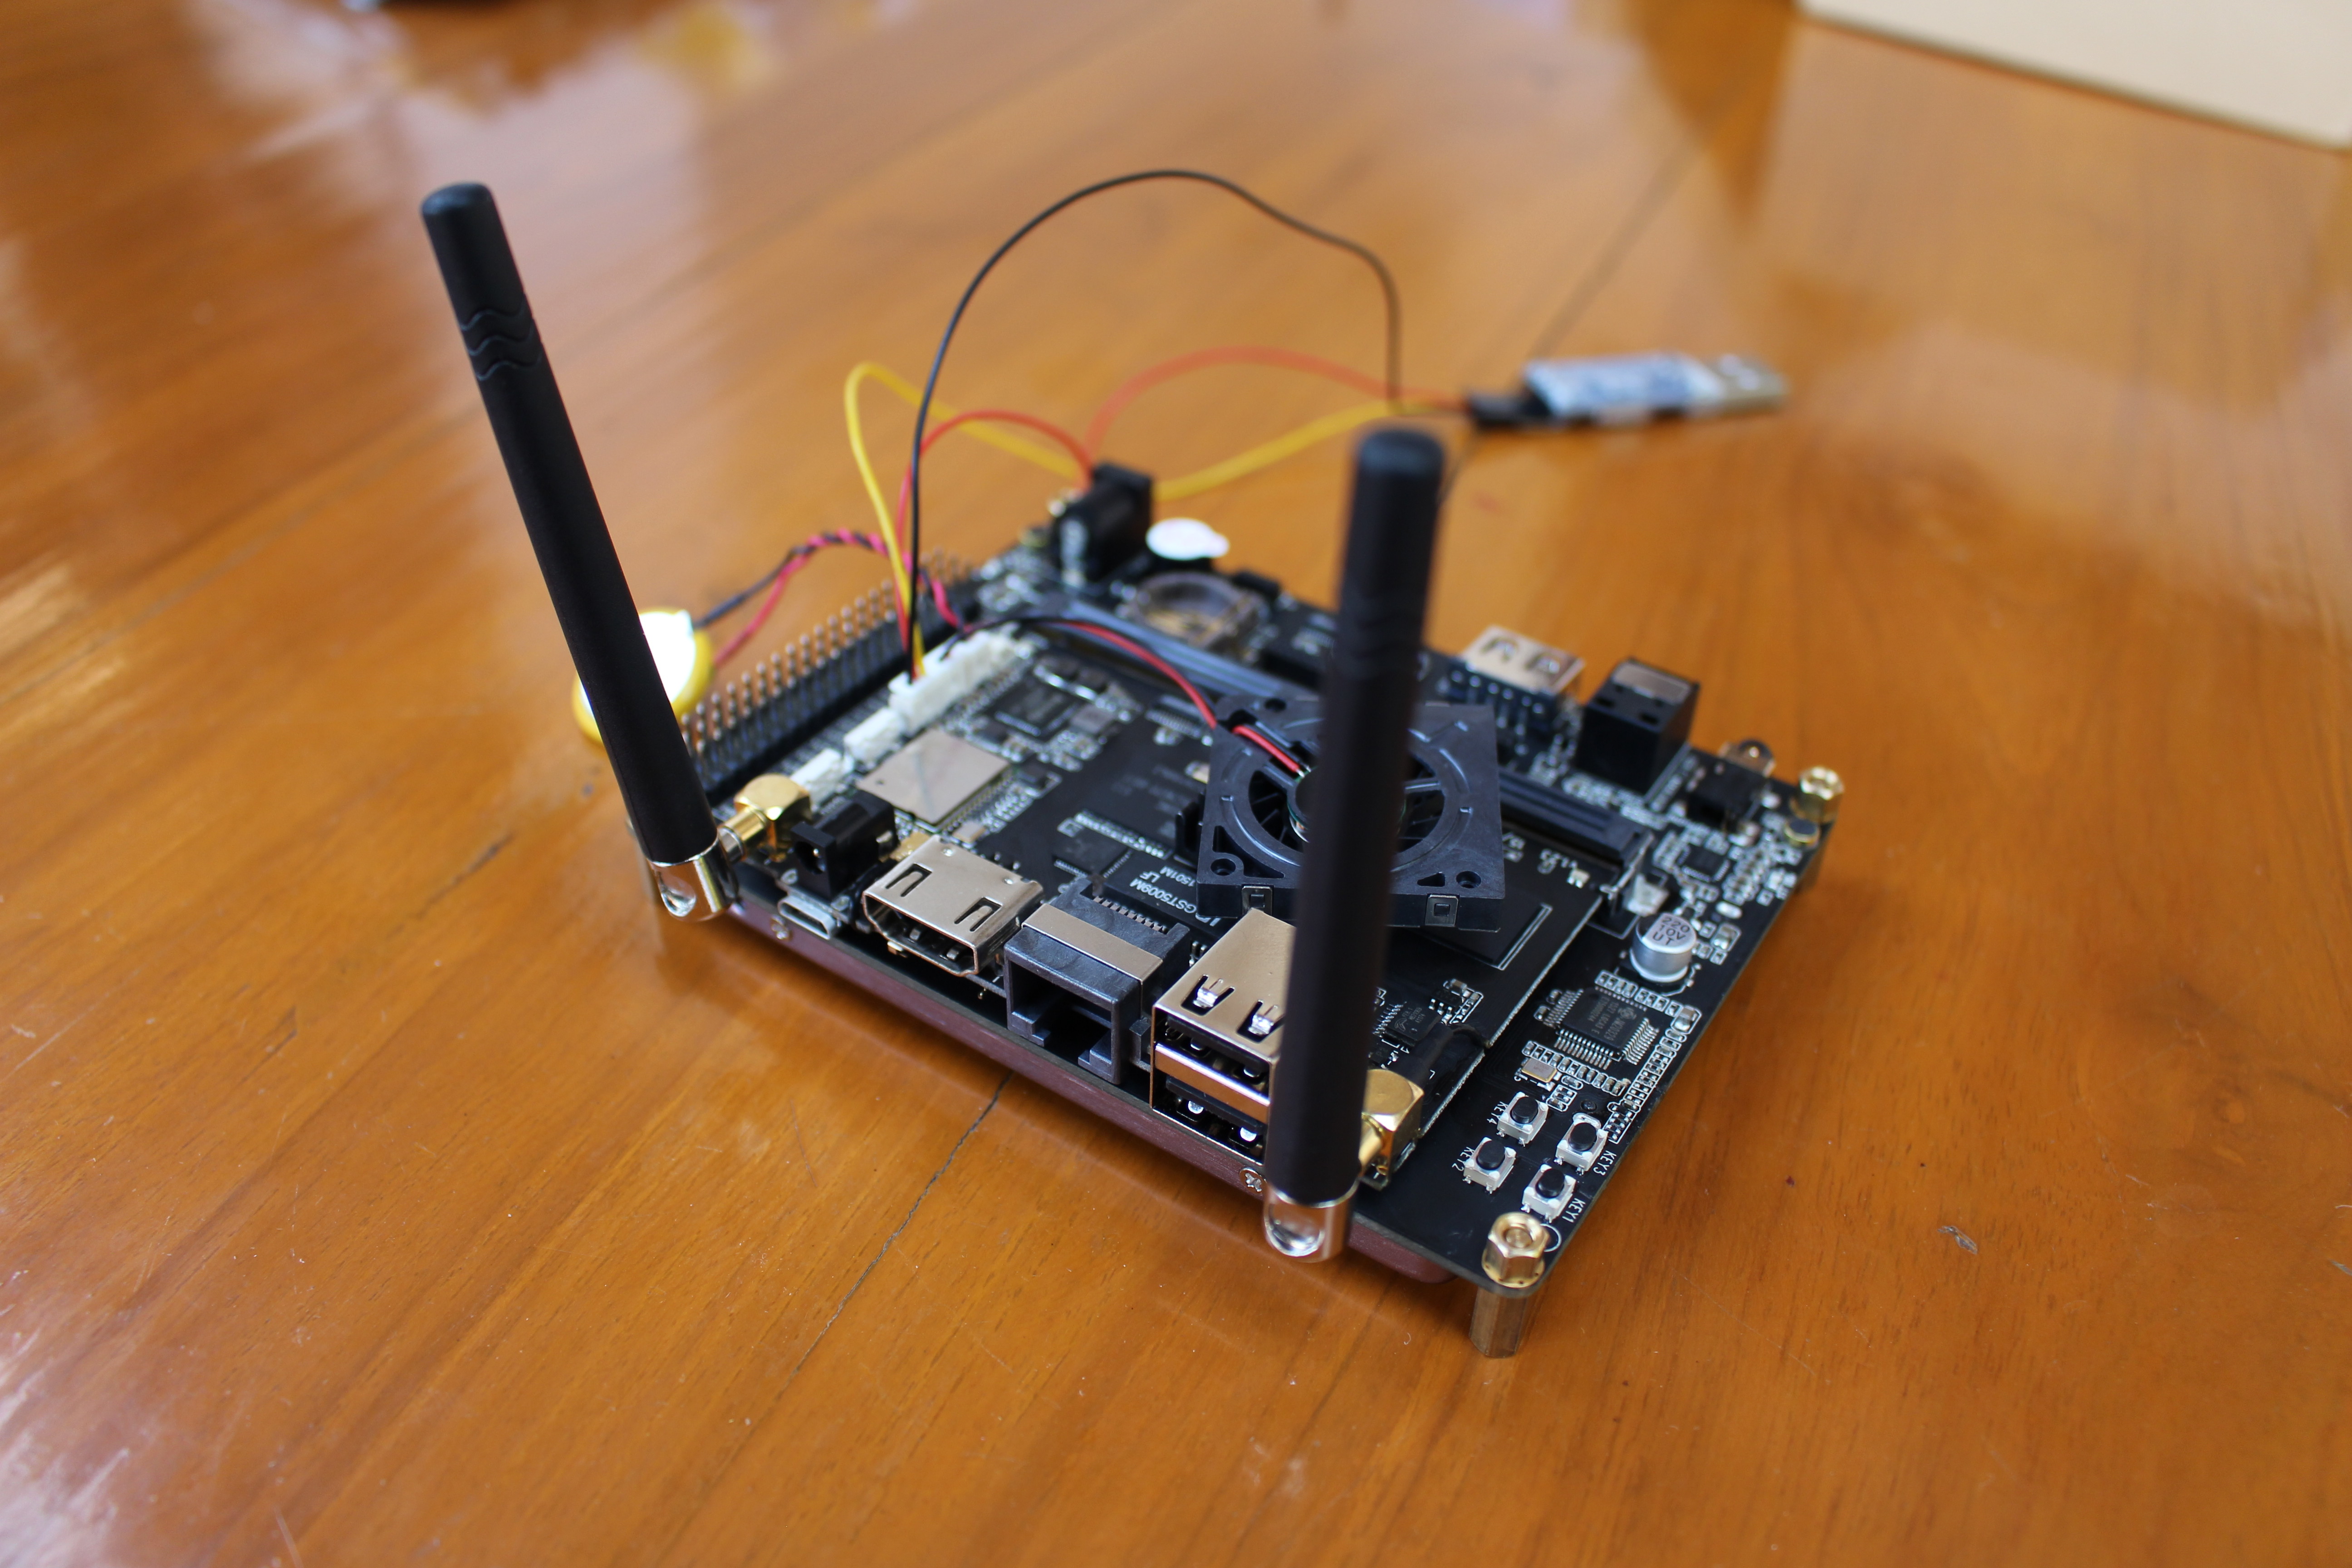
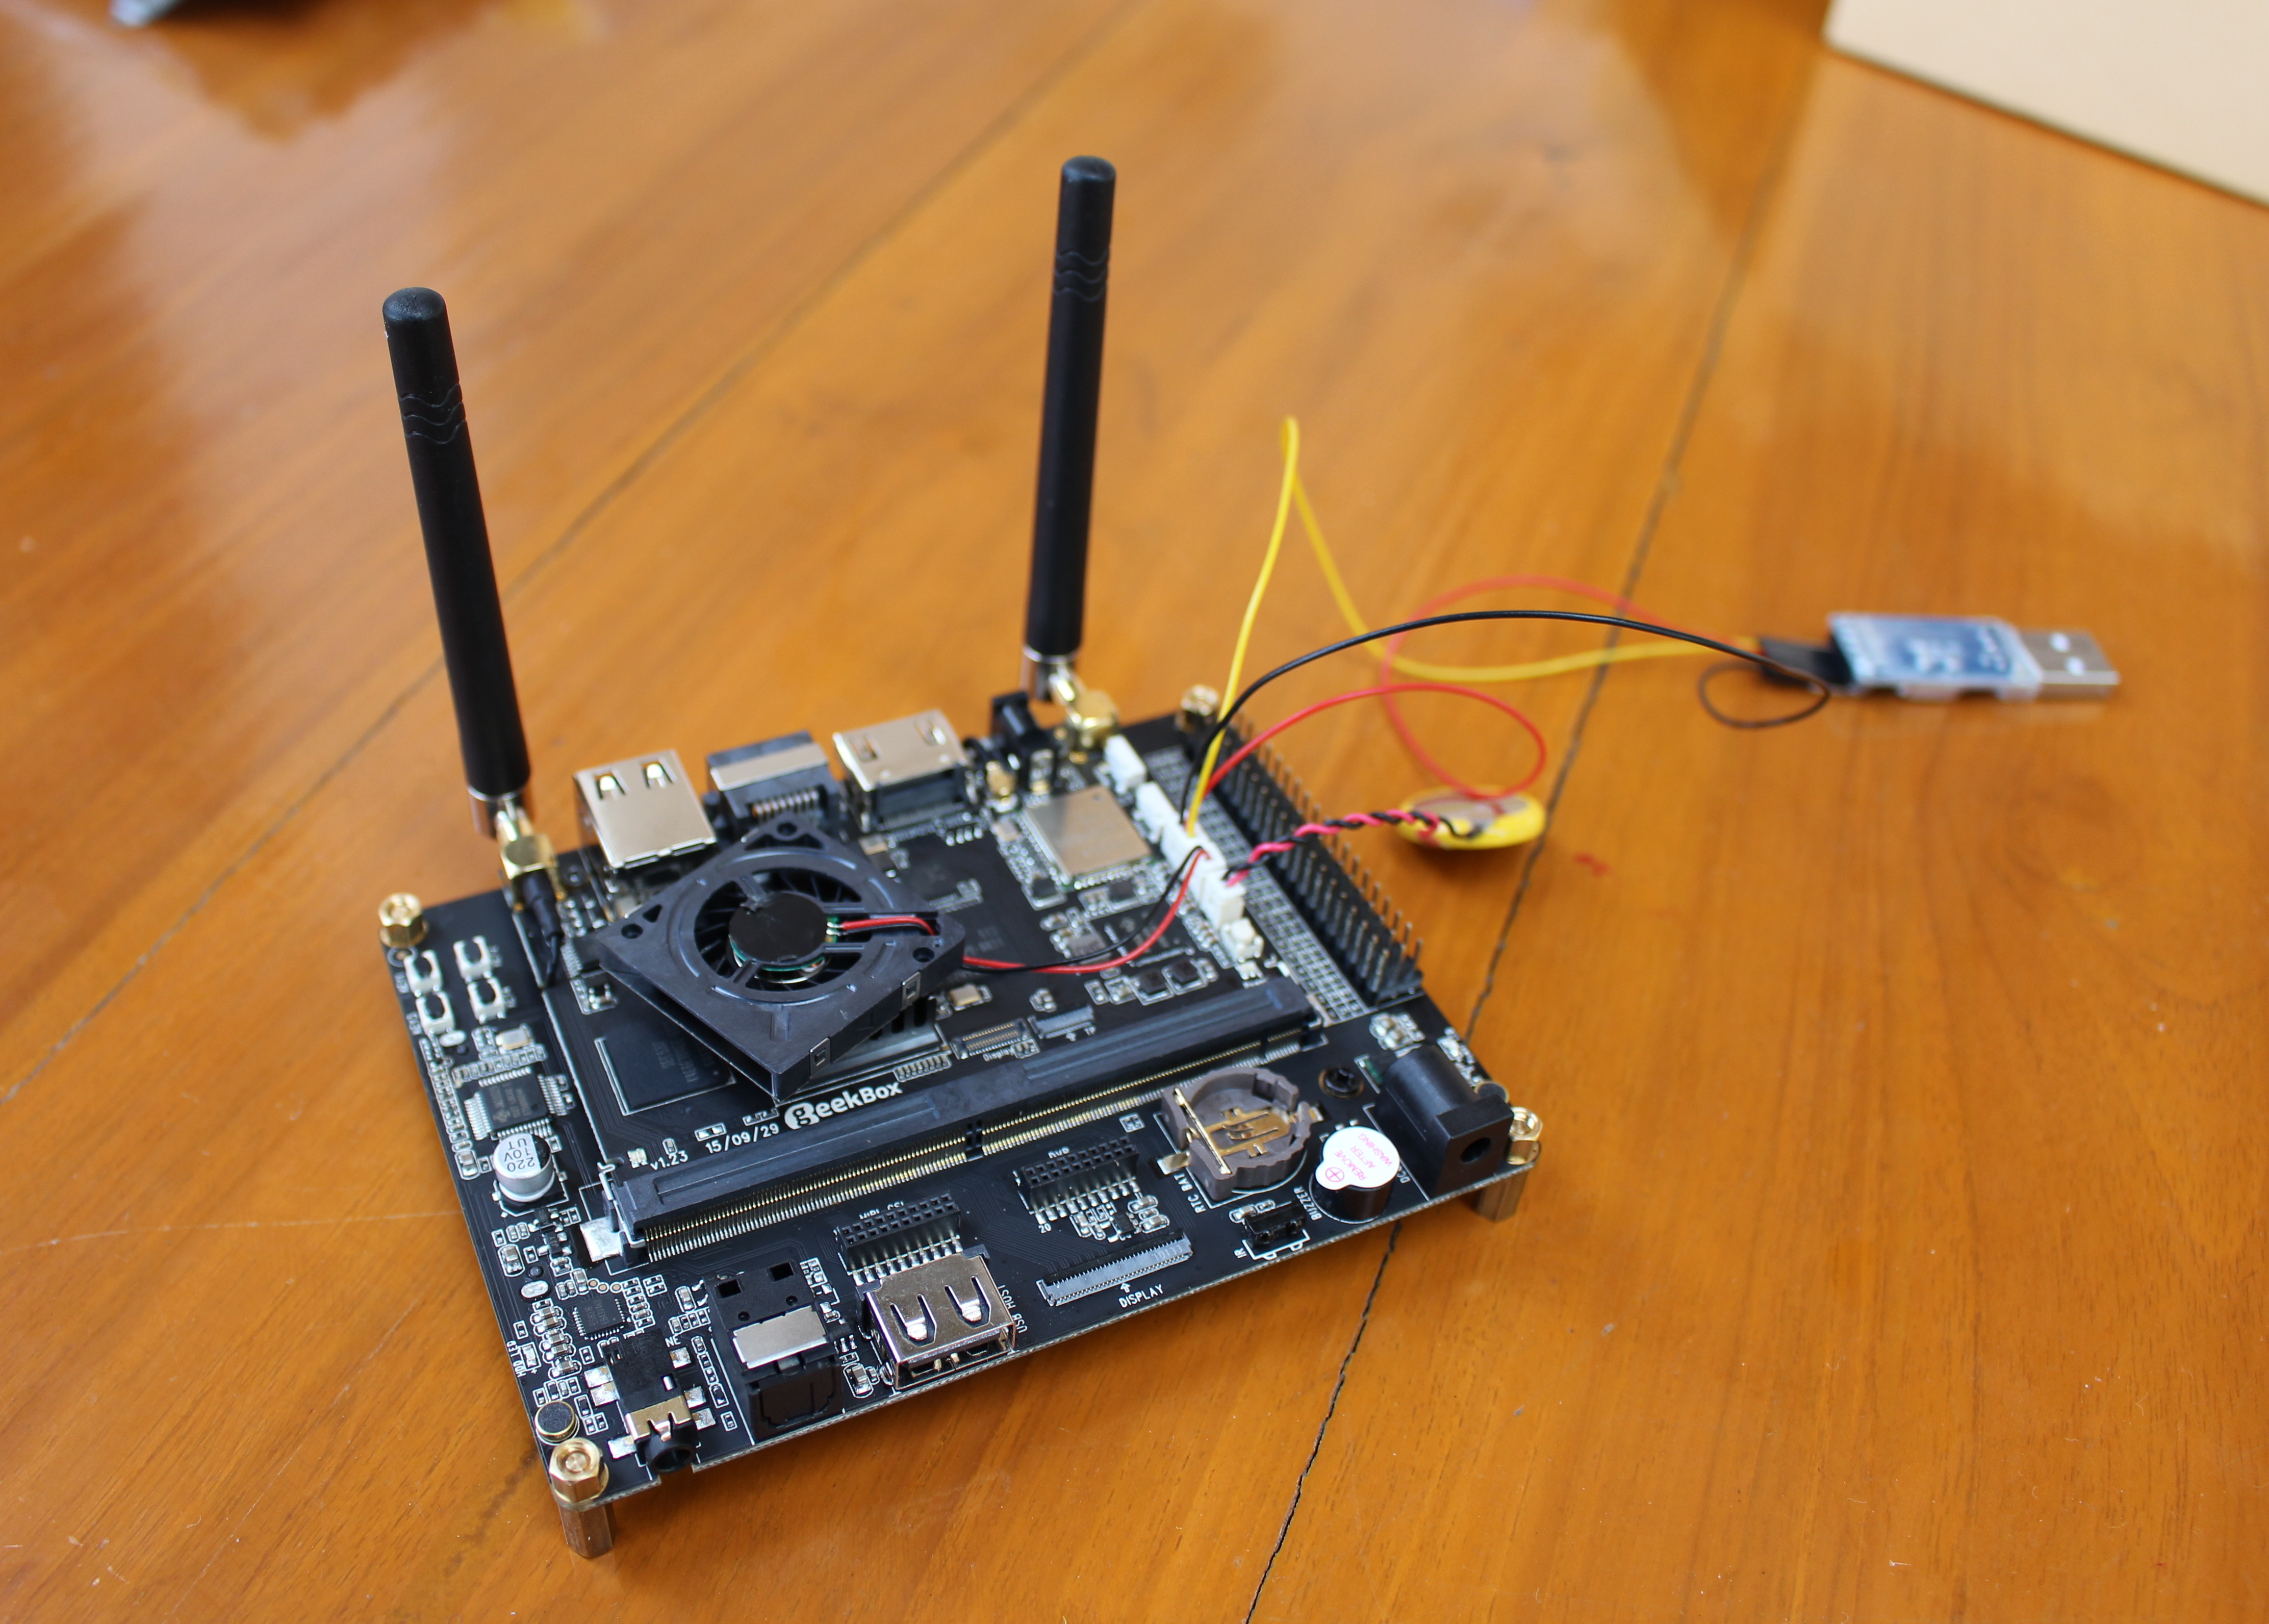
GeekBox and Landingship Assembly guide
Connect the add-on boards to the module and the module to Landingship baseboard is pretty straightforward, but there are still a few useful tips to learn.
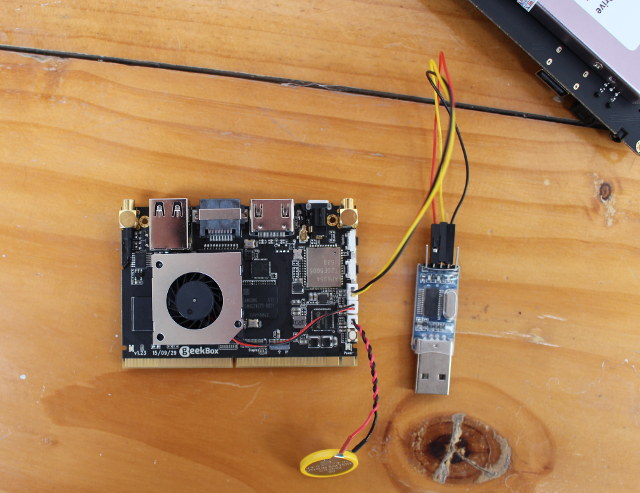
From bottom to top on GeekBox module, we’ve got the RTC, fan and serial connector where you can insert the wires of the corresponding module…
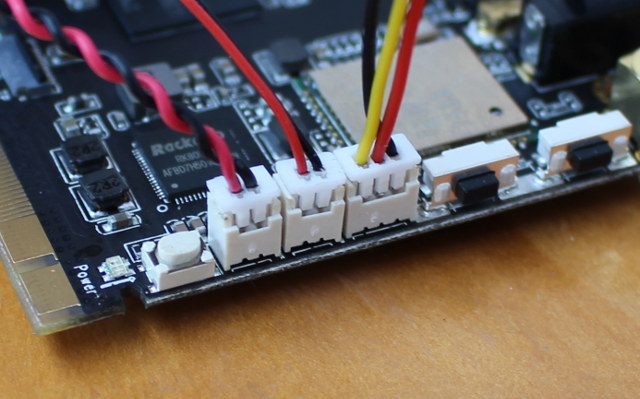
So you end-up having an actively cooled board with a real-time clock, and some hardware for debugging, that you can use without a baseboard.
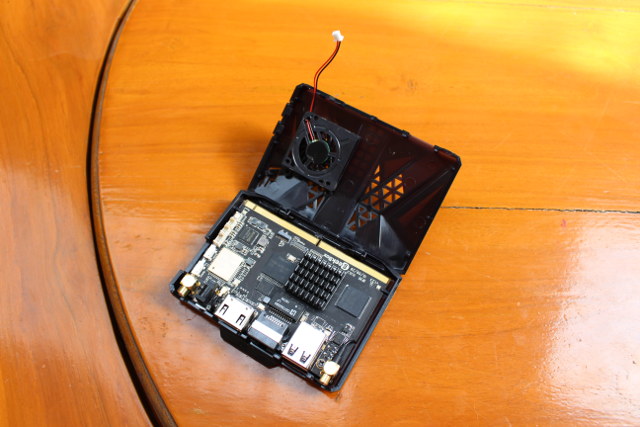
 Once the 7.9″ touch screen display is available, you’ll also be able to connect it to the Display and TP connectors of the GeekBox SoM without additional hardware. There’s no direct way to secure the fan on top of the heatsink, so you may want to either use some hot glue or double-sided sticky tape to hold it in place.
[Update: The fan can be attached to the top of the case via three mounting holes. The screws were not included, or I missed them.
 ]
]
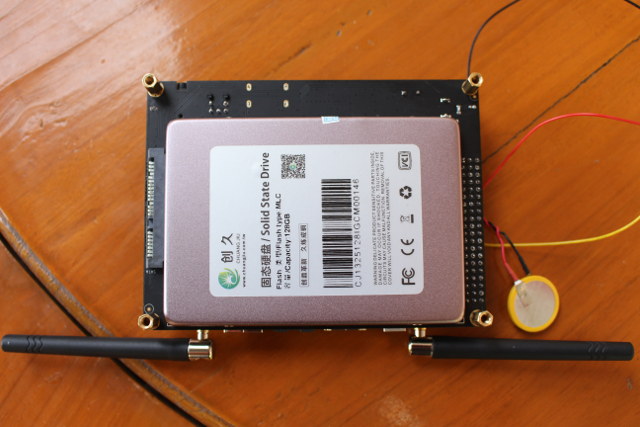
If you plan to connect a 2.5″ hard drive or SSD to the Landingship baseboard, that’s the first thing that you should do because of the location of screw holes and spacers may prevent an easy installation later on.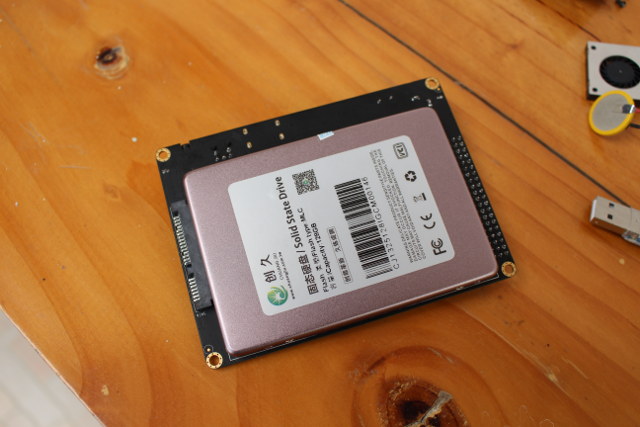 You’ll need to secure the SATA drive with the two black screws provided with the spacers and nuts.
 Now you can insert the four spacers in the holes at the corner of the board, and tighten them with the nuts. The next step is to peel off the protective tape on GeekBox module’s MXM3 edge connector, before inserting the module into the MXM3 socket on the Landingship at an angle, pushing it down, and tightening it with the two screws that held Geekbox in its own case. Now put back the WiFi antennas in the module, and you’re done.
 If you prefer a more visual unboxing and assembly guide instead, please watch the video below.
GeekBuying kindly send me GeekBox and accessory kit for review, and GeekBox sells for $109.99 shipped on their website, where you’ll also find Landingship for $29.99, the RTC battery for $4.99, the fan for $8.99, and the USB to TTL debug board for $1.99. You’ll get a slightly better deal if you combine all these on GeekBox page, as the complete kit I received sells for $154.55 as a bundle. Another interesting item that I did not receive is the 7.9″ touchscreen display with 2048×1536 resolution going for $69.99.
There are quite a few things to experiment with GeekBox, such as using a standard Android TV box, running Rockchip Light Biz OS desktop operating system, or instead transforming it into an Ubuntu mini PC and/or playing with its I/O capabilities. I’ll probably start with Light Biz OS…

Jean-Luc started CNX Software in 2010 as a part-time endeavor, before quitting his job as a software engineering manager, and starting to write daily news, and reviews full time later in 2011.
Support CNX Software! Donate via cryptocurrencies, become a Patron on Patreon, or purchase goods on Amazon or Aliexpress


