
Following up on my LG 42U820T 4K TV review, I’ll know checkout the second item purchased for my reviews thanks to the help of my readers, with Onkyo TX-NR636 7.2 channel AV receiver combined with Pioneer S-11 speaker set. As this is my first AV receiver, I still have a lot to learn, I can’t really comment on audio quality (except it sounds much better than my TV speakers, and is more powerful), so I won’t do a full review, but I’ll show some details about the receiver, explain how to it setup with speakers, show how to setup OpenELEC / Kodi for HDMI audio pass-through, and test it with various Dolby and DTS video files.
Onkyo TX-NR636 Specifications
But before all that, I’ll list some of the specifications of this cool AV receiver.
- Amplified Rated Output Power:
- 95 watts minimum continuous power per channel, 8 ohm loads,
- 2 channels driven from 20 Hz to 20 kHz, with a maximum total harmonic distortion of 0.08% (FTC)
- 115 watts minimum continuous power per channel, 6 ohm loads, 2 channels driven at 1 kHz, with a maximum total harmonic distortion of 0.7% (FTC) (North American)
- 7 ch × 160 W at 6 ohms, 1 kHz, 1 ch driven of 1% (IEC) (Others)
- Maximum Effective Output Power – 7 ch × 175 W at 6 ohms, 1 kHz, 1 ch driven (JEITA) (Asian)
- Speaker Impedance
- 6 Ω – 16 Ω (North American and Taiwanese)
- 4 Ω – 16 Ω (Others)
- Video I/O
- 6x HDMI input on rear panel, 1x HDMI Input on rear panel: IN1 (BD/DVD, 4K), IN2 (CBL/SAT, 4K), IN3 (STB/DVR, 4K, HDCP2.2), IN4
(GAME, 4K), IN5 (PC), IN6, AUX INPUT (HDMI/MHL) - 1x HDMI 2.0 output with 4K 60Hz / HDCP 2.2 /ARC support, 1x HDMI sub output. Video Resolution: Pass-through: 4K 60 Hz (YCbCr 4:2:0); Upscaling: 4K 30 Hz
- 3x Composite input: IN1 (CBL/SAT), IN2 (STB/DVR), IN3 (GAME)
- 1x Component input: IN (CBL/SAT)
- 1x Component output, 1x Composite ouput
- 6x HDMI input on rear panel, 1x HDMI Input on rear panel: IN1 (BD/DVD, 4K), IN2 (CBL/SAT, 4K), IN3 (STB/DVR, 4K, HDCP2.2), IN4
- Audio I/O
- Input
- Digital – 1x Optical S/PDIF (TV/CD); 2x Coaxial S/PDIF: 1 (BD/DVD), 2 (CBL/SAT)
- Analog – BD/DVD, CBL/SAT, STB/DVR, GAME, PC, TV/CD, PHONO (RCA connectors)
- Setup mic- 3.5 mm jack for setup microphone
- Output
- Analog – ZONE2 LINE OUT (Sterero); 2x SUBWOOFER PRE OUT
- Speakers – FRONT L/ R, CENTER, SURROUND L/R, BACK or HEIGHT L/R, ZONE2 L/R
- Headphone – 6.3mm jack
- Input
- Audio Format – DTS-HD Master Audio, DTS-HD High Resolution Audio, Dolby TrueHD, Dolby Digital Plus, DSD, Multichannel PCM
- Misc Features – 3D, Audio Return Channel, DeepColor, x.v.Color, LipSync, CEC (RIHD), RI remote control jack
- Tuner
- FM Tuning Frequency Range
- 87.5 MHz – 107.9 MHz (North American and Taiwanese)
- 87.5 MHz – 108.0 MHz, RDS (Others)
- AM Tuning Frequency Range – 522/530 kHz – 1611/1710 kHz
- FM Tuning Frequency Range
- Network Connectivity – 10/100M Ethernet, 802.11 b/g/n Wi-Fi, Bluetooth 2.1 + EDR
- USB – 1x USB host port on front panel
- Power Supply – AC 120 V, 60 Hz (North American and Taiwanese); AC 220 – 240 V, 50/60 Hz (Others)
- Power Consumption –
- Maximum – 6.3 A (North American and Taiwanese); 630 W (Others)
- Standby – 0.1 W (North American and Taiwanese); 0.2 W (Others)
- No sound – 80 W
- Dimensions (W × H × D) – 435 mm × 173.5 mm × 329 mm
- Weight – About 10 kg
That’s quite a list, and it also support Dolby Atmos but somehow this is not listed in the specifications. If you want a receiver for a 4K Home Theather, TX-NR636 covers all you need including HDMI 2.0 and HDCP 2.2, with all common audio format, but only support YCbCr 4:2:0 output, and not the full YCbCr 4:4:4. In theory the latter should only affect color quality, but in practise some media players like those based on Rockchip RK3288 don’t support this mode so 4K 60 Hz output is not possible via the receiver, only 4K 30Hz. This may not be such an issue, as I expect most video to be shot at 24 fps or 30 fps, I understand most media players will support YCbCr 4:2:0 anyway.
One worry are reports about HDMI card frying after 2 years or so for the older TX-NR626 models, but hopefully they’ve fixed this in this model.
Onkyo TX-NR636 Unboxing
Initially, I planed to purchase the receiver online as it’s a bit cheaper, but I noticed sellers on Lazada (Thai online shop) did not always provide warranty with a clear “Warranty: NO”, so based on the HDMI card issues above, I really wanted to have a proper warranty, and easy access to Onkyo service center. Since the closest one is about 700 km away, I bought the receiver in a local shop (Sahapanich) in Chiang Mai offering 3-year warranty, and handling possible issues for free during the three year warranty on my behalf. I paid 25,000 Baht (~$770 US), only slightly more expensive than online. But if you are in the US, TX-NR636 only sells for $450 on Amazon or Newegg, and it’s also one of the best sellers in the AV Receivers & Amplifiers section on Amazon, the top sellers being its little brother TX-NR626.
So let’s open the package to see what’s inside.
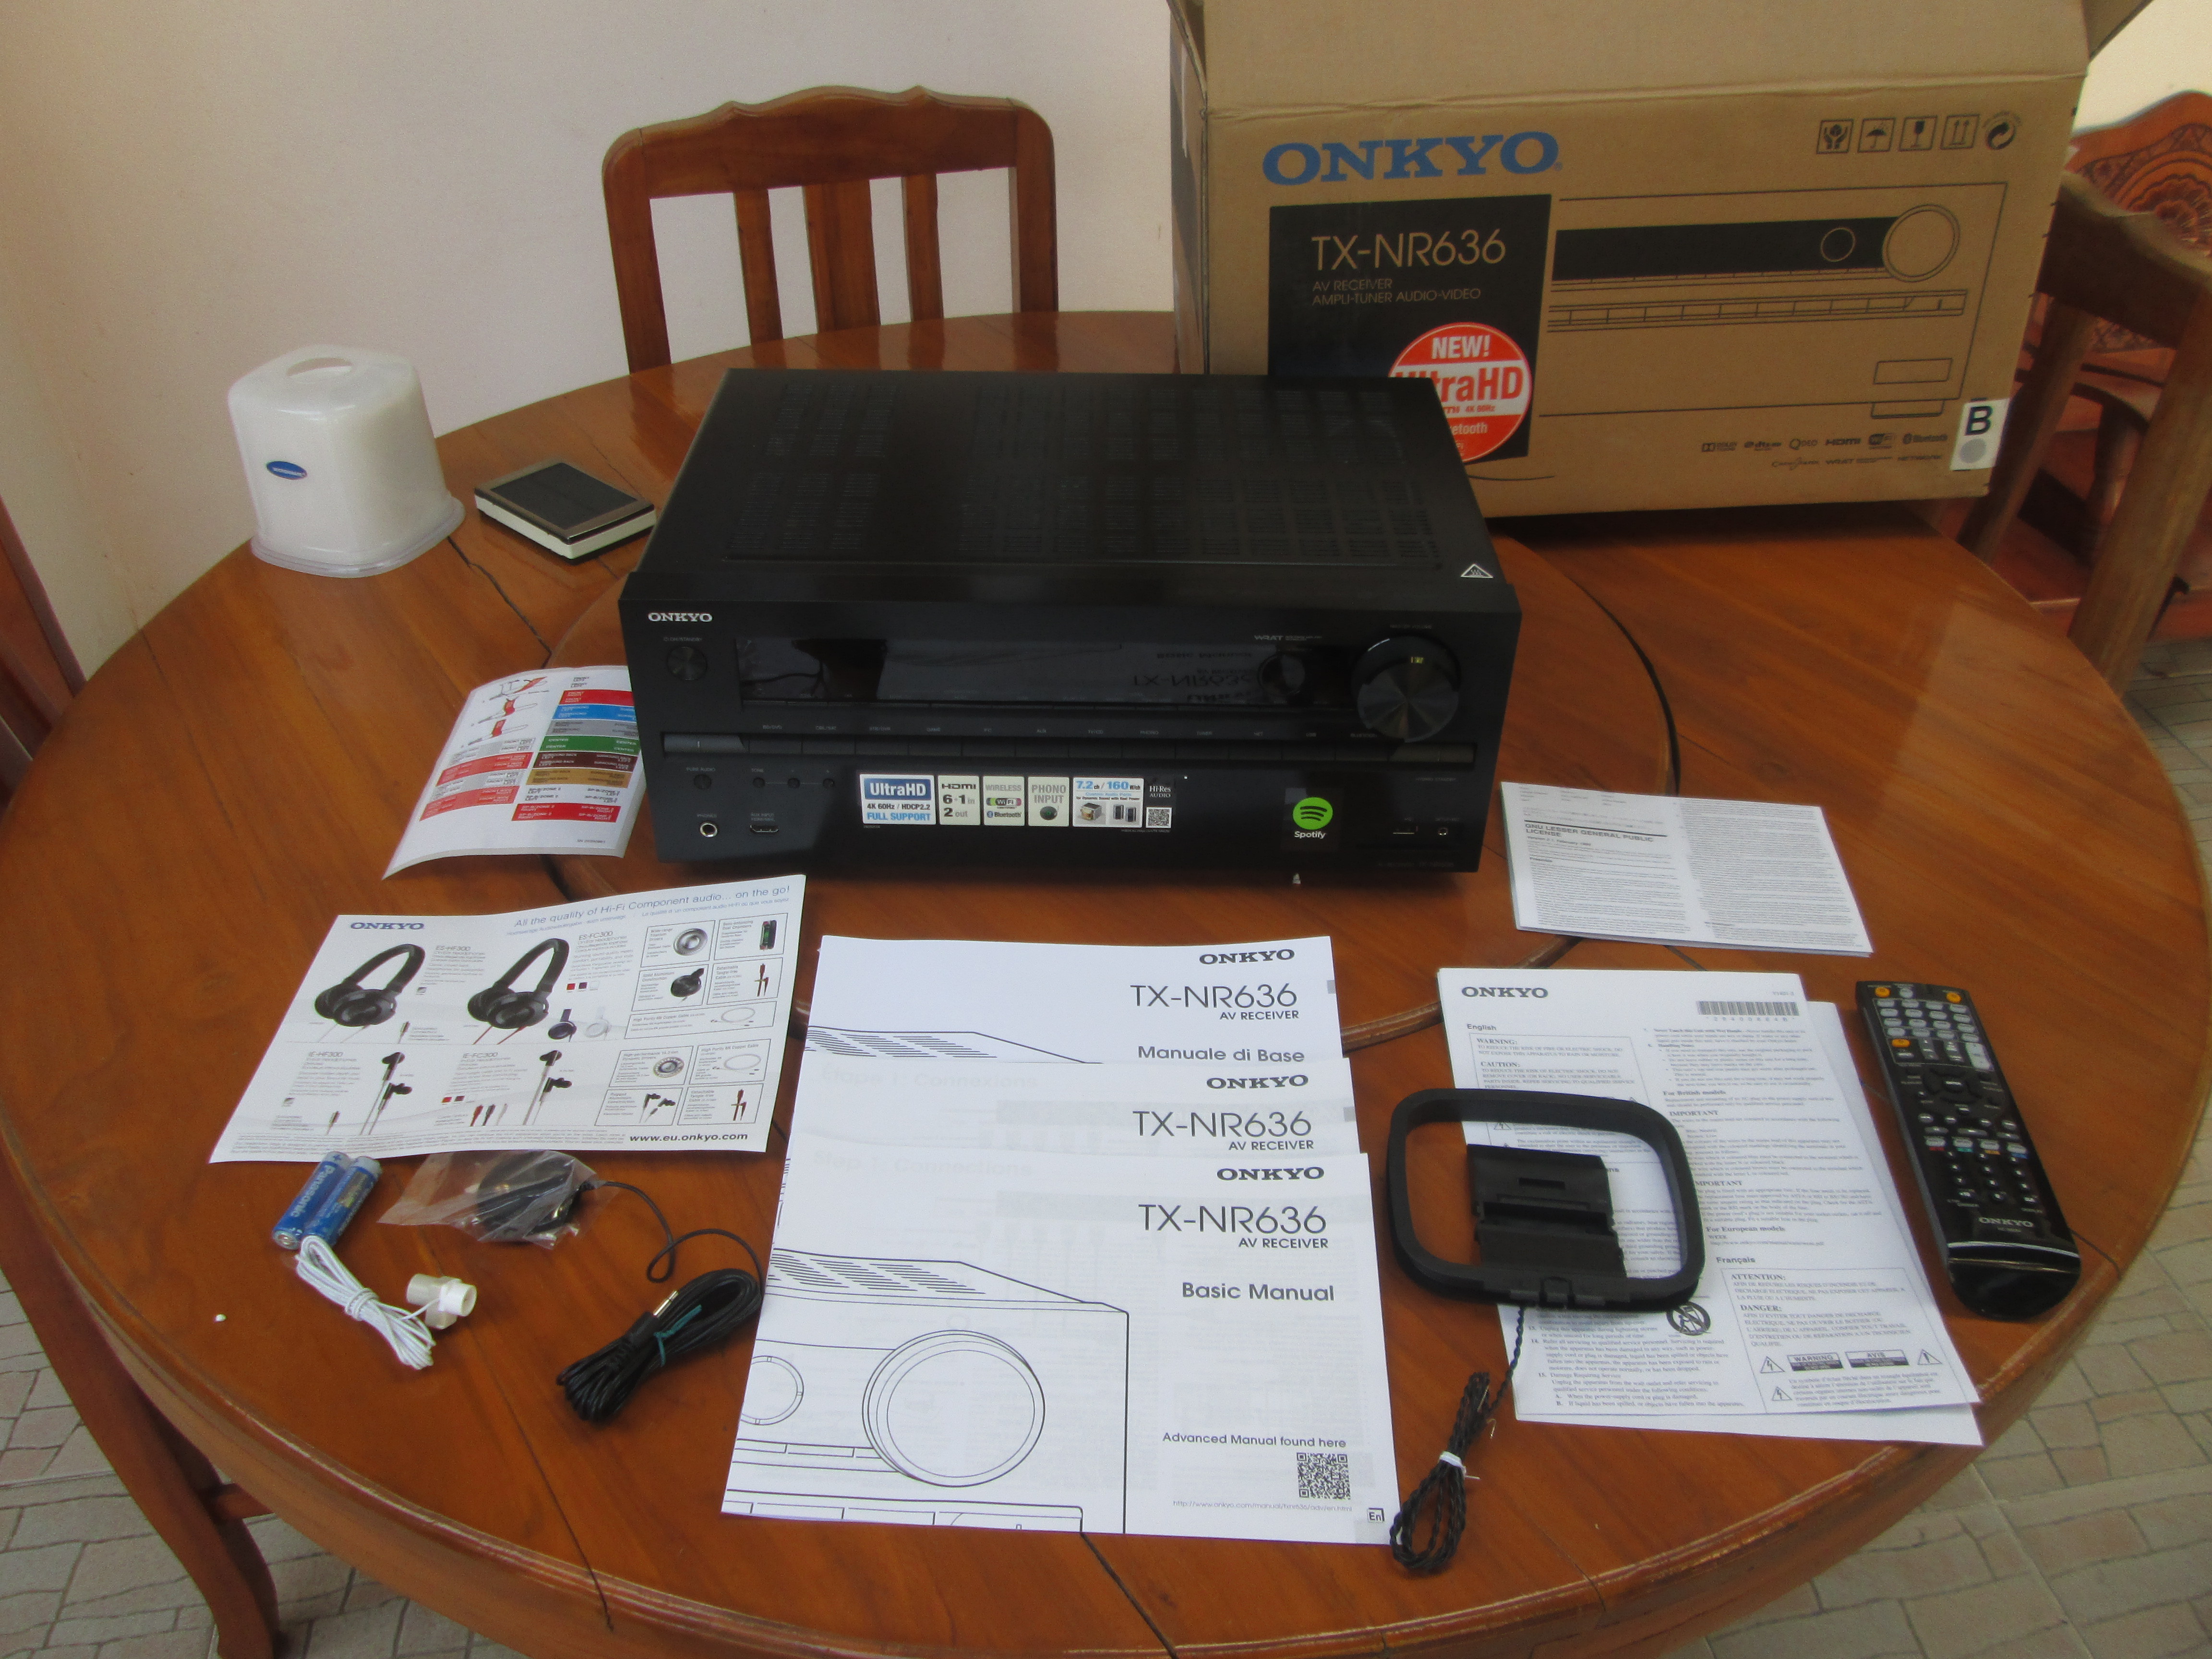
Beside a big black box, we’ll find an indoor FM antenna, an AM loop antenna, color label for speaker cables (very convenient), a massive IR remote control with two AA batteries, a speaker setup microphone, as well as some documentation with the basic manual in English, French, Italian, German, Dutch, Swedish, and Finnish, color labels for speaker cable. “important safety instructions”, a short documentation about RIHD-compatible devices, a document with the GPL and LGPL licenses, and listing the open source software used in the receiver, and a promo documents for Onkyo’s speakers and some information to access to customer support.
You may also want to download the Advanced manual (89 pages), but it’s not really necessary for basic setup and usage.
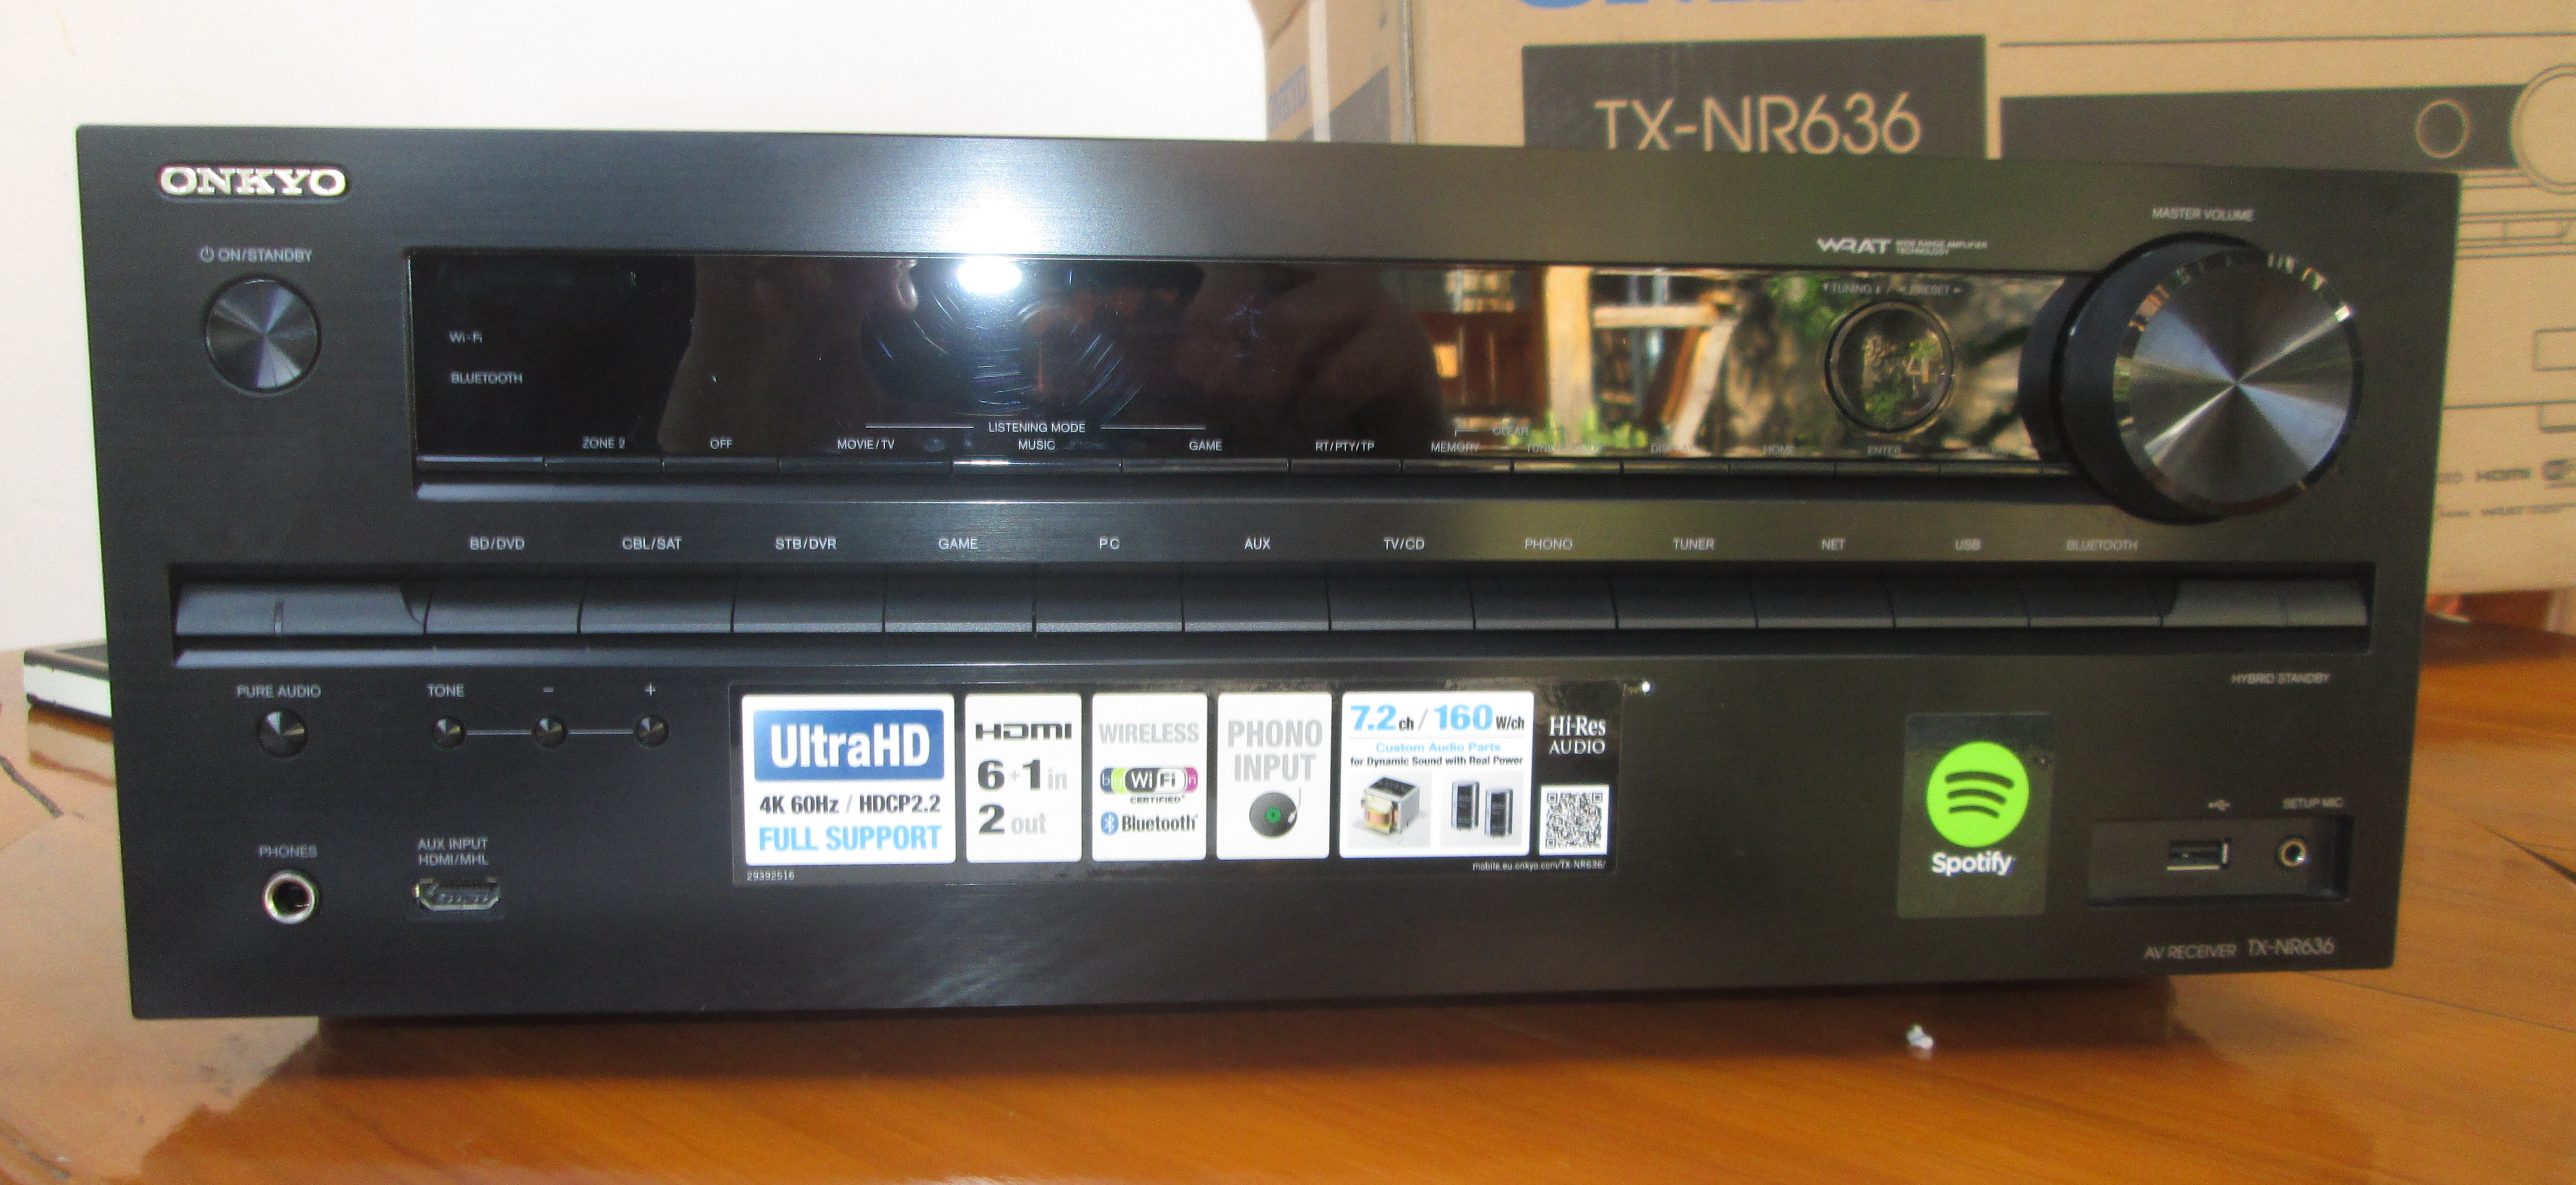
On the front panel, we’ve got the power button, the LCD display, a directional pad, a volume knob, source switching buttons, some audio buttons (Pure Audio,. Tone configuration), as well as headphone hack, one HDMI/MHL port, the only USB port of the device, and the jack for the speaker setup microphone. You’ll also find a bunch of sticker listed some of the key features of the receiver.
I’m mostly using the power button, volume knob, and LCD display, as well as the setup mic for initial speaker setup. I have not used much of the other buttons.
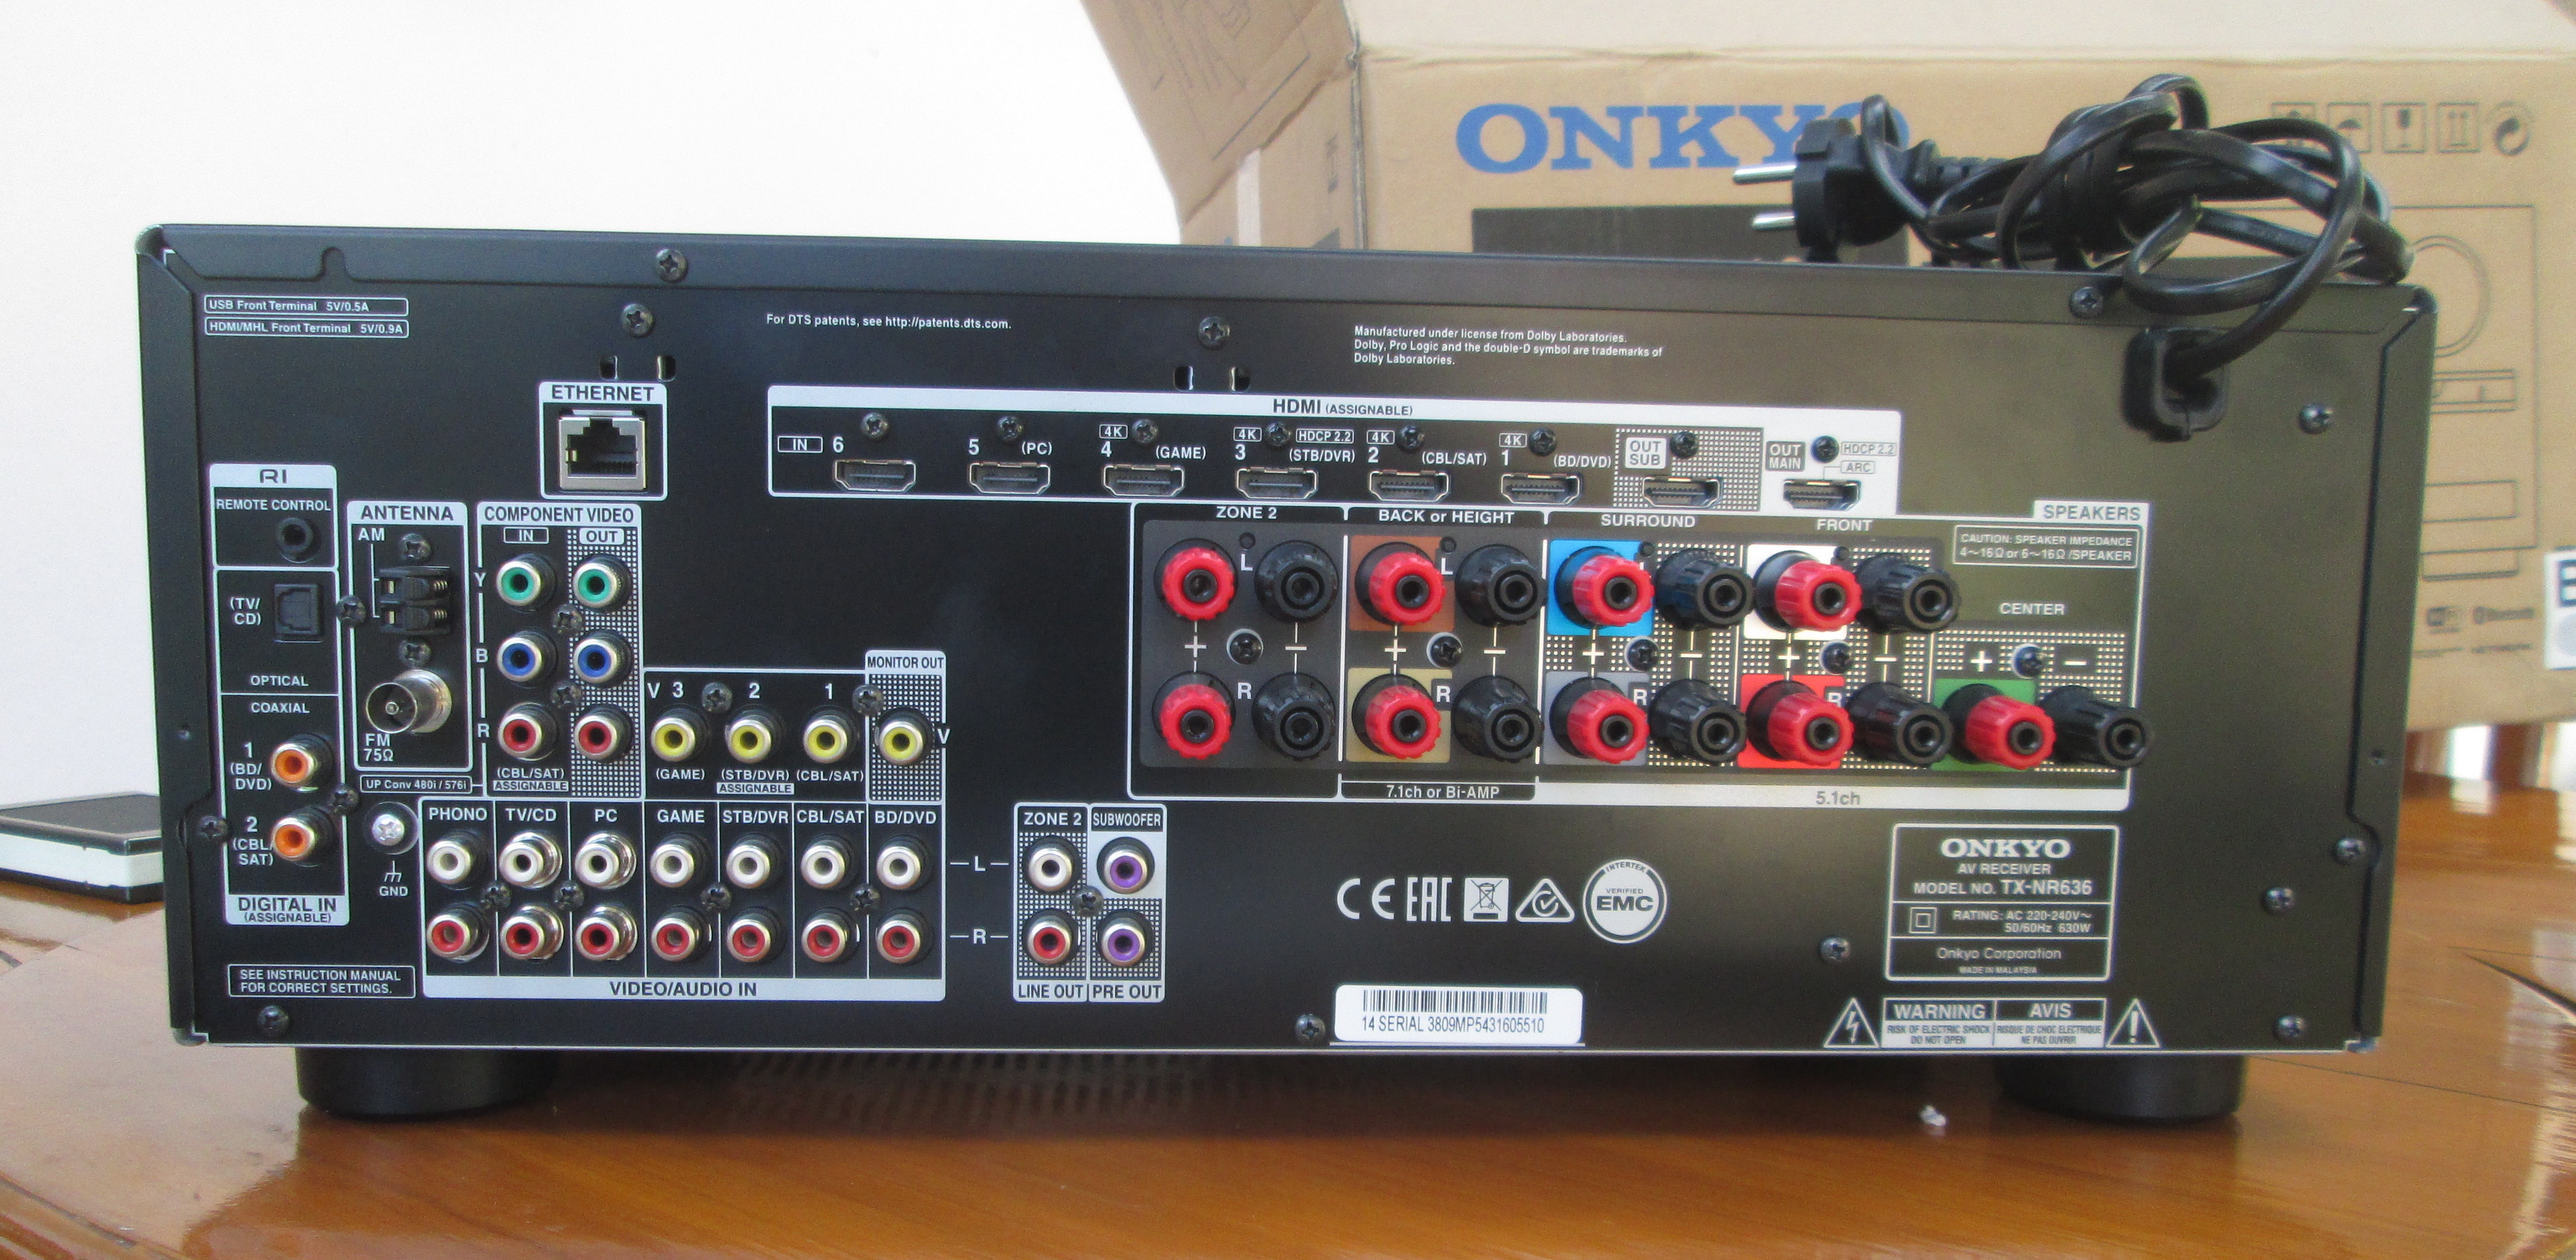
The rear panel is where most of the connections are. I’ve already listed the ports in specs, but basically from right to left we’ve got: RI remote control jack, S/PDIF ports, radio antenna connectors, Ethernet, component, composite, and analog audio ports, Zone 2 or Subwoofer audio RCA connectors, HDMI input and output ports, connectors for 9 speakers, and the power cord.
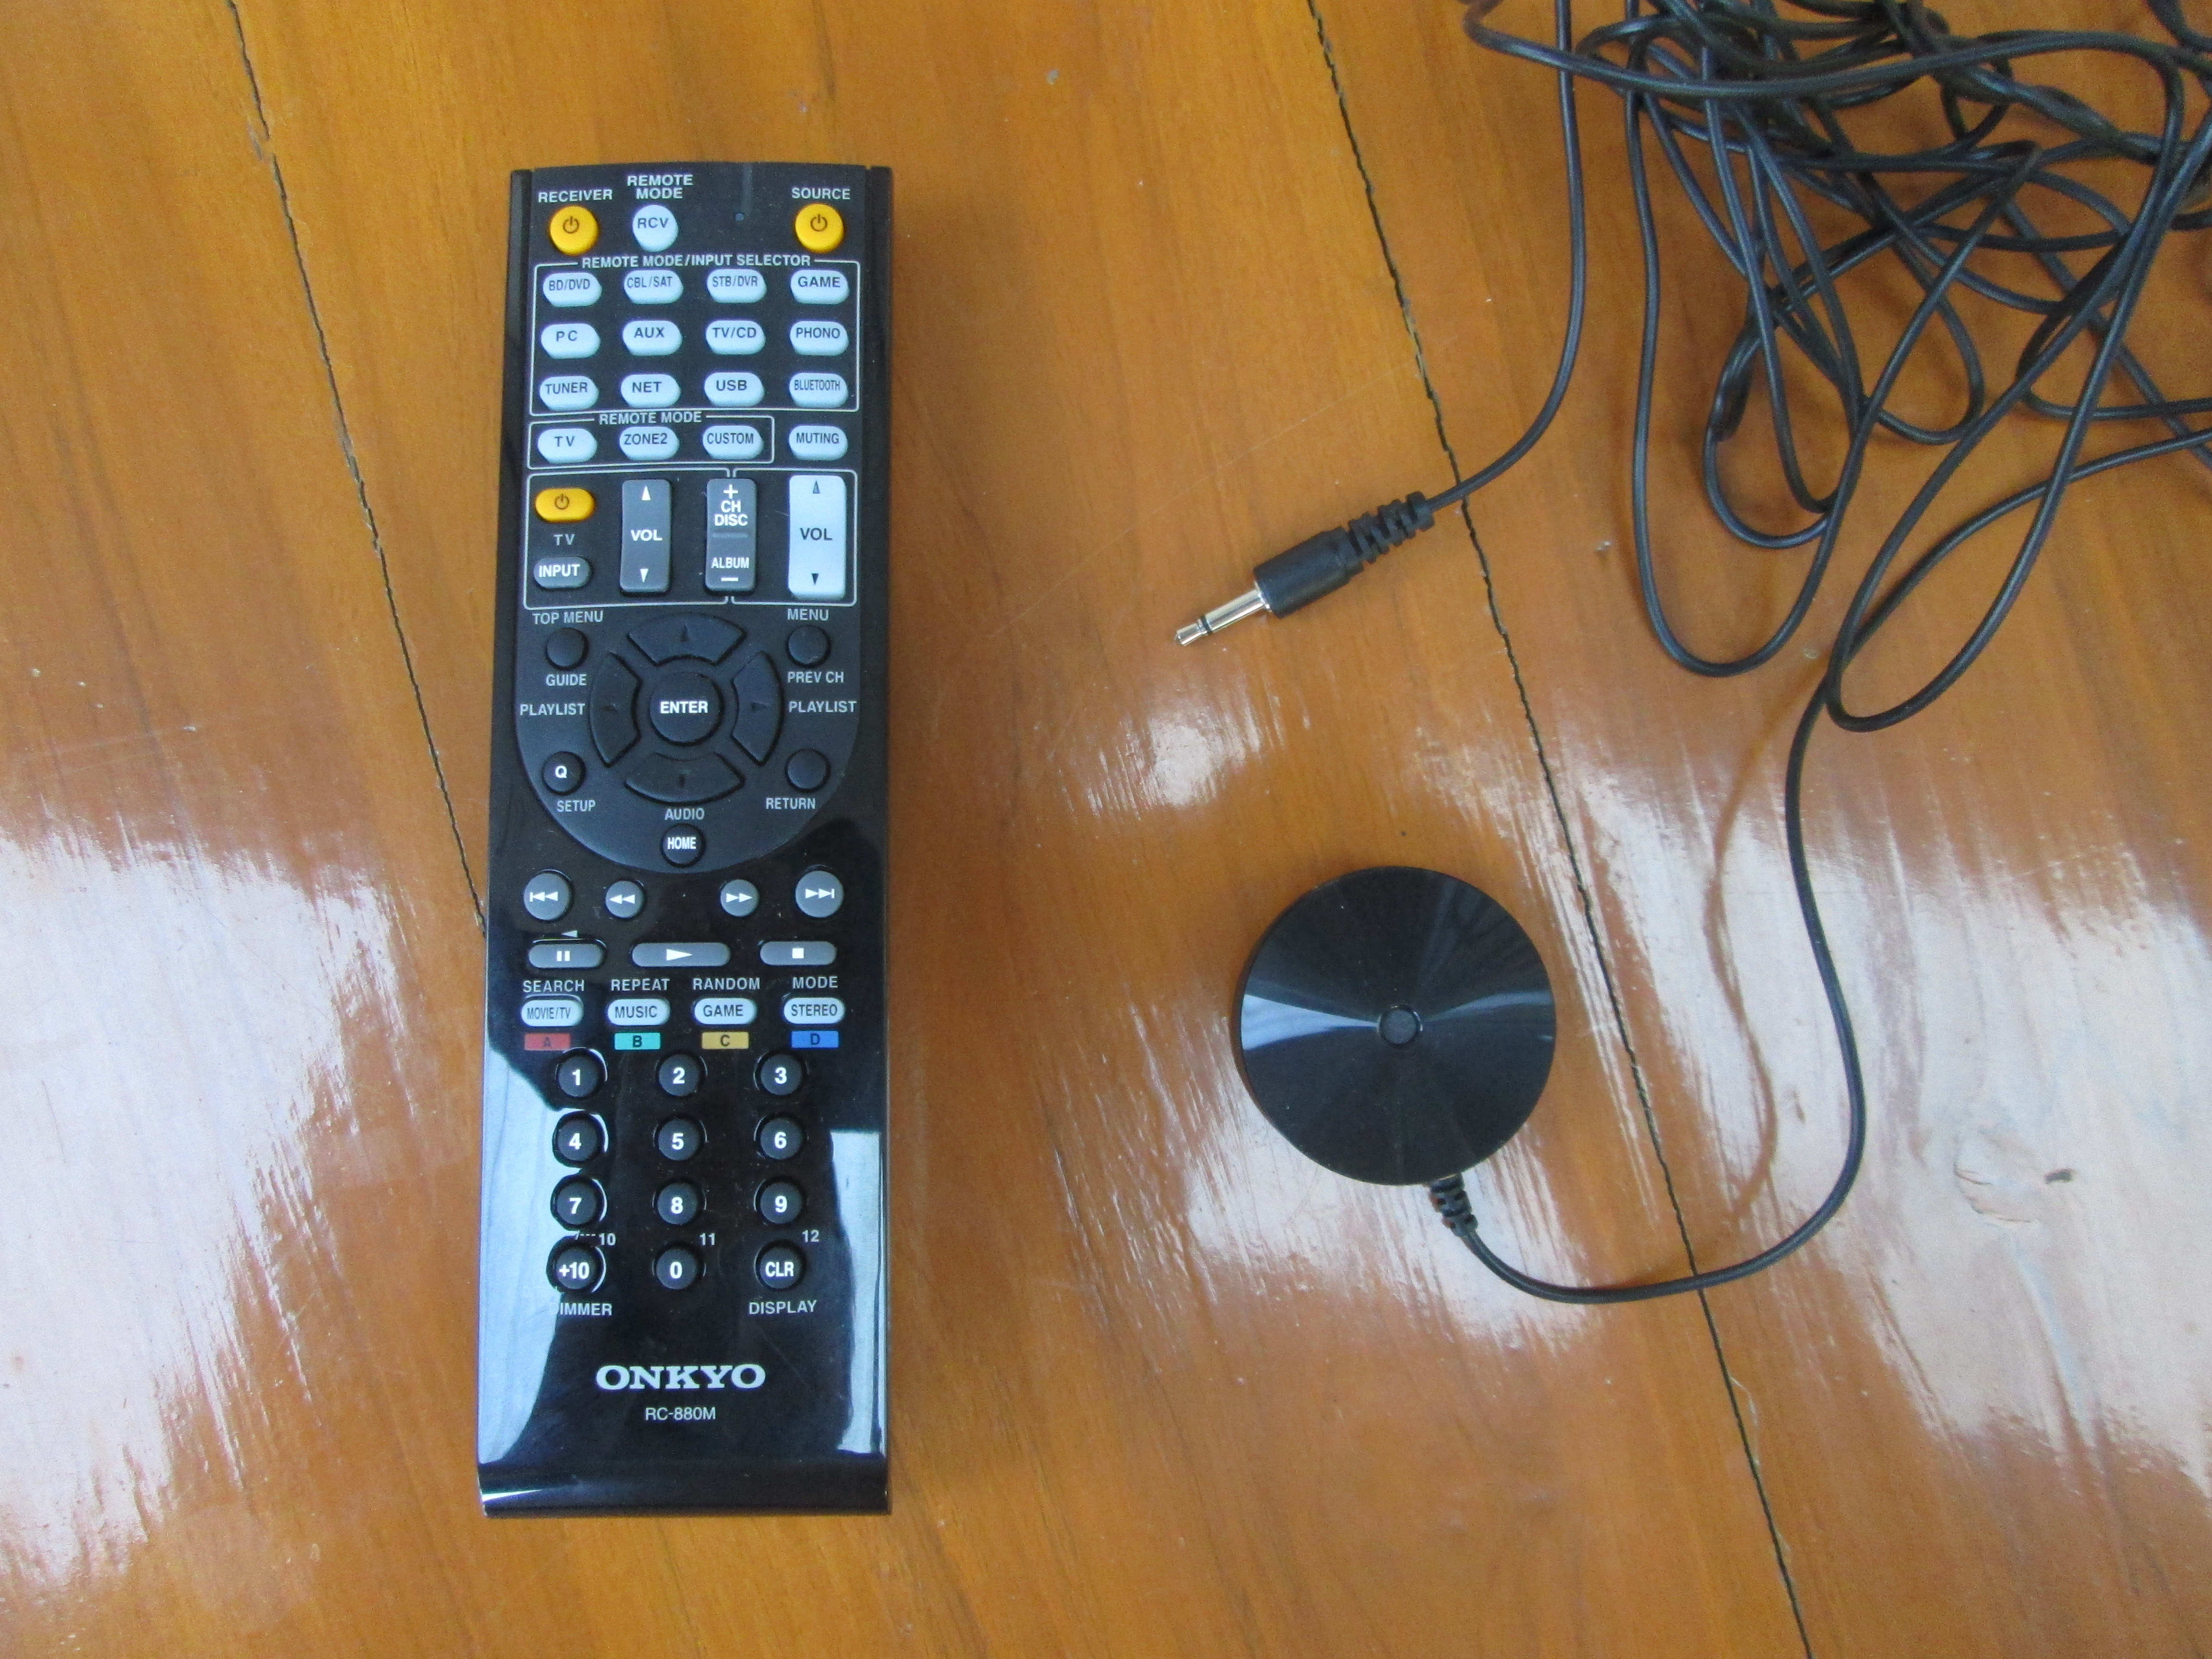
Even If your other device do not support HDMI-CEC, the included IR remote control (Onkyo RC-880M) allows you to control multiple devices, as it features an IR learning function for the source (e.g. media player, BD/DVD player, etc..) and TV.
Pioneer S-11 Speaker Set
if you’ve spent a fair amount of money on a 7.2 channel AV receiver, normally you’ll want to buy 7.1 or 7.2 speaker set, and possibly two extra speakers for Zone 2 (Another room). A good set of speaker will easily cost as much as the AV receiver itself. Since I just need to use the AV receiver for testing, and I had a limited budget, and limited space in my office, I looked for a cheap 5.1 speaker set with small speakers. The most important metric is the impedance of the speakers, as if the impedance is too low, you may fry your receiver. Onkyo TX-NR636 supports 6Ω to 16Ω, and the model outside the US and Taiwan also supports 4Ω, and this just needs to be configured in the setup. Another important value is the speaker power, but after reading several forum posts and articles, it’s not really critical, unless you plan to crank the volume to the maximum, where you may potentially fry your speakers, but you’ll likely to hear some audio saturation before damage is done to the speakers (TBC). I’ve set the volume to 65 (out of 100), and it was already really loud, anything higher might start to feel uncomfortable in my small room. For reference, the maximum effective output power is 175 W at 6 ohms, so to be on the safe side, you may want speakers matching or exceeding this value, but I finally went for 150W speakers myself and they are working just fine.
Monoprice 108247 5.1 speaker set would have matched my price and size requirement (Output power is just 120W however) as it sells for just under $100. However, this model is not available in Thailand, and the cheapest options were Denon SYS 5.1 for 6,900 Baht ($211 US), or Pioneer S-11 + S-21W subwoofer set (Aka S-HS100) for 6500 Baht ($200 US), so finally I just bought Pioneer S-11 speaker set without S-21W subwoofer for 2,500 Baht (~$76 US) online.
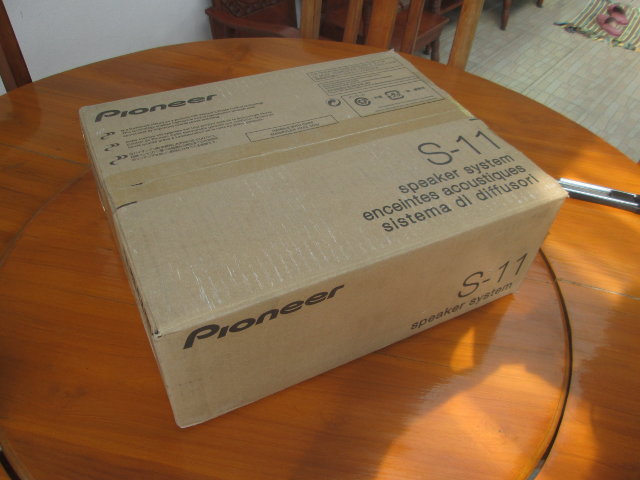 There’s one useful information on the package: “The Operating Guide is Packed in S-21W”. So I went to download the guide.
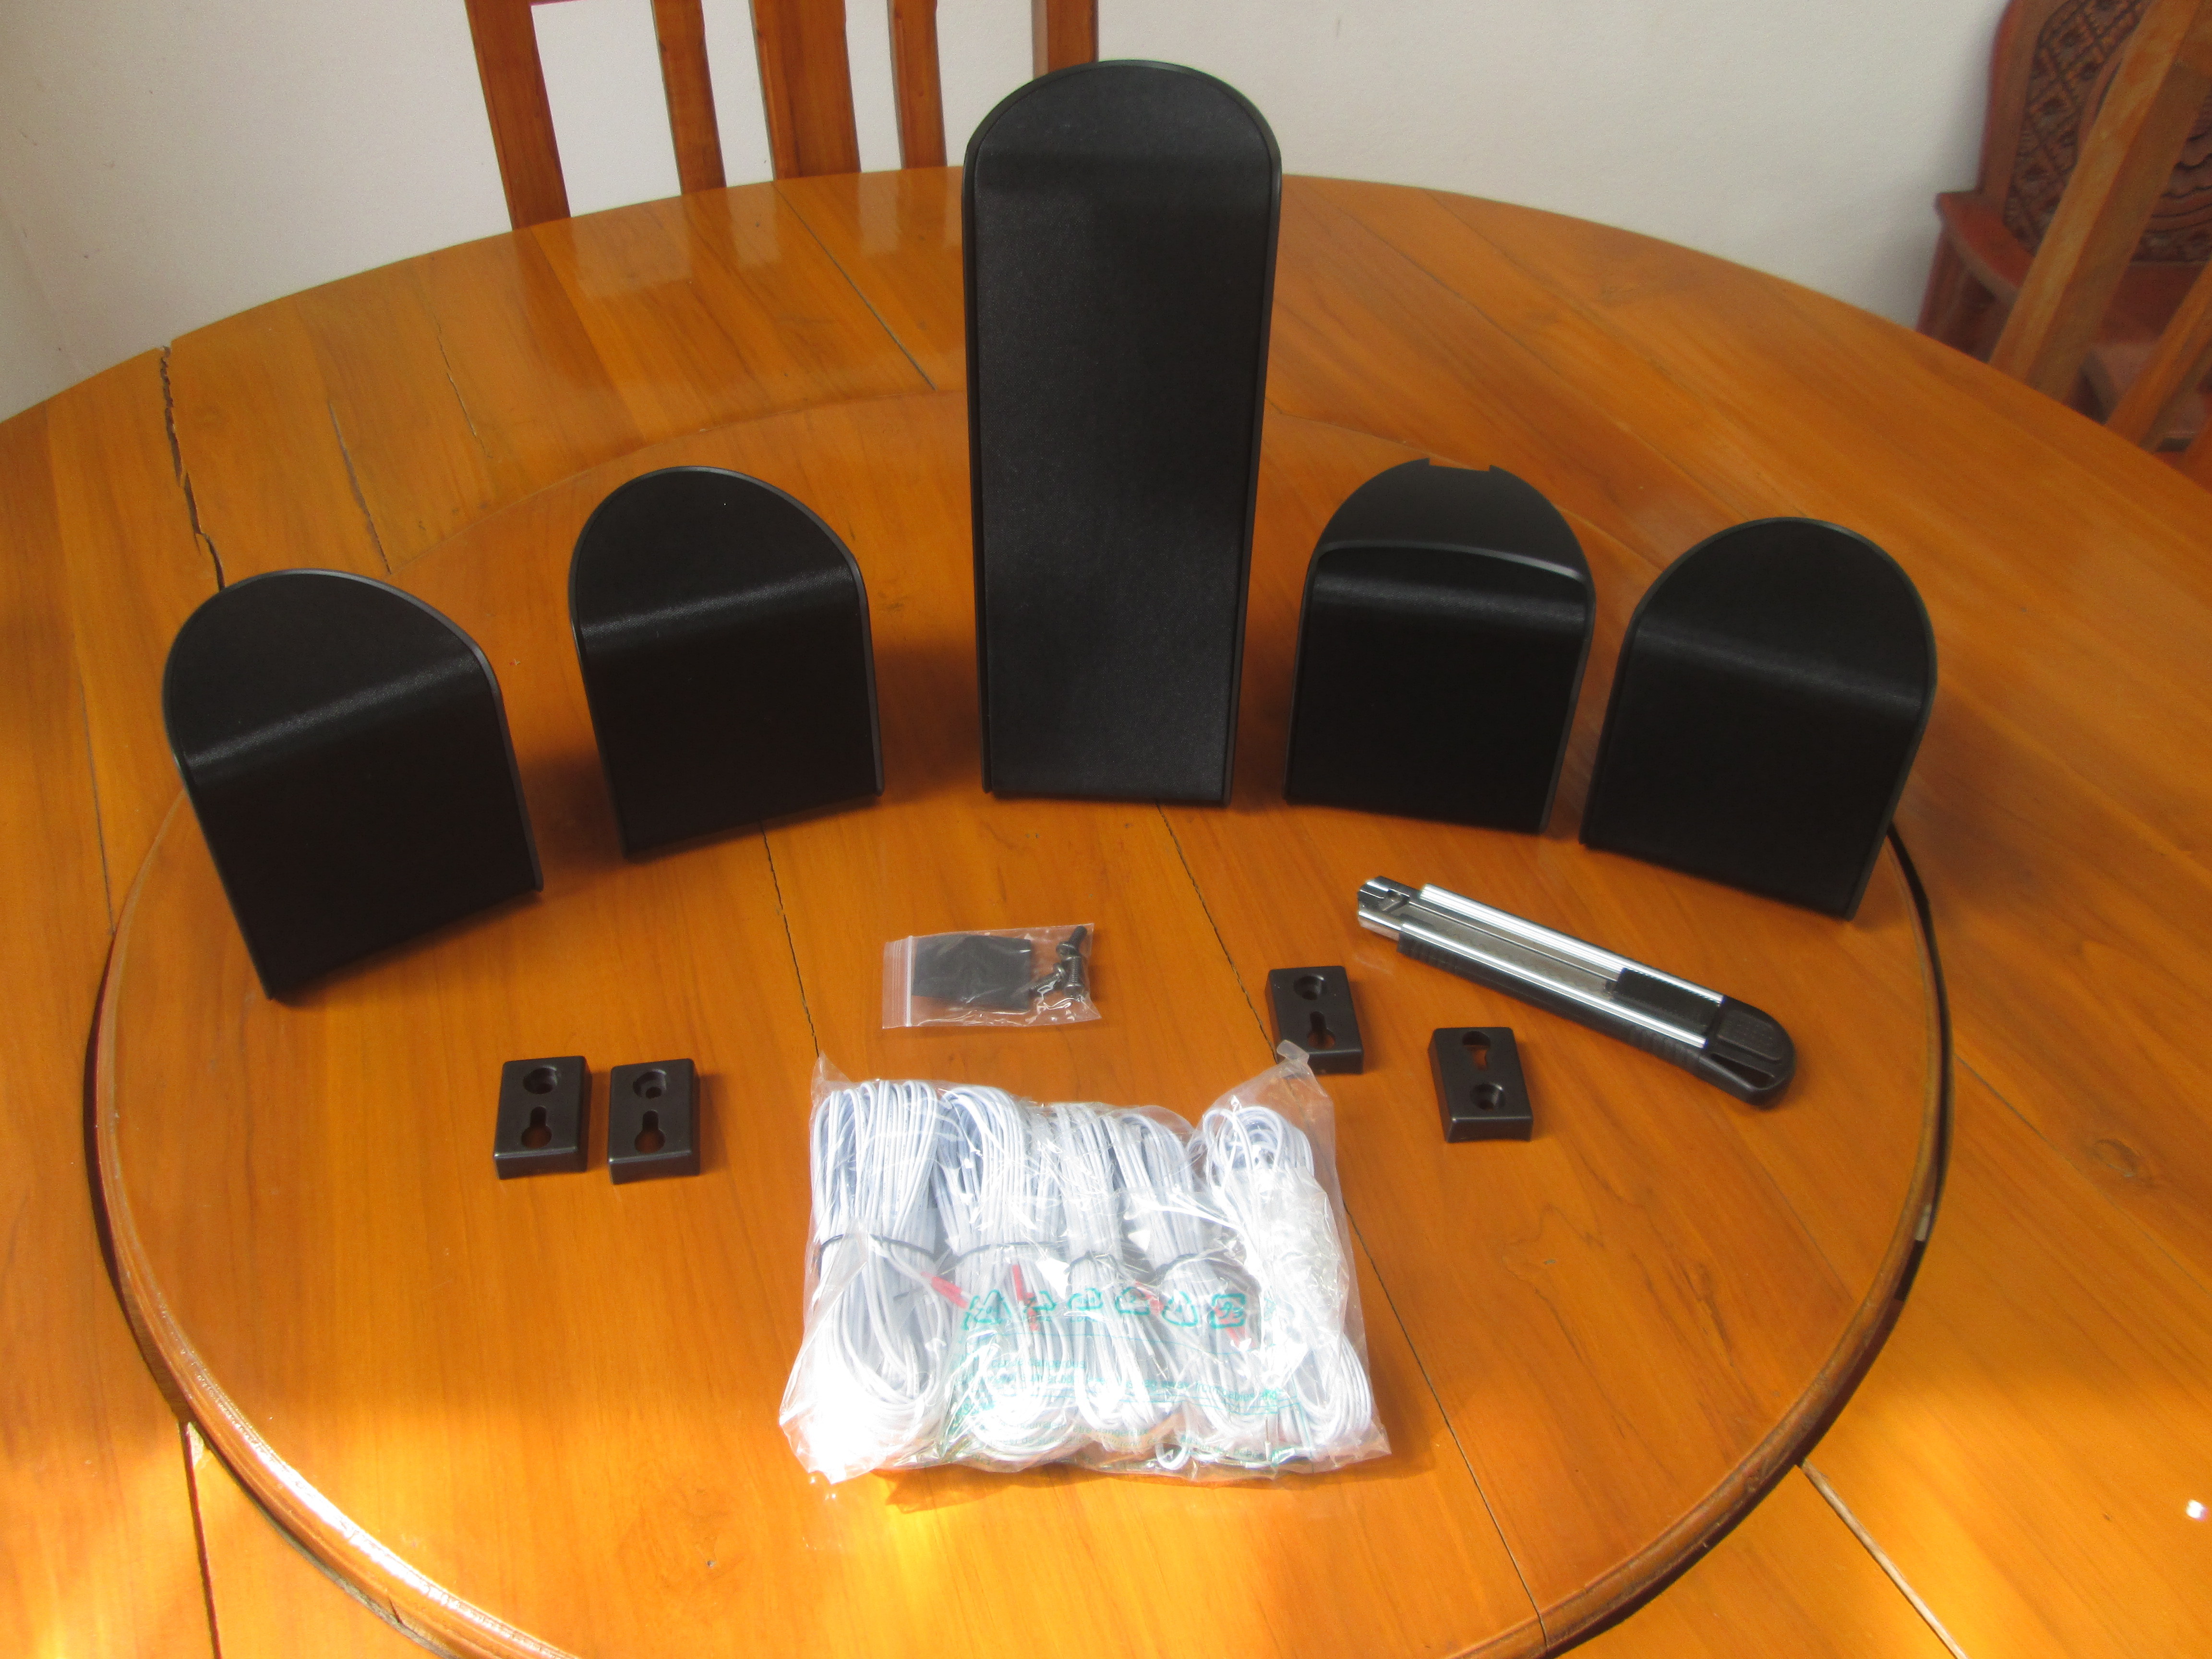 The set is comprised of two surround speakers, a front left speaker, a front right speaker, an a center speaker (That’s supposed to be placed horizontally under the TV), four holders and corresponding screws for the four small speakers, and 5 cables: 3x 4-meter cables for the L/R and center speakers, and 2x 10-meter cables for the surround speakers.
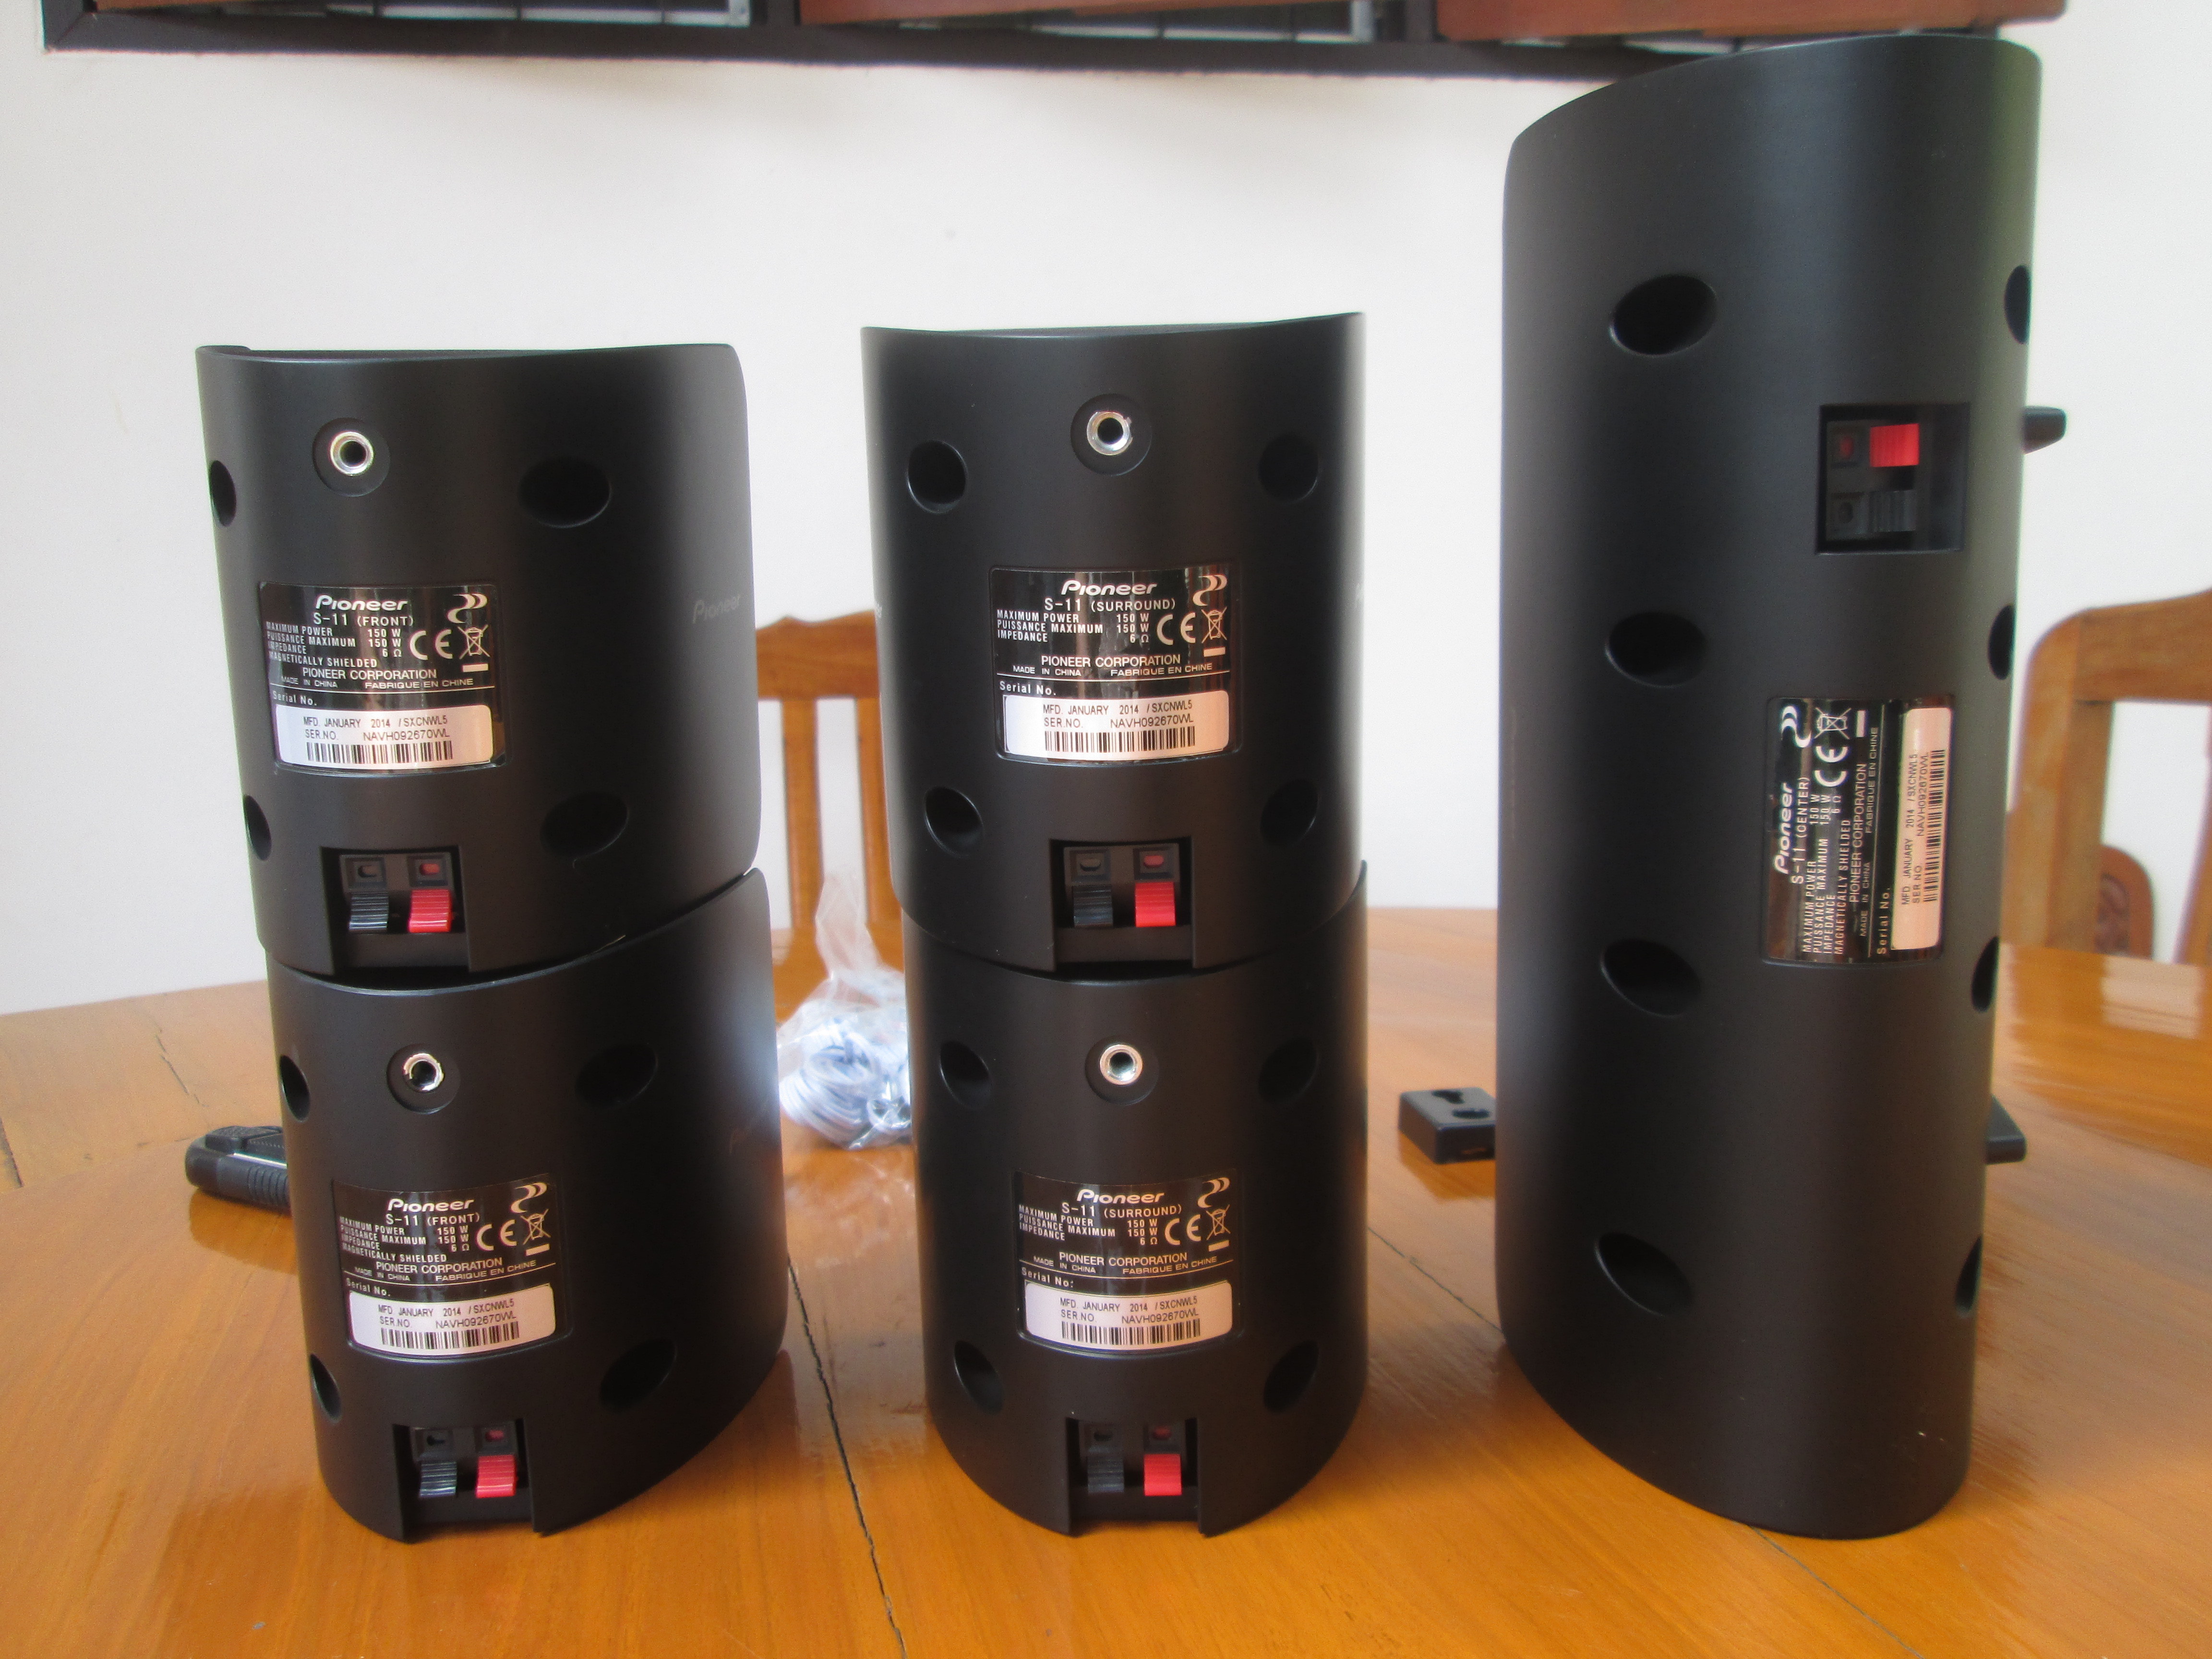
The speakers have a 6 Ohm impedance ad 150W maximal power. The small speakers also have the screw thread to attach the holders.
Onkyo TX-NR636 AV Receiver Setup
So now that we’ve got all we need, it’s time to connected everything, and one page of the basic manual explains all you need to know to connect the speakers depending on your configuration.
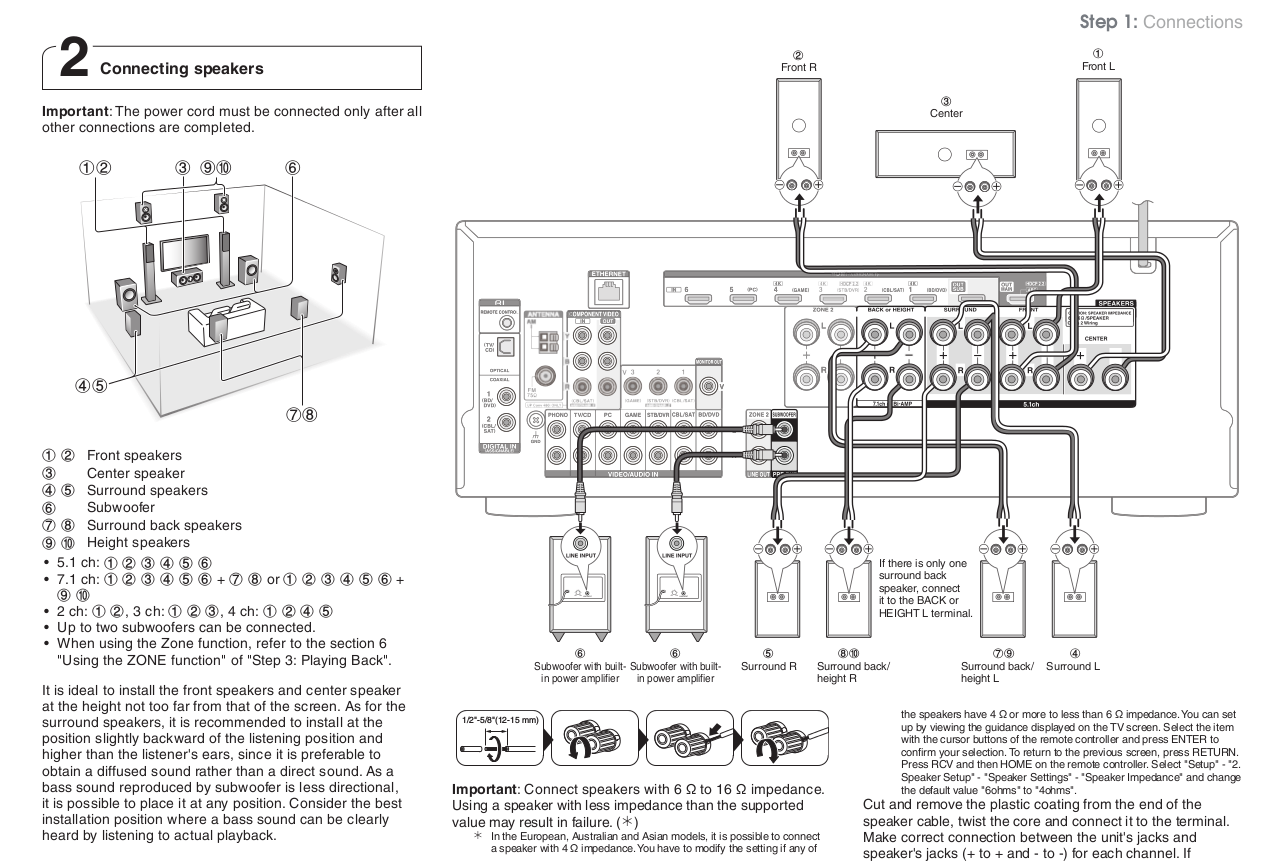
Supported setups include:
- 5.1 channels – L/R front speakers on each side of the TV, center speaker right under the TV, two surround speakers on each side of listener, and a subwoofer pretty much anywhere you like.
- 7.1 channels – Same as 5.1 channels plus two extra surround speakers either on the back of the listener, or above the L/R front speakers
- 2.0 channels – L/R front speakers only
- 3.0 channels – L/R front speakers, and center speaker
- 4.0 channels – L/R front speakers, and two surround speakers on the sides.
7.1 and 5.1 setups can become 7.2 and 5.2 setups with an extra subwoofer. For some reasons, they did not mention any 5.0 configuration, without subwoofer. Optionally,. you can also add 2 “Zone 2” speakers if you want audio (e.g. listen music) in another room.
So I went with ahead with the 4.0 channels option, but the process is basically the same irregardless of the number of speakers.
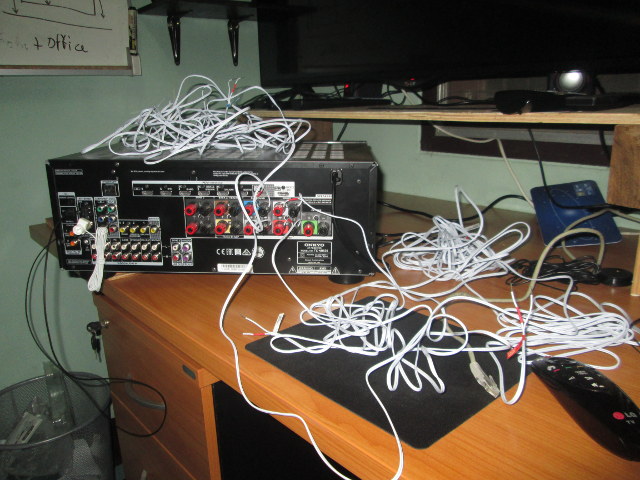 You want to insert the wire with the red sticker into the red connector, and the other part of the wire into the black connector. It’s quite a cable mess during installation, even with just 4 speakers. I strongly recommend using the color labels provided with the receiver to make sure you connect each cable to the right speaker.
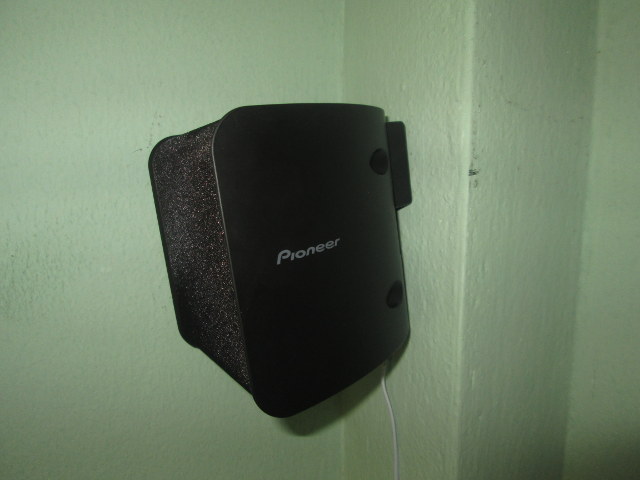
I’ve also wall-mounted the four speakers in the corners of my office. I drilled holes, added plastic wall plugs, and tighten a the four screws to the wall, and the same height of the top of the TV, as recommended. Then you need to connect the cable to the speakers, mount the holder on the speakers, before sliding the speakers on the screws. Now connect and HDMI cable to your TV, and one or more HDMI cable to your video / audio devices such as computer, media player, Blu-ray player, set-top box, and so on. You can also want to connect the radio antennas if you plan to listen to TV, and an optical S/PDIF cable if you need it.
Now power on the device, and it should enter into the “AccuEQ Room Calibration” setup.
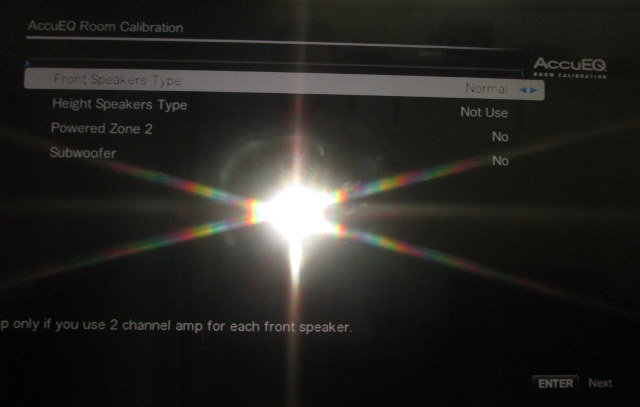 You be able to select your front speakers type, whether you have a subwoofer, and connected Zone 2 and/or Height speakers. Press Enter, and the system will ask you to connect the speaker setup microphone on the front panel. Once this is done place the microphone where you normally sit, and at ear level. I’ve read you are not supposed to hold it with your hands.
Press enter again, keep quiet, and the system will automatically adjust the audio settings by emitting noise (sounds like untuned radio) in each speakers. and repeat the process twice. Once this is done, your AV receiver is configured.
HDMI audio pass-through in OpenELEC / Kodi
You still have to configure your media device if you want to use pass-through instead of just listening to stereo audio. Each device is different, but here I’ve initially decided to give it a try with my PC with AMD Radeon HD5450 GPU using Kodi in Ubuntu 14.10. It turns out it’s not so simple, as in Linux you have two audio options:
- PulseAudio – Kodi can be used with other applications using audio, but TrueHD and DTS-HD are not supported, only Dolby Digital.
- ALSA – All audio formats are supported, but only one application (e.g. Kodi) can use audio at any time.
So at first I tried it out with PulseAudio playing a video with Dolby Digital 5.1 (AC3), and I installed pavucontrol, and followed the instructions for PulseAudio, but my computer would just act crazy, switching between 480i and 1080p every few seconds, and spewing messages in the kernel log, when HDMI pass-through is enabled. Maybe that’s an issue with my GPU drivers installation (Catalyst won’t start). Since I had to test DTS-HD and TrueHD anyway, and did not want to mess around with my PC audio settings, I decided to go with OpenELEC.
There are currently two images for x86_64: OpenELEC-Generic.x86_64-5.0.1.tar OpenELEC-Generic.x86_64-5.0.1-efi.img.gz. I got a little confused at first, as I could not find a definitive explanation for the two files. The first is an installer image only, and the documentation does that the installer is a little buggy, and you should remove all other drive before installing, or you may lose data, The second image is both a Live image and an installer, so I went with the latter. Installation to a USB flash drive is very easy, just use dd or Win32DiskImage on the main device (e.g. /dev/sdd), and not a partition (e.g. /dev/sdd1), or you may get the message “Missing OS” will trying to boot, at least that was my experience. Enter your BIOS, and select the USB flash drive as primary boot device.
OpenELEC is already configured with ALSA audio, so configuration is very easy. Simply go to System->Settings in Kodi, and select “Advanced” for the Settings Level, and select Audio output.
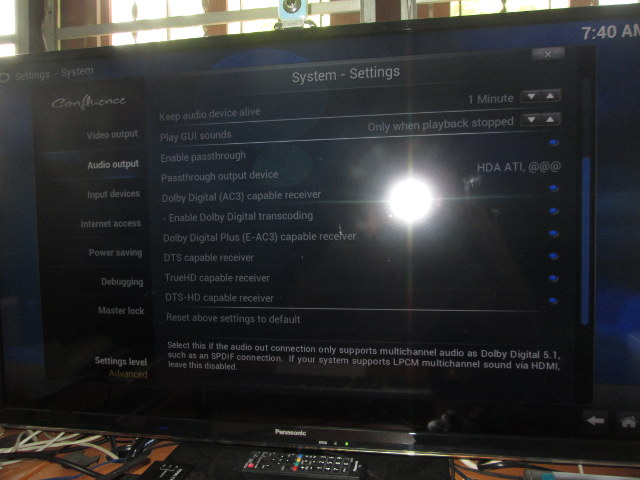
Now select the Audio output device. HDMI audio is strangely called “HDA ATI, @@@” on my PC. The other settings are shown in the picture above. After enabling passthrough, select the same audio device for Passthrough output device, and enable the audio codecs supported by your AV receiver. In my case I enabled, AC3, E-AC3, DTS, TrueHD, and DTS HD.
Audio Codec Testing
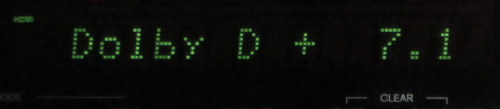
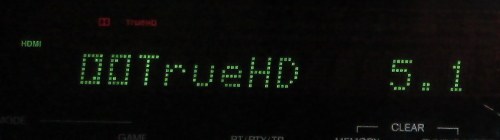
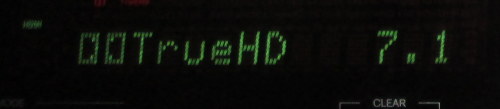
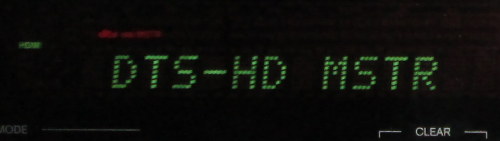
I played my usual list of video samples with Dolby / DTS audio codecs. I set the Onkyo receiver setting with the remote control pressing to Movie/TV button to select the listening mode to “Direct” in order to play audio as it is. For each file, I press the CLR/Display button on the bottom right of the remote to show the signal format.
That’s what I saw on the LCD display for each video:
- ac3-sound-sample.vob – Dolby Digital 5.1 / AC3

- hd_dolby_digital_plus_lossless_Dolby_Digital+_7.1.m2ts – Dolby Digital Plus 7.1
- hd_dolby_countdown_v1_lossless_Dolby_TrueHD_5.1.m2ts – TrueHD 5.1
- hd_dolby_bit_harvest_lossless_Dolby_TrueHD_7.1.m2ts – TrueHD 7.1
- hd_dts_animated_logo_lossless_DTS-HD_MA_7.1.m2ts – DTS-HD Master
- hd_dts_orchestra_short_lossless_DTS-HD_HR 7.1.m2ts – DTS-HD High Resolution
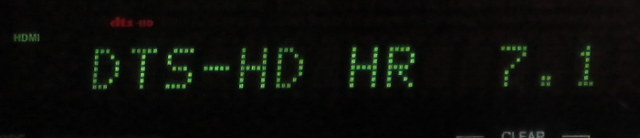
All good! That means everything is working fine, and I can soon test Android, Linux and Windows 8.1 mini PCs with HDMI pass-through to see how they perform. I’ve also tried to use an optical S/PDIF cable I bought for $1, and connected it to the S/PDIF input on my motherboard (not GPU). However, even after selecting an SPDIF video output in OpenELEC, and selecting TV/CD input on the AV receiver, I did not get any audio. If I keep using the HDMI input I still get audio via HDMI. It’s something I’ll have to check-out a little later.

Jean-Luc started CNX Software in 2010 as a part-time endeavor, before quitting his job as a software engineering manager, and starting to write daily news, and reviews full time later in 2011.
Support CNX Software! Donate via cryptocurrencies, become a Patron on Patreon, or purchase goods on Amazon or Aliexpress


