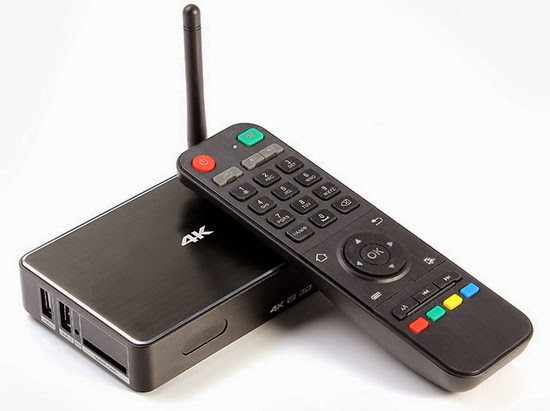
Android TV boxes based on Realtek RTD1195 SoC are cheap (about $60), with a relatively slow dual core Cortex A7 processor, but include fast interfaces such as USB 3.0, Gigabit Ethernet, and sometimes SATA, and are said to be very good at playing videos. After several months of development since they’ve first been spotted, RTD1195 media player are finally shipping. One of the models is M-195, which had its firmware recently released, and can be downloaded from copy.com, filefactory, mediafire, or solidfiles servers.

This firmware is based on Android KitKat 4.4.2, with build number rtk-phonenix-eng 4.4 krt160 eng.ton.20141024.094201. Firmware update is pretty easy, and is operating system agnostic, since all you need to do is to basically copy the firmware file to a USB flash drive. A PC is not even necessary, as you can download the file and extract it directly from the mini PC itself. The same procedure should work with all RTD1195 media players.
- Extract M-195 RTD 1195 TV BOX STOCK FIRMWARE install-177490_20141024.rar, and copy install.img to the root of a USB flash drive.
- Turn off the TV Box, and connect the USB flash drive to the device
- Press the reset button with a toothpick or other sharp object, and turn on the device. Keep pressing the reset button for about 5 seconds.
- The firmware update progress will be shown on TV and last for about 3 minutes
- Once the firmware update is complete, the device will reboot automatically, starting the newly installed firmware.
In case something goes wrong, for example a power failure, and your device appears to be bricked, you can extract some files from image.img and copy them to the USB flash drive. The method below is from a terminal in Linux, but you could also use graphical tools in Linux (Archive Mounter) or Windows (Winrar):
|
1 2 3 |
mkdir firmware cd firmware tar xvf ../install.img |
then copy three files located in packages5 directory namely “rescue.emmc.dtb”, “emmc.uImage”, “rescue.root.emmc.cpio.gz_pad.img” to the USB flash drive, and repeat steps 2 to 5 above to complete the update. The only difference is that nothing will be shown on the screen (Step 4) during the recovery method.

Jean-Luc started CNX Software in 2010 as a part-time endeavor, before quitting his job as a software engineering manager, and starting to write daily news, and reviews full time later in 2011.
Support CNX Software! Donate via cryptocurrencies, become a Patron on Patreon, or purchase goods on Amazon or Aliexpress


