Freescale SABRE Lite is a development board powered by i.MX6 Quad processor with 1GB RAM, SATA, GbE Ethernet, and more. You can get SABRE Lite specifications in my first post about the board. I recently participated in Element14’s “brainteaser” competition for the 4th birthday of their community, where the company offered 9 SABRE Lite development kit to randomly selected participants, and I got lucky. The board can be purchased for $179 from Element14 (MCIMX6Q-SL).
I’ll start by showing what in the package, followed by a side-by-side comparison with Wandboard Quad, and show how to getting started by following the Quick Start Guide provided with the board.
SABRE Lite i.MX6 Development Kit Unboxing
I received the board about 5 days after I provided my address in a large staple carton box with a few goodies.
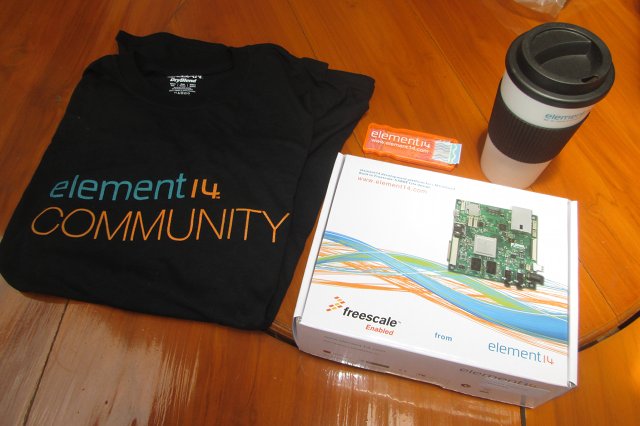
Beside SABRE Lite devkit, the package comes with Element14’s T-Shirt (not my size), double walled tumbler, and plasters, probably in case I get hurt handling the board… You’d have to assume they don’t send these with all orders… 🙂
Let’s see what’s we’ve got in the kit.
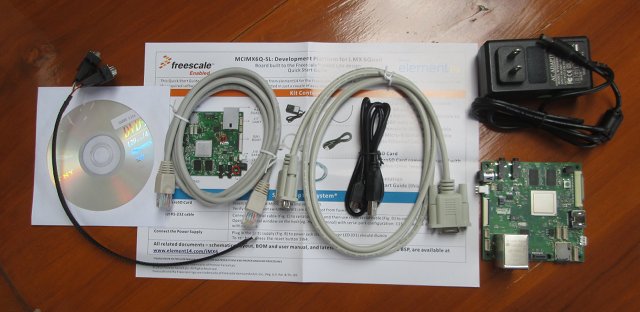
From top left to bottom right:
- Custom serial cable: 6-pin female to dual DB9 male connectors
- Sabre Lite DVD with documentation, hardware design files, as well as binaries, tools, and source code for Android and Linux
- Quick Start Guide
- Cross Ethernet cable
- DB9 female to DB9 female serial cable
- Micro USB to USB cable
- 5V/4A power supply
- SABRE Lite i.MX6 Quad board
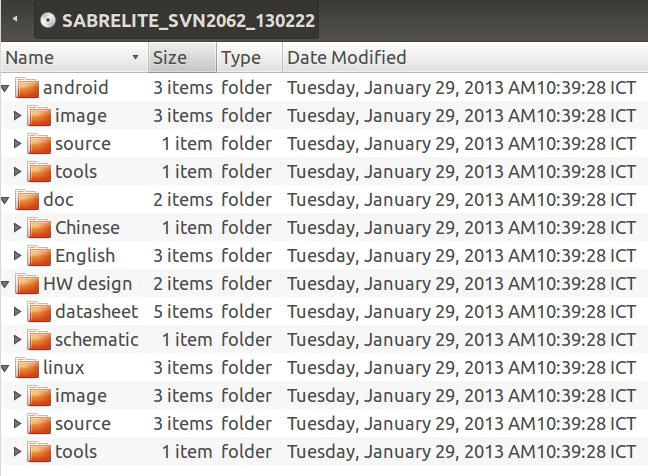
I’ve taken a screenshot of the DVD directory structure if you are interested, but you may want to download those from http://www.element14.com/iMX6 instead, to make sure you’ve got the very last version.
Let’s have a closer look at the board itself.
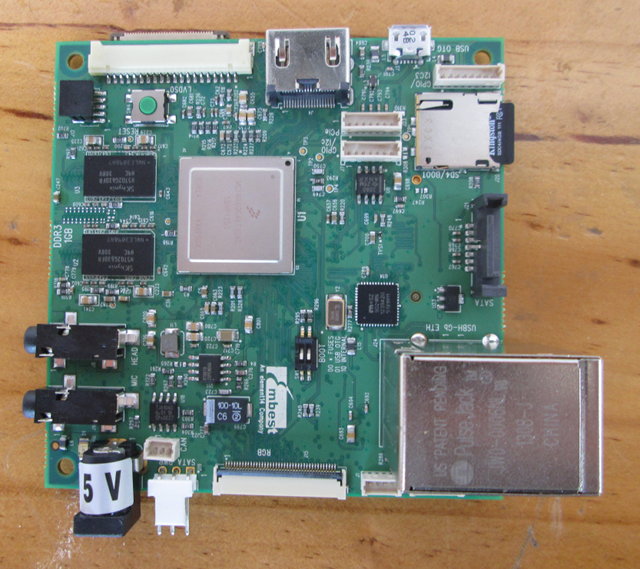
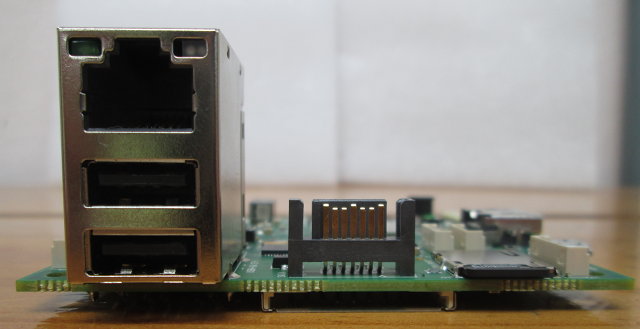
At the top we’ve got Freescale i.MX 6Quad SoC, 2 Hynix RAM chips, HDMI output, 3 USB port, and Gigabit Ethernet port, headphone and microphone jacks, as well as several connectors: J19 and J21 for SATA, J14 and J7 for GPIOs, J23 for PCIe, J17 for UART, a CAN interface, a JTAG connector, as well as LVDS (J6) and RGB (J15) connectors.
The microSD card slot is populated with a 4GB micro SD card (included with kit) pre-loaded with TimeSys Linux. SW1 switch, close the EMBEST white marking, allows you load U-Boot from NOR-SPI or USB OTG. It also allows you to enter serial download mode for the MFG Tool.
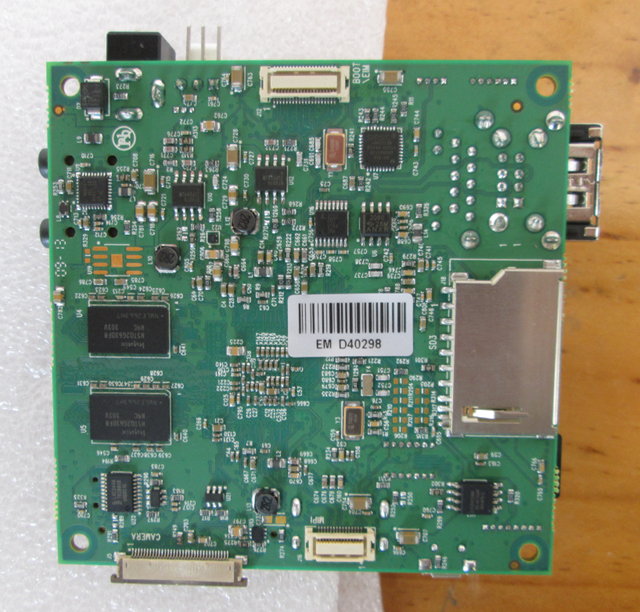
At the bottom of the board, we’ve got 2 more Hynix RAM chips, an SD card slot, as well as MIPI, Camera, and a Boot Configuration (J12) connector. I’m not exactly sure what the latter is for, and I could not find any useful information.
Freescale SABRE Lite vs Wandboard Quad
AFAIK, there are now four low cost Freescale i.MX6 Quad boards available or soon-to-be available:
- Freescale SABRE Lite by EMBest/Element14 and Boundary Devices) – $179
- Boundary Devices Nitrogen6X – $199
- Wandboard Quad – $129
- UDOO Quad – $129 (kickstarter)
Nitrogen6X is very similar, and even (mostly) software compatible, to the SABRE Lite board, but the connectors are placed along one edge of the board, which makes it more appropriate for casings and it may be used in production, whereas SABRE Lite is reserved for development only. UDOO Quad with i.MX6 and an Atmel MCU is a very interesting board, but since it’s not available just yet, I’ll focus the comparison between Wandboard Quad and SABRE Lite.
| SABRE Lite | Wandboard Quad | |
| SoC | Freescale I.MX 6Quad | Freescale I.MX 6Quad |
| RAM | 1GB DDR3 | 2GB DDR3 |
| Internal Storage | 2MB SPI NOR Flash | N/A |
| Storage Options | SATA Micro SD slot SD slot |
SATA 2x micro SD slot |
| Ethernet | 1Gb Ethernet | 1Gb Ethernet |
| Wi-Fi | No (Via USB Dongle) | Integrated |
| Bluetooth | No (Via USB Dongle) | Integrated |
| USB | 2x USB 2.0 Host 1x micro USB OTG |
1x USB 2.0 1x micro USB OTG |
| Video Out | HDMI LVDS RGB |
HDMI LVDS RGB |
| Audio Ports | Mic In Headphone Jack |
S/PDIF Mic In Line In Line Out |
| Debugging | Serial JTAG |
Serial JTAG (on EDM module, connector not soldered) |
| Camera Interface | CSI-2 Parallel |
CSI-2 |
| RTC | Yes | Yes |
| CAN | Yes | No (might be accessible by locating CAN test pads on the EDM module) |
| PCIe | Yes | No (might be accessible by locating PCI-e test pads on EDM module) |
| Heatsink | No | Yes |
| Enclosure | Not available | Available |
| Accessories Included | 5V/4A Power Supply (WT0504000) Custom Serial Cable DB9 Serial Cable Micro USB to USB cable Cross Ethernet cable DVD for doc and software 4GB micro SD |
Wi-Fi antenna |
| Operating Systems | Android 4.0.4 and Jelly Bean Ubuntu 11.10 TimeSys Linux Yocto BSP Windows Embedded Compact 7 |
Android 4.2.2 Ubuntu 11.10 and 12.04 Yocto BSP (soon) |
| Dimensions | 89 x 89 mm | 95×95 mm |
| Price | $179 | $129 |
The Wandboard Quad is cheaper, comes with 2GB RAM, built-in Wi-Fi and Bluetooth, S/PDIF optical output, an extra Line In interface, and an enclosure is available for purchase. On the other SABRE Lite features a 2MB NOR flash, one extra USB port, connectors for LVDS and RGB video output, a JTAG interface, a parallel interface, a CAN interface and necessary cables and accessories to get started. When you consider all accessories that come with SABRE Lite, the $50 price difference with the Wandboard Quad does not look that much anymore.
On the software side, Element14 SABRE Lite focuses on TimeSys LinuxLink (the board might be sponsored by them, as it costs $199 from other vendors), but it can also support Android 4.0.4 and Ubuntu 11.10. Wanboard Quad also supports Android and Ubuntu (newer versions, but beta), however since the board is newer, support may not be as good (TBC). SABRE Lite is already supported by Freescale Yocto BSP, and Wandboard Quad not yet, but since Wandboard Dual/Solo are already supported, I’m pretty sure Wandboard Quad will soon be. Boundary Devices has also posted several tutorials for the SABRE Lite and Nitrogen6X boards on their blog.
So if you want an ARM Linux or Android platform for an application where you just need to connect a USB keyboard and mouse, and an HDMI monitor, Wandboard should be better, but if you need to develop software to interface with external hardware such as an LVDS display or a MIPI camera (e.g. e-CAM50IMX6), SABRE Lite is the way to go.
SABRE Lite Quick Start Guide
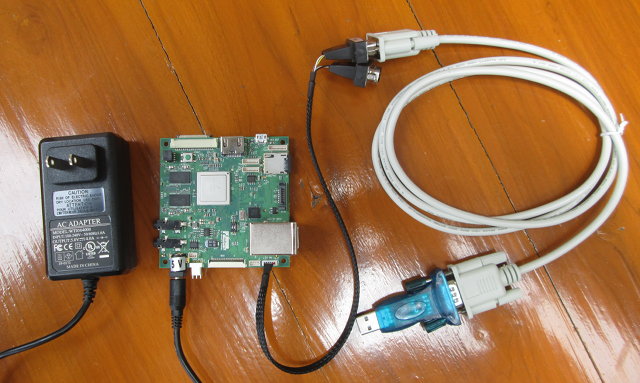
The first boot with SABRE Lite is very easy. No need to prepare anything, it’s basically plug and plug play, as it comes with a 4GB micro SD card pre-loaded with (TimeSys) Linux. Just connect the custom serial cable to J17, and use the cross serial cable to connect directly to your computer or via a USB to Serial adapter if your computer does not provide a COM port. I bought the one below (Blue) from DealExtreme for $3.77.
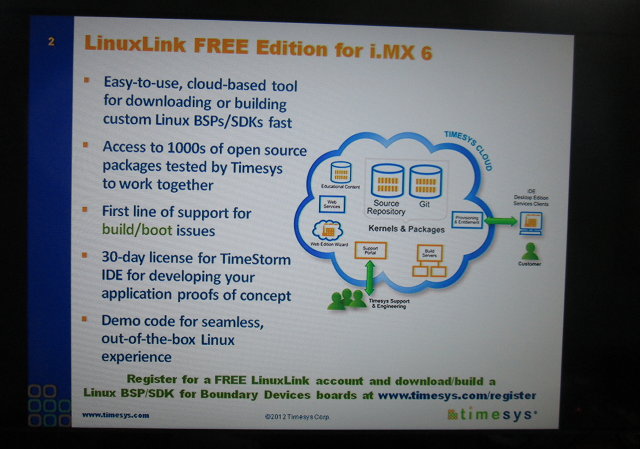
Finally connect the power supply, and the board boots in about a minute (See boot log). I wanted to check the desktop environment used, if any, so I connected an HDMI cable, and to my surprise this is what I saw.
I could see 4 slides looping all the time, as it was just a continuous advertisement. After plugging a USB keyboard and mouse (the latter was never recognized), I could actually it was a demo program with access to 3D demos, Qt vector deformation and path stroking demo, and a “movie theater multimedia demo”. As shown in the picture above, you can try to build your own BSP/SDK with TimeSys. But if you prefer using other solutions, you can always build your own distro with Freescale i.MX6 Yocto BSP, or install an Ubuntu or Android image for the board.

Jean-Luc started CNX Software in 2010 as a part-time endeavor, before quitting his job as a software engineering manager, and starting to write daily news, and reviews full time later in 2011.
Support CNX Software! Donate via cryptocurrencies, become a Patron on Patreon, or purchase goods on Amazon or Aliexpress


