Yocto is an embedded Linux build system used to create a Linux distribution for a specific application/board combination. I’ll describe 2 methods to get started:
- Building and running a qemu image for x86 from scratch
- Using pre-built binaries to run the x86 image in qemu
This is a shorter version of the longish Yocto Project’s Quick Start Guide. The official guide is more complete (explains all details) and give instructions for several distributions, whereas this guide simply lists each step and is focused on Ubuntu. So you could use this guide to start the build, and during the build (which will last a while), read the official guide to actually understand how it all works.

Prerequisites
First, you need to use bash instead of dash in Ubuntu:
|
1 |
sudo dpkg-reconfigure dash |
and select “No” to use bash.
Then install the required packages with apt-get:
|
1 2 3 4 5 |
sudo apt-get install sed wget cvs subversion git-core coreutils \ unzip texi2html texinfo libsdl1.2-dev docbook-utils gawk \ python-pysqlite2 diffstat help2man make gcc build-essential \ g++ desktop-file-utils chrpath libgl1-mesa-dev libglu1-mesa-dev \ mercurial autoconf automake groff libtool xterm |
Building and running a qemu image for x86 from scratch
Download and extract the latest version of Yocto:
|
1 2 |
wget http://downloads.yoctoproject.org/releases/yocto/yocto-1.1/poky-edison-6.0.tar.bz2 tar xjf poky-edison-6.0.tar.bz2 |
Setup the environment to build the binary images with Yocto:
|
1 2 3 4 5 6 7 8 9 10 11 12 |
#source poky-edison-6.0/oe-init-build-env edison-6.0-build ### Shell environment set up for builds. ### You can now run 'bitbake <target>' Common targets are: core-image-minimal core-image-sato meta-toolchain meta-toolchain-sdk adt-installer meta-ide-support |
If you are short in disk space (The build requires up to 50GB), add the following line to edison-6.0-build/conf/local.conf:
|
1 |
INHERIT += rm_work |
If you have a multi-core build machine, also set BB_NUMBER_THREADS and PARALLEL in local.conf, respectively to twice and 1.5 times the number of cores in order to speed up compilation.
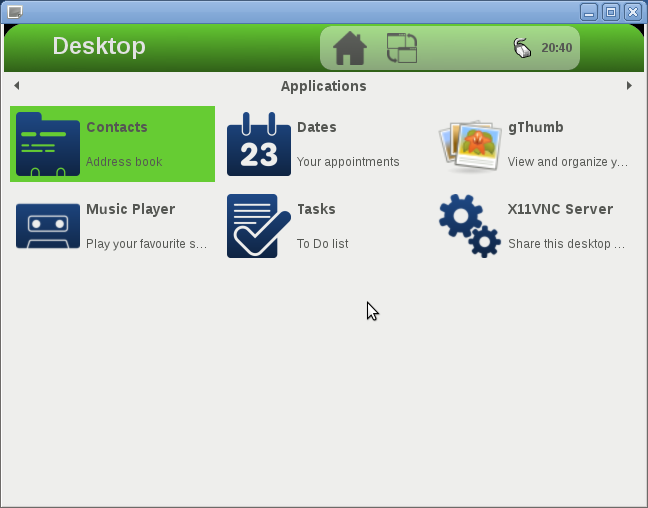
You can then start building the OS binaries for sato, a GNOME mobile-based UI:
|
1 |
bitbake -k core-image-sato |
core-image-sato build requires 45 GB to build. If your space is limited you could build core-image-mininal (17GB required) which is a distribution with command line only.
The build can take a very long time. I’ve built core-image-minimal in a Virtual Box machine running Ubuntu with 1GB RAM and it tools nearly 2 days. core-image-sato took nearly 48 hours in a notebook running Ubuntu 10.04.
Once the build completes, time to run qemu:
|
1 |
runqemu qemux86 |
Using pre-built images
Create a working directory, download and extract the binary toolchain:
|
1 2 3 4 5 |
mkdir yocto_prebuilt wget http://downloads.yoctoproject.org/releases/yocto/yocto-1.1/toolchain/i686/poky-eglibc-i686-i586-toolchain-gmae-1.1.tar.bz2 pushd / sudo tar xjvf ~/yocto_prebuilt/poky-eglibc-i686-i586-toolchain-gmae-1.1.tar.bz2 popd |
Download the pre-build kernel and rootfs image for qemu x86:
|
1 2 |
wget http://downloads.yoctoproject.org/releases/yocto/yocto-1.1/machines/qemu/qemux86/bzImage-qemux86.bin wget http://downloads.yoctoproject.org/releases/yocto/yocto-1.1/machines/qemu/qemux86/core-image-minimal-qemux86.ext3 |
If you want another rootfs (e.g. sato), you can download it from http://downloads.yoctoproject.org/releases/yocto/yocto-1.1/machines/qemu/
Set the environment:
|
1 |
source /opt/poky/1.1/environment-setup-i586-poky-linux |
Finally run qemu:
|
1 |
runqemu qemux86 bzImage-qemux86.bin core-image-sato-qemux86.ext3 |
I have tested this in Ubuntu 11.10 (Virtual Box), the build completed, but for both methods qemu only showed a black screen. Running those images in Debian Squeeze 6.0.3 (Virtual Box) and Ubuntu 10.04 LTS (Native) worked perfectly.
That’s all your need to get started with Yocto. Now you need to customize it in order to build a distribution for your target system. If you have a Beagleboard, you could check out the pre-built images at http://downloads.yoctoproject.org/releases/yocto/yocto-1.1/machines/beagleboard/.
You can learn more by visiting the Yocto Project website and also reading some of my previous Yocto posts with an overview and links to several videos and presentation slides about the Yocto Project.

Jean-Luc started CNX Software in 2010 as a part-time endeavor, before quitting his job as a software engineering manager, and starting to write daily news, and reviews full time later in 2011.
Support CNX Software! Donate via cryptocurrencies, become a Patron on Patreon, or purchase goods on Amazon or Aliexpress


