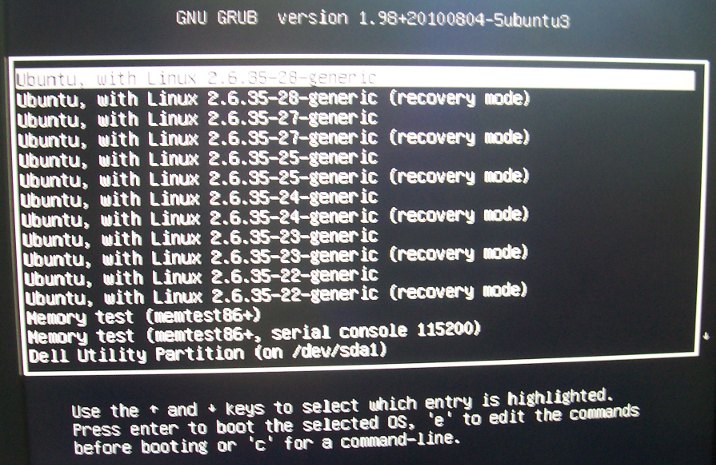
If you have used Ubuntu for a while and performed upgrades, you may have quite a few kernels in GNU GRUB as shown below:

Those kernels are usually not necessary, they take space on your hard disk and make you scroll down in GRUB to access your other OS (if any).
I’ll show how to only keep the last 2 kernels (for safety) in GRUB with Synaptic.
First, start synaptic as a superuser:
sudo synaptic
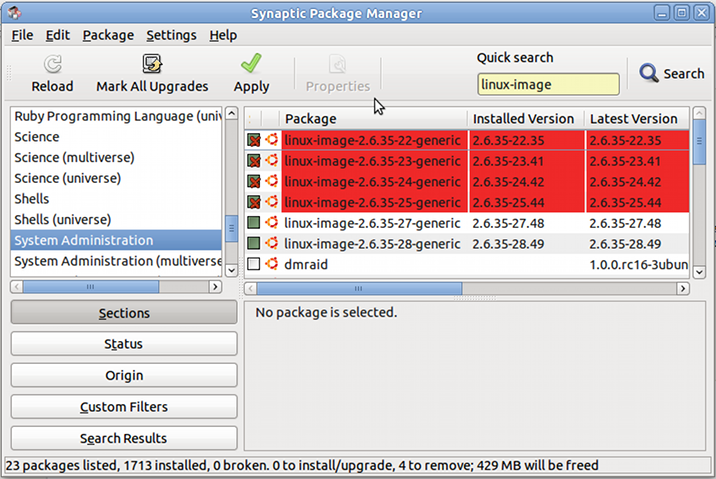
Select “System Administration“, in type “linux-image” in the Quick search field and show the installed kernel (green tick box). Then select the kernels you want to remove (keep the last 2 versions), right-click and select “Mark for Removal”. Synaptic Package Manager window should look like the screenshot below:
After that, simply click on Apply and within a short time (one minute in my case), the selected kernel are removed. Removing 4 kernels, freed 429 MB on my system.
Now I have 2 Linux kernels (4 choices including the recovery mode) in GRUB.

Jean-Luc started CNX Software in 2010 as a part-time endeavor, before quitting his job as a software engineering manager, and starting to write daily news, and reviews full time later in 2011.
Support CNX Software! Donate via cryptocurrencies, become a Patron on Patreon, or purchase goods on Amazon or Aliexpress


