
Long time readers of this blog may remember that I organized a crowdfunding event aiming at raising funds to buy equipment to test 4K TV boxes and mini PCs in early 2015, and one of the items I ended up purchasing was LG 42UB820T 4K television. It worked well for over a year, but I started to notice a single vertical appear on the TV in June, or about 18 months after purchase.
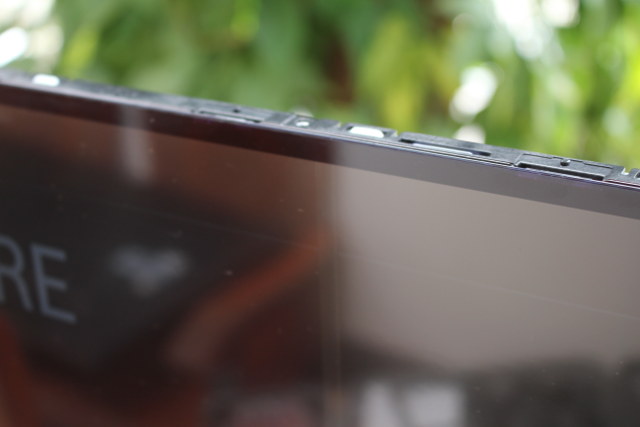
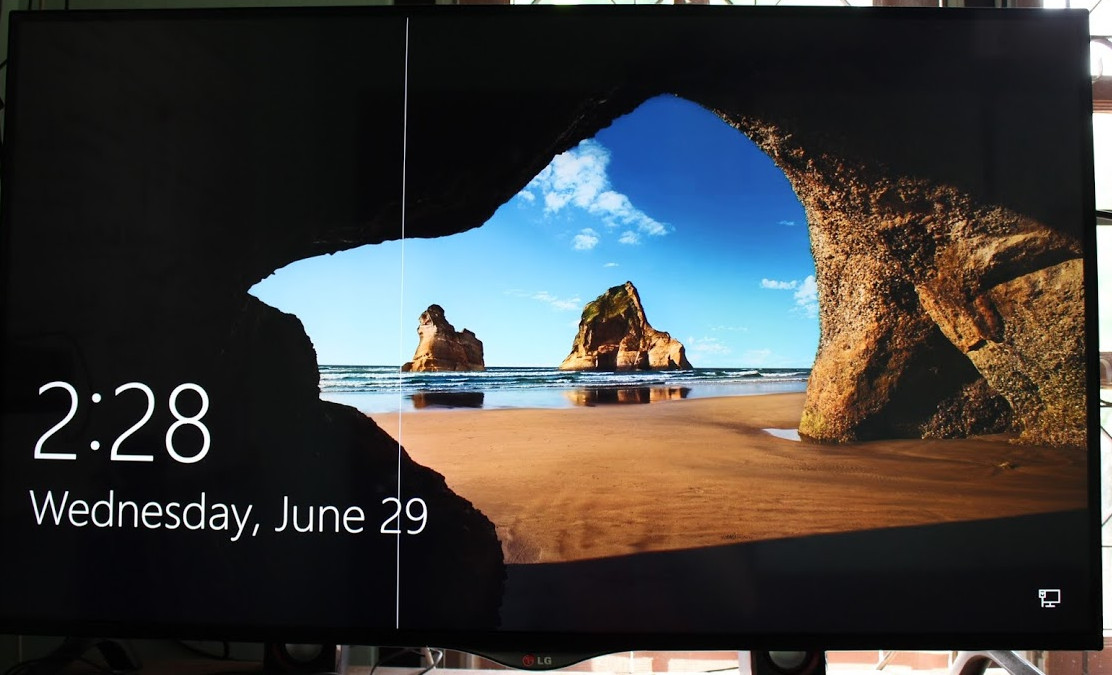 A few more lines appeared in the following week, and it appears to have stabilized as shown in the picture below.
While I understand that in Europe a 2-year warranty period is legally required, I’m based in Asia, and all I got was a one year warranty for the TV. So I had three choices:
- Ignore the problem
- Pay for the repairs
- Try to repair it myself
So far, I’ve selected solution 1. because that’s the easiest one, and the lines don’t matter than much since I only use that TV for reviews. So the only real downside is that I have some vertical in pictures and videos… But today, I had some spare time, and decided to open the TV, and check out the cables as some people on Google+ mentioned it could be the issue. Sorry that I haven’t tested, and have no plans to test, the baseball bat method… 🙂
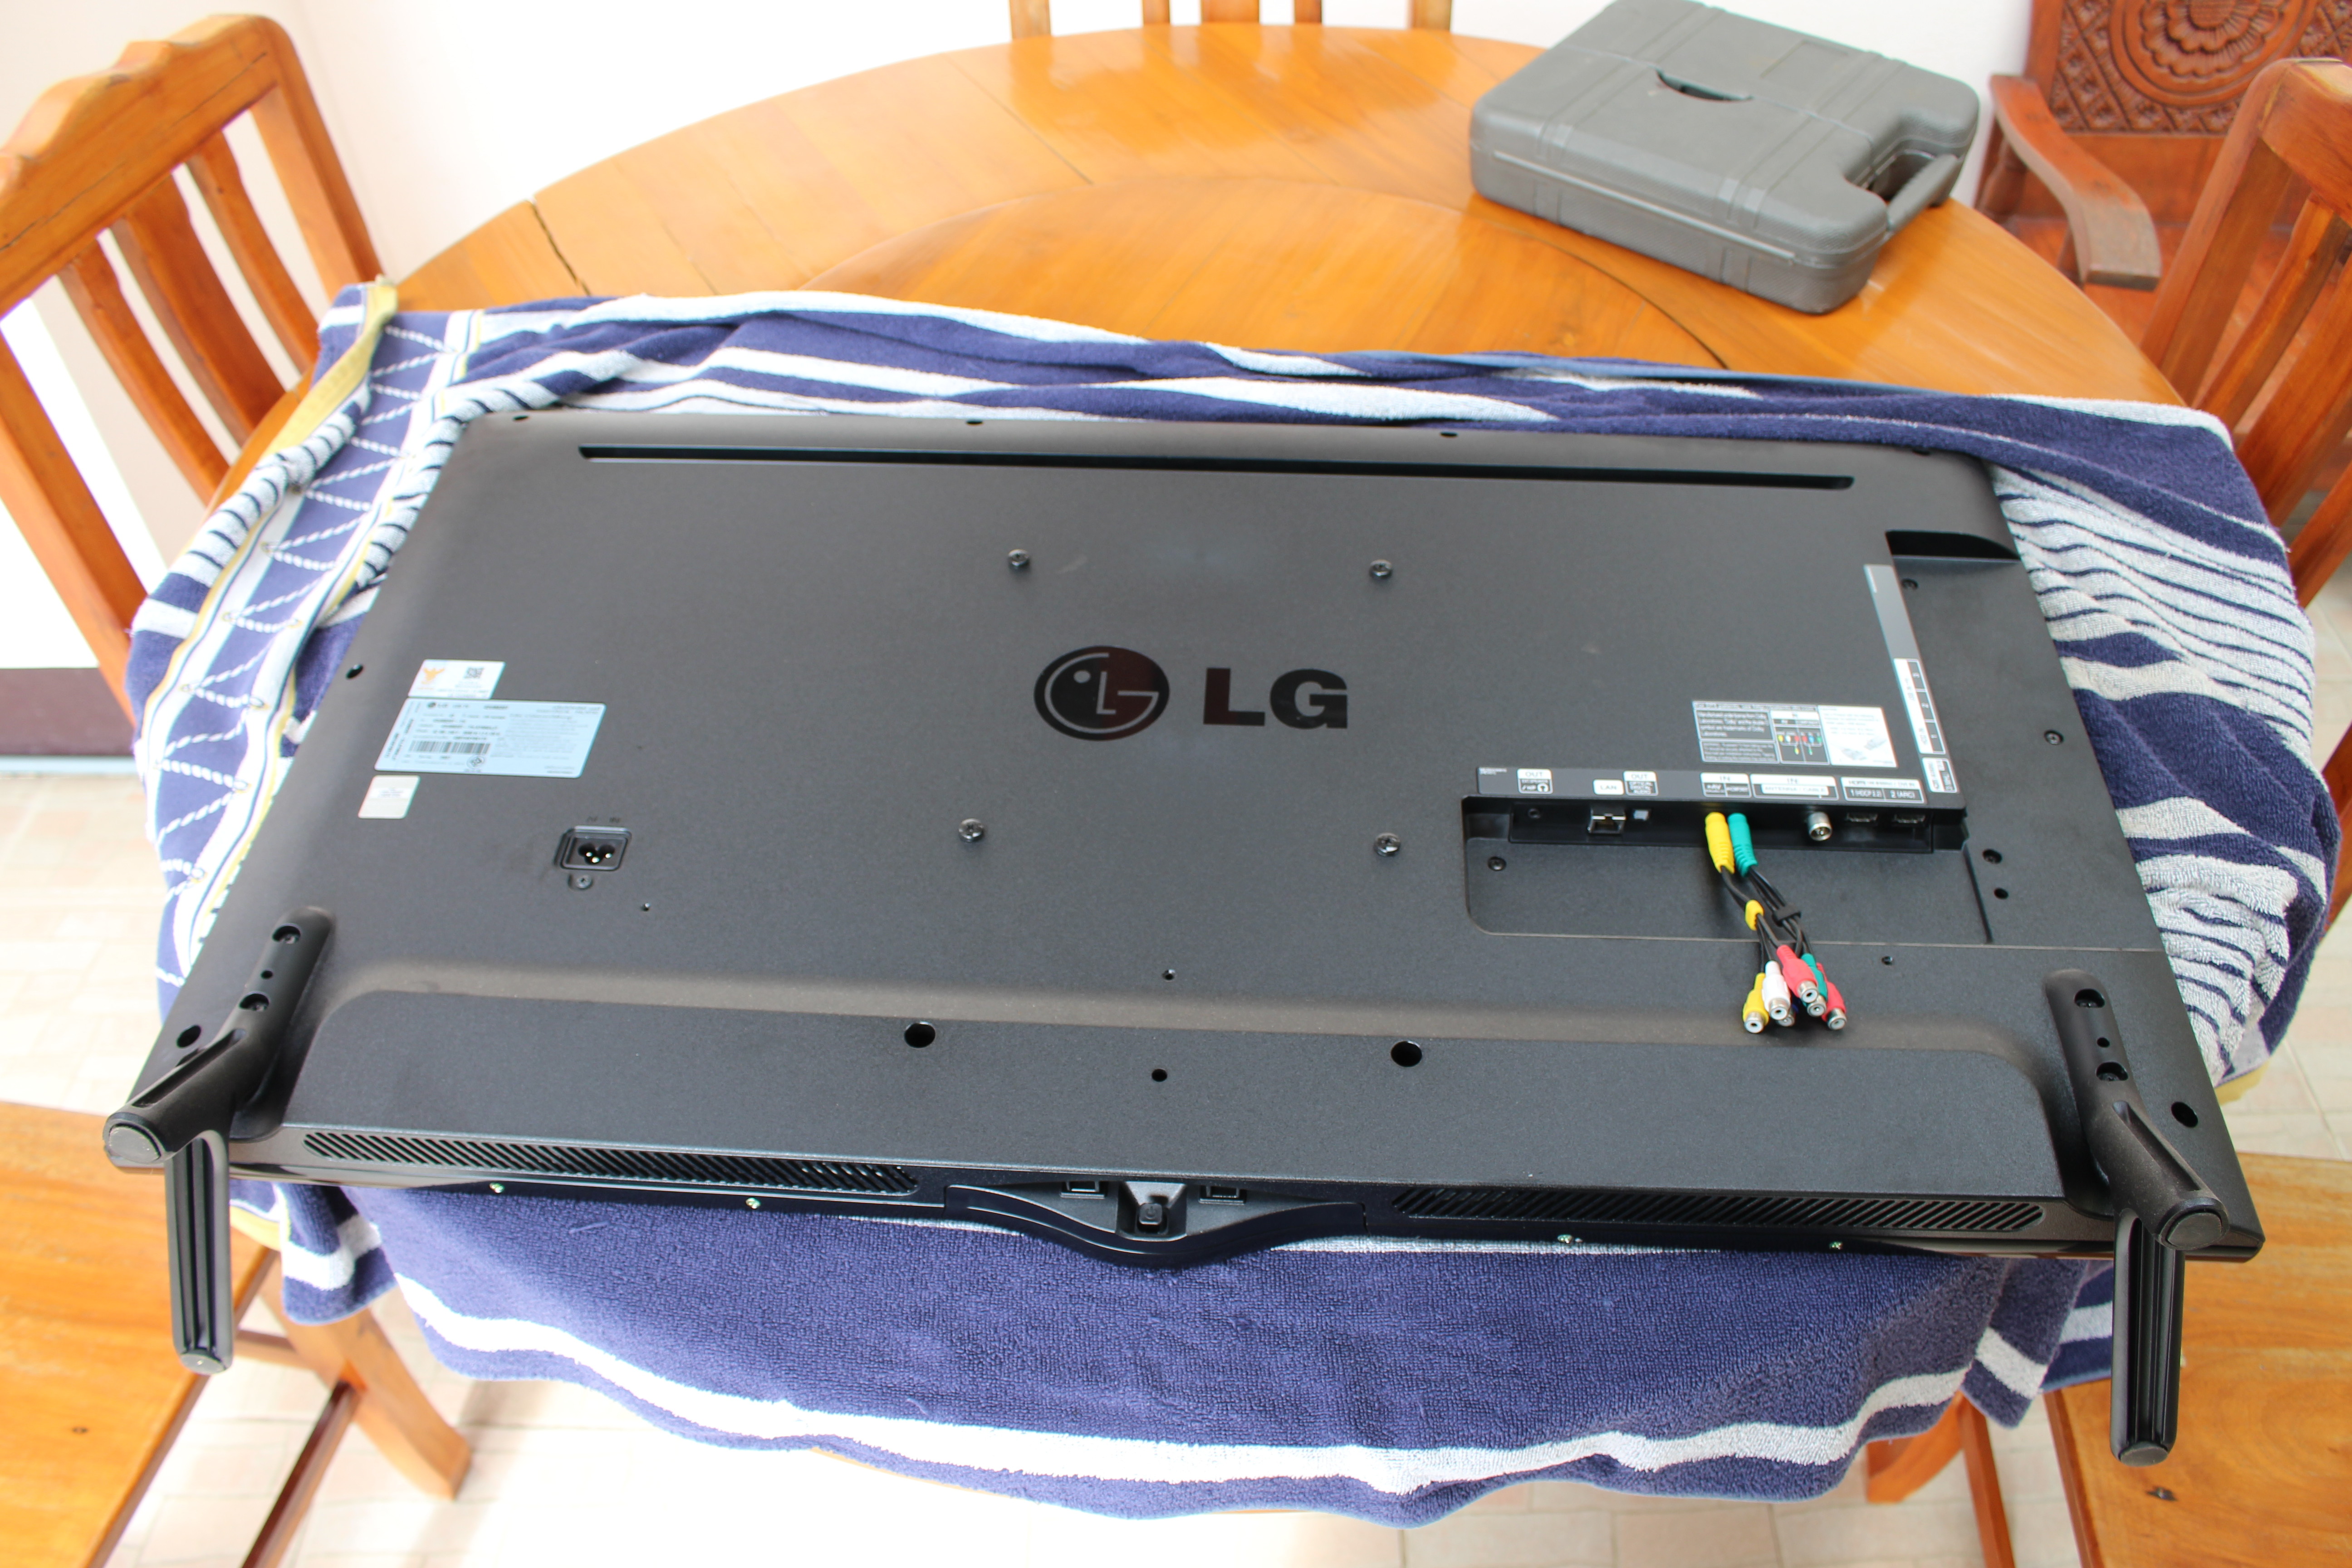
Warning: TV have high voltage and large capacitor, so wait a few minutes if you ever intend to open yours…
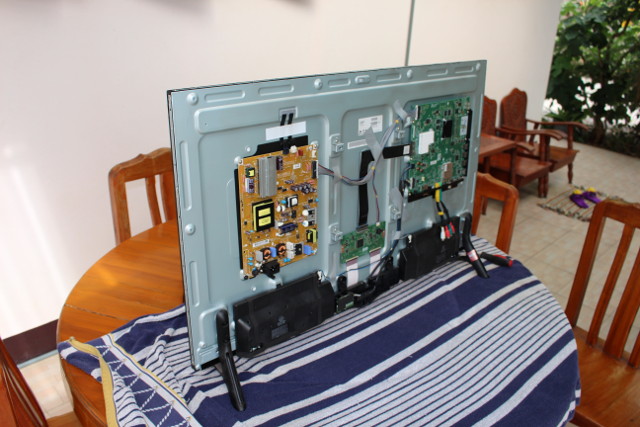
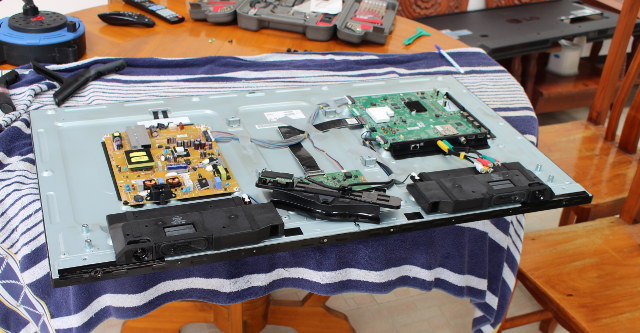
So I found some towel to protect the panel, and took out the back cover. It’s pretty easy, but you have to loosen all screws on the back, as well as four screws on the bottom.
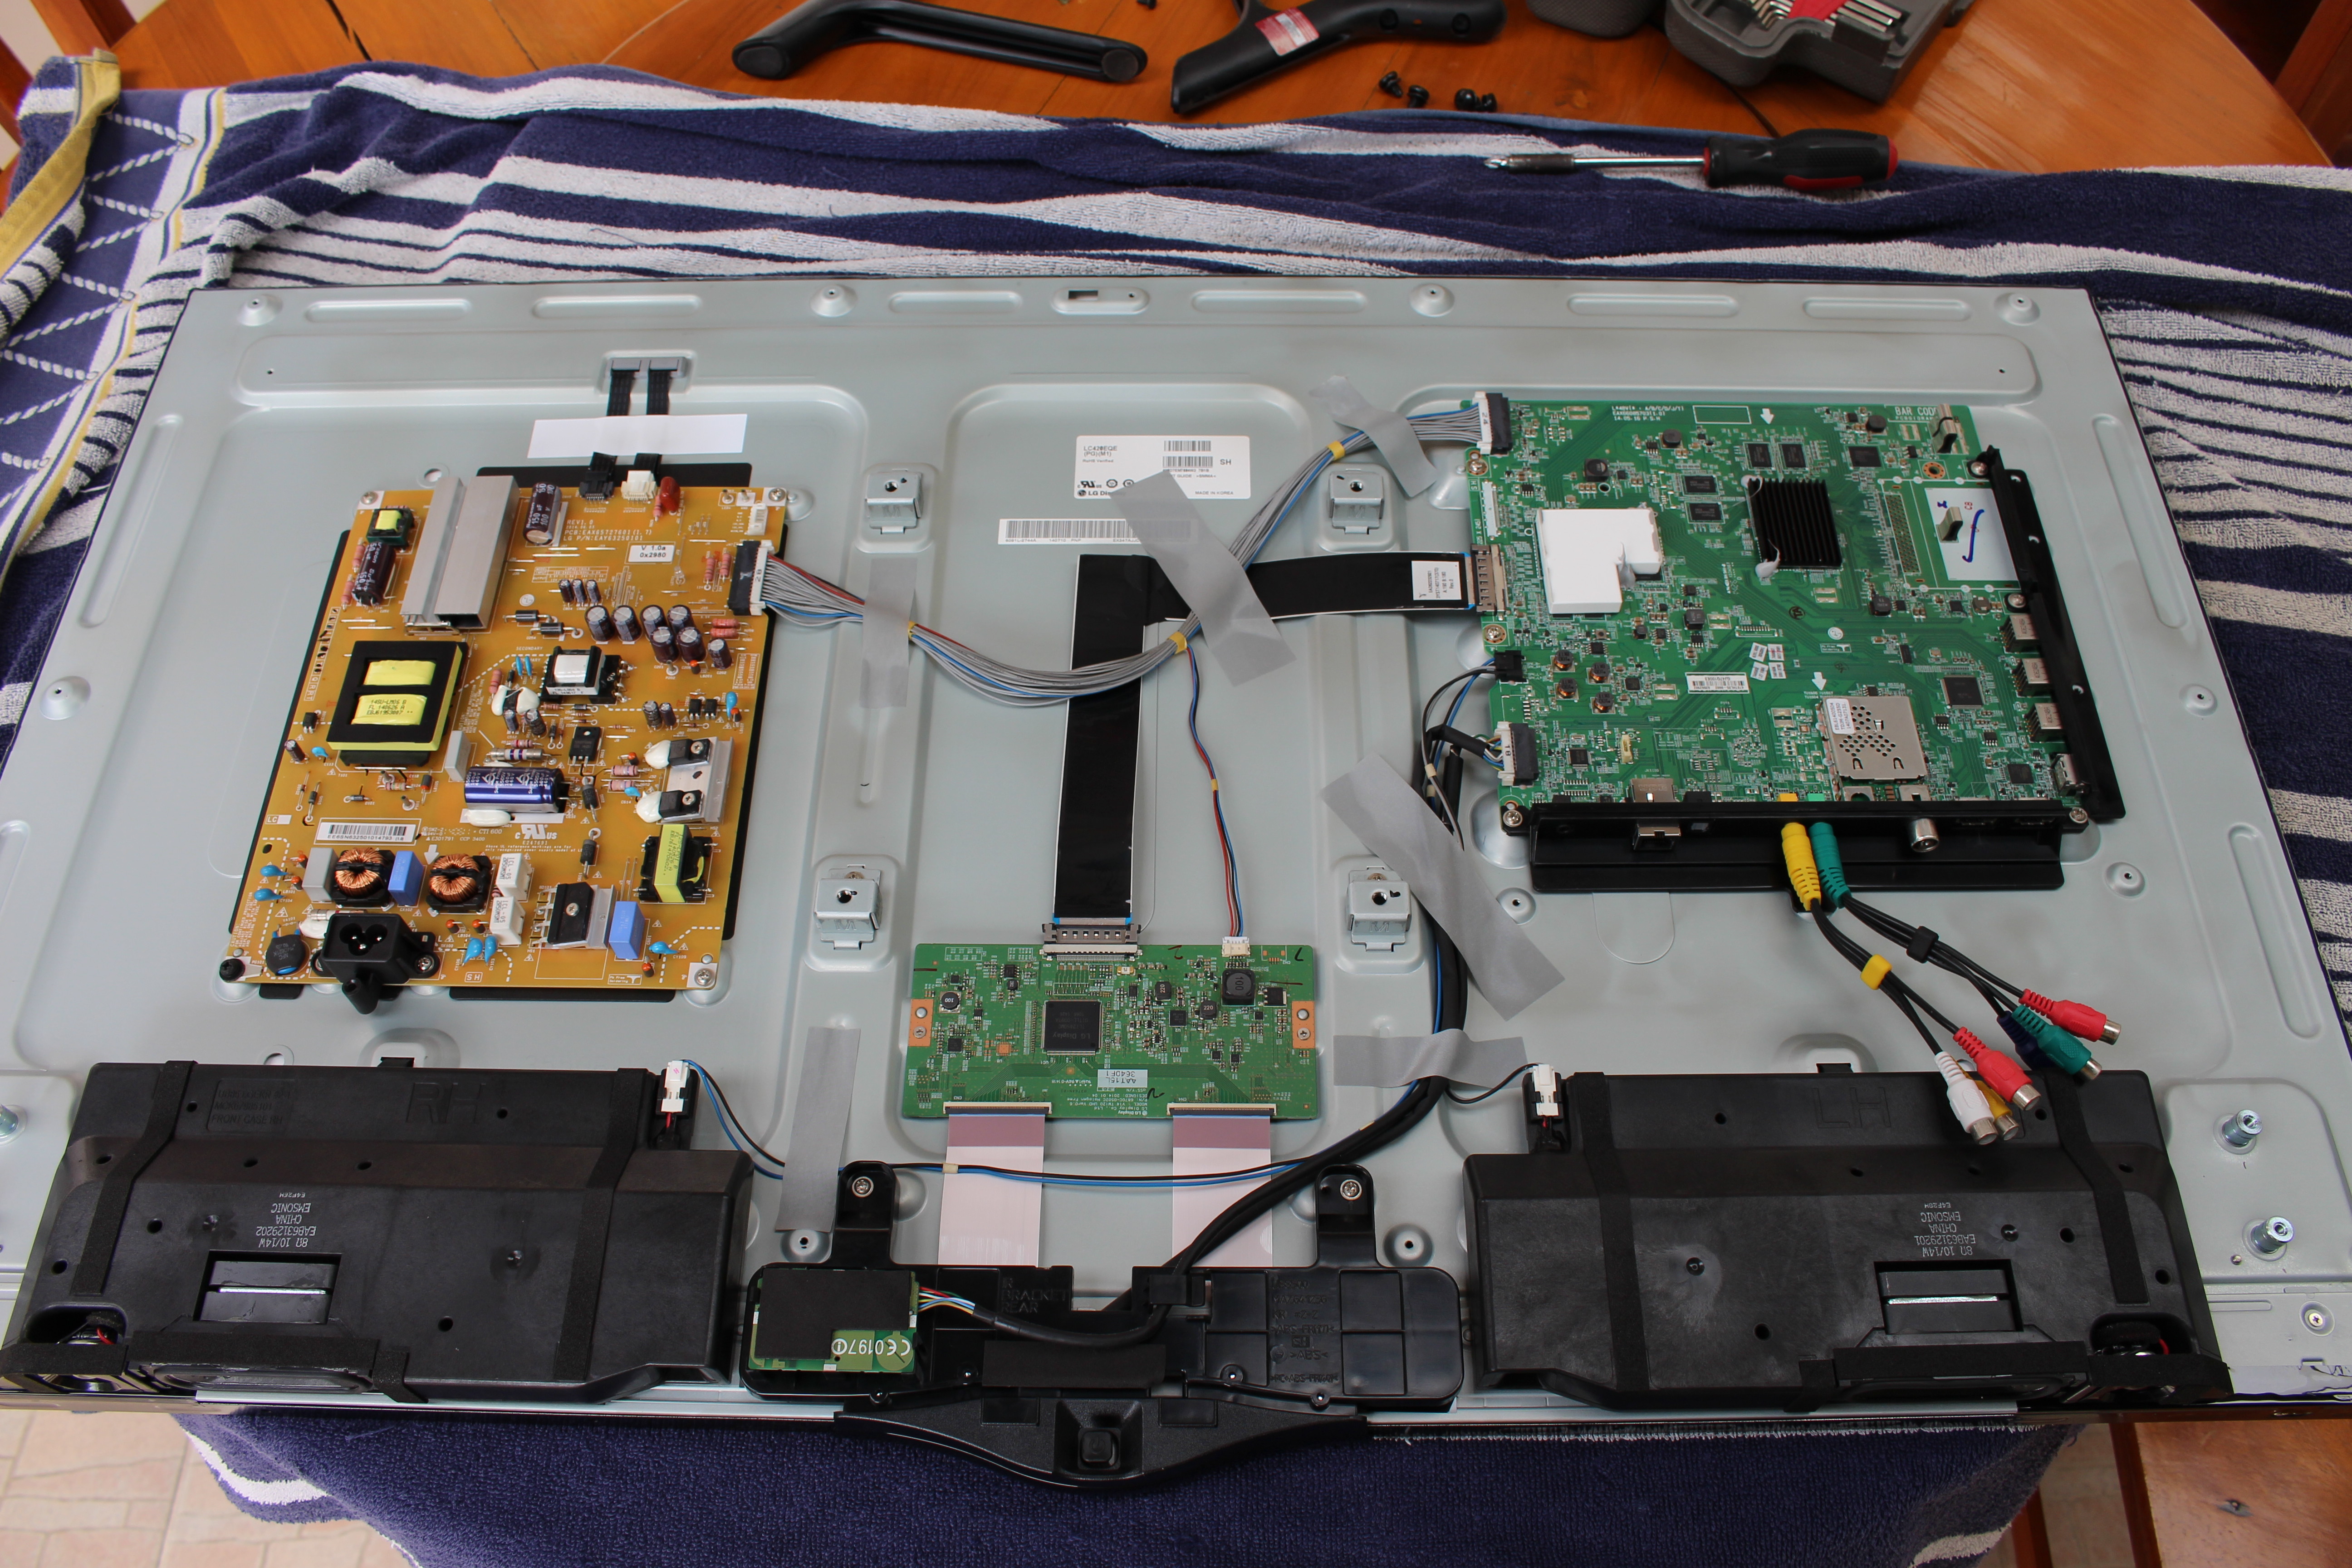
There are six main “blocks”: the orange power supply board, the display board in the middle, and what I’d call the mainboard or input board on the right, as well as two dual speakers, and the IR bracket in the bottom center.
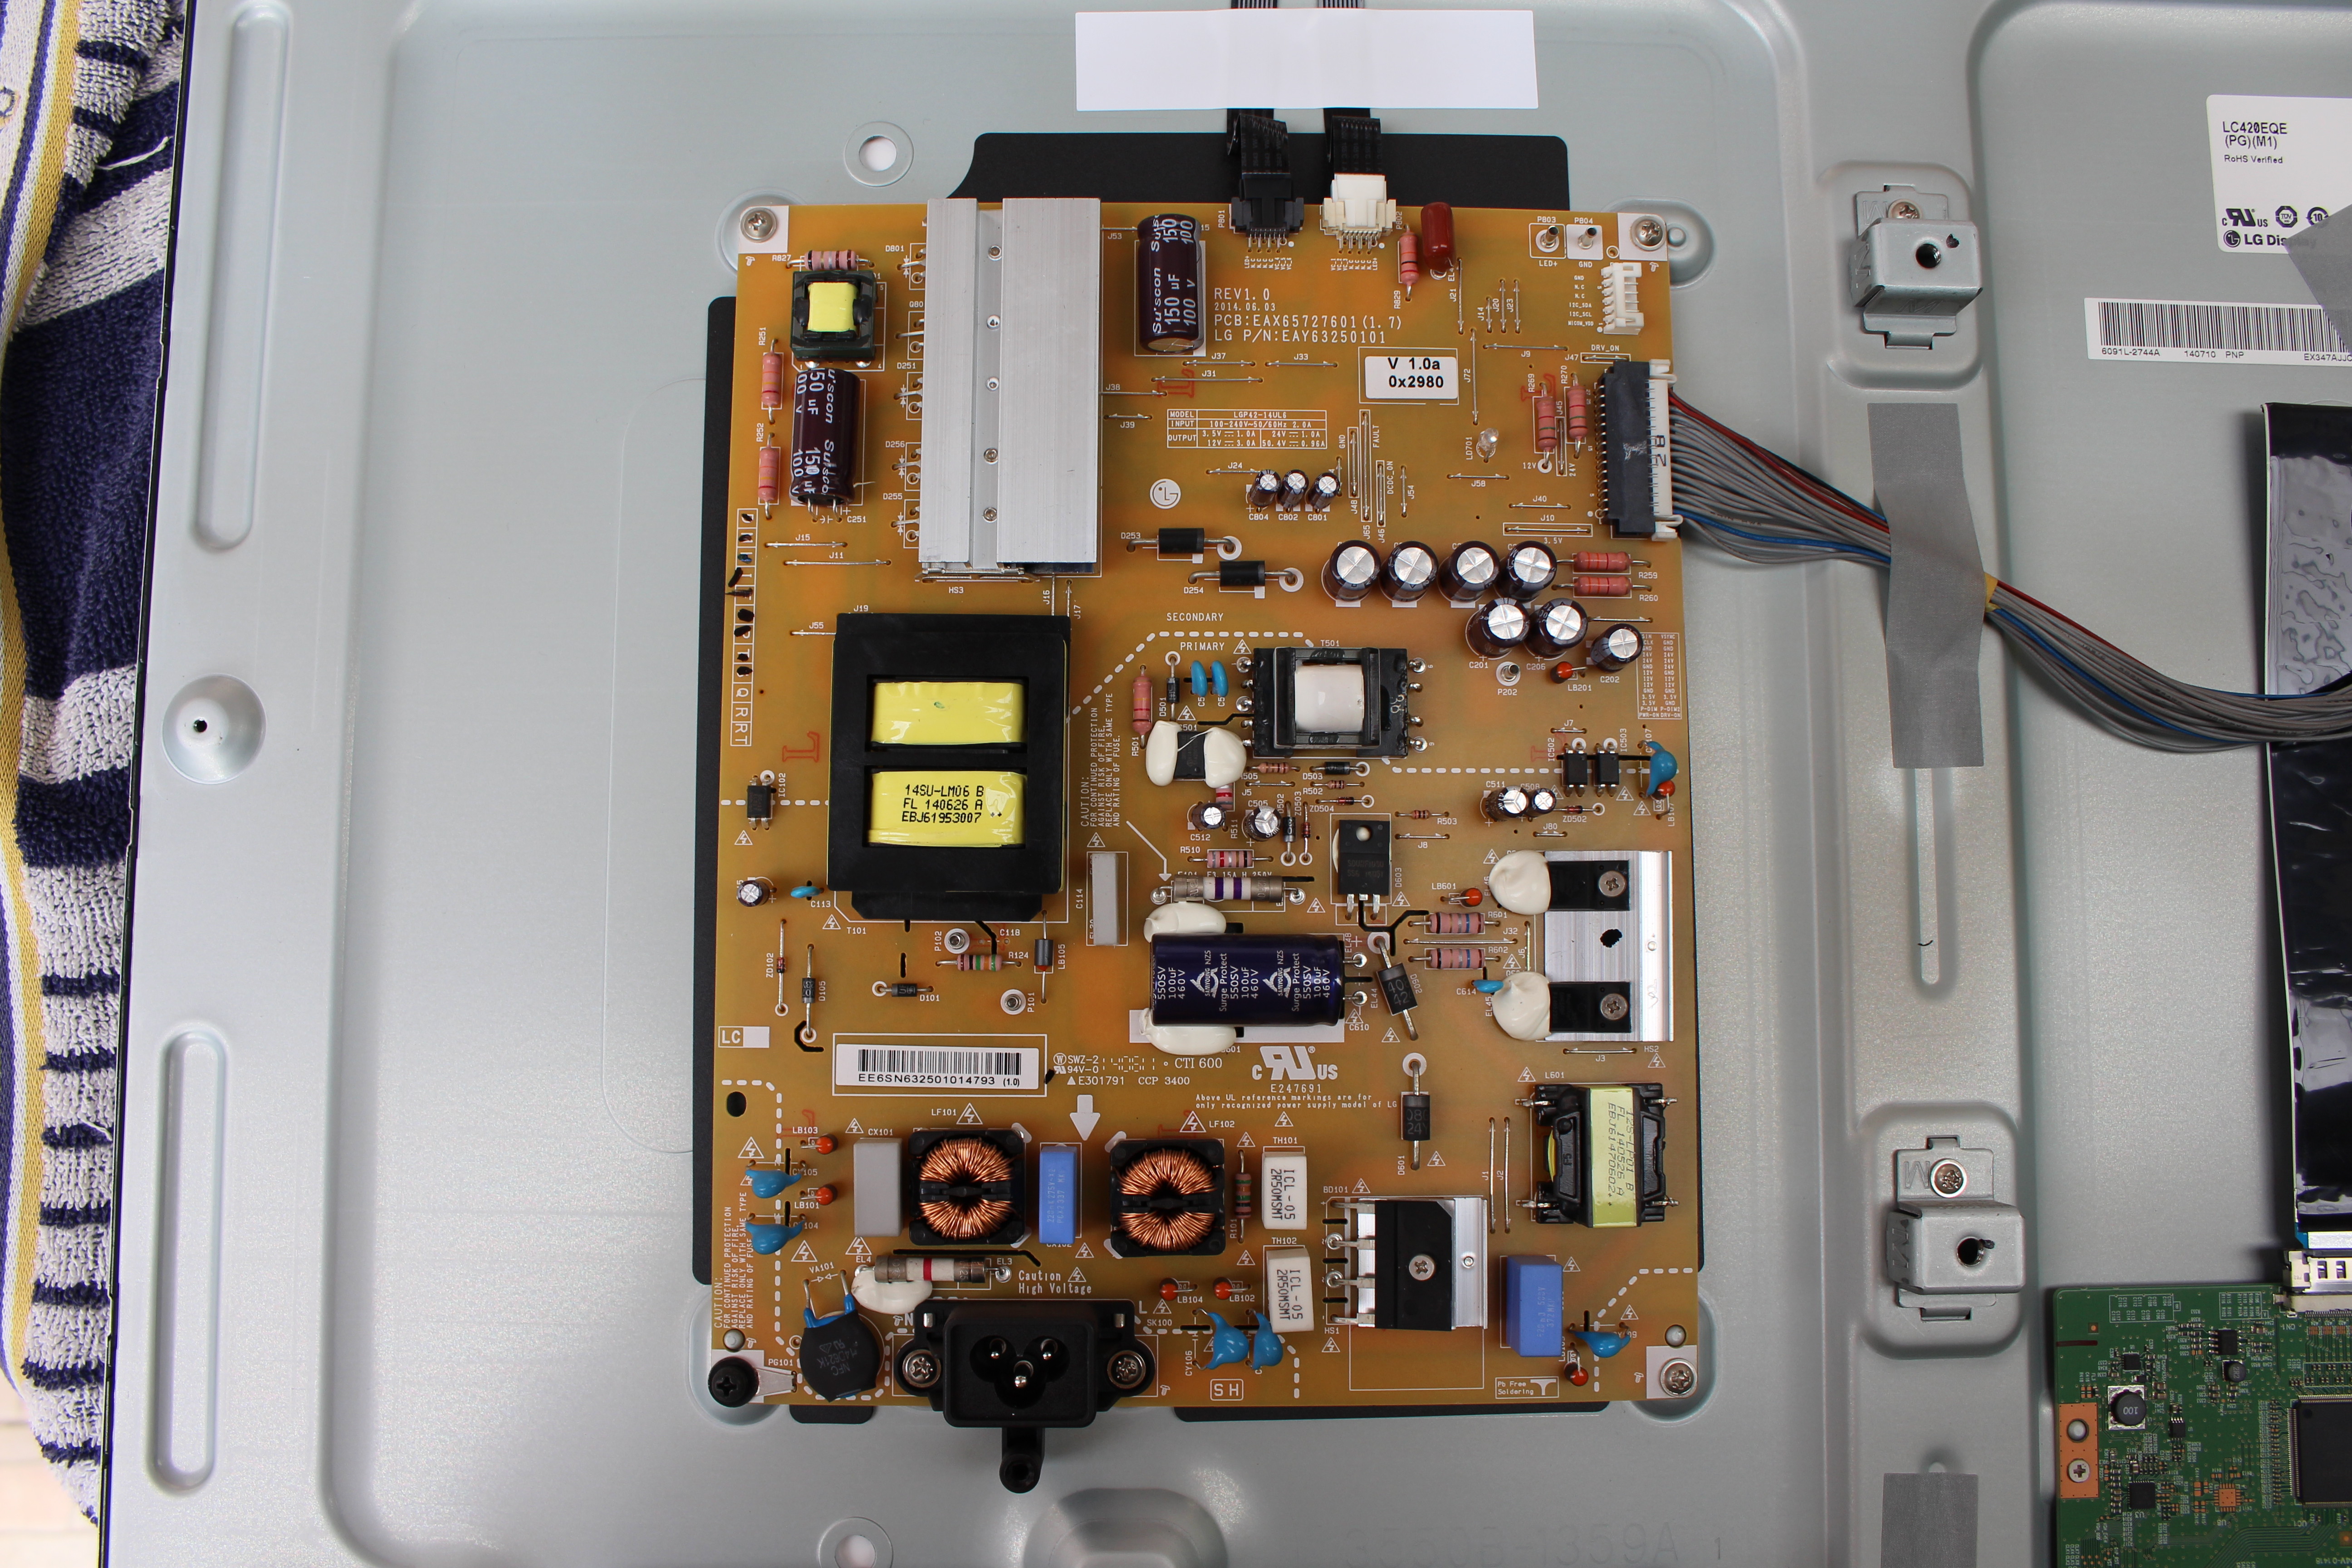
The power supply board is fairly large, takes 100 to 240 V @ 50/60Hz AC input, and outputs four DC voltage levels: 3.5V @ 1.0A, 12V @ 3.0A, 24V @ 1.0A, and 50.4V @ 0.95A.

The display board (V14 TM120 UHD ver0.6) features LG Display TLi2450MC LCD driver, and is connected to the main board via one flat cable, and the the LCD panel boards via two ribbon cables.
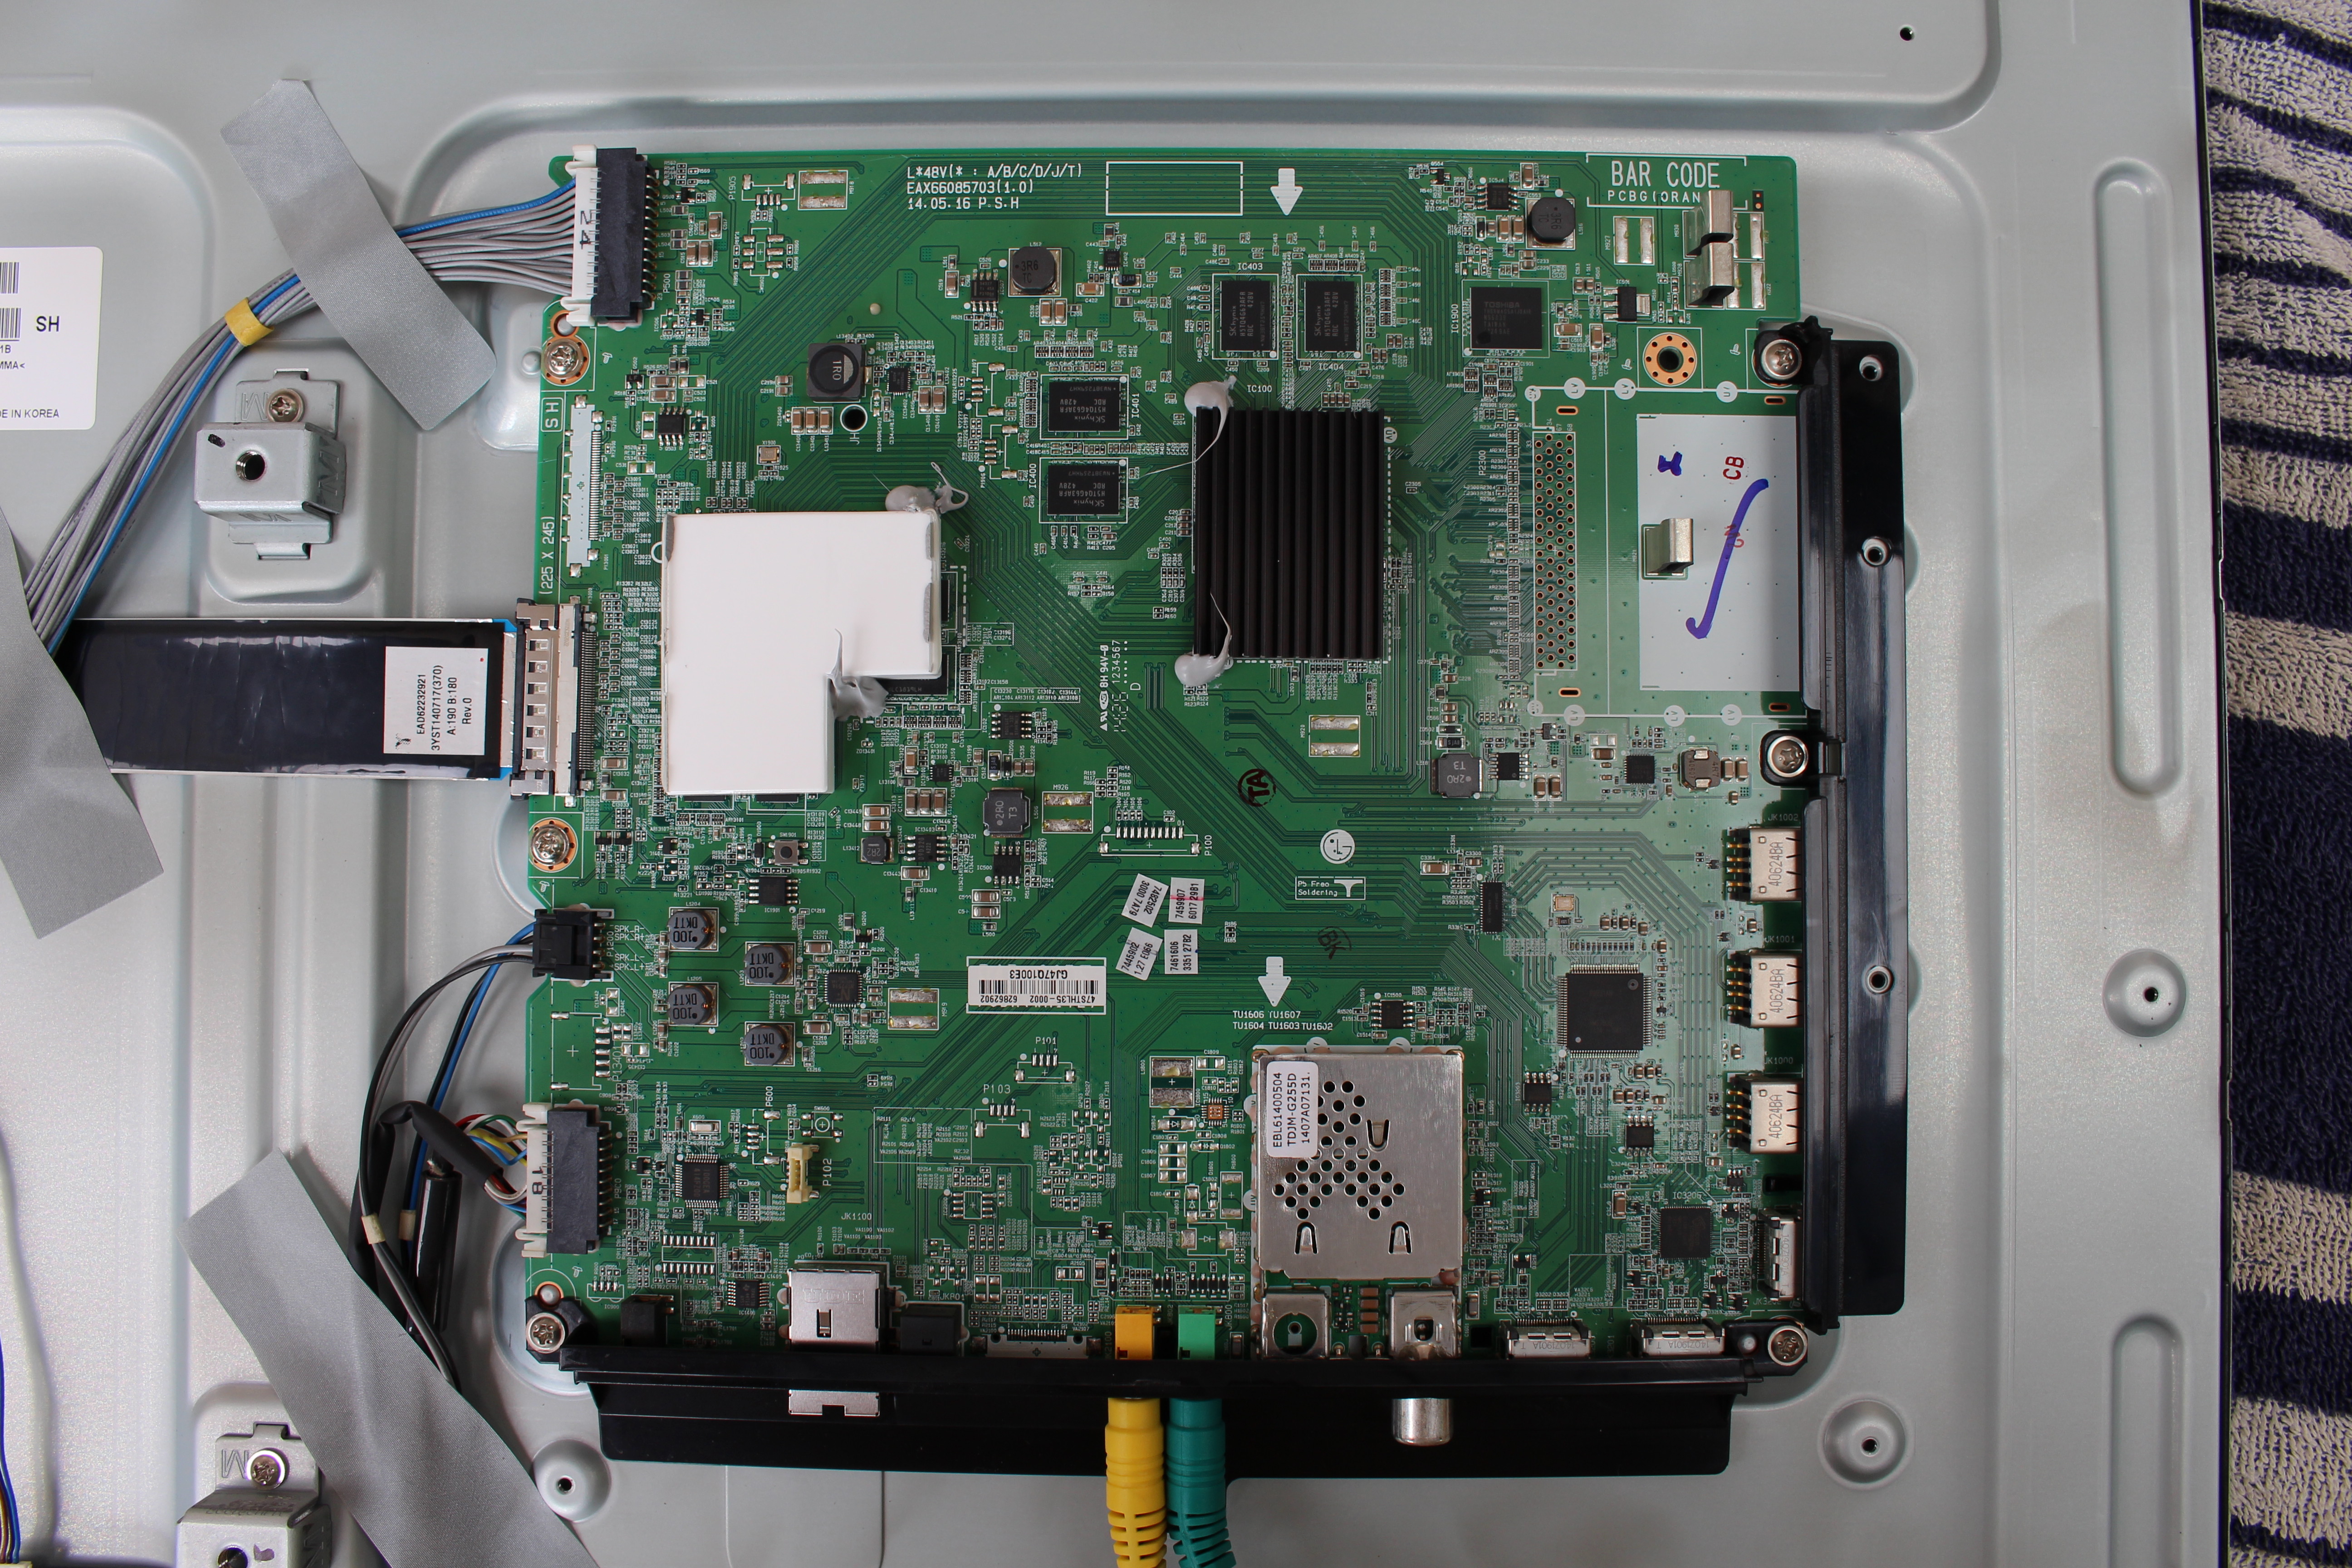
The “input” board has all video input ports (HDMI, AV, component), Ethernet, the DVB-T2 tunner, USB ports, and most ICs are covered by heatsinks, which I have not messed with.
I disconnected the ribbon cables connected to the display board, checked for dust, and reconnected them. But since i thought there was certainly more than I could do, I did some research, and found one video explaining one possible cause for the vertical lines.
The problem in the video above is clearly with issue related to the ribbon cables directly connected to the top of the LCD panel, and pressing on the cable may remove the lines. Sadly the video did not offer a solution for the problem, only demonstrated the reason.
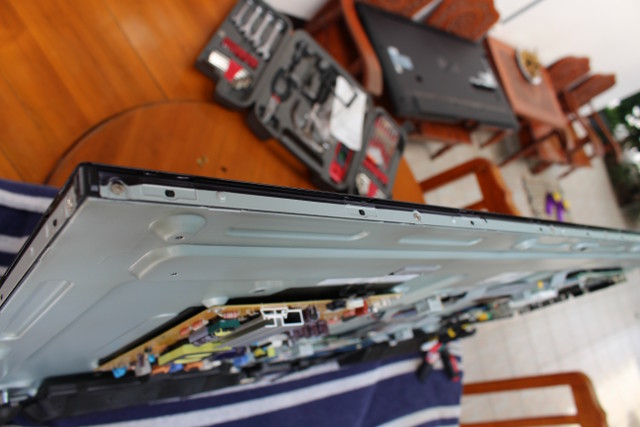
Still I wanted to check it, and put back the TV on its two feet…
… and found out a metal bar on the top just like in the video above.
But sadly, there wasn’t any ribbon cable in that location. But I still connected the power to check if I could impact the display with some non-conductive tool. No luck.
Nothing to see here, so I re-assembled the top of the TV, and when looking on the bottom instead.
I could see a black bar with two screws on each side, and I loosen two more screws to remove the IR bracket, and found two extra screws.

Taking those out, allowed me to discover the ribbon cables I was looking for.
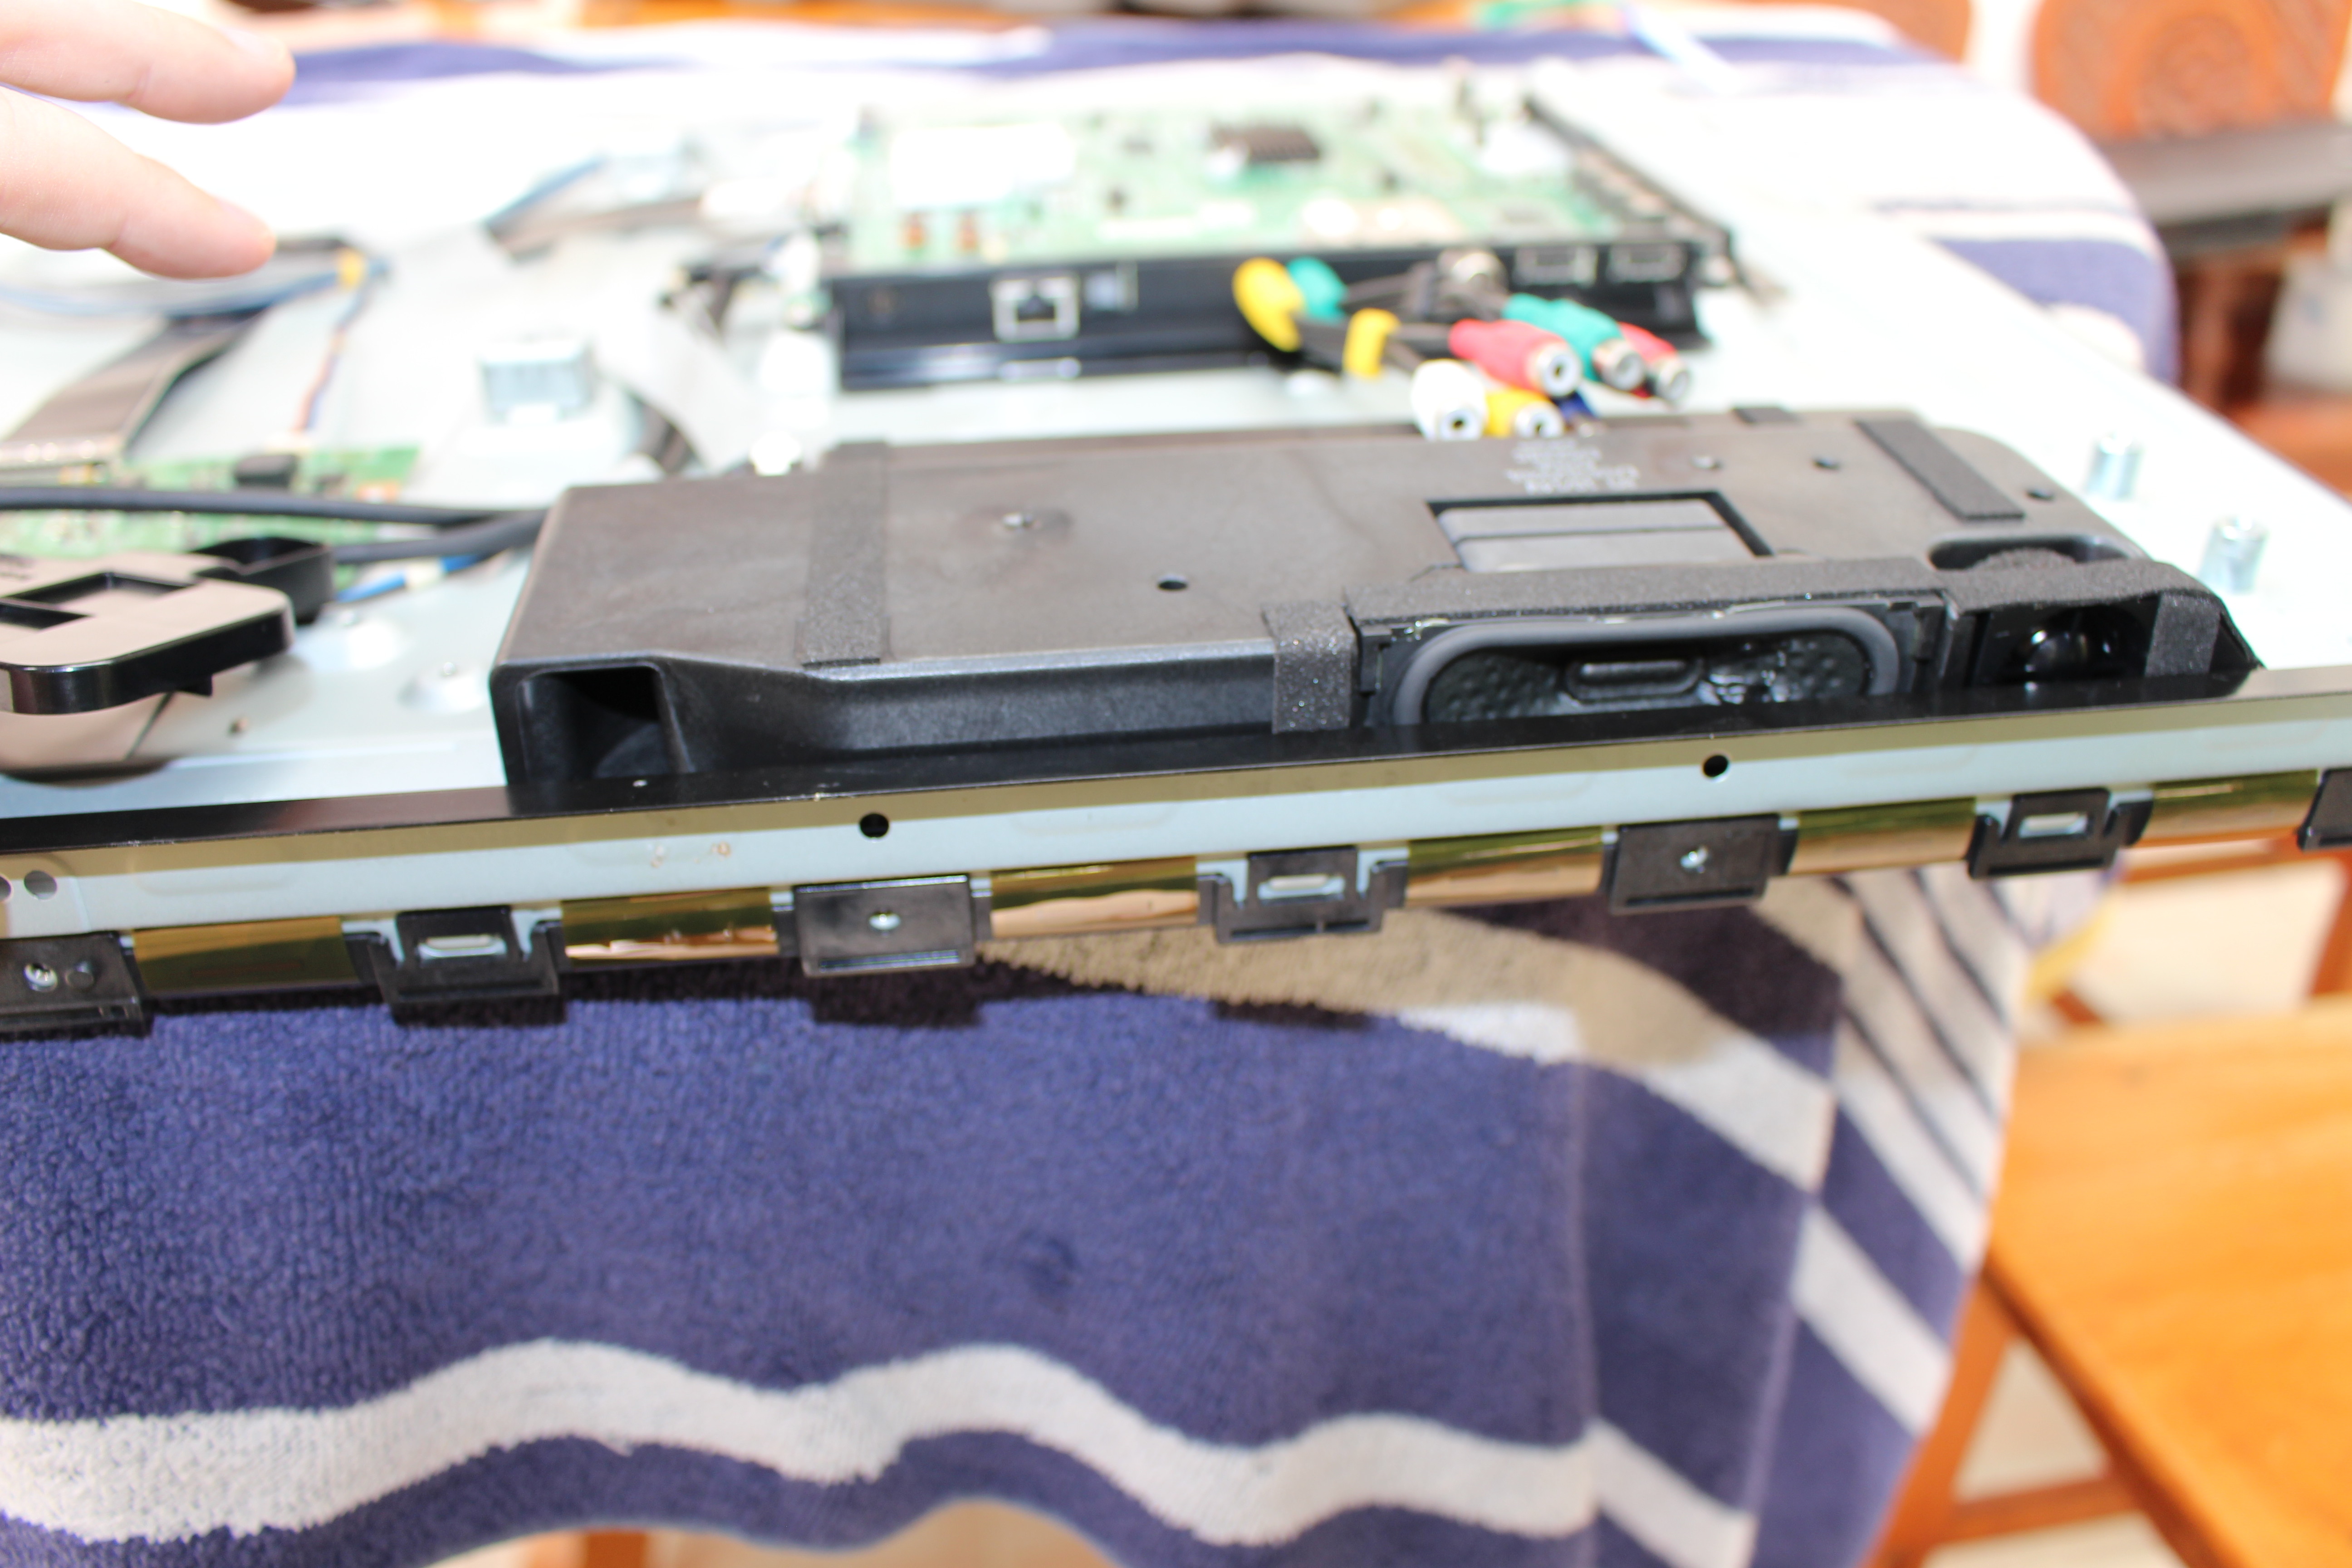
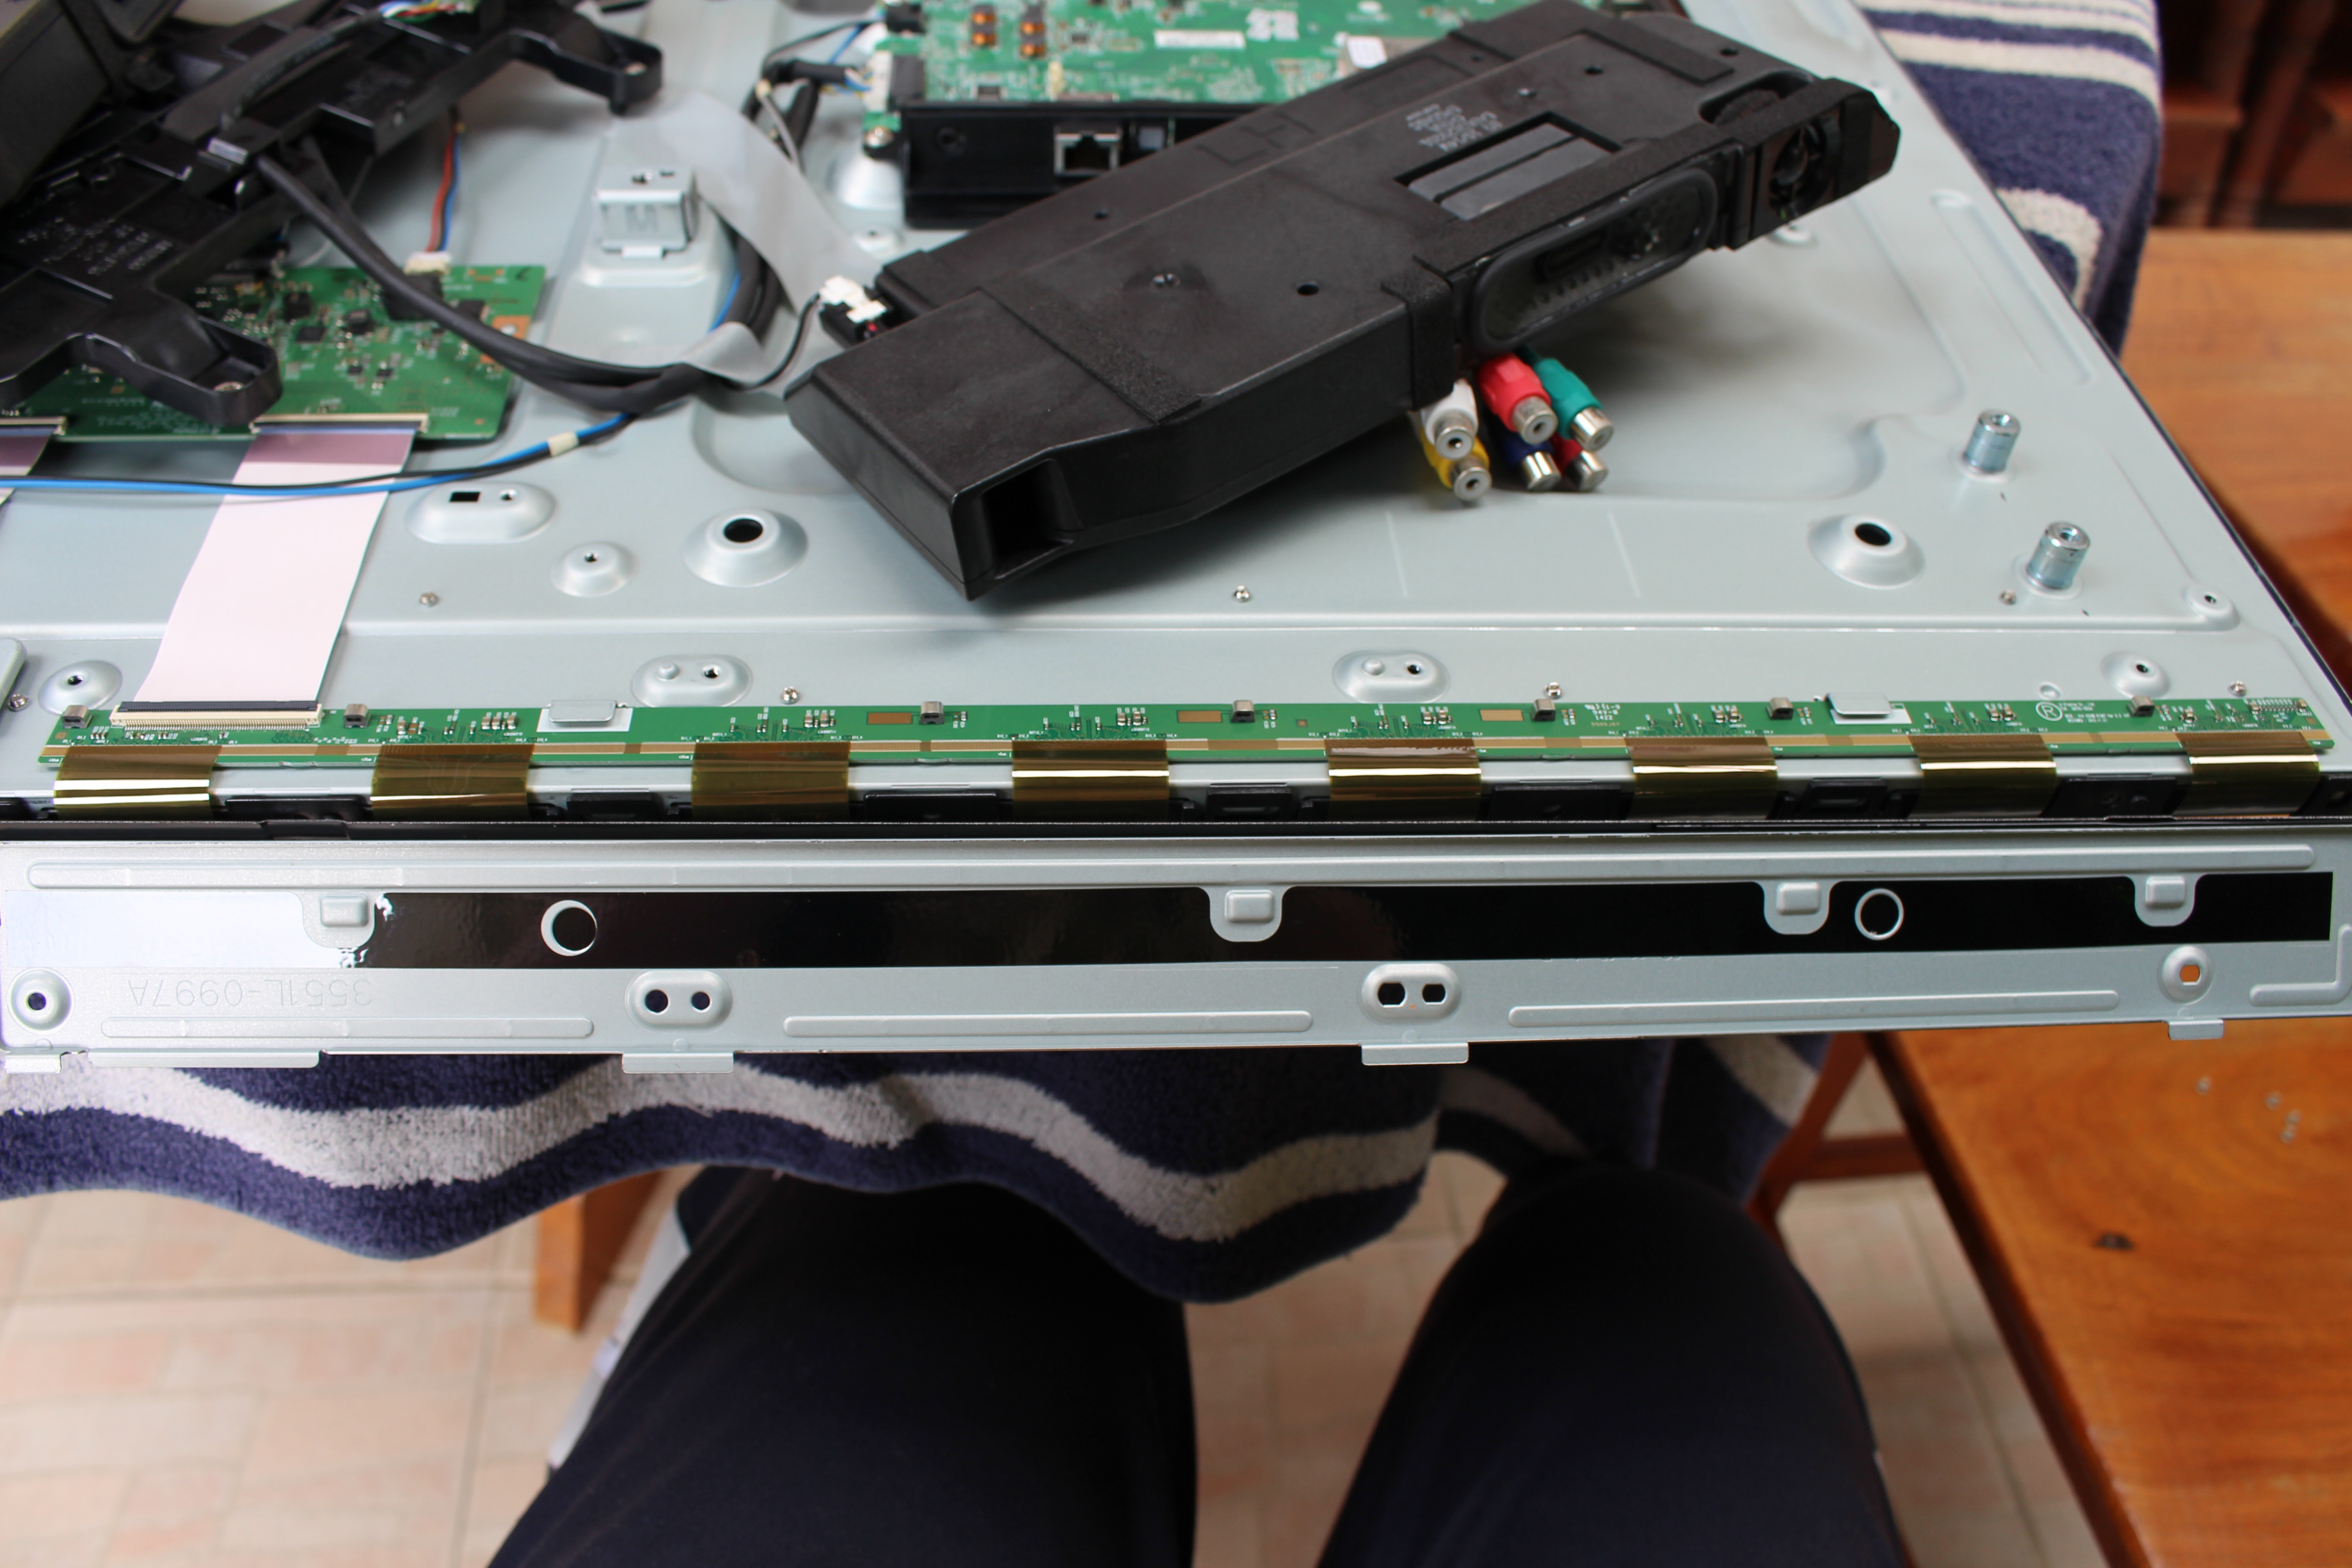
But since I did not have full access just yet, I took out the speakers, which are very easy to remove since there aren’t any screws or other mechanism.
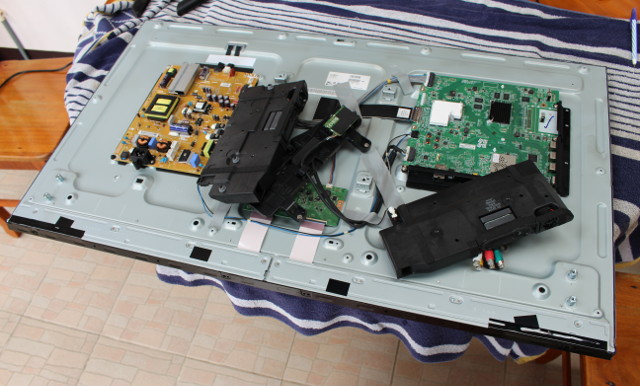
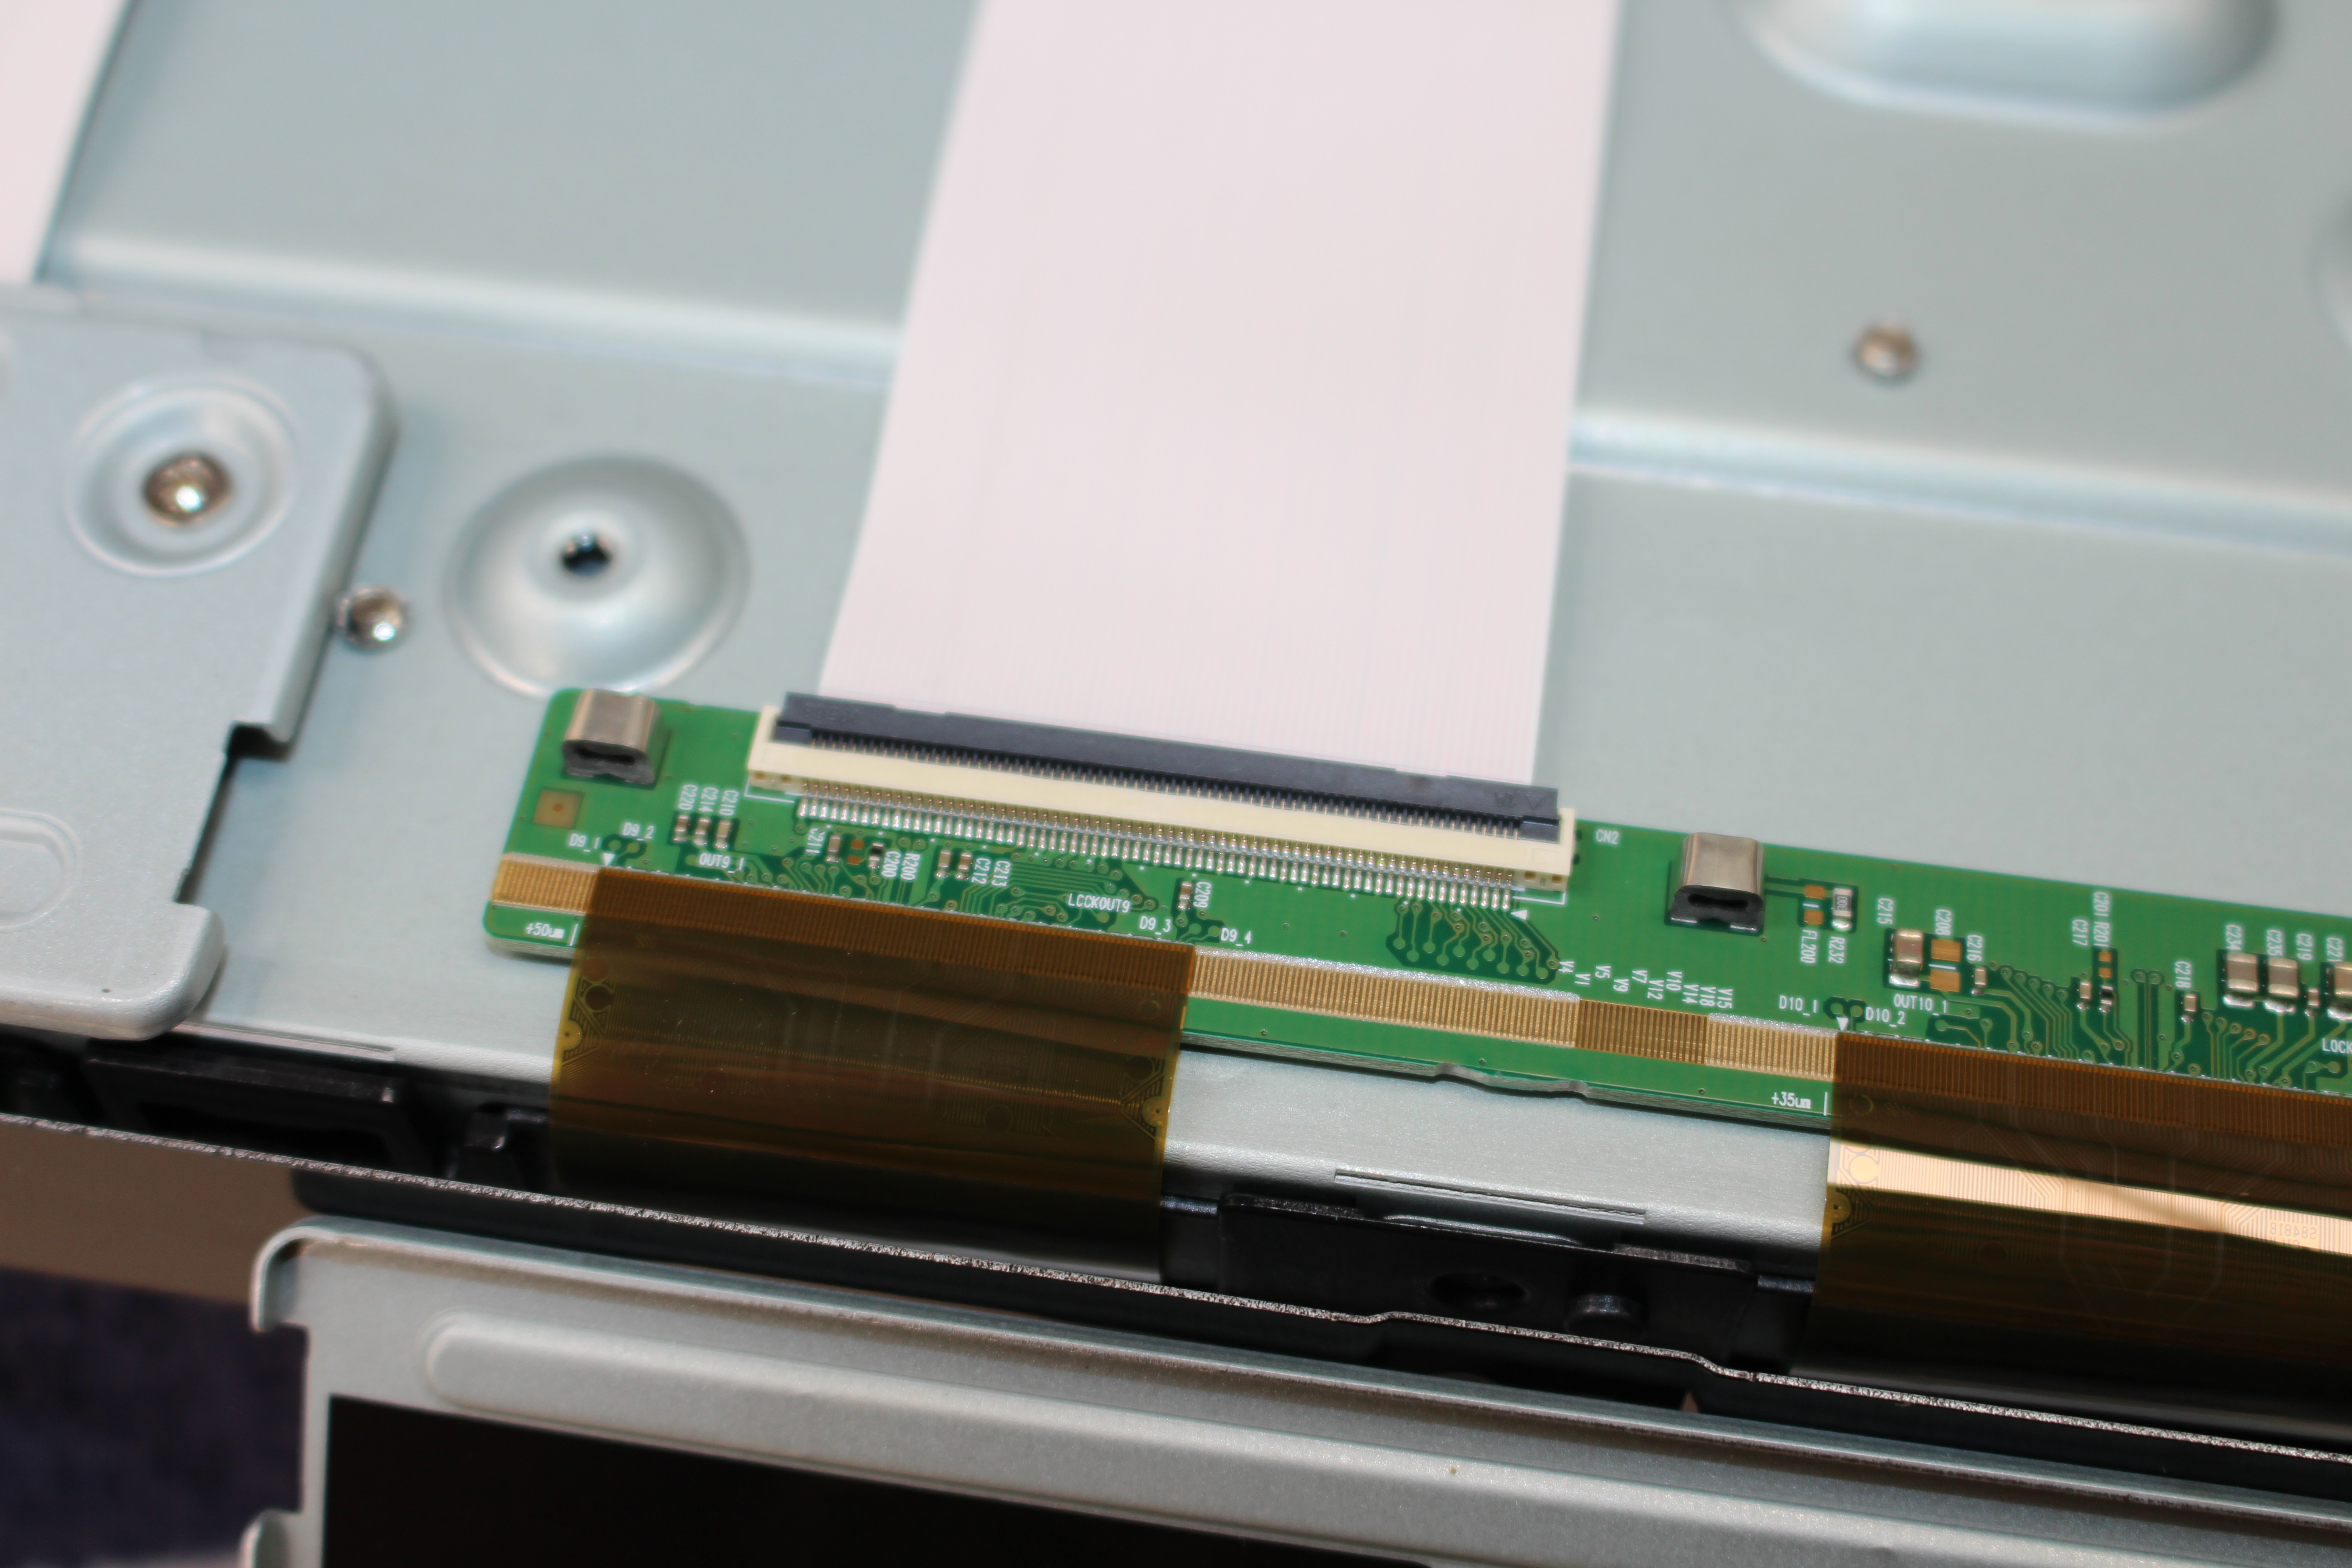
Now it’s easy to understand that the two white ribbon cables connected to the display port are connected to two “zones” connected to the LCD panel. I have problem with lines on the right part (from this angle), so I loosen a few more screws, and I could get a clear look at the board and ribbon cables connected directly to the LCD panel.
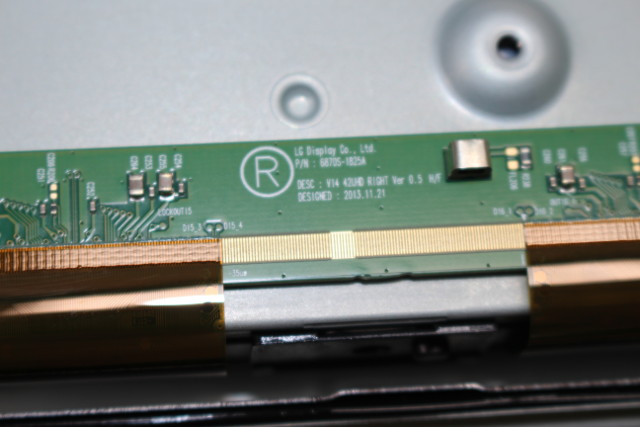
The board is called B1 42UHD RIGHT Ver 0.5, but I could not find obvious fault with any of the ribbon cables, and it’s unclear how they are connected to the board. Since they are placed at the bottom it’s also not really convenient to connect the power and check out what happens when pressing the cables, so I gave up. Nevertheless, it was an interesting exercise!

Jean-Luc started CNX Software in 2010 as a part-time endeavor, before quitting his job as a software engineering manager, and starting to write daily news, and reviews full time later in 2011.
Support CNX Software! Donate via cryptocurrencies, become a Patron on Patreon, or purchase goods on Amazon or Aliexpress


